To view the Audio Messages list, go to the Media > Audio Messages section.
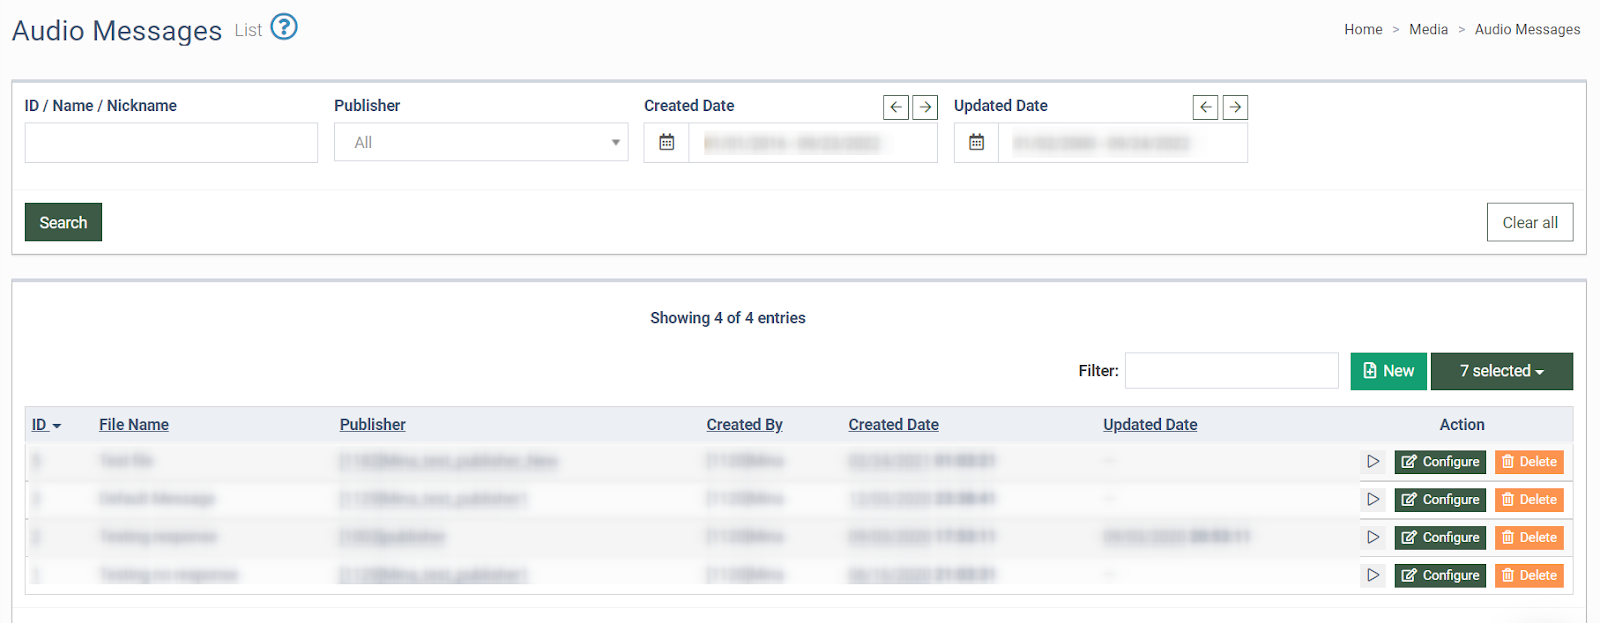
The Audio Messages list contains the following information:
- ID: The unique identification number of the uploaded audio recording.
- File Name: The name of the uploaded audio file.
- Publisher: The name of the Publisher to whom the audio file is assigned.
- Created By: The name of the employee who uploaded the audio file.
- Created Date: The date and time when the audio file was uploaded.
- Updated Date: The date and time of any changes that were done.
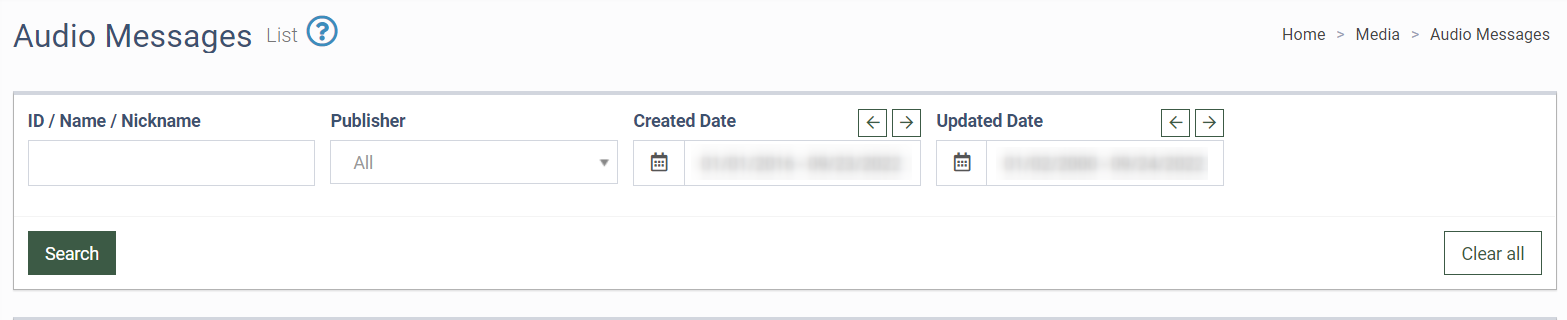
You can narrow down the search results by using the following filters:
- ID / Name / Nickname: Enter the ID, the name of the audio recording, or the name of the employee who uploaded the audio file.
- Publisher: Select the Publisher from the drop-down list.
- Created Date: Select the file creation date range.
- Updated Date: Select the file update date range.
To upload a new audio file, click the “New” button and fill in the following fields in the pop-up window:
- Publisher: Select the Publisher. The audio file can be available either to all publishers or a specific one.
- File Name: Enter the name of the audio file.
- Audio File: Upload the audio file from your computer.
To proceed, click the “Save” button.
 To listen to the audio file, click the “Play Track” button in the “Action” column.

To edit the record, click the “Configure” button in the “Action” column and make changes to the following fields:
- File Name: Update the name of the audio file.
- Audio File: Upload another audio file from your computer.
To save changes, click the “Save” button.
 To delete the record, click the “Delete” button in the “Action” column and confirm the action.
