To set up the Default Notifications for the Buyer, go to the Client Management > Buyer List section and select the Buyer. Click the “Settings” button in the “Action” column and select the “Default Notifications” tab on the Buyer Setup page.
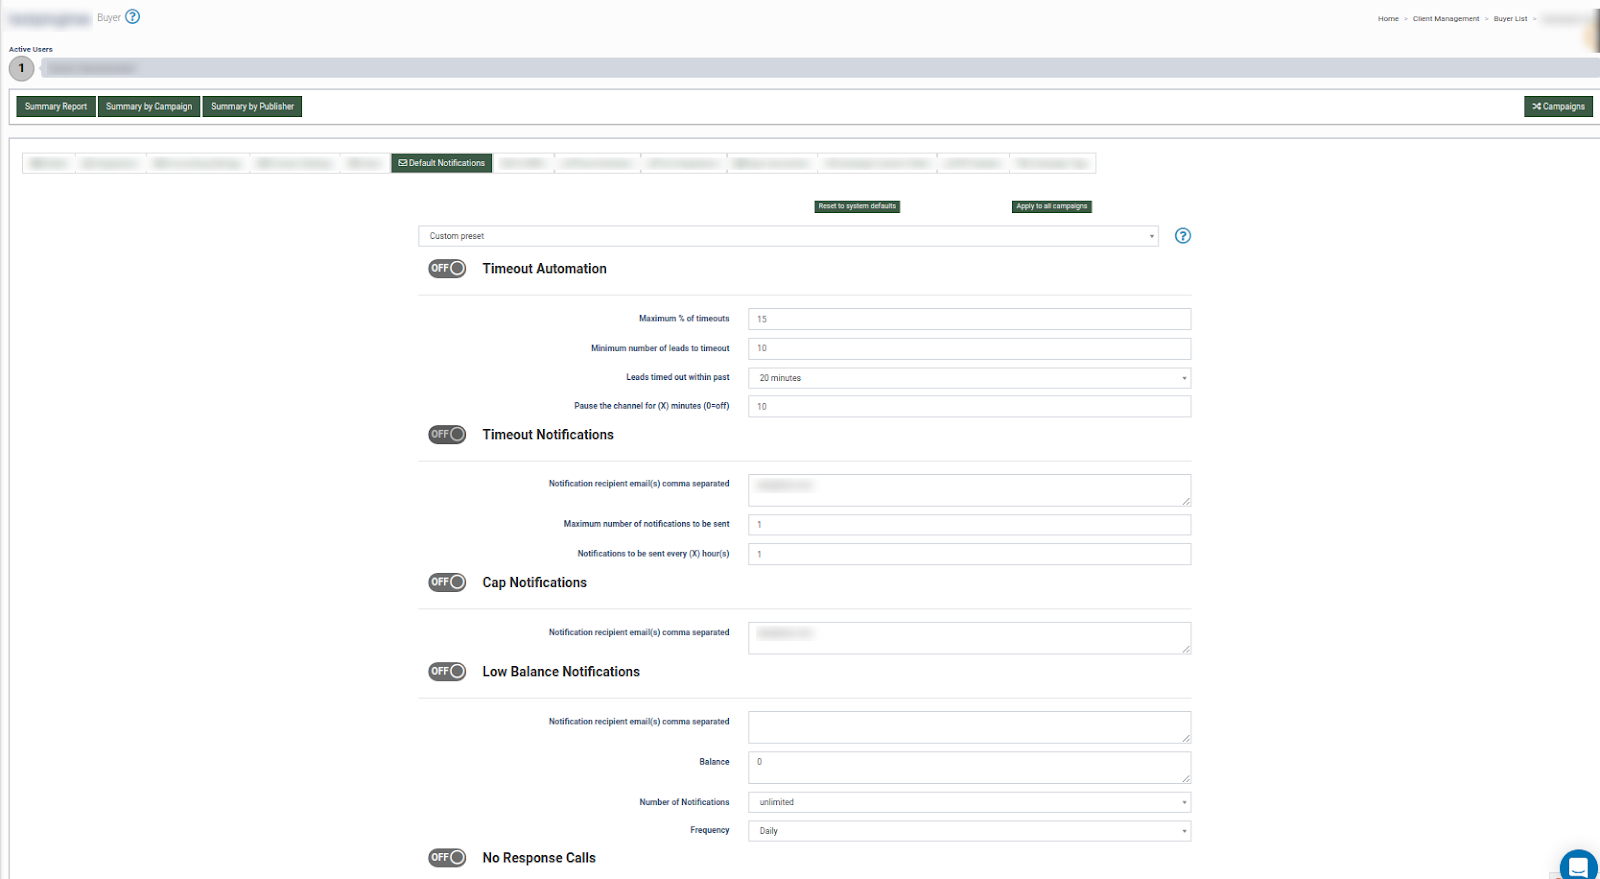
To enable or disable any of the notifications settings blocks, use the “ON/OFF '' toggles.
To configure the “Timeout Automation” notifications, turn the toggle “ON” and fill in the following fields:
-
Maximum % of timeouts: Enter the percentage value of maximum timeouts (ratio of leads with timeout status to the total leads) to trigger the notification.
-
Minimum number of leads to timeout: Enter the minimum amount of leads with timeouts to trigger the notification.
-
Leads timed out within past: Select the time range to track the number of leads with timeouts.
-
Pause the channel for (X) minutes (0=off): Enter the number of minutes to pause the channel when the maximum set percentage of timeouts is reached.
To set the “Preset Mode” of the “Timeout Automation” notification settings for the Buyer, choose the option from the drop-down list. To view the additional information, click the info (?) icon next to the field.
Depending on the Buyer, the following preset modes are available:
Preset groups:
-
High Volume: Select this option for the Campaign that usually processes at least 3,000 leads per hour.
-
Mid Volume: Select this option for the Campaign that usually processes at least 1,000 leads per hour.
-
Low Volume: Select this option for the Campaign that usually processes at least 400 leads per hour.
-
Parallel: Select this option for the Silent Campaign.
Levels:
-
Strict: Indicates the most restrictive timeout settings level for high volume of timeouts.
-
Medium:The timeout settings level for medium/above average volume of timeouts.
-
Soft: The timeout settings level for low volume of timeouts.
To configure the “Timeout Notifications” block, turn the toggle “ON” and fill in the following fields:
-
Notification recipient email(s) comma separated: Enter the list of emails to send the notifications.
-
Maximum number of notifications to be sent: Enter the number of emails with notifications that can be sent within the time range set in the “Notifications to be sent every (X) hour(s)” field.
-
Notifications to be sent every (X) hour(s): Enter the time range that indicates how often the notification emails will be sent (in hours).
In the “Cap Notifications” block, you can configure the list of emails to receive the cap-out notifications by entering it in the “Notification recipient email(s) comma-separated” field.
To configure the “Low Balance Notifications” block, turn the toggle “ON” and fill in the following fields:
-
Notification recipient email(s) comma separated: Enter the list of emails to send notifications.
-
Balance: Specify the minimum Buyer balance value to trigger a notification.
-
Number of Notifications: Select the number of notifications that will be sent to the recipient. Note: The specified value corresponds to the total number of messages that will be sent. Example: If you specify the value 3 (three), then a total of three notification letters will be sent, regardless of whether the balance has been replenished or not.
-
Frequency: Select the frequency to send the notifications.
To configure the notification settings for the “No Response Calls”, “Busy/Error Calls”, and “Calls Not Converting” blocks, turn the toggle “ON” and fill in the following fields:
-
Notification recipient email(s) comma separated: Enter the list of emails to send notifications.
-
Maximum number of errors: Enter the maximum number of errors detected within the time range specified in the “Errors within past (X) hours” that will trigger the notification.
-
Errors within past (X) hours: Enter the time range to track the number of errors (in hours).
In the “Compliance Notifications” block, you can create the list of recipients for sending information about leads who applied for unsubscribing by entering it in the “Notification recipient email(s) comma-separated” field.
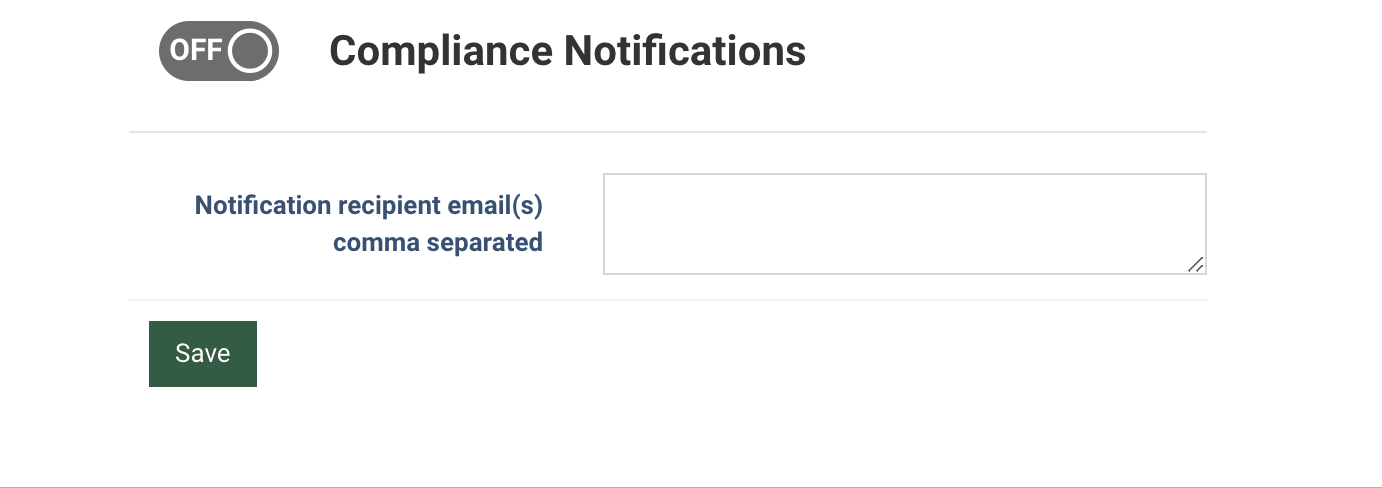
Click the “Save” button to apply the notification settings.
To restore system default settings, click the “Reset to system defaults” button.
To copy the notifications settings to all Campaigns of this Buyer, click the “Apply to all campaigns” button.
Note: In this case, the previous settings on the Campaign level will be overwritten. Read more about the notification settings on the Campaign level in our Knowledge Base article.