The “Buyer Tags” feature allows you to create tags that can be added to Buyers and be used as an additional filter in reports.
To create tags, go to the Client Management > Additional Settings > Buyer Tags section.

The “Buyer Tags” list contains the following information:
-
ID: The unique identification number of the tag.
-
Name: The name of the tag.
-
Class: The type of icon selected for the tag.
You can narrow down the search result by using the following filters:
-
ID: Enter the unique identification number of the tag.
-
Name: Enter the name of the tag.
-
Class: Select the class from the drop-down list (Primary, Success, Warning, Danger, Info).
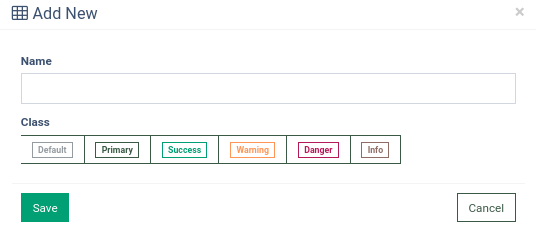
To add a new tag, click the “Add New Record” button, enter the tag name in the “Name” field and select the class of the tag in the “Add New Record” pop-up window, which will define the color of the tag.
Note: The “Default” is for black, the “Primary” is for blue, the “Success” is for green, the “Warning” is for yellow, the “Danger” is for red, the “Info” is for light blue.
Click the “Save” button to apply the changes.
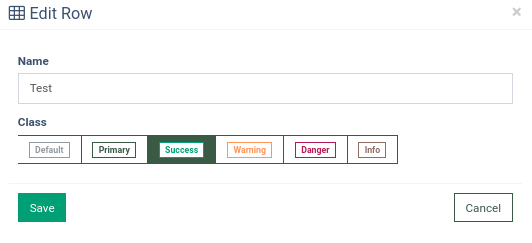
To edit the tag, click the “Edit” button and enter the tag name in the “Name” field, and select the class of the tag in the “Edit Row” pop-up window.
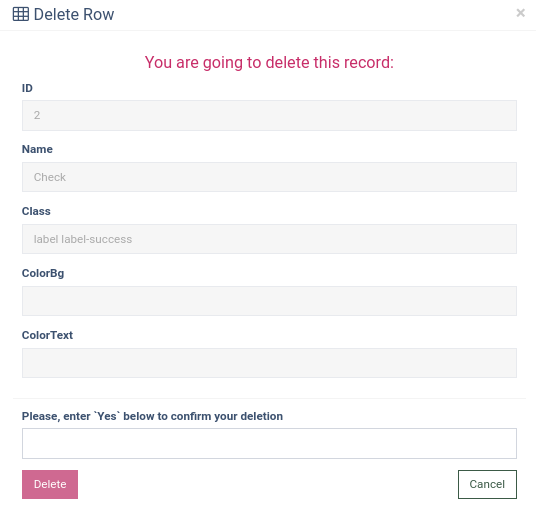
To delete the tag, click the “Delete” button and enter the “Yes” value into the “Please, enter `Yes` below to confirm your deletion” field in the “Delete Row” pop-up window.
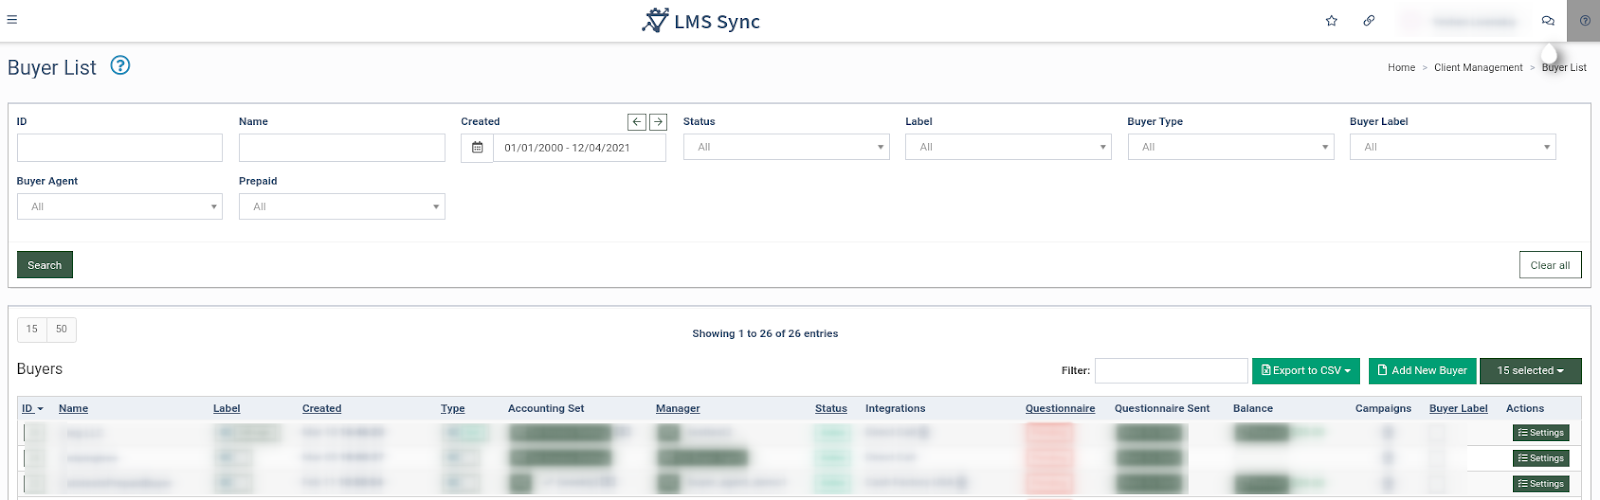
To set the Buyer tag for a Buyer, go to the Client Management > Buyer List section. For the selected Buyer, click the “Settings” button in the “Action” column.
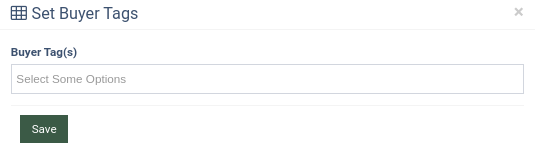
On the Buyer Setup page, click the “Set Buyer Tags” button.
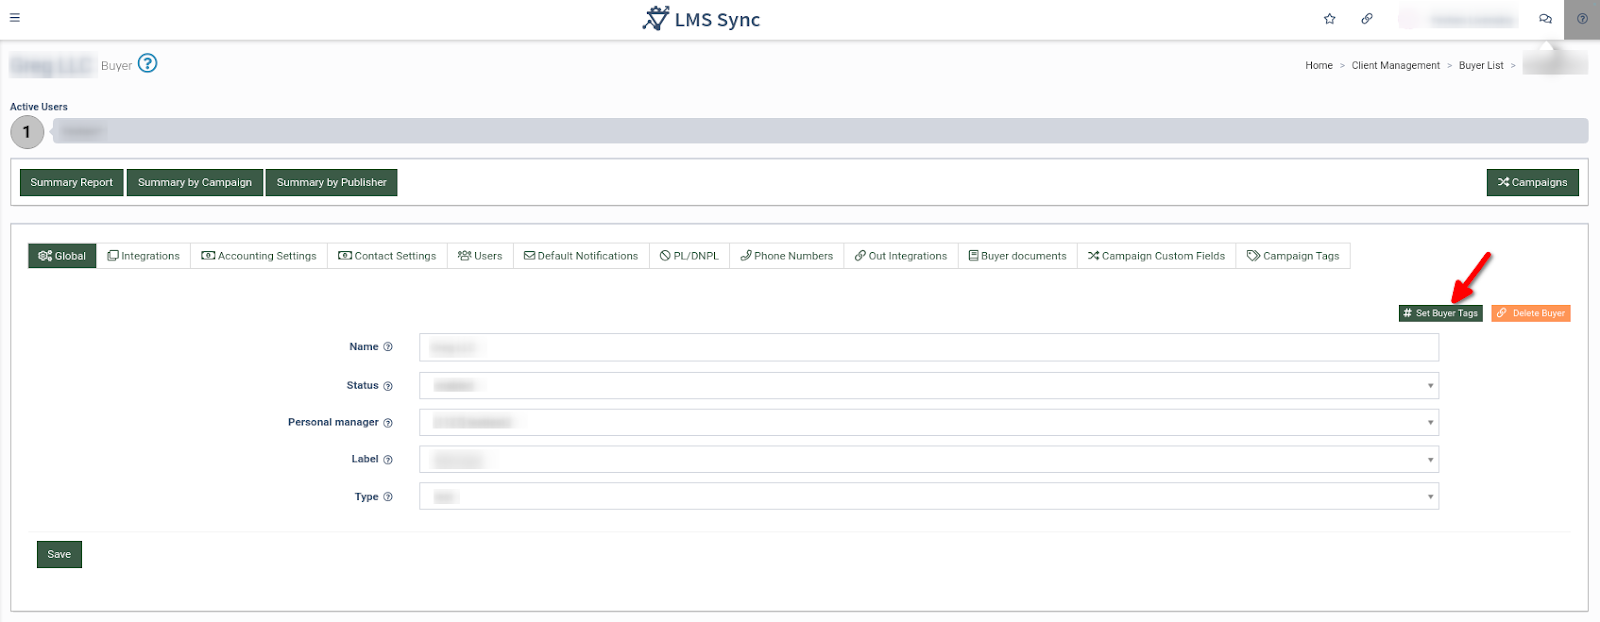
Select the tag(s) in the “Set Buyer Tags” pop-up window, and click the “Save” button.