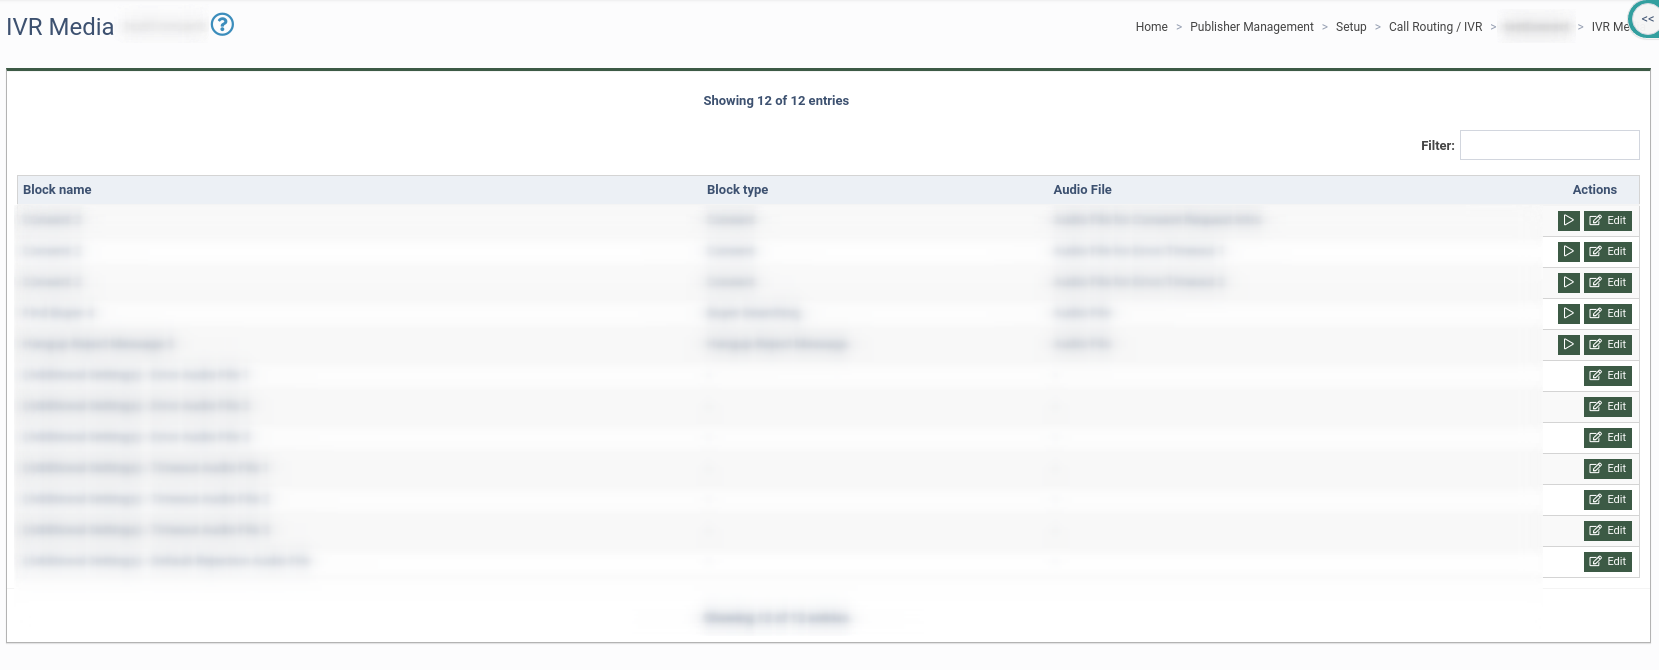
IVR Media tab allows you to view and manage the list of the audio files. You can upload a new file or a folder to your Media library.
To replace audio files in IVR without rebuilding the IVR itself, click the “Media” button in the “Actions” column in the Call Routing / IVR section, and the system will redirect you to the IVR Media page.

The IVR Media page contains the following information:
-
Block name: The name of the Block.
-
Block type: The type of the Block.
-
Audio File: The type of audio file.
-
Actions: To listen to the audio file, click the “Play” button. To edit the audio file, click the “Edit” button and fill in the required fields in the pop-up window.
-
Source: Select the source from the drop-down menu (Upload or Media Library).
-
Upload file (when choosing the “Upload” option): Upload the audio file from your computer.
-
Media file (when choosing the “Media Library” option): Select the audio file from the media library.
To upload files to your Media Library, go to the Publisher Management > Setup > Call Routing / IVR section and select the "IVR Media" tab.

The “IVR Media” tab contains the following information:
-
Name: The name of the audio file or folder.
-
Size: The size of the audio file.
-
Type: The type of the file (folder or audio).
-
Created: The date and time of the audio file uploading.
-
Actions: Click the “Remove” button to remove the audio file from the media library.
To upload an audio file, click the “Upload audio file” button. To upload a folder, click the “Upload folder” button.

