After a successful search, the report displays a call or a list of calls available according to the search parameters.
To view the report, go to the All Reports > Call Search section.
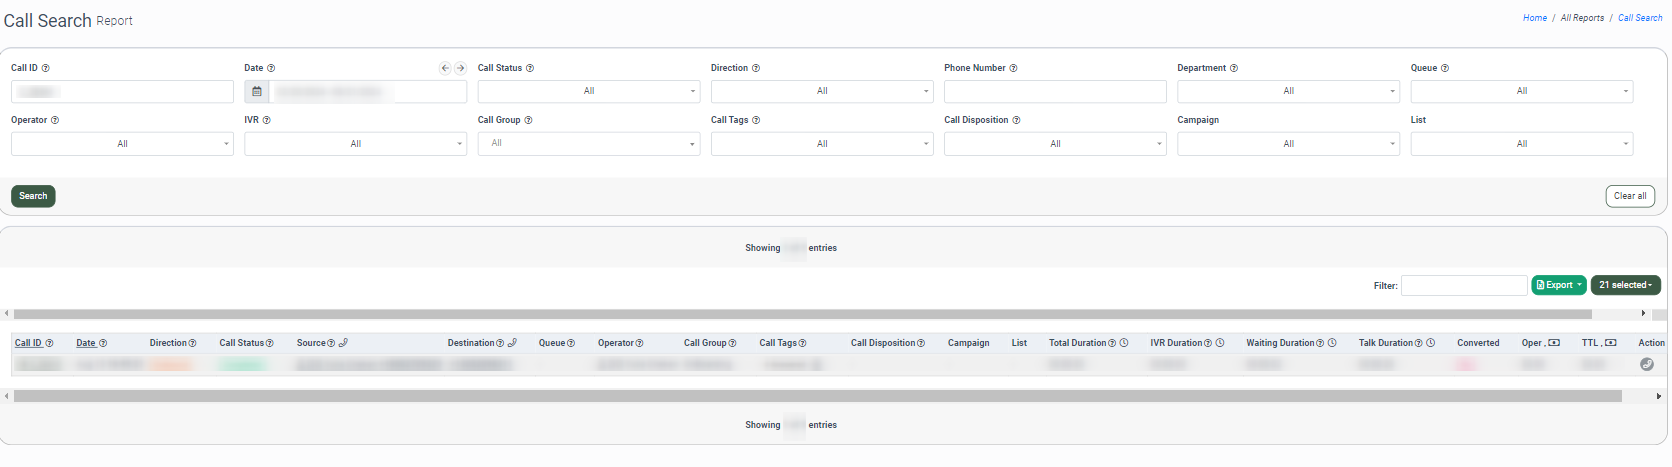
You can narrow down the search results by using the following filters:
- Call ID: Enter the unique identification number of the call (mandatory field).
- Date: Select the date range for the report.
- Call Status: Select the status of the call.
- Direction: Select the type of call according to the direction.
- Phone Number: Enter the phone number of the caller (mandatory field).
- Department: Select the related department.
- Queue: Select the queue to which the call has been directed.
- Operator: Select the operator that has received the call.
- IVR: Select the IVR to which the call has been directed.
- Call Group: Select the related call group.
- Call Tags: Select the call tag that is assigned to the call.
- Call Disposition: Select the Call Disposition.
- Campaign: Select the Call Campaign.
- List: Select the Dialing List.
The Call Search report contains the following information:
- Call ID: The unique identification number of the call.
- Date: The date and time when the system processed the call.
- Direction: The type of call based on its direction.
- Call Status: The status of the call.
- Source: The phone number of the caller.
- Destination: The destination phone number that the caller reached.
- Queue: The queue to which the call has been directed.
- Operator: The name of the operator that has received the call.
- Call Group: The related call group.
- Call Tags: The assigned call tags.
- Call Disposition: The final outcome of the call.
- Campaign: The name of the Call Campaign.
- List: The name of the Dialing List.
- Total Duration: The total duration of the call (including the IVR duration and waiting time).
- IVR Duration: The total duration of the waiting and processing time on IVR.
- Waiting Duration: The total duration of the IVR and waiting time during the call. The waiting duration can be calculated by the following formulas:
- If we have an outbound call processing, the waiting time is calculated as the difference between the hangup call (if the call is not answered)/answered call time and the start call time.
- If we have an inbound call processing, the waiting time is calculated as the difference between the hangup call (if the call is not answered)/answered call time and the waiting duration in the queue or the waiting duration before the operator picks up the call in the IVR or queue.
- Talk Duration: The duration of the conversation itself.
- Converted: Displays the successful passing of the conversion block by the lead (Yes. No). The conversion block should be set in the corresponding Call Script.
- Oper: The amount of the operator’s payout. The amount should be set in the corresponding operator payout block in the corresponding Call Script.
- Total: The amount of total system revenue.
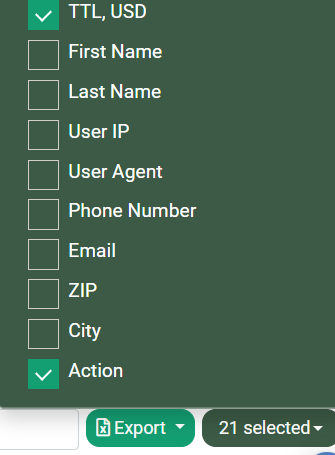
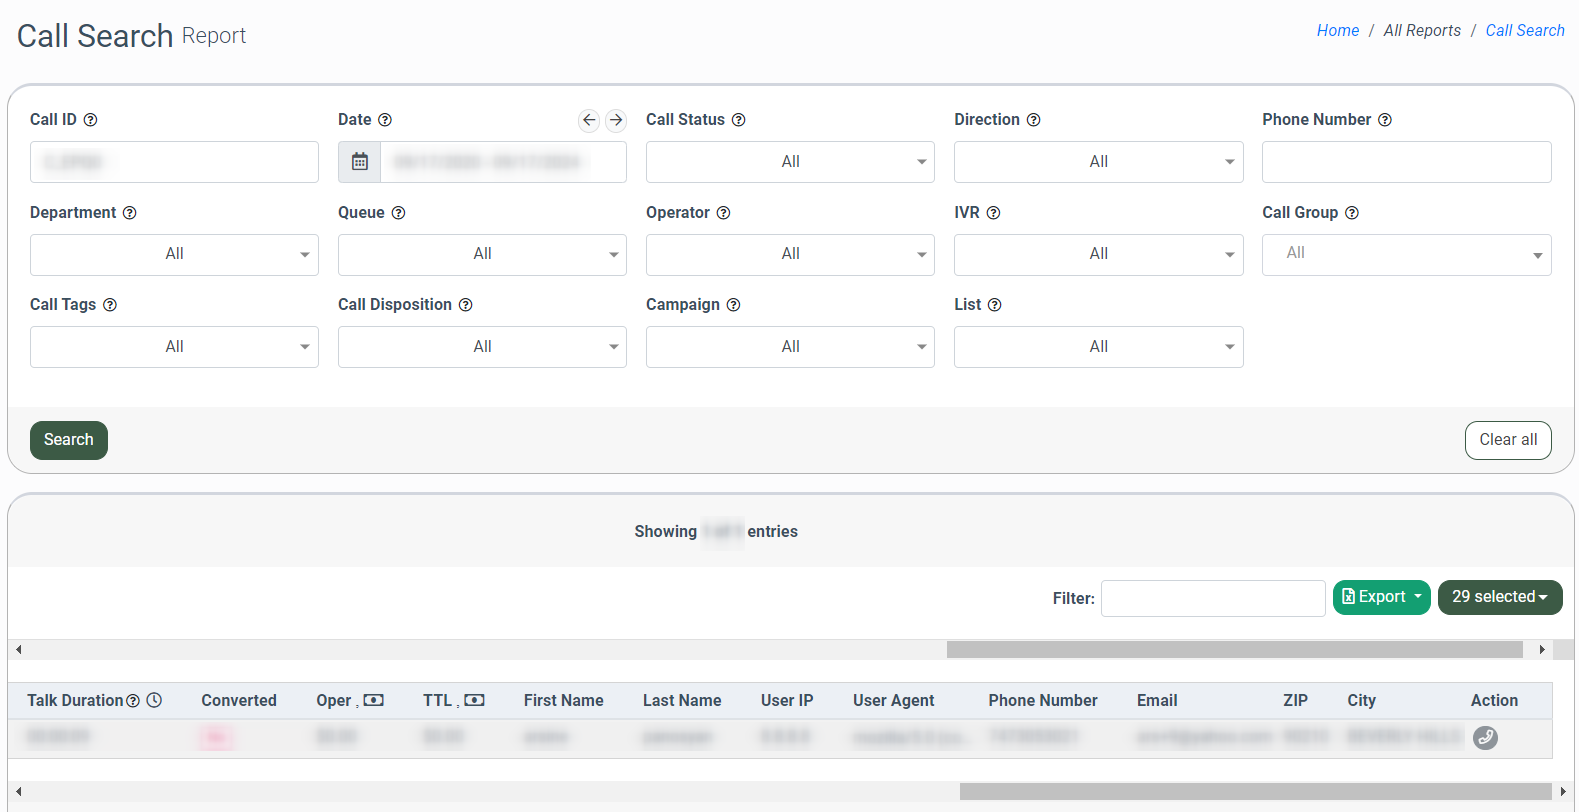
To view the specific data fields of the Lead, such as First Name, Last Name, User IP, User Agent, Phone Number, Email, ZIP, and City in the report, click the “Selected” button and check the corresponding boxes in the list.
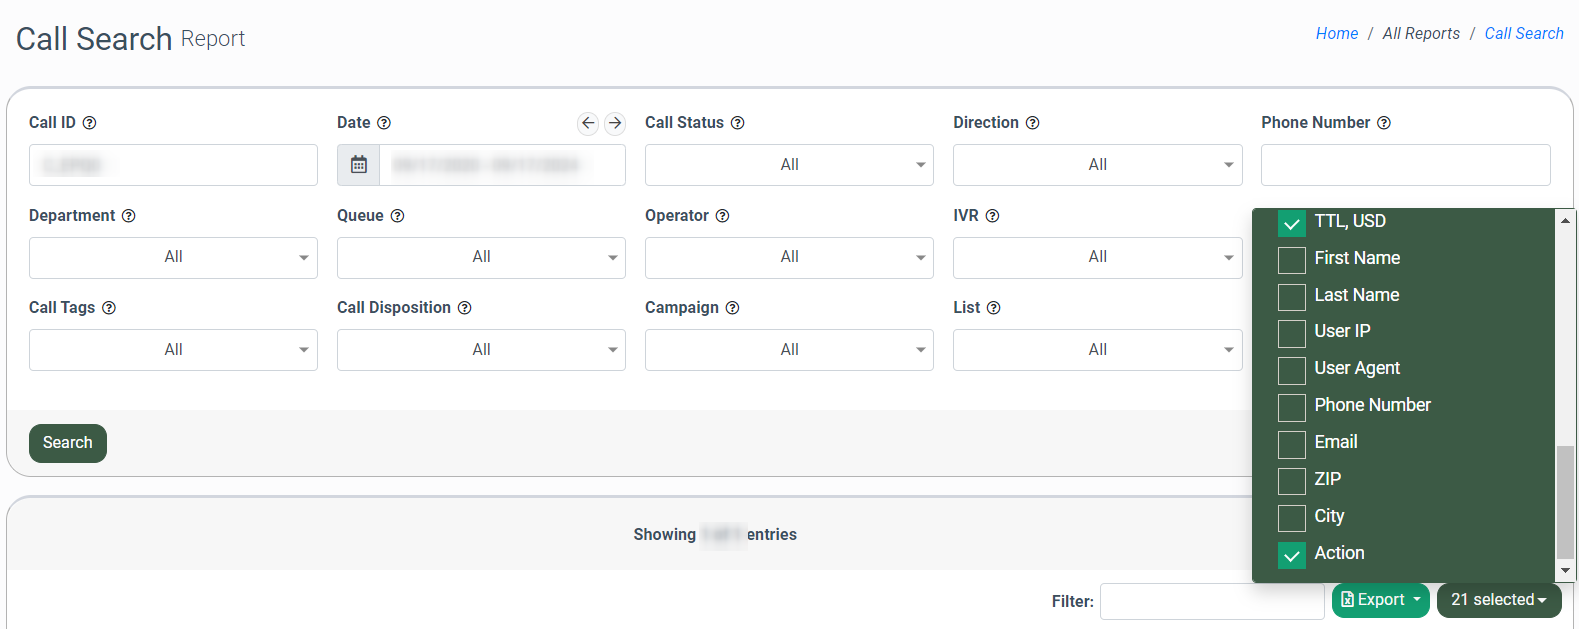
The corresponding fields will be displayed in the report according to the selection and placed after the “TTL” column.
To open the detailed information about the call, click the “Call Info” button in the “Call ID” column.
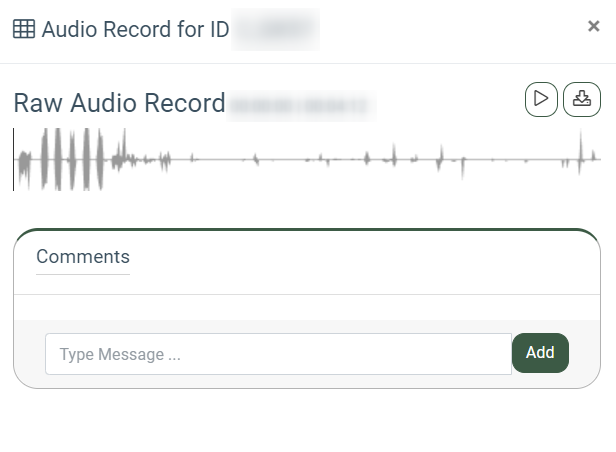
To open and play the call recording, click the “Audio Record for ID C_*” button in the “Action” column. The “Audio Record for ID C_*” pop-up window contains the following information and options:
- Raw Audio Record: The total duration of the call recording.
- To play the call recording, click the “Play/Pause” button.
- To download the call recording as an audio file, click the “Download” button.
- Comments: Enter the related comment to the call. To save the comment, click the “Add” button.
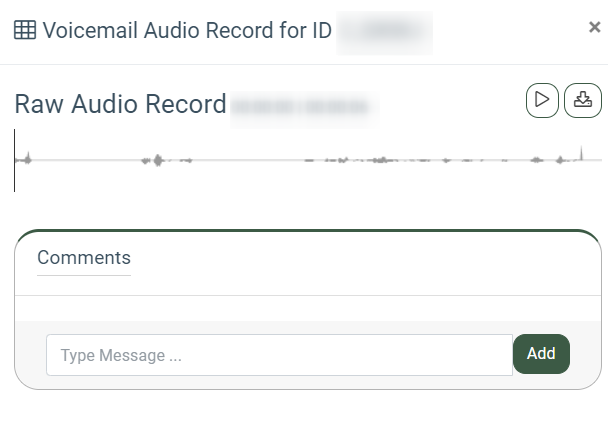
To open the voicemail recording, click the “Voicemail Audio Record for ID” button in the “Action” column. The “Voicemail Audio Record for ID” pop-up window contains the following information and options:
- Raw Audio Record: The total duration of the voicemail recording.
- To play the voicemail recording, click the “Play/Pause” button.
- To download the voicemail recording as an audio file, click the “Download” button.
- Comments: Enter the related comment to the voicemail. To save the comment, click the “Add” button.
To perform a call to the particular phone number, click the “Call” button in the “Action” column. The call information will be displayed in the “Call” pop-up window.
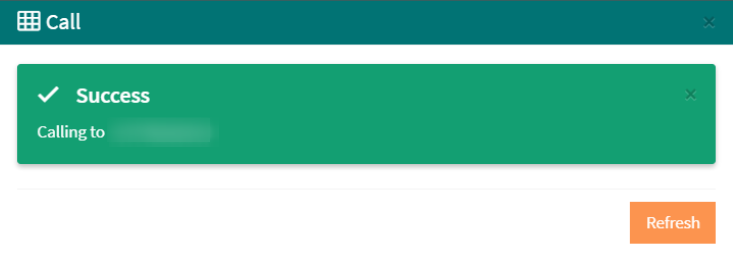
Note, that this action is available only for users with an active and set SIP Account (the PBX Operator, PBX Outbound Operator, PBX Manager, and PBX Department Manager user roles).