These call tags are automatically assigned throughout the call journey by the system based on the call events, while also providing the option for manual assignment.
Call tags are markers assigned to a call to provide additional insights or details about the call. A call can have multiple tags to give more information about what happened during the call. It can be used as an additional filter in reports, as well. You can view the list of call tags, create new custom ones, manage existing ones, or remove them from the list.
The system provides default call tags that can not be modified and are available to the user by default. Those tags are assigned to the calls by the system or IVR automatically, before, during, or after the calls, while operators also have the ability to manually assign default call tags to calls. Additionally, users can create their own custom call tags.
Note: Multiple call tags can be set for the processed call.
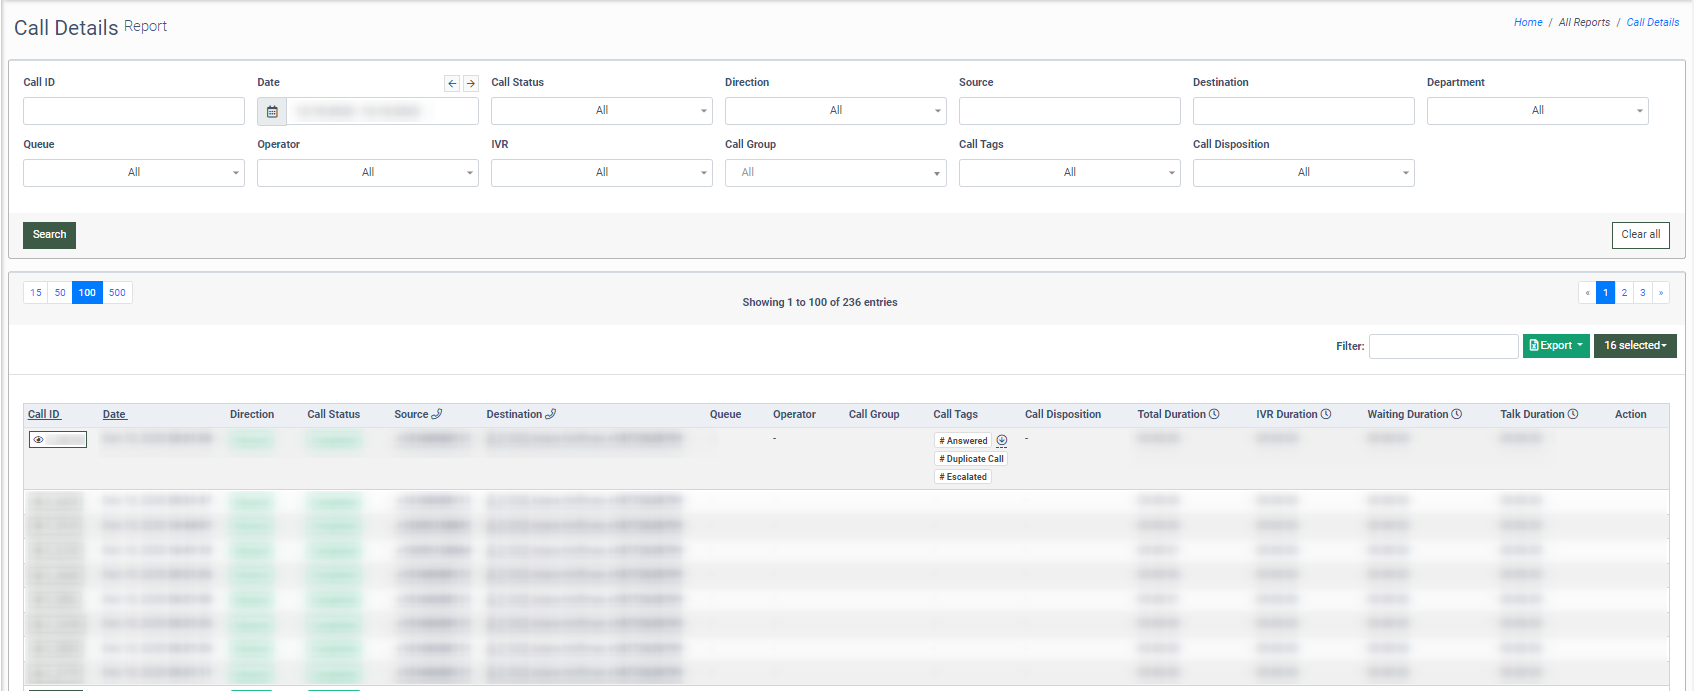
For example, you can assign multiple call tags in the “Call Details” section. Select the corresponding call in the Call Details report, then click the button in the “ID” field.
Go to the “Details” tab, assign the corresponding call tags in the “Call Tags” field, and click the “Save” button to complete the tag selection.
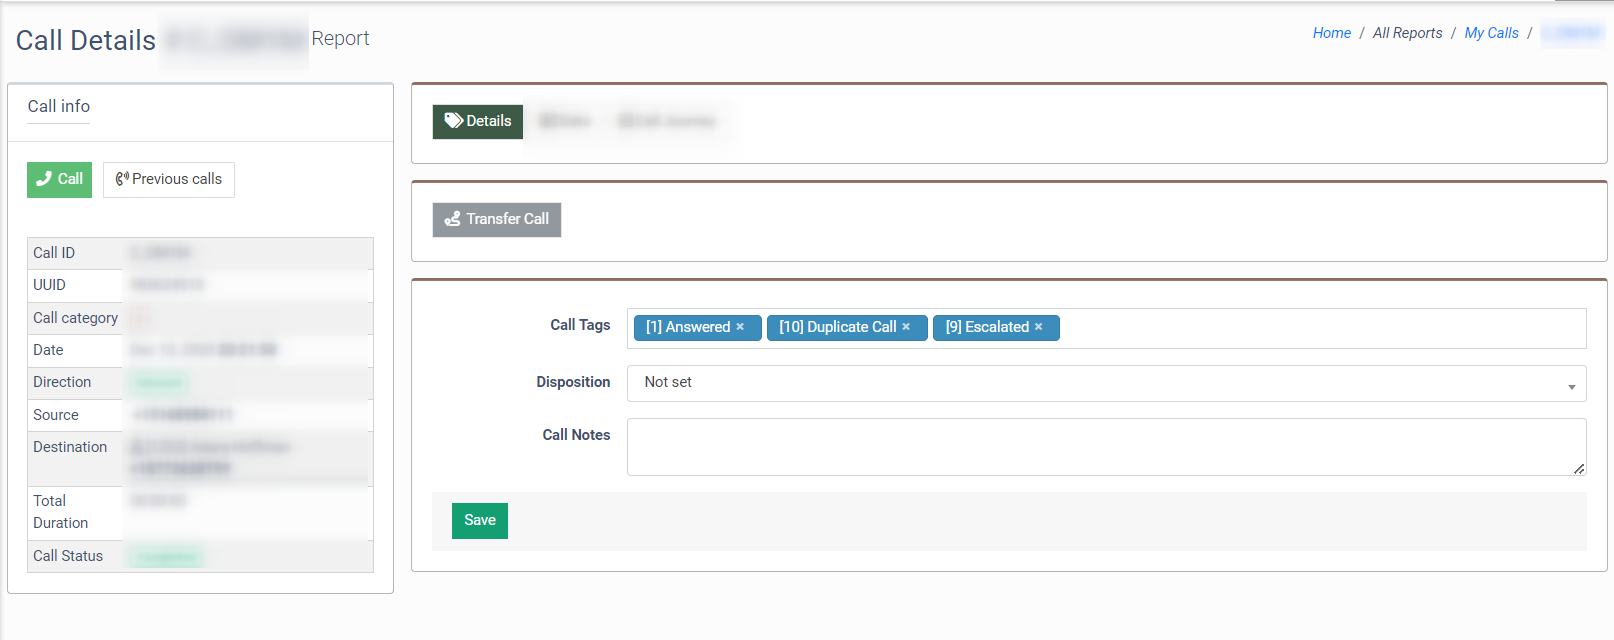 The assigned tags will be displayed in the “Call Tags” field of the “Call Details” report.
To view the list of available call tags, go to the PBX Management > Additional Settings > Call Tags section.
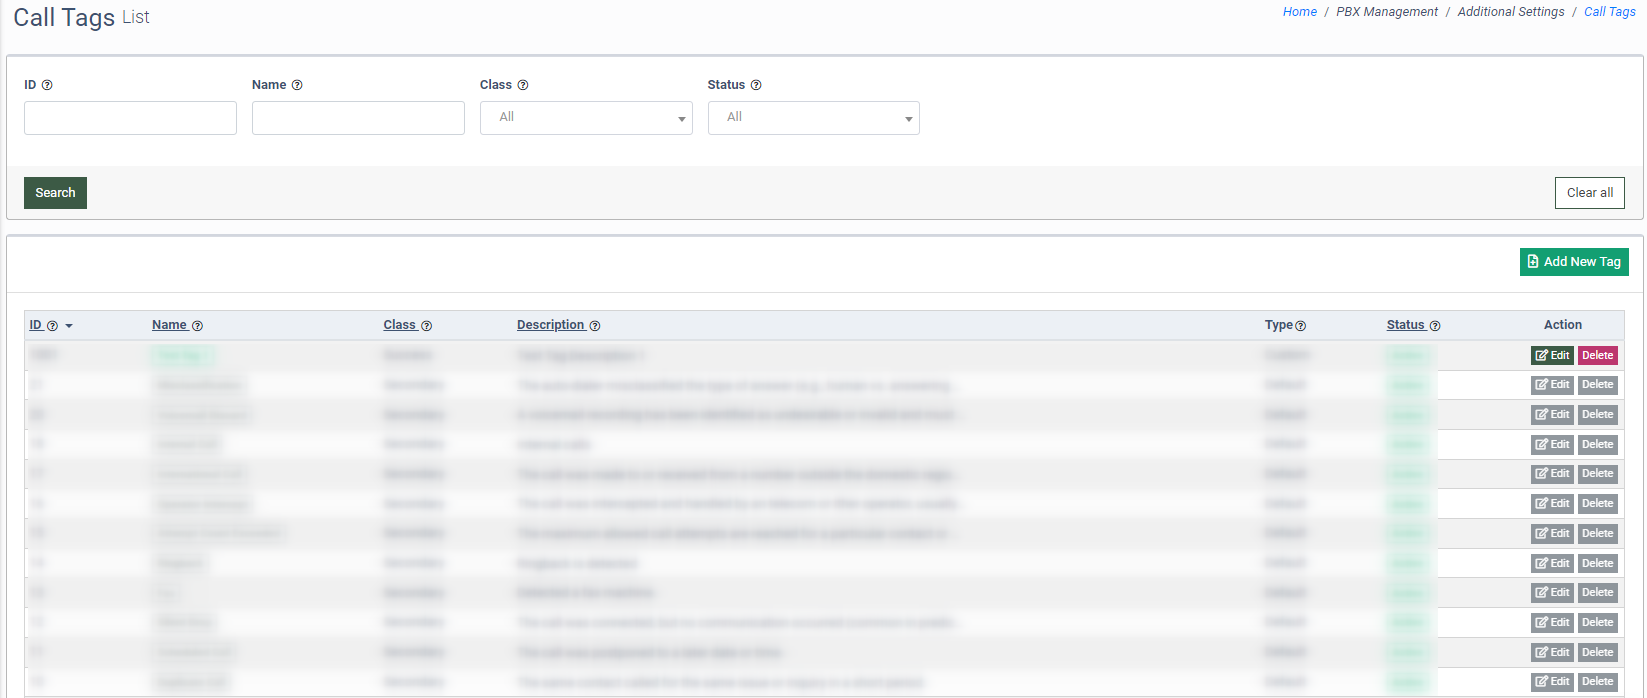
You can narrow down the search results by using the following filters:
- ID: Enter the unique identification number of the call tag.
- Name: Enter the name of the call tag.
- Class: Select the class of the call tag (Secondary, Primary, Success, Warning, Danger, Info).
- Status: Select the current status of the call tag (Active, Disabled, Deleted).
The list of available call tags contains the following information:
- ID: The unique identification number of the call tag.
- Name: The name of the call tag.
- Class: The class of the call tag (Secondary, Primary, Success, Warning, Danger, Info).
- Description: The description of the call tag.
- Type: The type of the call tag (Default, Custom).
- Status: The current status of the call tag (Active, Disabled, Deleted).
To create a new call tag (custom call tag), click the “Add New Tag” button and fill in the following fields in the pop-up window:
- Name: Enter the name of the new custom call tag.
- Class: Select the corresponding class for the custom call tag (Secondary, Primary, Success, Warning, Danger, Info).
- Description: Enter the description of the new custom call tag.
- Status: Select the current status of the new custom call tag (Active, Disabled).

Click the “Save” button to complete the action.
To manage the existing custom call tag, select the corresponding record from the list and click the “Edit” button in the “Action” column. You can change the following information in the “Edit Row” pop-up window:
- Name: Enter the name for the custom call tag.
- Class: Change the corresponding class for the custom call tag (Secondary, Primary, Success, Warning, Danger, Info).
- Description: Enter a new description of the custom call tag.
- Status: Change the current status of the custom call tag (Active, Disabled).
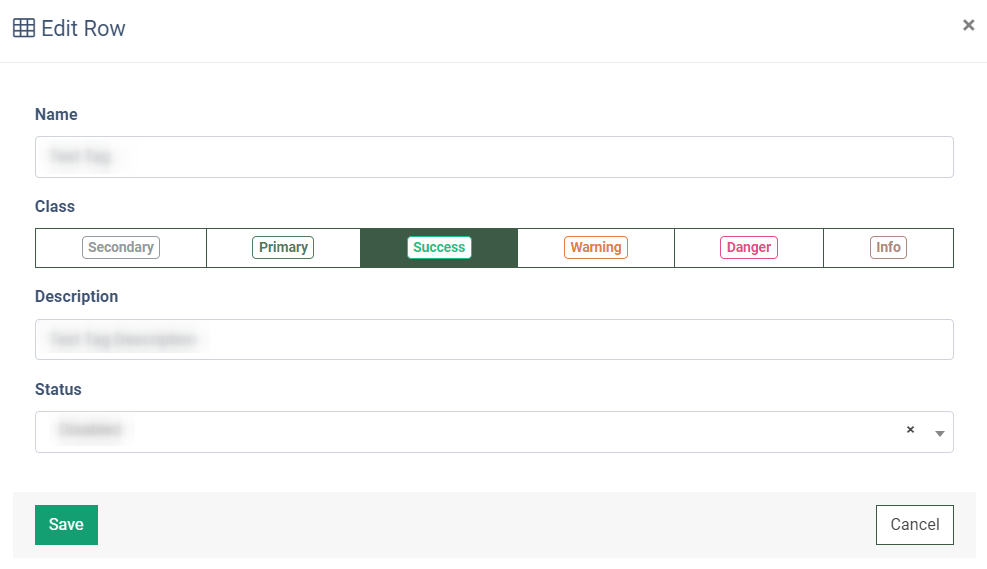
Click the “Save” button to complete the changes.
Note: Only custom call tags that are created by the users can be edited or deleted. The users can not modify the call tags that are available by default.
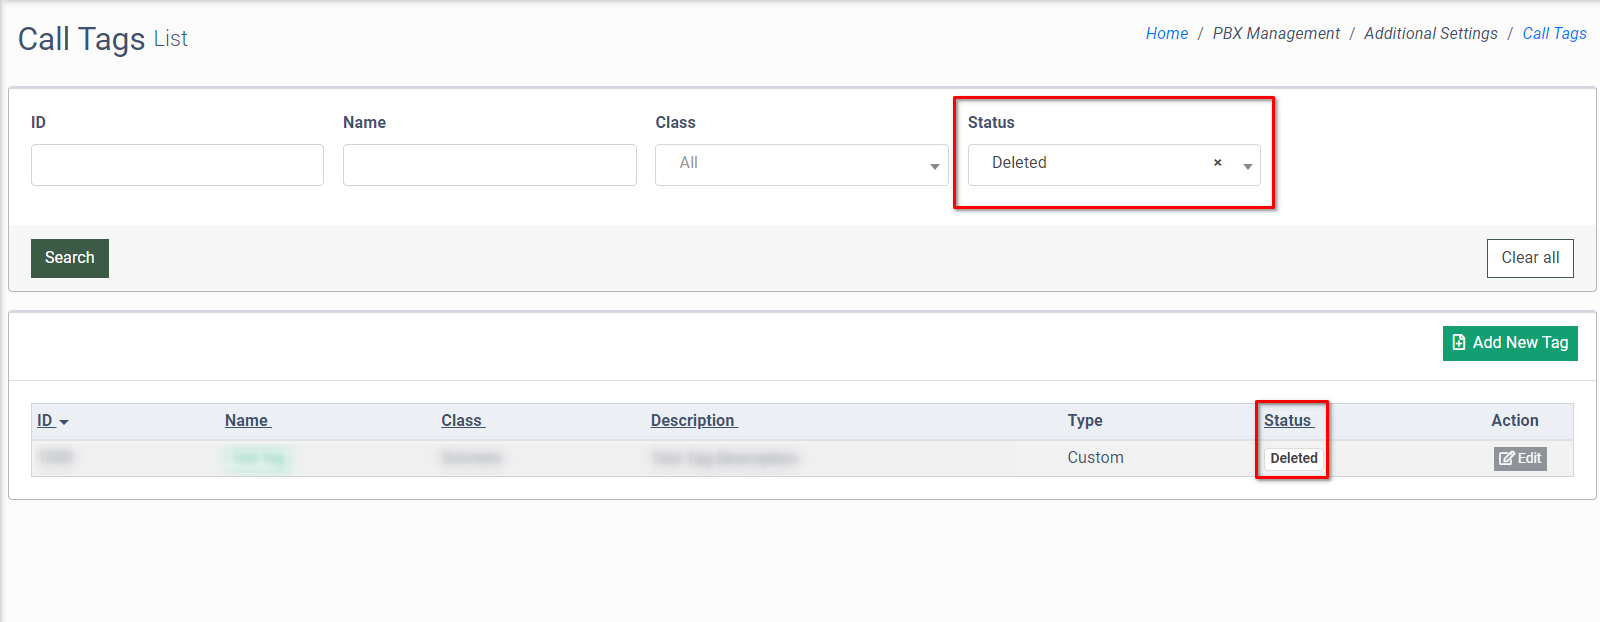
To remove the custom call tag from the list, select the corresponding record from the list and click the “Delete” button in the “Actions” column. Confirm the deletion operation by typing "Yes" in the pop-up window and then clicking the "Delete" button.
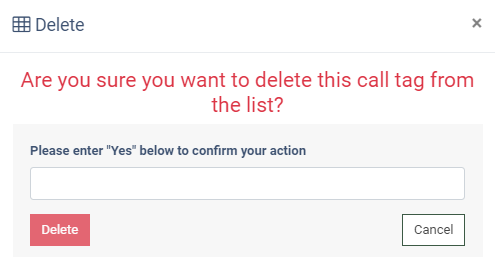
The custom call tags will be removed from the list and can be viewed only by selecting the “Deleted” option in the “Status” filter field.