The Schedule feature allows you to view and manage campaign schedule rules. You can configure the campaign operating hours in days or date ranges, sold, and post lead limits.
Information by Campaign’s Time Zone
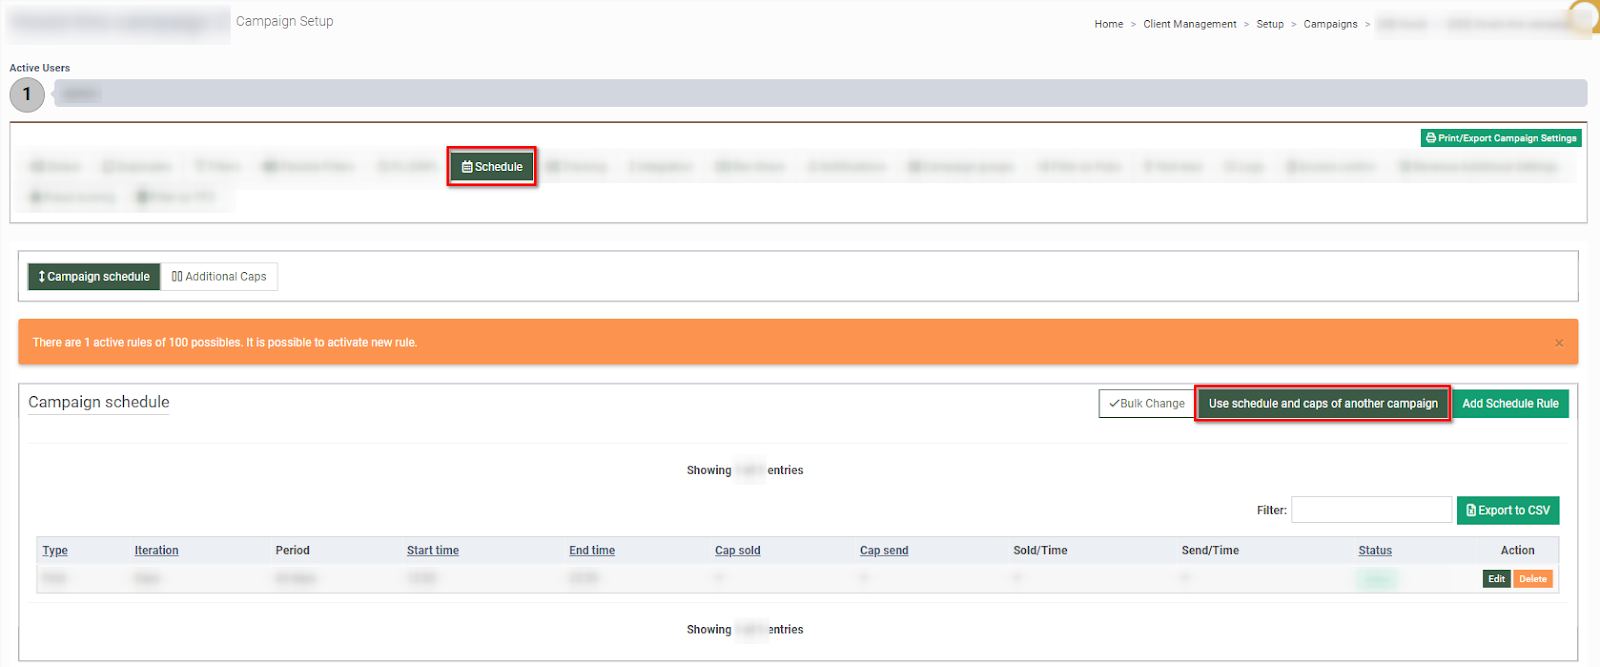
Apply the schedule and caps settings of another campaign
To configure the Campaign Schedule settings, go to the Client Management > Setup > Campaigns section. Click the “Configure” button in the Campaign’s “Actions” column and select the “Schedule” tab on the Campaign Setup page.

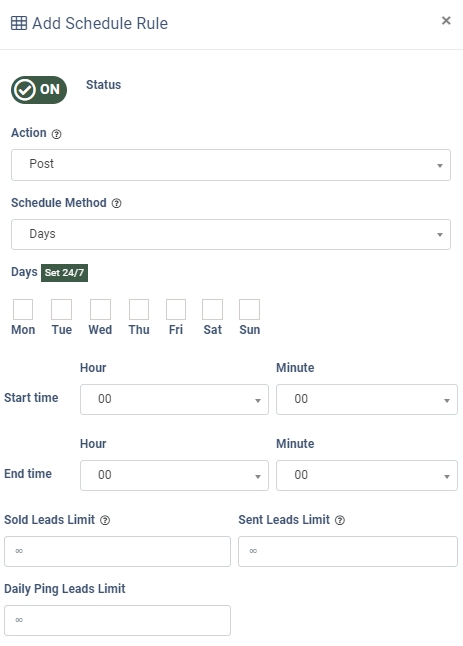
How to Add Schedule Rule
To add a new rule, click the “Add Schedule Rule” button and fill in the form fields:
- Action: Select the Post / Do Not Post option.
- Schedule Method: Select the Days / Date Range option. If the “Days” option is selected, you can select a day of the week using the checkboxes. If the “Date Range” option is selected, select the “Start Date” and “End Date” in the corresponding fields.
- Start time: Enter the start time of the Schedule Rule.
- End time: Enter the end time of the Schedule Rule.
- Sold leads limit: Enter the maximum number of sold leads for the current Schedule Rule.
- Sent leads limit: Enter the maximum number of leads sent for the current Schedule Rule.
- Daily Ping Leads Limit: Enter the maximum number of pinged leads to process daily (for Ping Post Products only).
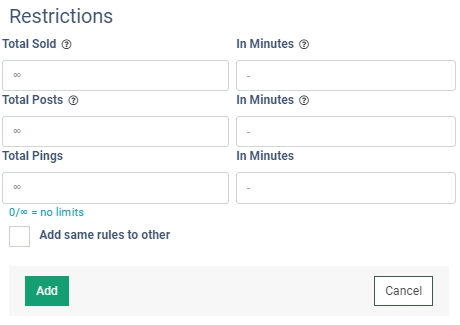
Restrictions
In the “Restrictions” block, you can set up limits for the total amount of incoming leads and the time limitation for processing them through the system. You can manage the following values:
- Total Sold: Enter the number of leads sold through the system.
- Total Posts: Enter the number of leads posted in the system.
- Total Pings: Enter the number of leads pinged in the system (for Ping Post Products only).
- In Minutes: Enter the time range limitation for the number of leads entered in the “Total Sold” and “Total Posts” fields.
Click the “Add” button to proceed.
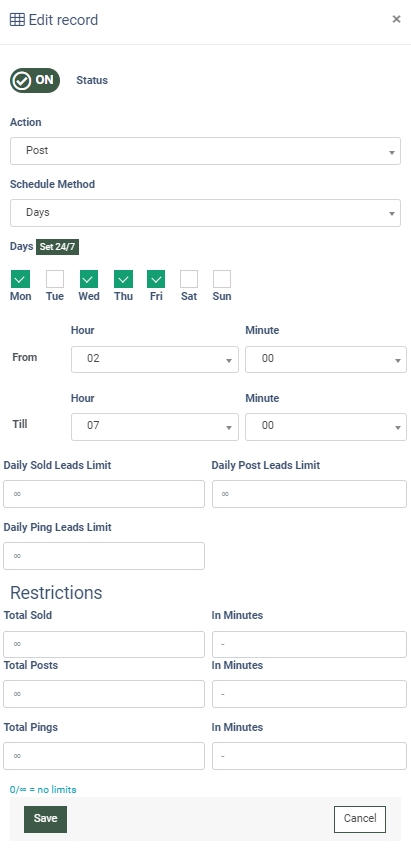
 To configure the existing rule, click the “Edit” button in the “Actions” column.
In the “Edit” pop-up window, you can manage the “Daily Post Leads Limit” for Ping Post Products.
Click the “Save” button in a pop-up window to apply changes.
To delete the existing rule click the “Delete” button in the “Actions” column.
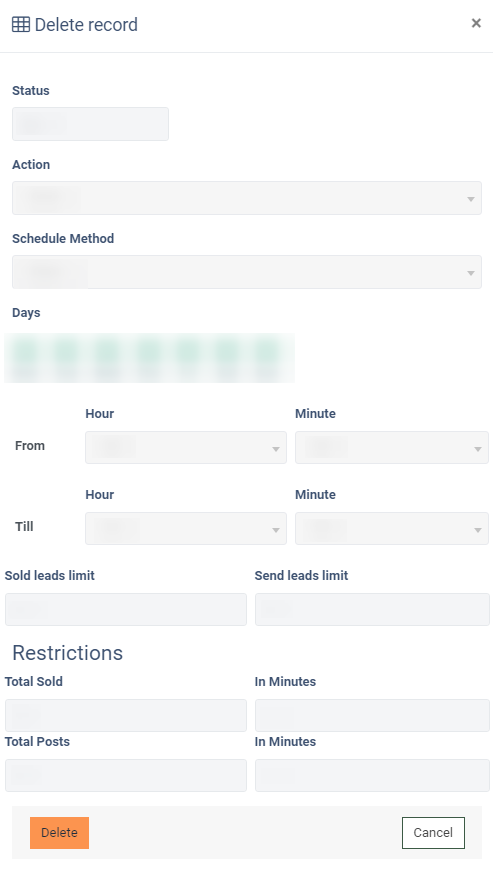
Click the “Delete” button in a pop-up window to confirm your intention.
To copy the schedule rules from the current Campaign to another, click the “Copy schedule” button at the bottom of the main block, and fill in the following fields:
-
Select More Campaign: Select the campaigns to copy the rules to.
-
With overwrites: Check the box to copy the schedule to the selected Campaign(s) with overwrite(s).
-
Replace: Check the box to zap the campaign(s) current schedule and erase all overwrites.
Click the “Apply” button to save the configurations.
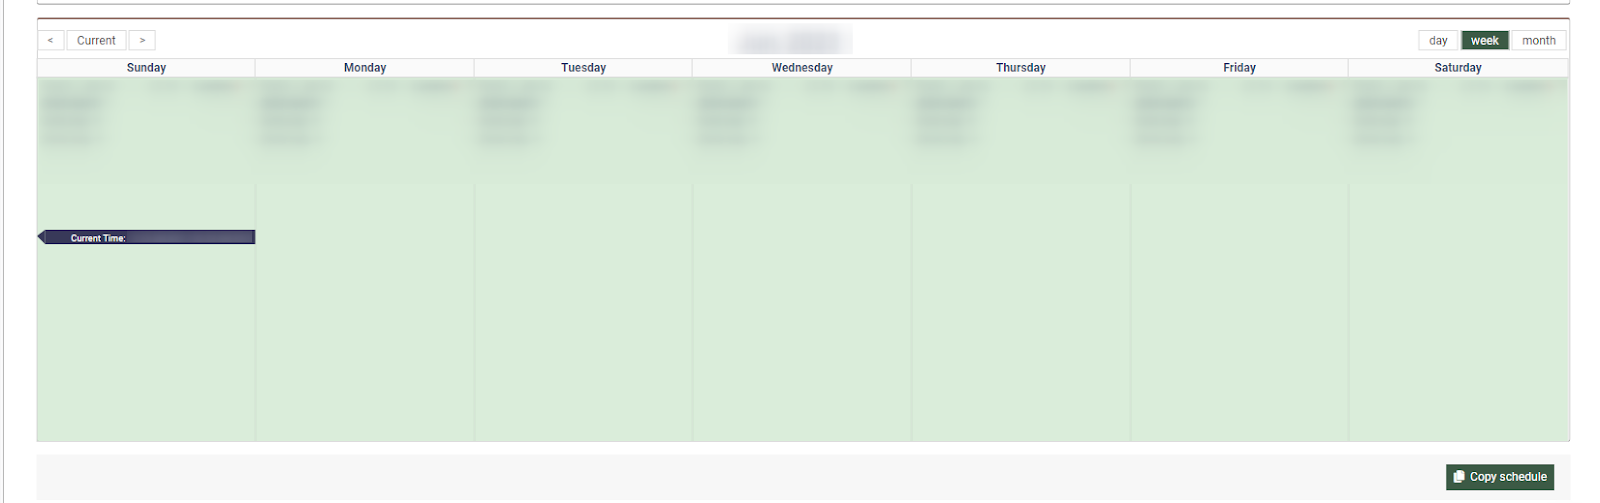
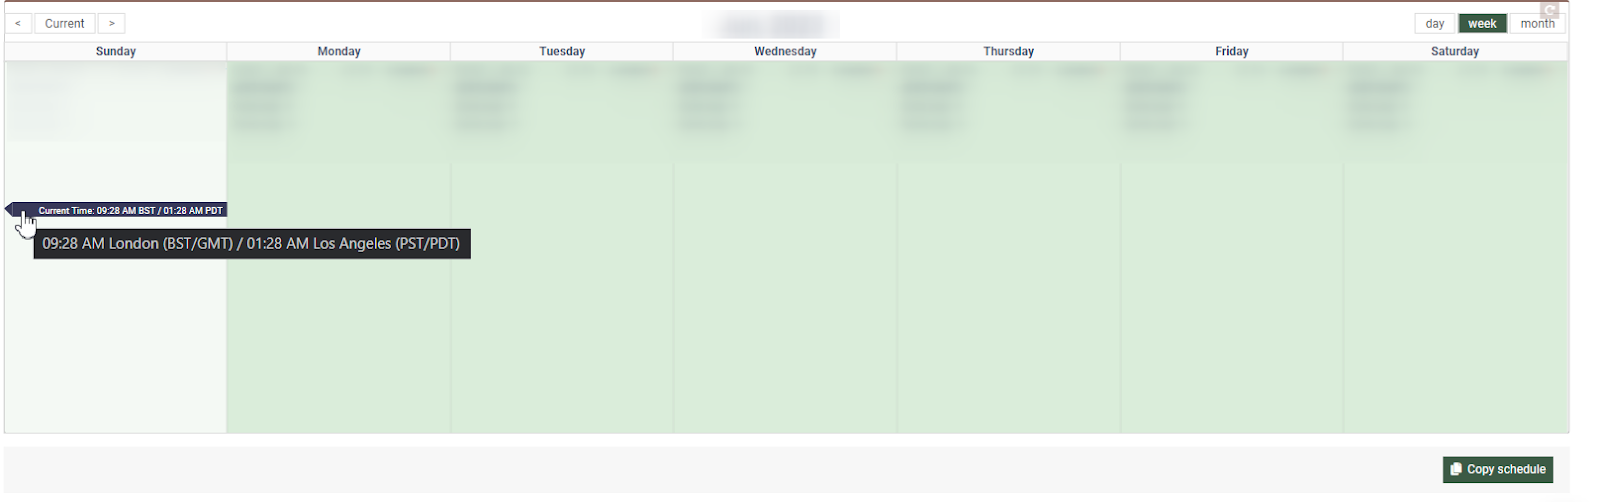
Information by Campaign’s Time Zone
To view information on the current time indicator for the campaign’s time zone, hover over the red line that contains the following information:
-
Campaign’s time + time zone.
-
Phonexa instance time + time zone.
 By default, the campaign schedule calendar displays only campaigns with an “Active” status and does not display campaigns with a “Disabled” status.
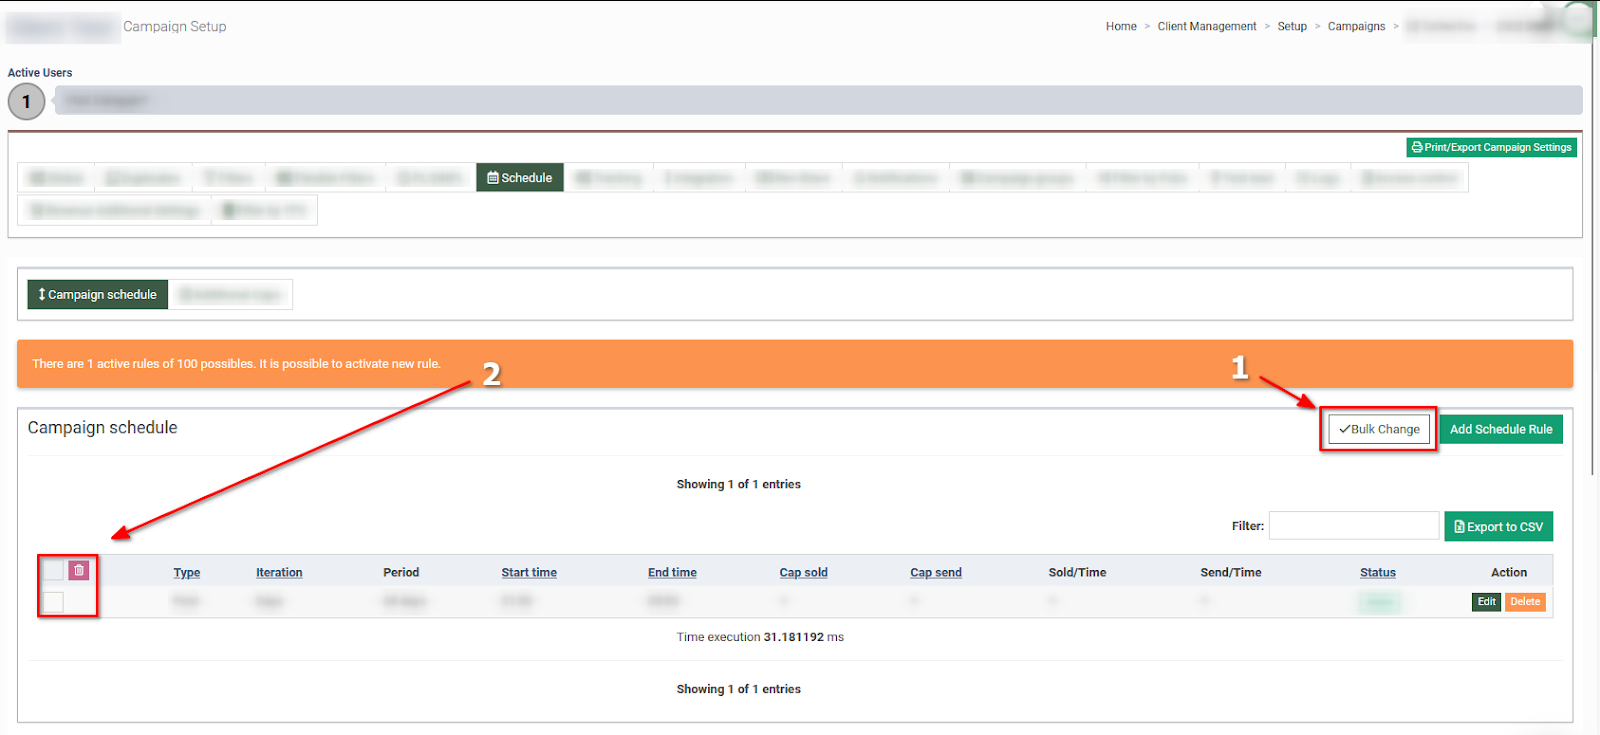
Mass Schedule Rules Removal
To bulk remove Schedule Rules in campaign settings, use Mass Schedule Rule Removal.
Click the “Bulk change” button (1) and check the boxes (2) of the records you want to delete. Tap the remove (red “bin”) button to remove all the selected rules.
Apply the schedule and caps settings of another campaign
The linked campaign option allows you to apply and use the schedule and cap settings of another campaign.
Note that this option is available for LMS campaigns only.
Read more information about this feature in the Knowledge Base article.
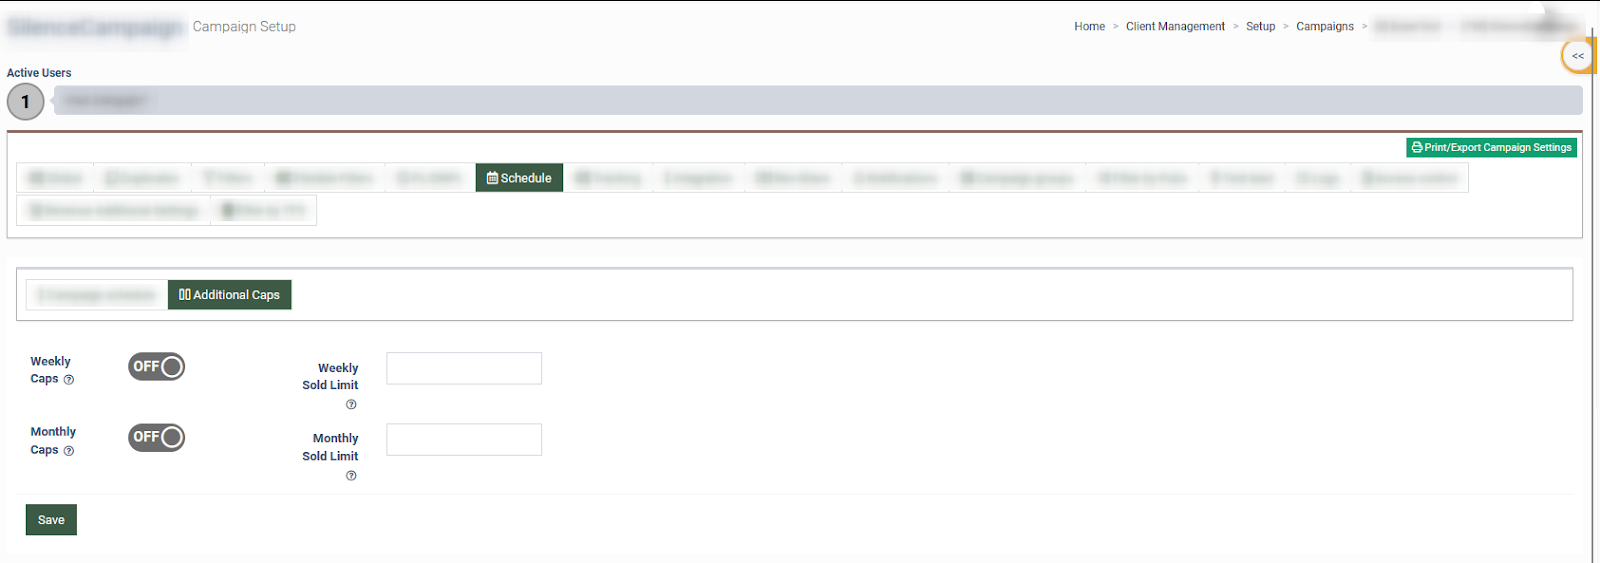
Additional Caps
To open the additional cap settings, go to the Additional Caps subtab.
-
Weekly Caps: Switch the ON/OFF toggle to enable/disable the weekly caps. A weekly cap begins Sunday for US locations and Monday for other countries.
-
Weekly Sold Limit: Enter the value for the weekly sold limitation.
-
Monthly Cap: Switch the ON/OFF toggle to enable/disable the monthly caps.
-
Monthly Sold Limit: Enter the value for the monthly sold limitation.
Click the “Save” button to apply changes.