The Campaign Groups section allows you to create and manage Campaign Groups and apply lead processing rules.
To view and manage the campaign groups, go to the Client Management > Setup > Campaign Groups section.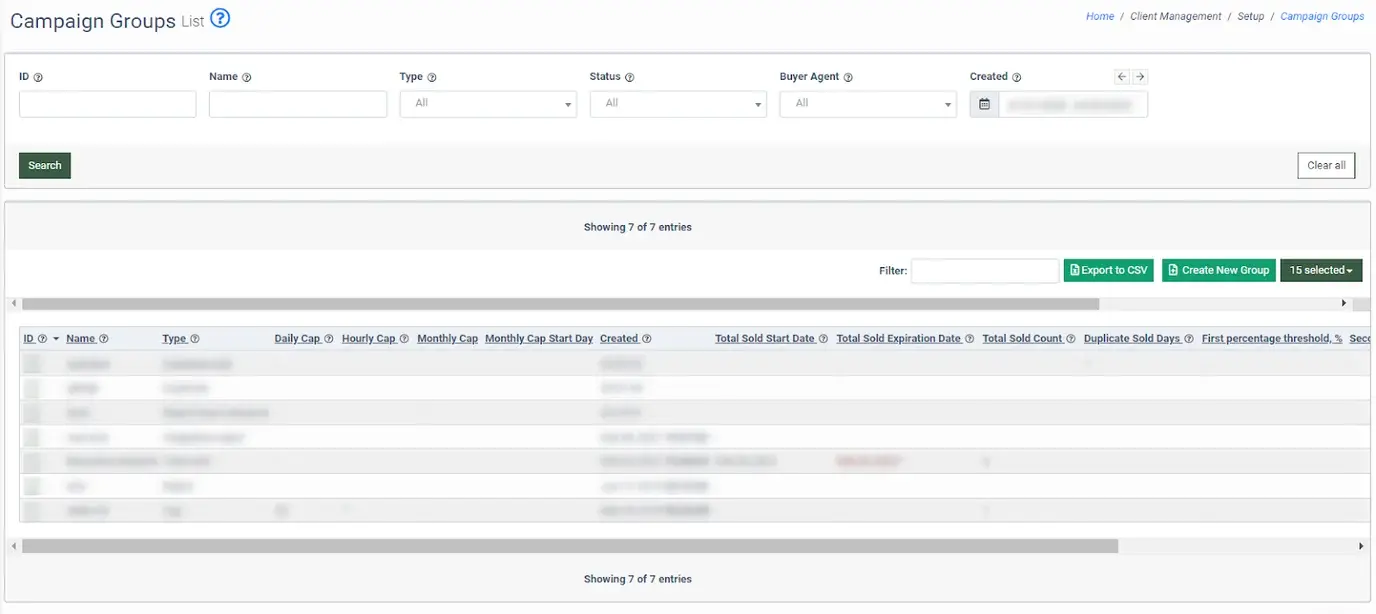
The following group rule types are available in the system:
- Reject: A rejected lead from a Campaign in the group will not be posted to any other Campaigns within the group.
- Cap: This rule allows you to pause all Campaigns in the group when the daily and/or weekly cap for the total number of sold leads within the group is reached.
Note: Campaigns in this group are filtered at the ping stage. - Duplicate: This rule allows you to set up the duplicate leads processing rule for a group.
Note: If the lead is identified as a duplicate by a Campaign Group according to the "Post Days" and "Sold Days" settings, all Campaigns within this group will reject the lead as a duplicate regardless of their duplicate settings. - Integration reject: This rule allows you to automatically reject a lead for all Campaigns in the Campaign Group if it got an Integration Reject for a Campaign within this group.
- Total Sold: This rule is similar to the “Cap” rule but allows you to set a custom time range for the cap (from the "Start Date" to the "Expiration Date"). The "Expiration date" is optional. If the "Expiration date" is not set, then the group remains active until the cap for this group is reached. If the "Expiration date" is set and the total sold limit is not reached within the specified period, the Campaign group is marked as "Expired," and the Campaigns will run as scheduled in the Campaign settings.
- Duplicate Sold: This rule allows you to limit the sale of duplicate leads within the Campaign Group by setting a time range for the duplicate leads.
- Cap Fulfillment: This rule allows you to set up a two-stage control on reaching cap limits and notify recipients about it.
- Rejected by response: This rule allows you to set the "Group Reject" status with the "Buyer Response" message for all Campaigns in the group if one of the Campaigns receives a response from a Buyer that matches the conditions.
Note: The rules you set on the Campaign Group level are applied to all Campaigns within this group.
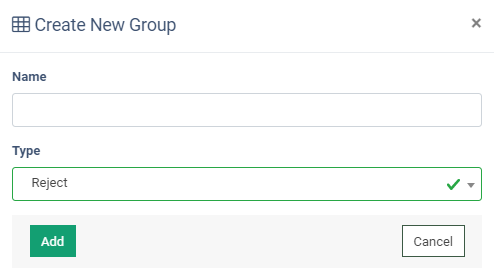
To create a new group, click the “Create New Group” button, and fill in the required fields in the pop-up window. Depending on the selected Campaign Group Type fill in the required data fields.
Reject:
- Name: Enter the name of the Campaign Group.
- Type: Select the “Reject” type.
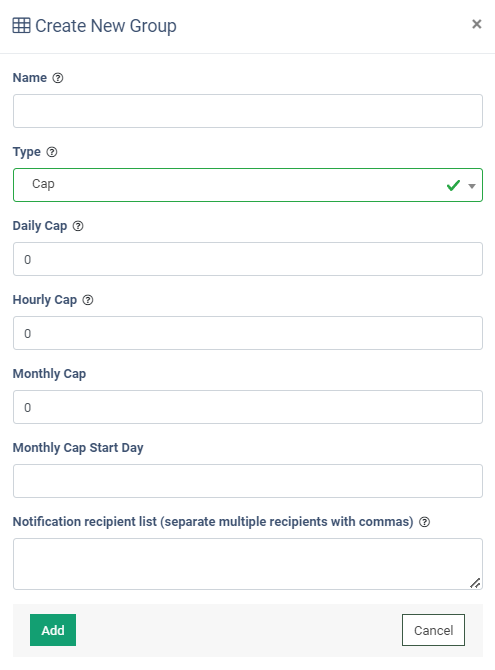
Cap:
- Name: Enter the name of the Campaign Group.
- Type: Select the “Cap” type.
- Daily Cap: Enter the daily cap for the Campaign Group.
- Hourly Cap: Enter the hourly cap for the Campaign Group.
- Monthly Cap: Enter the monthly cap for the Campaign Group.
- Monthly Cap Start Day: Specify the start day of the rule (from 0 to 31). Note: If you specify 0, the system will consider the first day of the month as the start date.
- Notification recipient list (separate multiple recipients with commas): Enter the email addresses for sending notifications.
Duplicate:
- Name: Enter the name of the Campaign Group.
- Type: Select the “Duplicate” type.
- Post Days: Enter the days' quantity for post duplicates review.
- Sold Days: Enter the days' quantity for sold duplicates review.

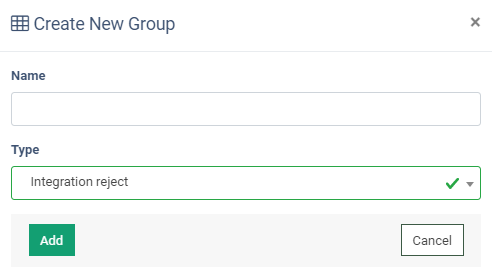
Integration Reject:
- Name: Enter the name of the Campaign Group.
- Type: Select the “Integration Reject” type.
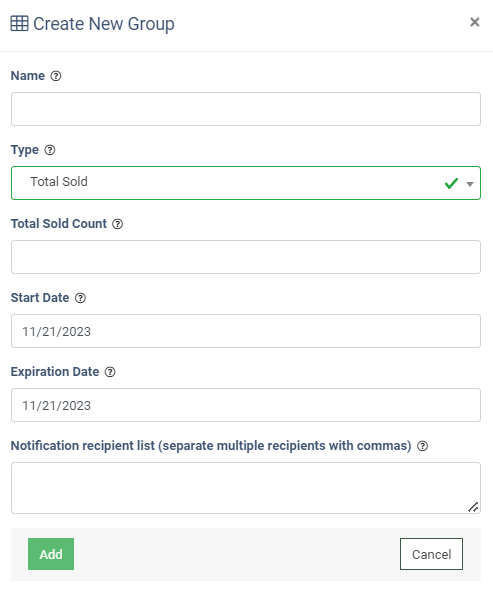
Total Sold:
- Name: Enter the name of the Campaign Group.
- Type: Select the “Integration Reject” type.
- Total Sold Count: Enter the number of leads that would be sold over the Campaign Group.
- Start Date: Select the date when the count starts.
- Expiration Date: Select the date when the count finishes.
- Notification recipient list (separate multiple recipients with commas): Enter the email addresses for sending notifications.
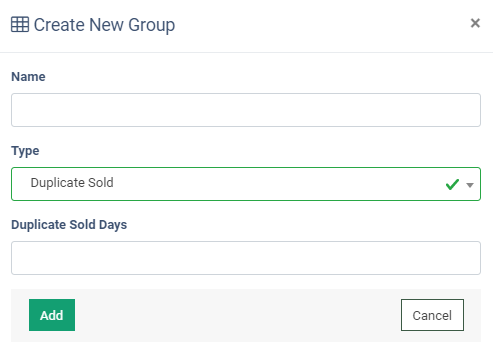
Duplicate Sold:
- Name: Enter the name of the Campaign Group.
- Type: Select the “Duplicate Sold” type.
- Duplicate Sold Days: Enter the days' quantity for sold duplicates review.
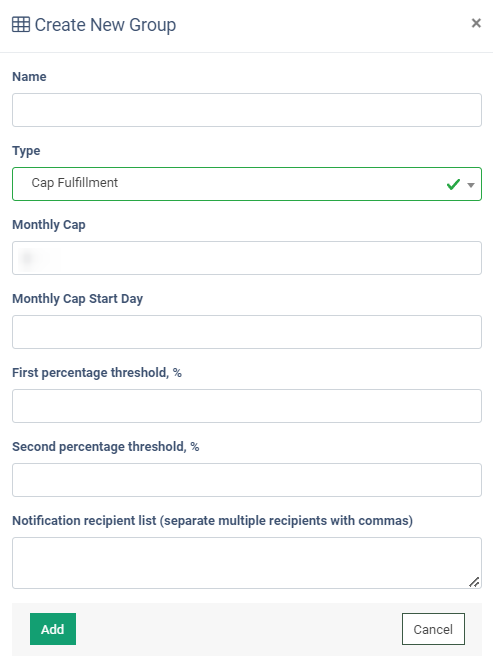
Cap Fulfillment:
- Name: Enter the name of the Campaign Group.
- Type: Select the “Cap Fulfillment” type.
- Monthly Cap: Enter the monthly cap for the Campaign Group.
- Monthly Cap Start Day: Specify the start day of the rule (from 0 to 31). Note: If you specify 0, the system will consider the first day of the month as the start date.
- First percentage threshold, %: Enter a percentage limit for the first threshold. Note: The notification is sent to recipients if the number of leads is equal to or greater than the specified value.
- Second percentage threshold, %: Enter a percentage limit for the second threshold. Note: The notification is sent to recipients if the number of leads is equal to or greater than the specified value.
- Notification recipient list (separate multiple recipients with commas): Enter the email addresses for sending notifications.
Reject by buyer response:
- Name: Enter the name of the Campaign Group.
- Type: Select the “Reject by buyer response” type.
- Search response for: Enter the text from the response that would trigger the system to pause the Campaign group. Note: You can add up to 10 responses for one Campaign Group.
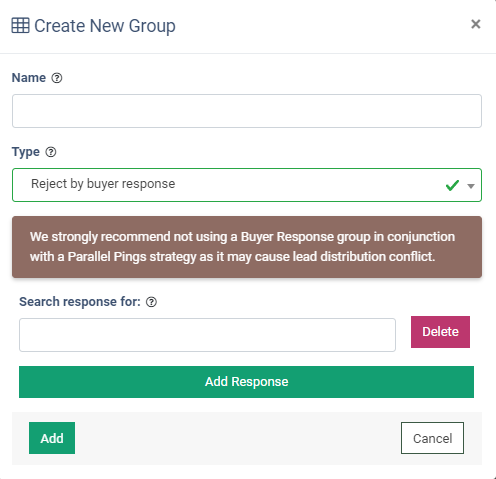
Click the “Add Response” button to add a new response. Or click the “Delete” button to remove the response from the rule.
Click the “Add” button to proceed.
You can narrow down the search results by using the following filters:
- ID: Enter the unique identification number of the group.
- Name: Enter the name of the Campaign Group.
- Type: Select the type of the Campaign Group rule (Reject / Cap / Duplicate / Integration reject/Total Sold/Duplicate Sold).
- Status: Select the status of the Campaign Group (Active / Deleted / Disabled/Duplicating).
- Buyer Agent: Select the name of the Buyer Agent related to the group.
- Created: Select the date and time of the group creation.
The Campaign Group list contains the following information:
- ID: The unique identification number of the group.
- Name: The name of the Campaign Group.
- Type: The type of the Campaign Group rule.
- Daily Cap: The daily Cap number of the sold leads. Note: The column is applicable only for the “Cap” type of the Campaign Group.
- Hourly Cap: The hourly cap number of the sold leads. Note: The column is applicable only for the “Cap” type of the Campaign Group.
- Monthly Cap: The monthly cap for the Campaign Group. Note: The column is applicable only for the “Cap” type of the Campaign Group.
- Monthly Cap Start Day: The start day of the rule. Note: The column is applicable only for the “Cap” type of the Campaign Group.
- Created: The date and time of the group creation.
- Total Sold Start Date: The start date of the specified period for the Cap. Note: The column is applicable only for the “Total Sold” type of the Campaign Group.
- Total Sold Expiration Date: The expiry date of the specified period for the Cap. Note: The column is applicable only for the “Total Sold” type of the Campaign Group.
- Total Sold Count: The cap of the sold leads for the selected period. Note: The column is applicable only for the “Total Sold” type of the Campaign Group.
- Duplicate Sold Days: The time range in which the lead that has already been sold to one of the Campaigns from the group will be rejected and marked with “Group Duplicate Sold” status. Note: This column is applicable only for the “Duplicate Sold” type of the Campaign Group.
- First percentage threshold, %: The percentage limit for the first threshold.
- Second percentage threshold, %: The percentage limit for the second threshold.
To edit the Campaign Group, click the “Edit” button in the “Actions” column.
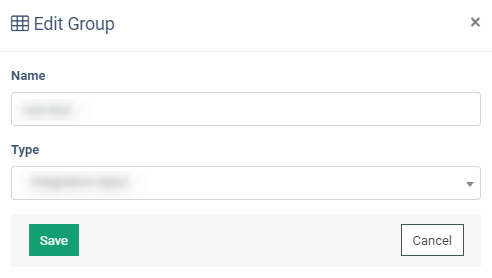
Click the “Save” button in the “Edit Group” pop-up window to apply changes.
To view the group Campaigns list, click the “View” button in the “Actions” column.
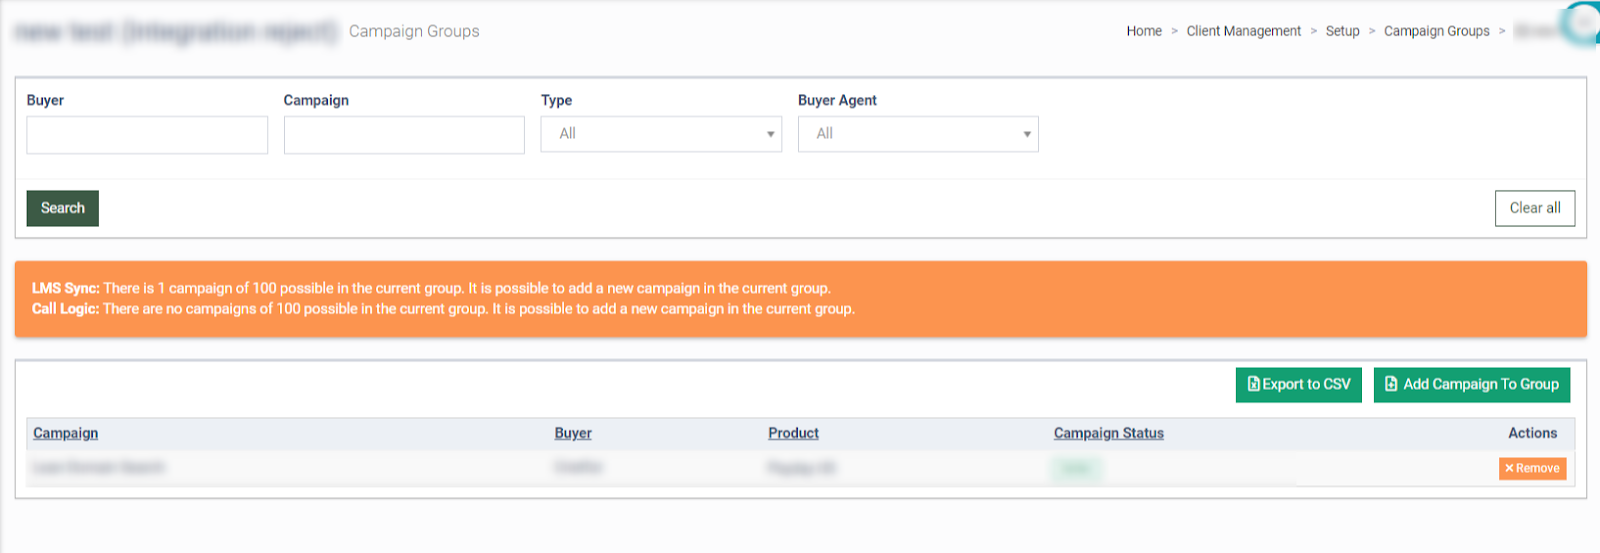
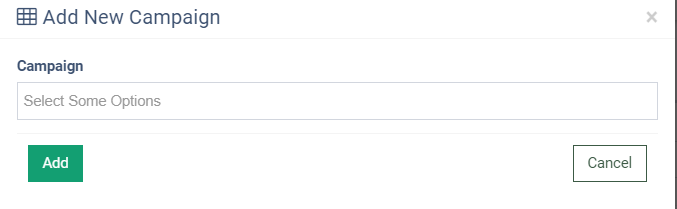
To add a new Campaign to the group, click the “Add Campaign To Group” button and select the Campaign from the drop-down list in the “Add New Campaign” pop-up window.
Click the “Add” button to complete.
To remove the Campaign from the group, click the “Remove” button in the “Actions” column.
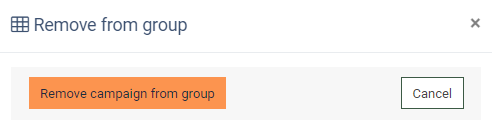
Confirm your intention in the “Remove from group” pop-up window.
To delete the Campaign Group, click the “Delete” button in the “Actions” column.
Click the corresponding button to confirm your intention in the “Delete Group” pop-up window.