To view the list, go to the Customer Management > Payments section.
- Regular Payments
- Custom Payments
Regular Payments
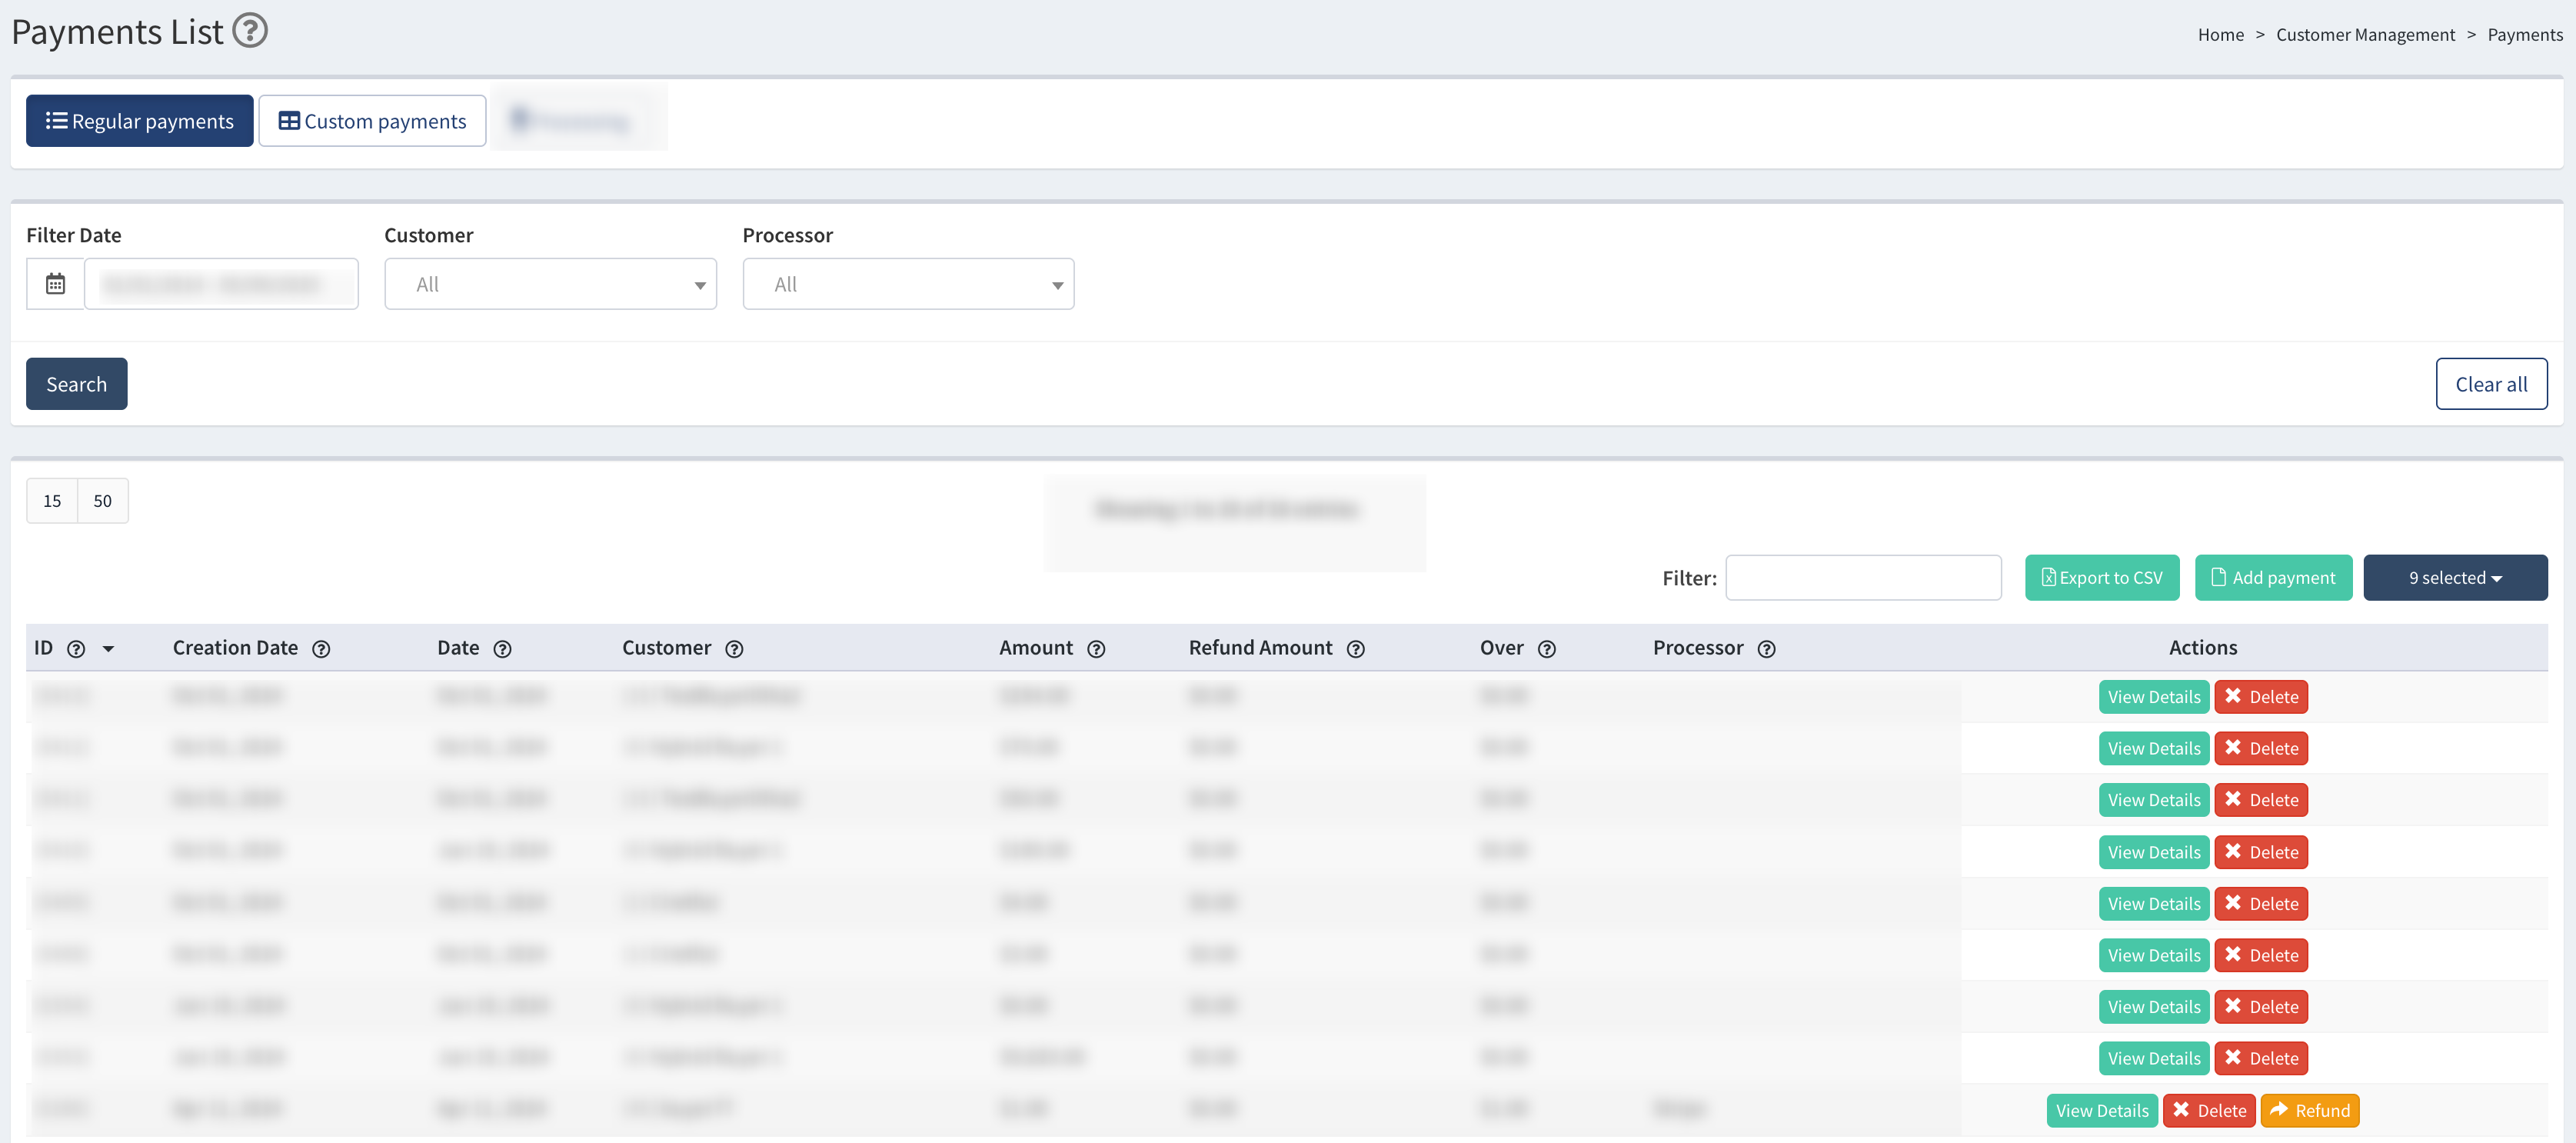
The “Regular Payments” tab allows you to view a complete list of all payments, add new payments, remove existing payments, or process refunds.
You can narrow down the search results by using the following filters:
- Filter Date: Select the date range for the report.
- Customer: Select the Customer.
- Processor: Select the payment system (PayPal, Stripe, Authorize.Net).
The Regular payments list contains the following information:
- ID: The unique identification number of the payment.
- Creation Date: The date the payment is created.
- Date: The date the payment is made.
- Customer: The name of the Customer that made the payment.
- Amount: The paid amount.
- Refund Amount: The refund amount.
- Over: The client's overpayment amount that will be applied to the next available invoice.
- Processor: The payment system used for the payment.
To create a new payment record, click the “Add Payment” button and fill in the following fields in the pop-up window:
- Customer: Select the Customer(s).
- Payment Date: Select the date when the payment is created.
- Payment Amount: Enter the amount to be paid by the Customer.
- Description: Enter additional information about the payment.
Select the listed invoices (if available) and click the “Create” button to complete. Once you add a new payment, the corresponding invoice(s) are displayed in the “Invoices” section. Read more about Customer Invoices in this Knowledge Base article.

To view the detailed information about the specific payment, click the “View Details” button in the “Actions” column. 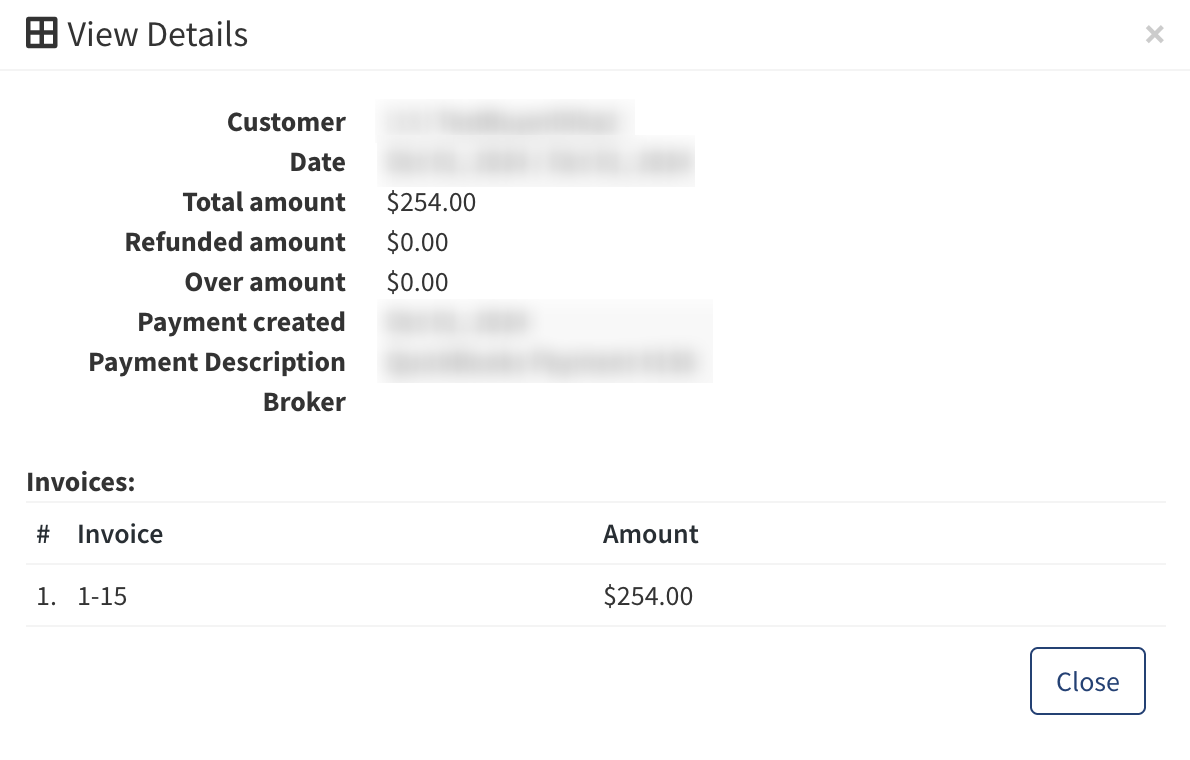
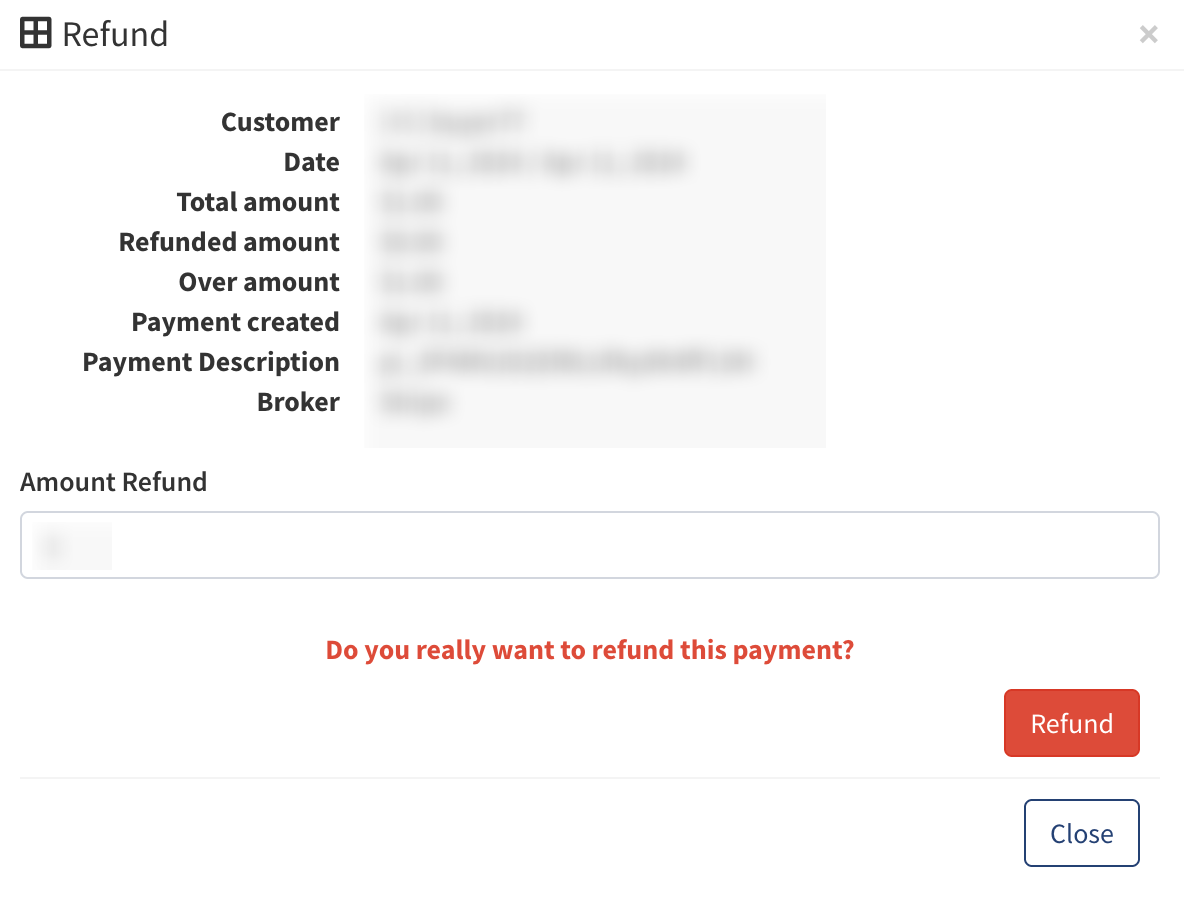
To make a refund for the specific payment, click the “Refund” button in the “Actions” column. In the pop-up window, enter the amount and click the “Refund” button.
Note: The "Refund" button is accessible only when a payment processor is set up for the Customer.
Custom Payments
The "Custom Payments" tab shows a complete list of all payments resulting from custom invoices marked as paid by the user.
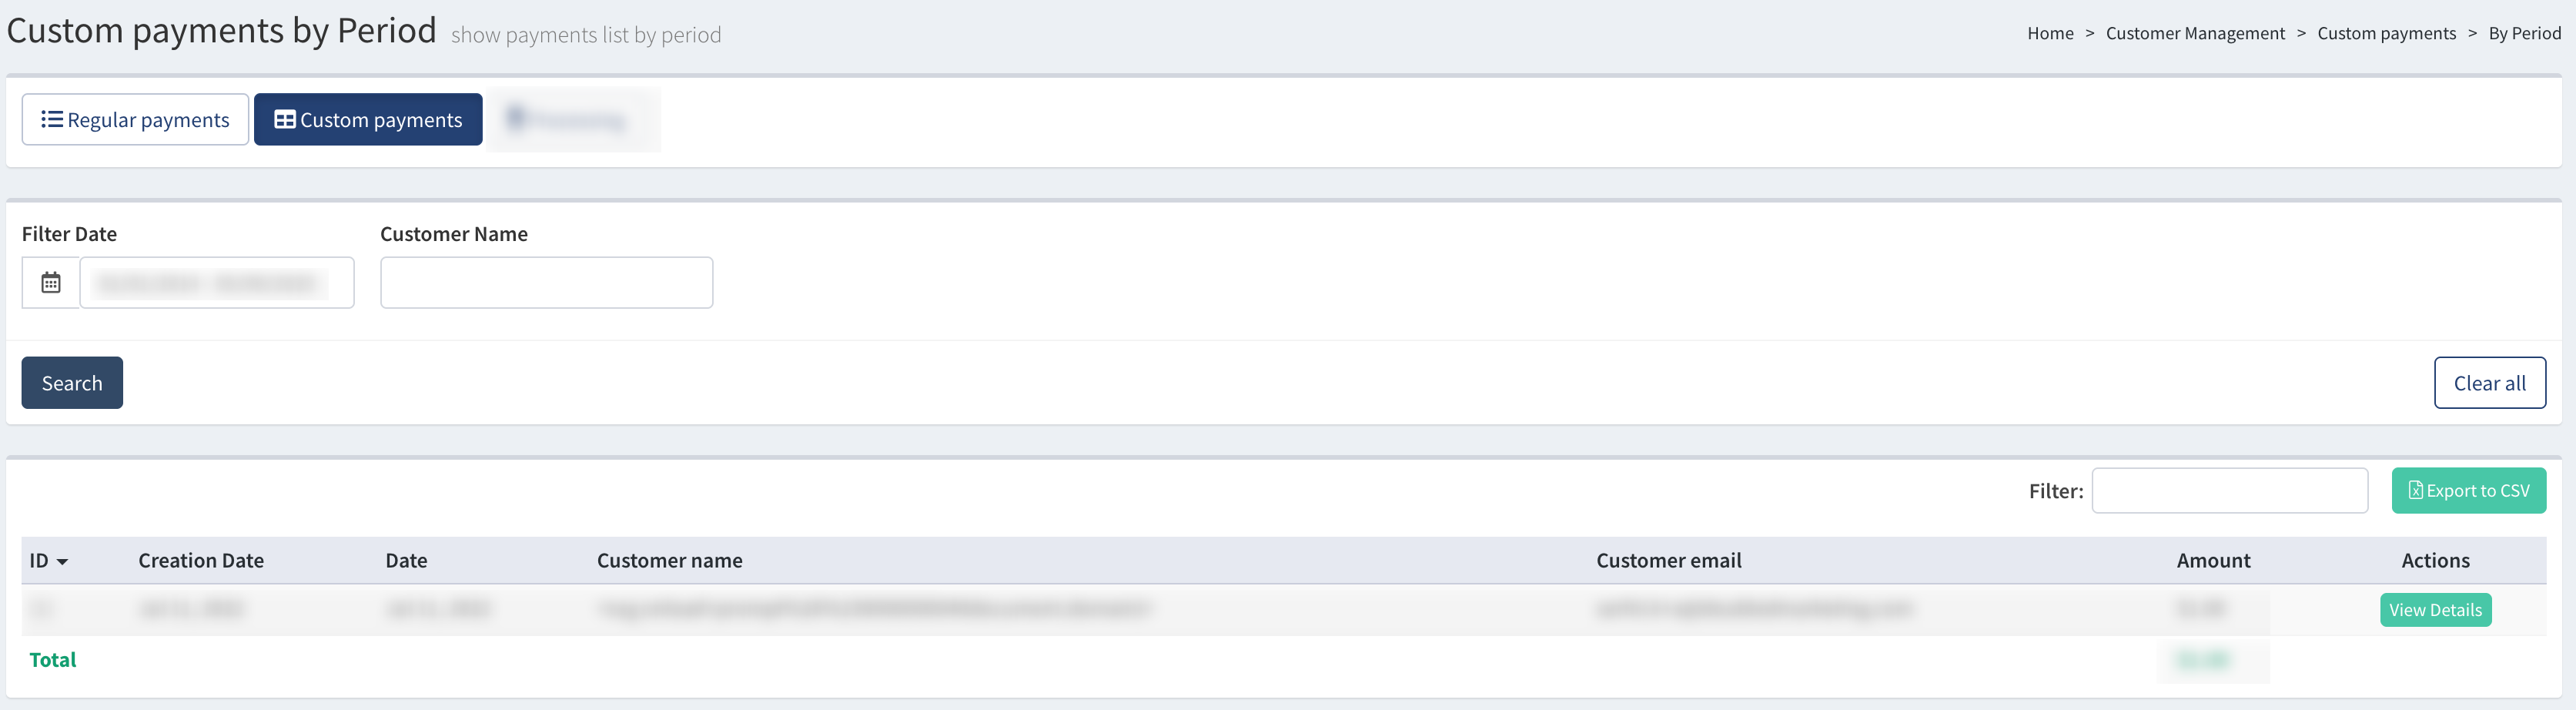
You can narrow down the search results by using the following filters:
- Filter Date: Select the date range for the report.
- Client Name: Enter the Customer’s name.
The Custom payments list contains the following information:
- ID: The unique identification number of the payment.
- Creation Date: The date the payment is created.
- Date: The date the payment is made.
- Customer name: The name of the Customer that completed the payment.
- Customer email: The Customer’s email.
- Amount: The paid amount.
To view the detailed information about the specific custom payment, click the “View Details” button in the “Actions” column.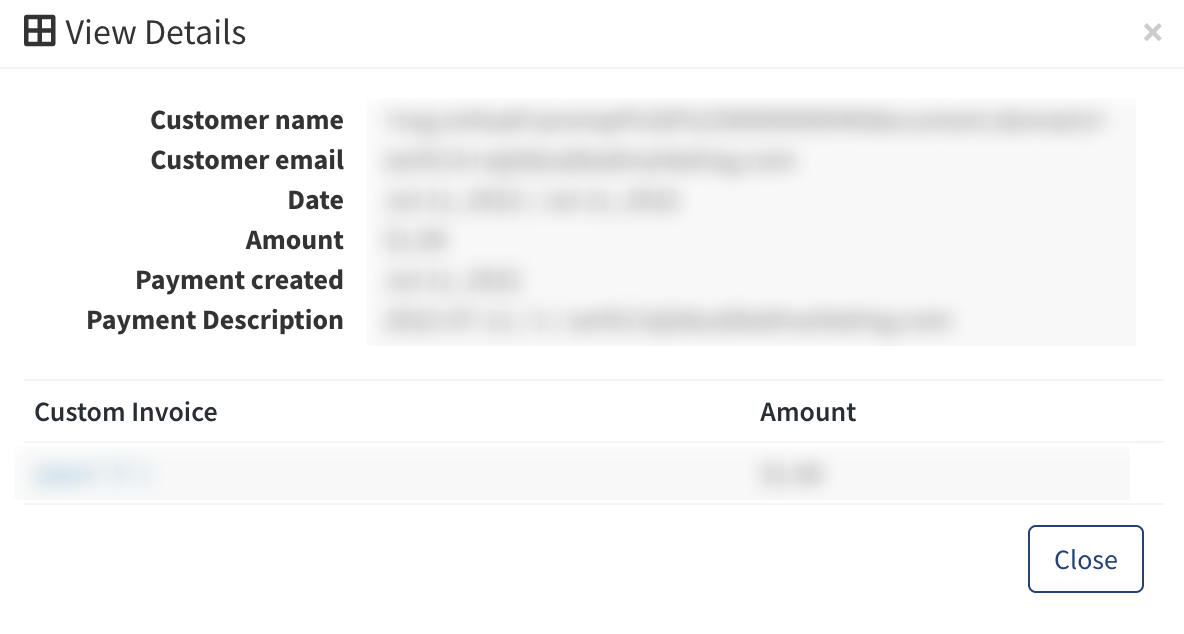
Read more about Custom Invoices in this Knowledge Base article.