Contact List Tags
A detailed guide on how to create tags for your contact lists. Tag multiple lists together to make contact management simpler
The “Contact List Tags” feature allows you to create and manage tags for contact lists. You can tag and organize contact lists to optimize contact management strategy.

To create a tag, go to the List Management > Tags section. Click the “Create New Tag” button. Enter the name of the tag. Then click the “Add” button to add a new tag.

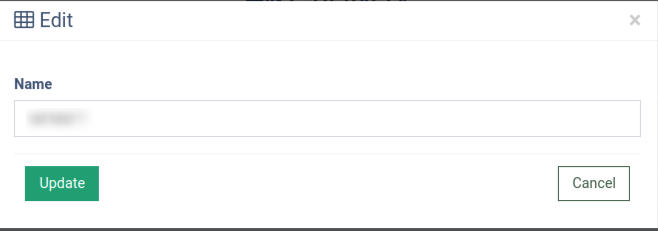
To edit an existing tag, select the tag from the tag list and click the “Edit” button in the “Actions” column. Click the “Update “ button in the “Edit” pop-up window to confirm changes.

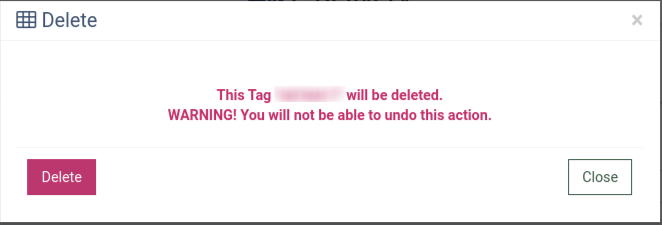
To delete the tag, click the “Delete” button in the “Action” column and confirm the action in the “Delete” pop-up window.
Note: You will not be able to undo this action.

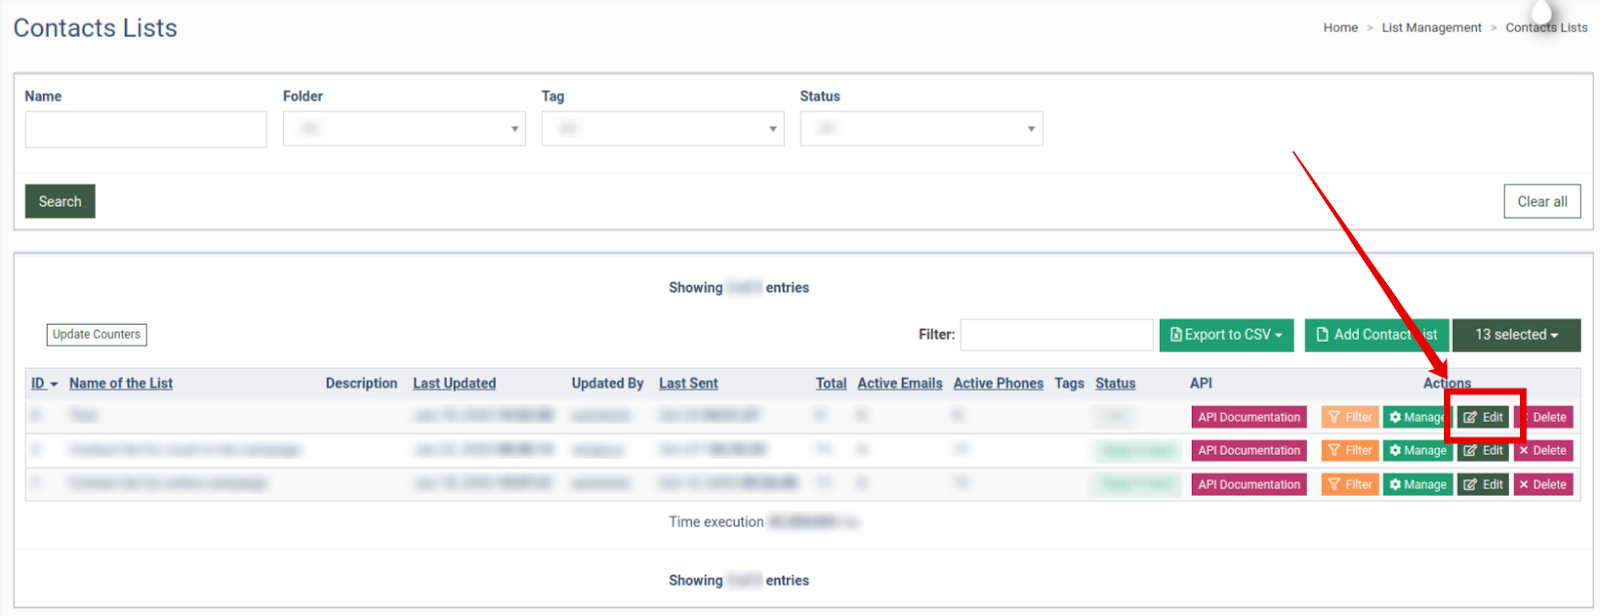
To apply a tag to a Contact List, go to the List Management > Contacts Lists section.

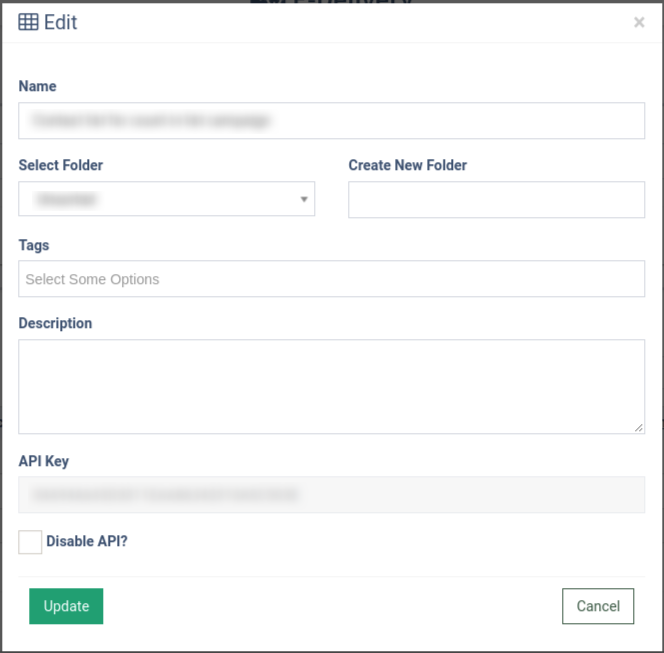
Select the Contact list and click the “Edit” button in the “Action” column. In the “Edit” pop-up window, in the “Tags” field, select the tag and click the “Update” button to save the changes.
