Custom Menu Section
Wondering how you can create a custom menu section and add it to the main menu? Check our quick guide for detailed instructions.
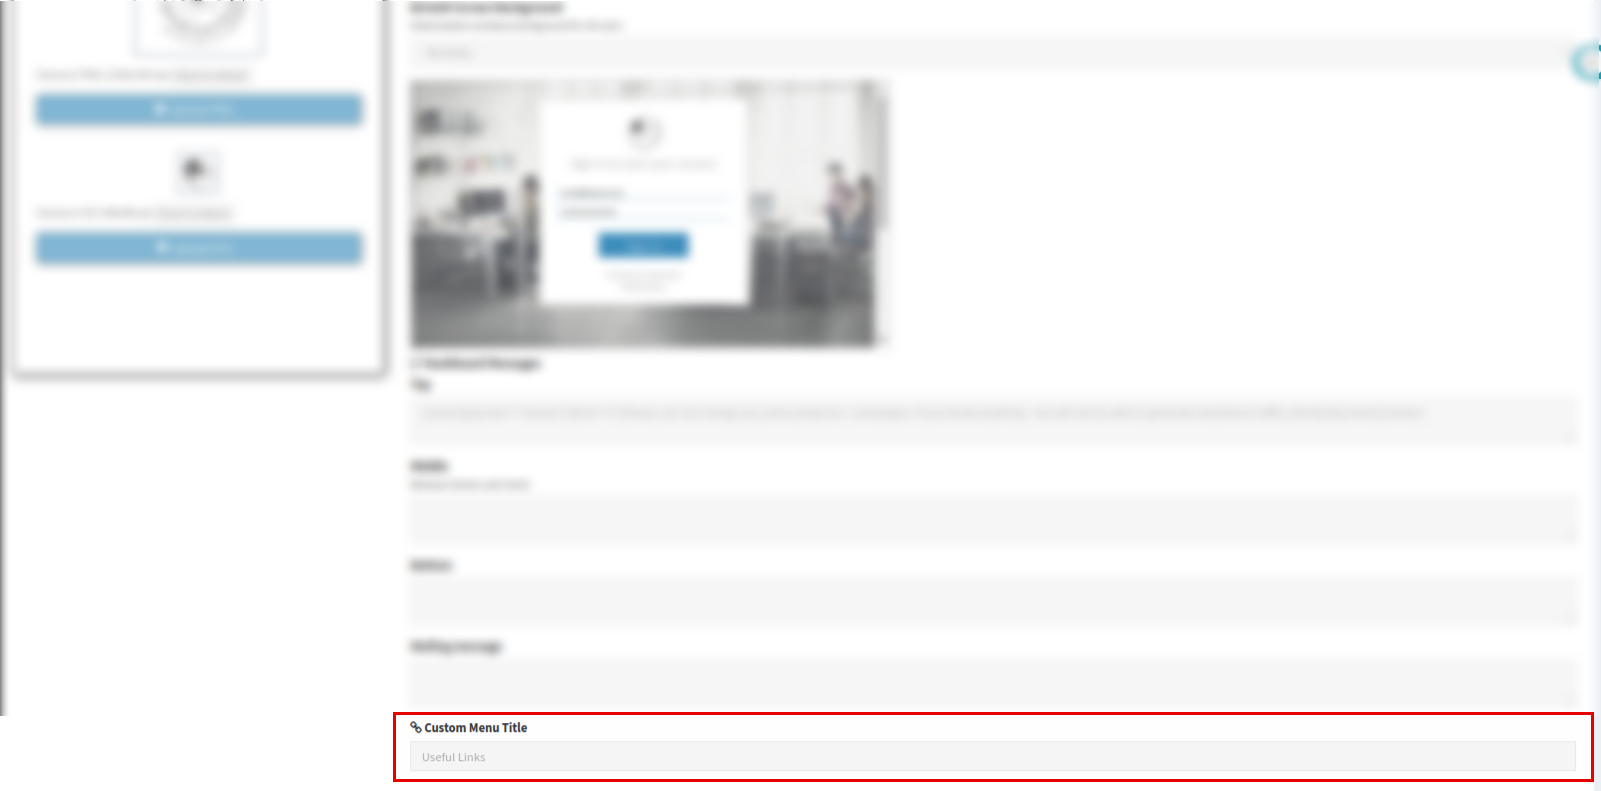
The “Custom Menu Title” option allows you to add a section for the custom menu item to the main system menu. You can also manage or delete the existing custom menu item from the system.
The “Custom Menu Title” option allows you to add a section for the custom menu item to the main system menu.
To create a custom menu section go to the System Management > General > Project Settings section, choose the "General" tab, and select the “Appearance” subtab. Enter the name of the menu section in the “Custom Menu Title” field and click the “Save” button to complete the action.


To manage the custom menu item go to the System Management > General > Useful Links section.

You can group the list of items using the “Title” and “User Group” filters.
The main block contains the following information:
-
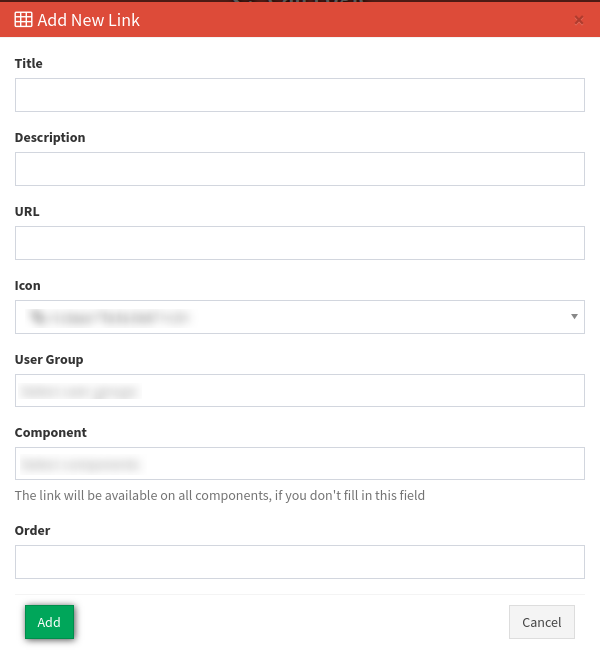
Title - the name of the menu item;
-
Description - text of the description;
-
URL - URL of the link that you want to add;
-
Icon - a graphic icon that appears next to the name of the menu item;
-
User Group - a list of the users that will be able to use the menu item;
-
Component - components in which the menu item is available ( LMS SYNC, CALL LOGIC, Etc.);
-
Order - the numeric order of the link.
To create a new custom menu item, click the “Add New Link” button and fill in the data fields in the “Add New Link” pop-up window, then click the “Add” button to complete the action.

To manage the existing menu item, click the “Edit” button in the “Action” column. Update the data fields in the “Edit” pop-up window and click the “Save” button to complete.
To remove the record from the list, click the “Delete” button in the “Action” column.
A custom menu item is available after adding at least one “Useful link”, and is displayed at the end of the main menu in the custom menu section.