To view the section, go to the Customer Management > Adjustments section.
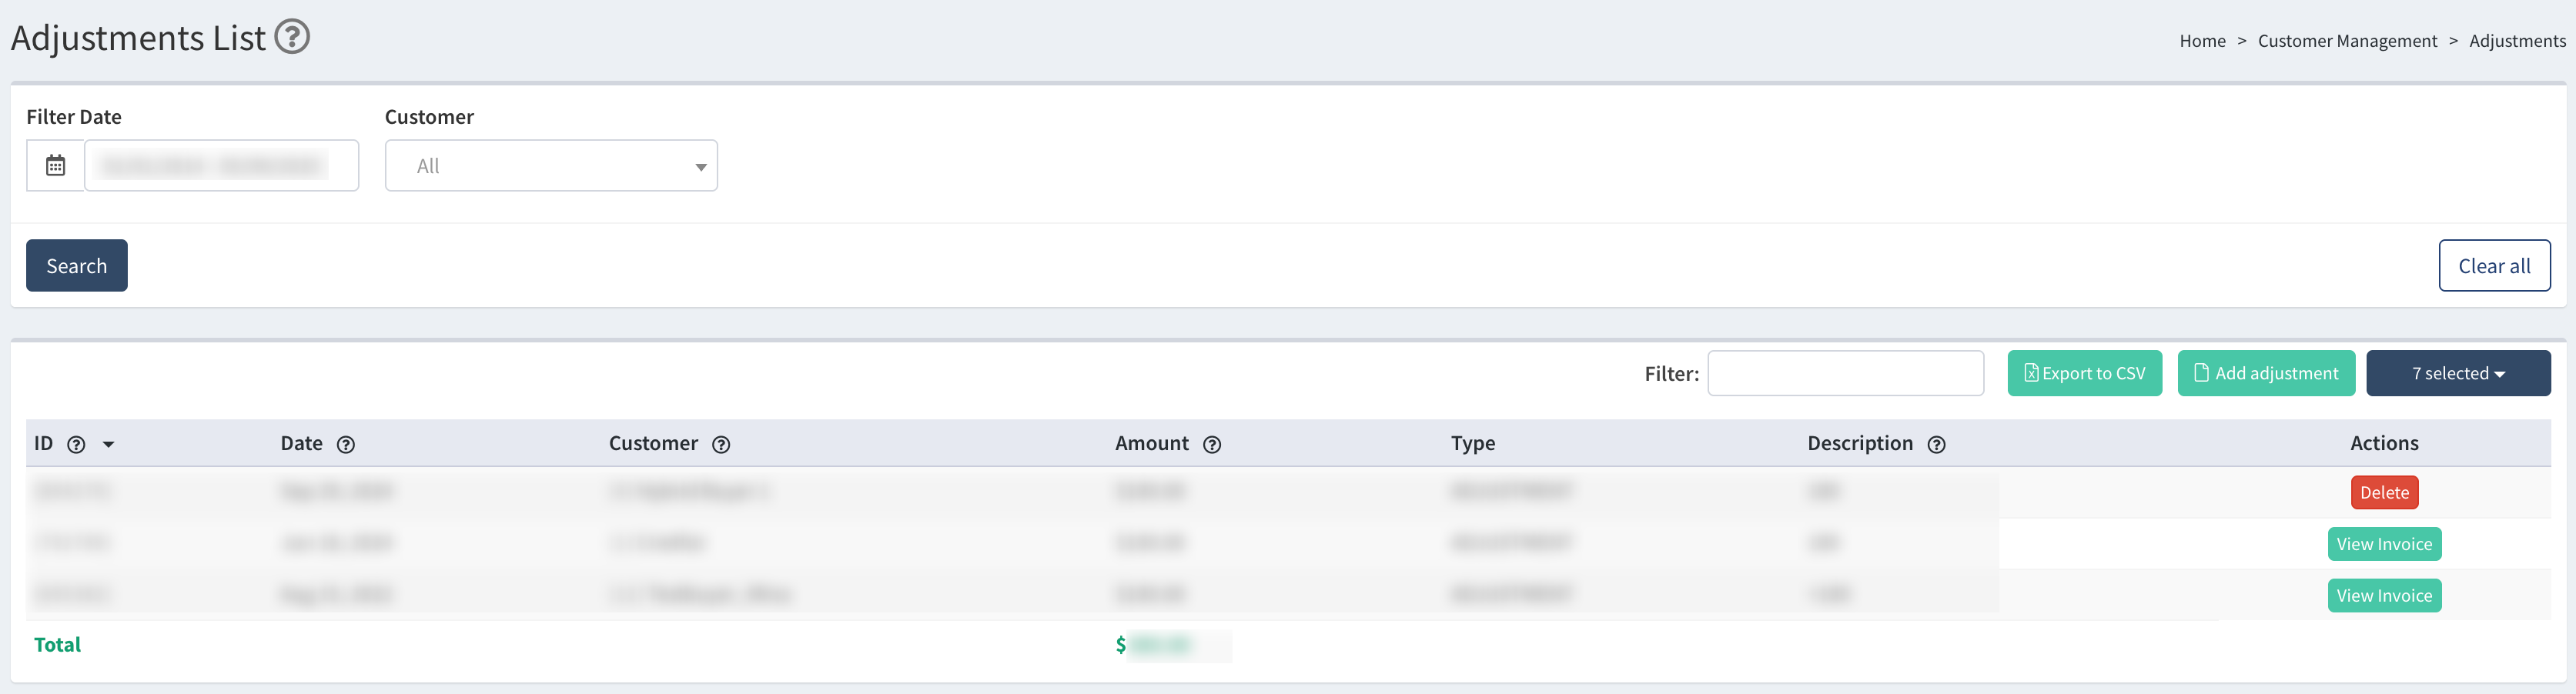
You can narrow down the search results by using the following filters:
- Filter Date: Select the date range for the adjustments.
- Customer: Select the specific Customer.
The list contains the following information:
- ID: The number of the adjustment record in the system.
- Date: The date the adjustment was made.
- Customer: The name of the Customer.
- Amount: The adjustment amount.
- Type: The adjustment type (ADJUSTMENT / RETURN).
- Description: The additional information about the adjustment.
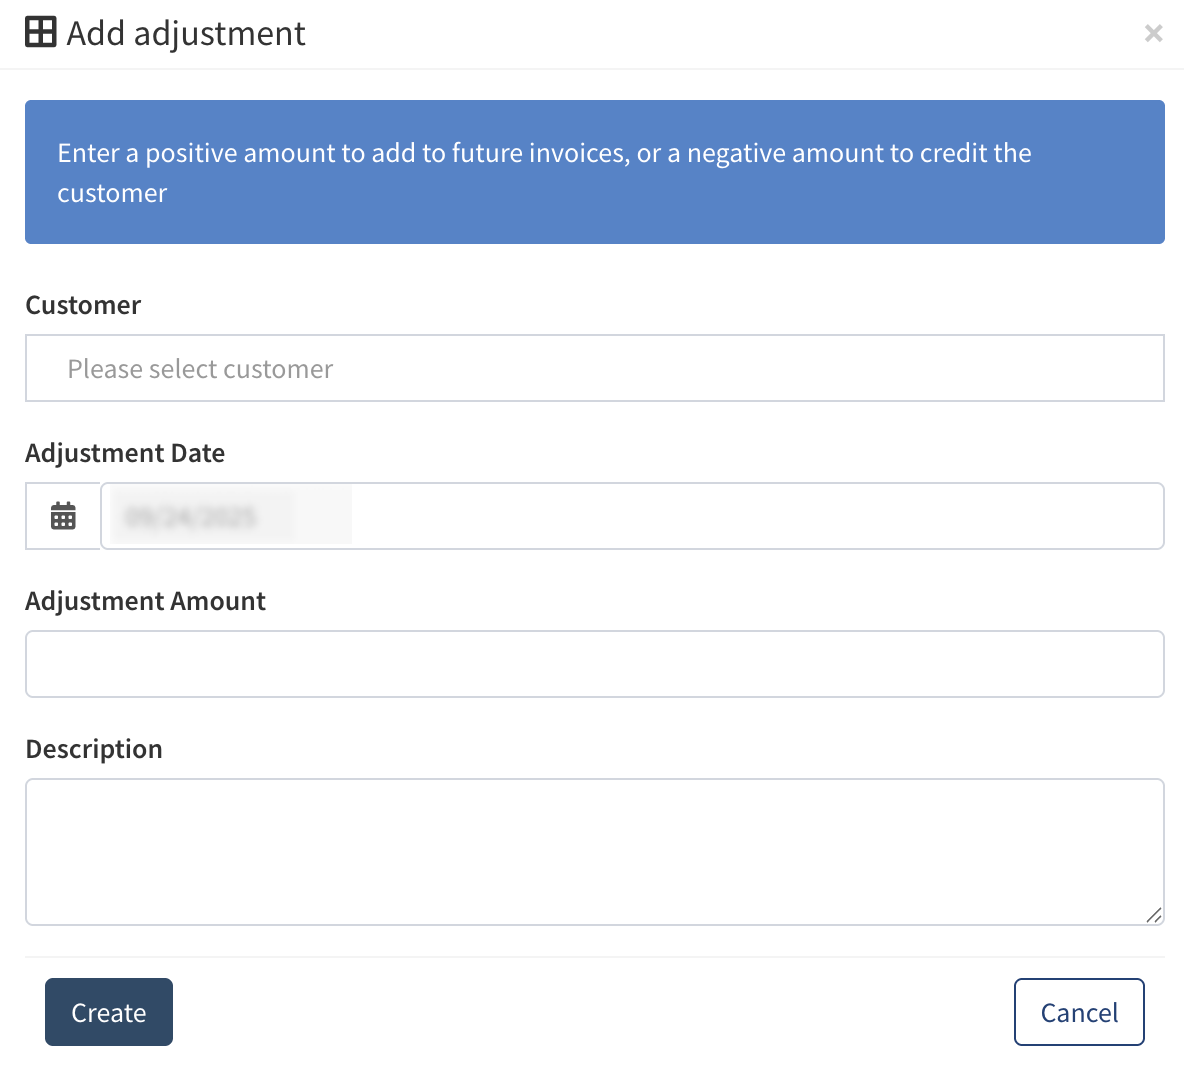
To add a new adjustment to the Customer’s balance, click the “Add Adjustment” button and fill in the following information in the pop-up window:
- Customer: Select the Customer from the list.
- Adjustment Date: Select the adjustment date.
- Adjustment Amount: Enter a positive number to increase the Customer’s invoice total. To credit a Customer, use a negative number.
- Description: Enter additional information for the adjustment record.
Click the “Create” button to complete.
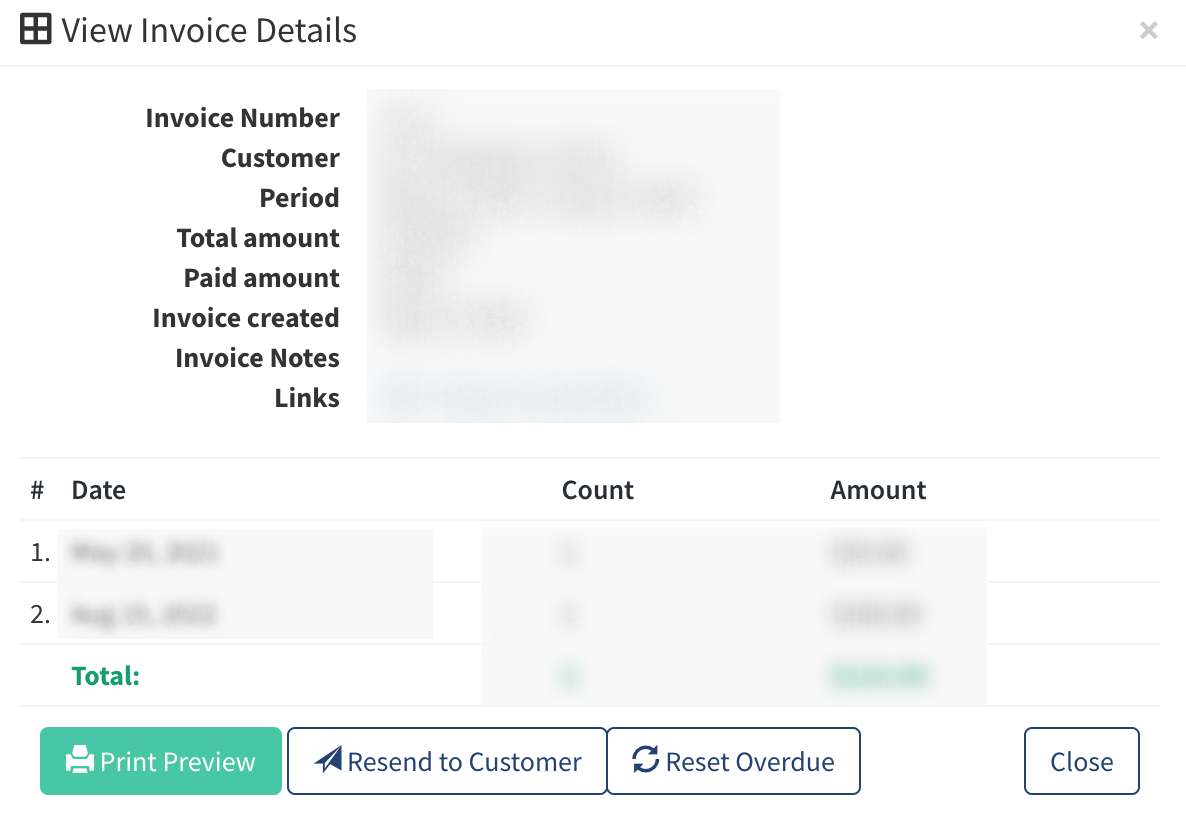
To view the invoice for the adjustment record, click the “View Invoice” button in the “Actions” column. Here, you have the option to resend the invoice to the Customer, print the invoice, charge the Customer online, etc.
Note: The "View Invoice" button is only available if the transaction has been included in the invoice.