To view the list, go to the Customer Management > Custom Invoices section.
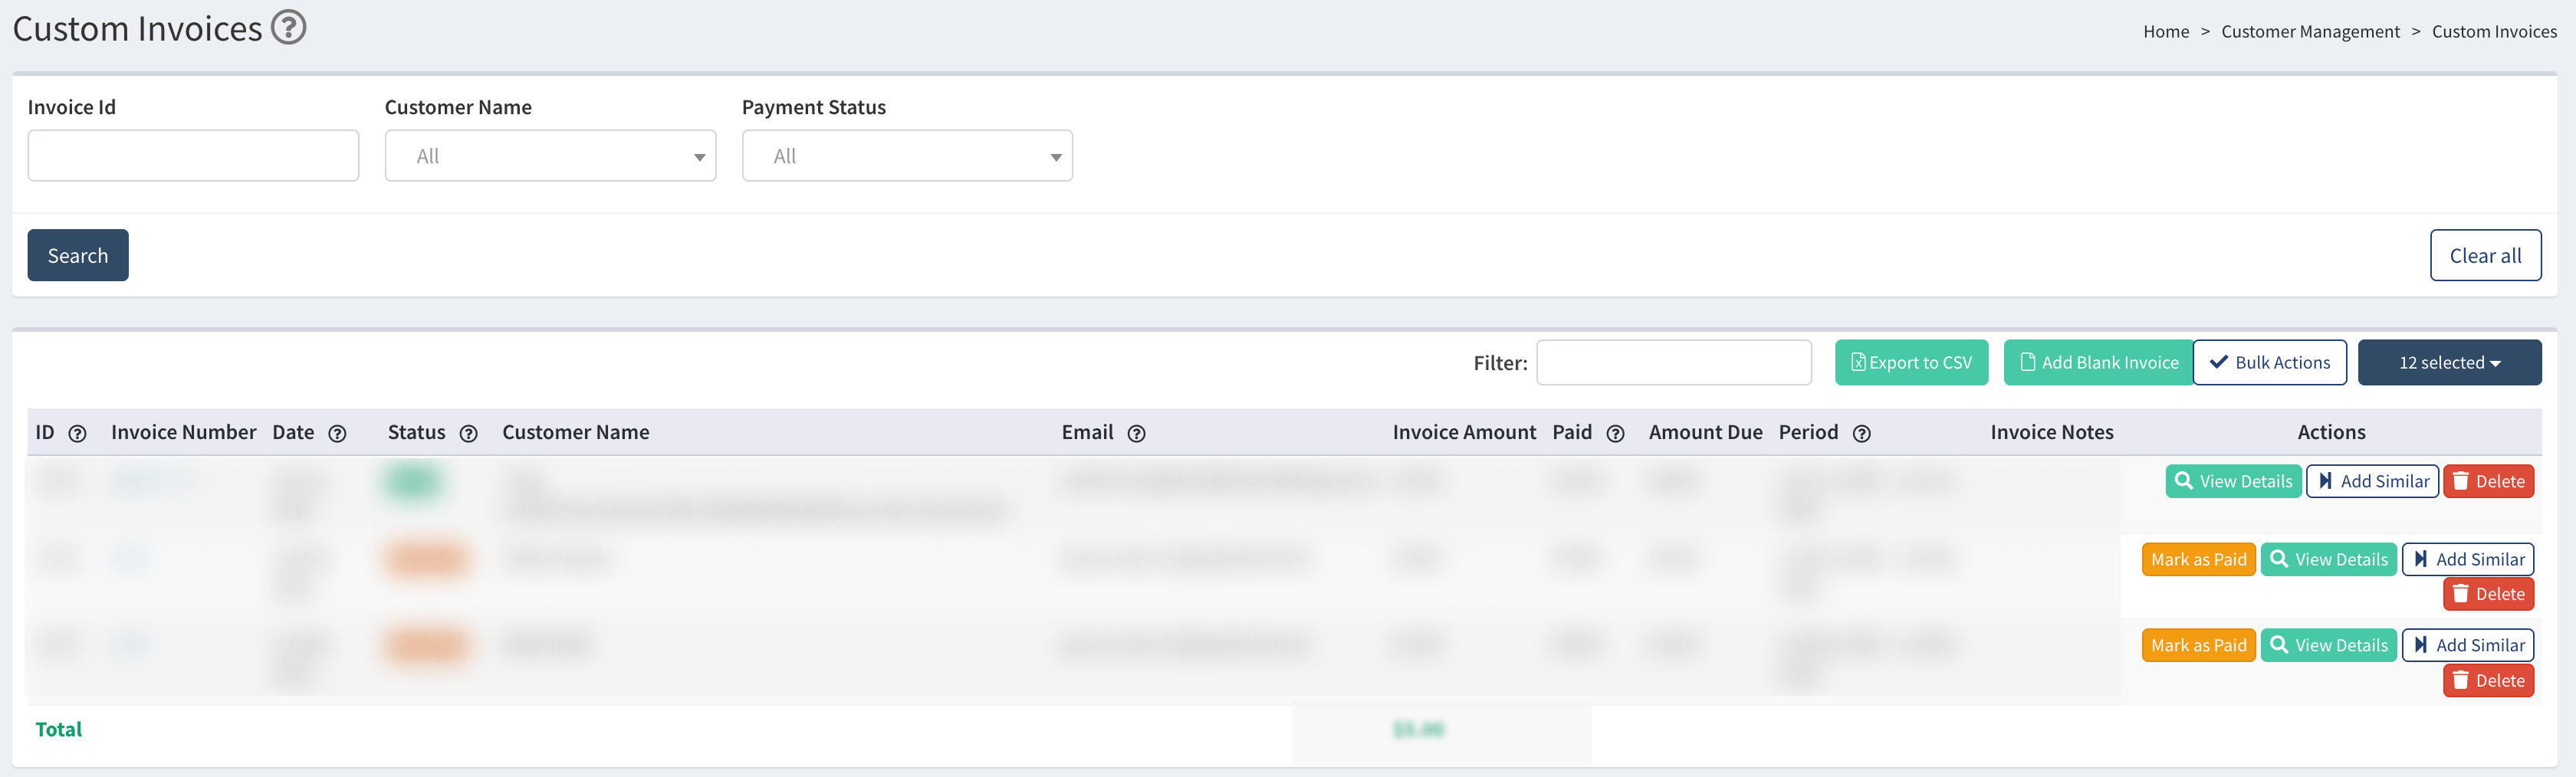
You can narrow down the search results by using the following filters:
- Invoice ID: Enter the ID number of the invoice.
- Customer Name: Fill in the name of the Customer.
- Paid Status: Select the payment status (Paid / Not Paid).
The list contains the following information:
- ID: The invoice record number.
- Invoice Number: The invoice number for the Customer.
- Date: The date the invoice is created.
- Status: The status of the invoice (Paid / Not Paid).
- Customer Name: The name of the Customer.
- Email: The email address of the Customer.
- Invoice Amount: The invoice amount to be paid by the Customer
- Paid: The amount that is already paid by the Customer.
- Amount Due: The amount that is yet to be paid.
- Period: The period that is accumulated for the invoice.
- Invoice Notes: The additional information about the invoice.
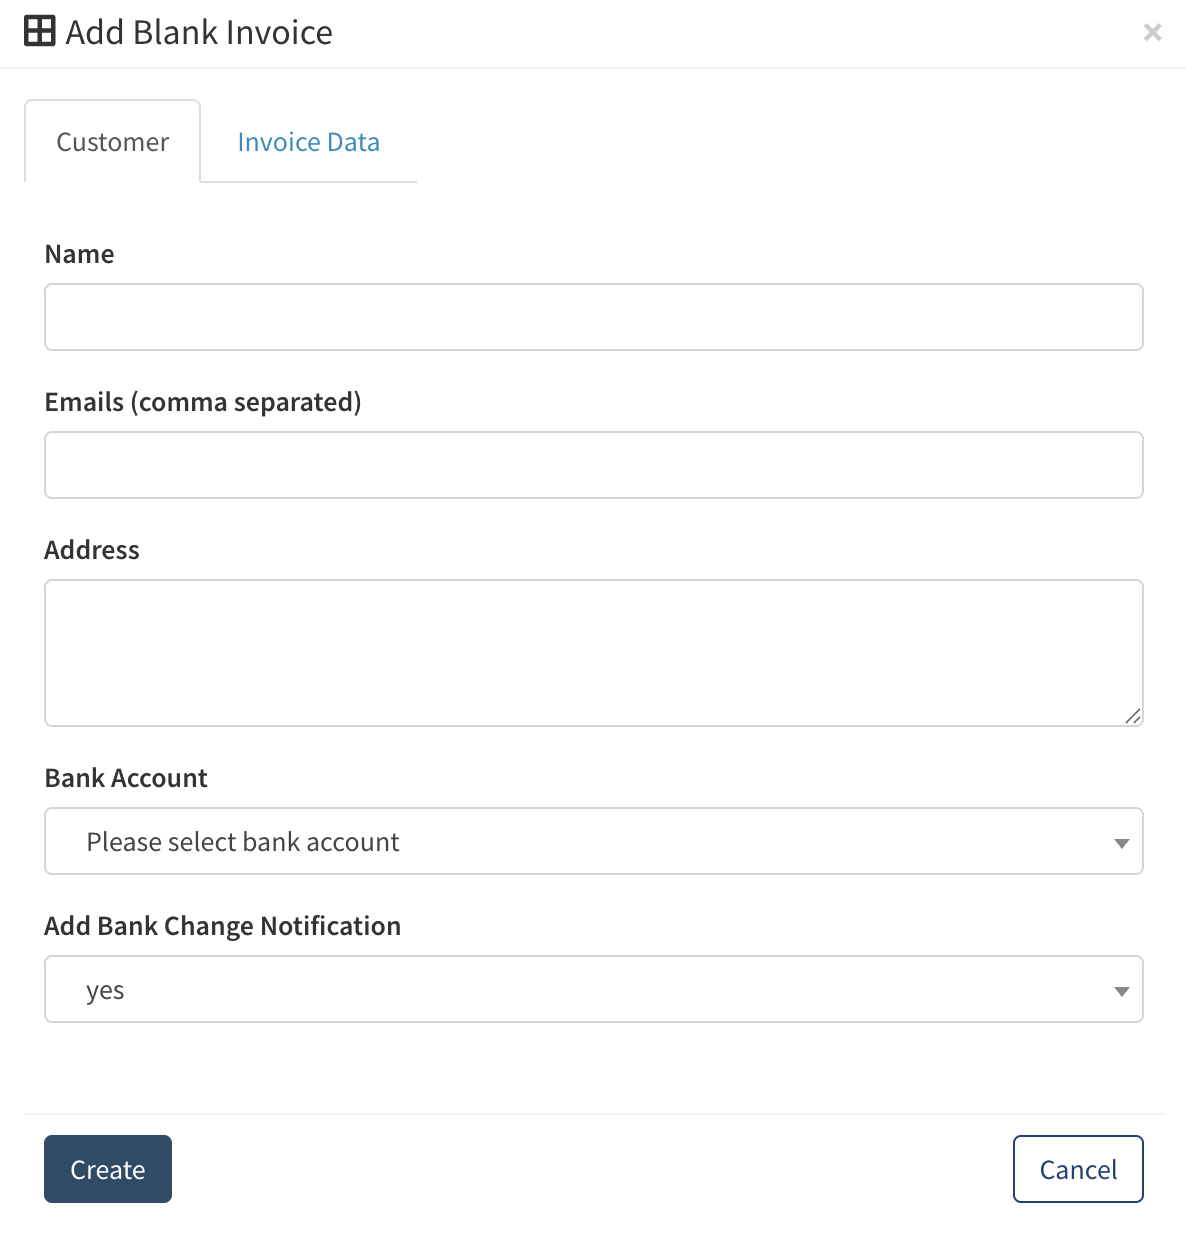
To manually create a new invoice blank for a Customer, click the “Add Blank Invoice” button. In the pop-up window, fill in the following fields of the “Customer” tab:
- Name: Enter the name of the Customer.
- Emails (comma separated): Fill in the client’s email address (use a comma to enter multiple emails).
- Address: Enter the billing address of the Customer.
- Bank Account: Select the bank account from the drop-down list.
- Add Bank Change Notification: Select the “Yes” option from the drop-down list to inform the client about the Bank Account change. Select the “No” option to disable the notification.

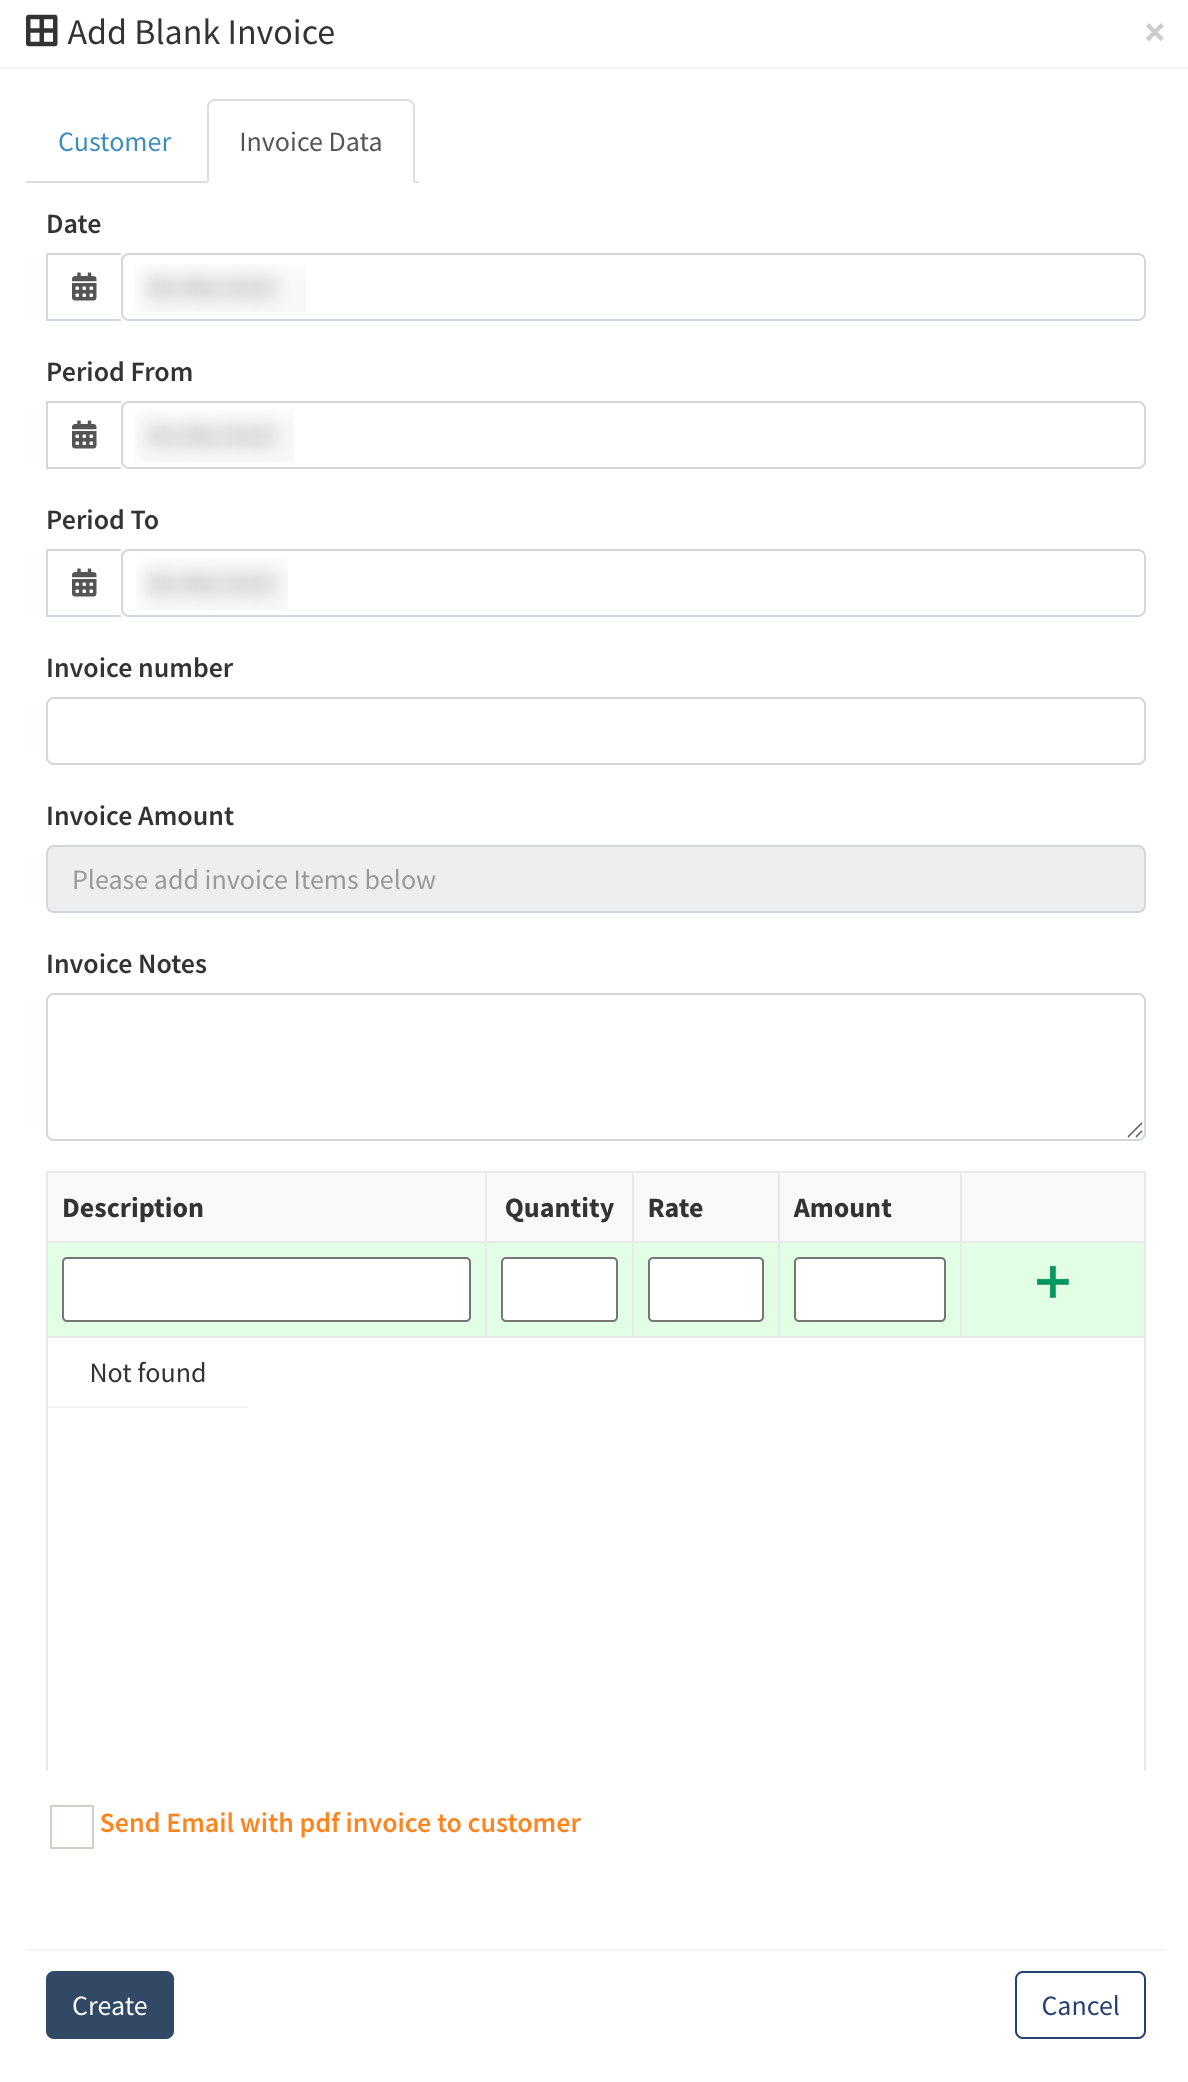
In the “Invoice Data” tab, fill in the following fields:
- Date: Select the date the invoice record is created.
- Period From / Period To: Select the date range to accumulate into the invoice.
- Invoice Number: Enter the invoice number for the Customer.
- Invoice Amount: The total amount to be paid by the Customer. This field is populated automatically based on the items and calculations provided below.
- Invoice Notes: Enter additional information about the invoice.
- Description / Quantity / Rate / Amount: Enter the detailed information about the items or services for which the Customer is paying.
Click the “Create” button to save and complete the action.
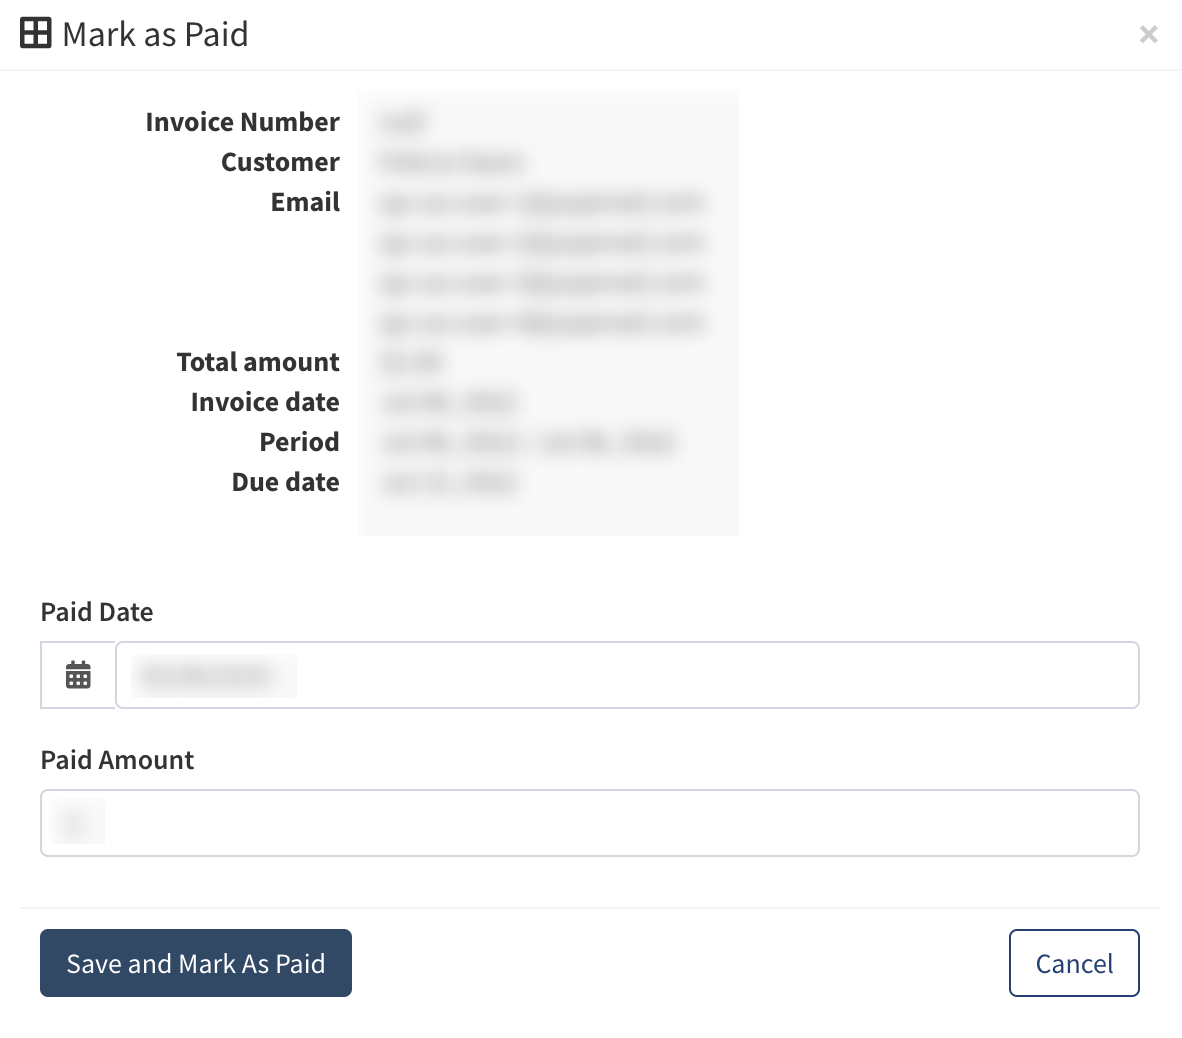
To change the payment status of the invoice to paid, click the “Mark as Paid” button in the “Actions” column. Select the paid date, enter the paid amount, and click the “Save and Mark As Paid” button to complete.
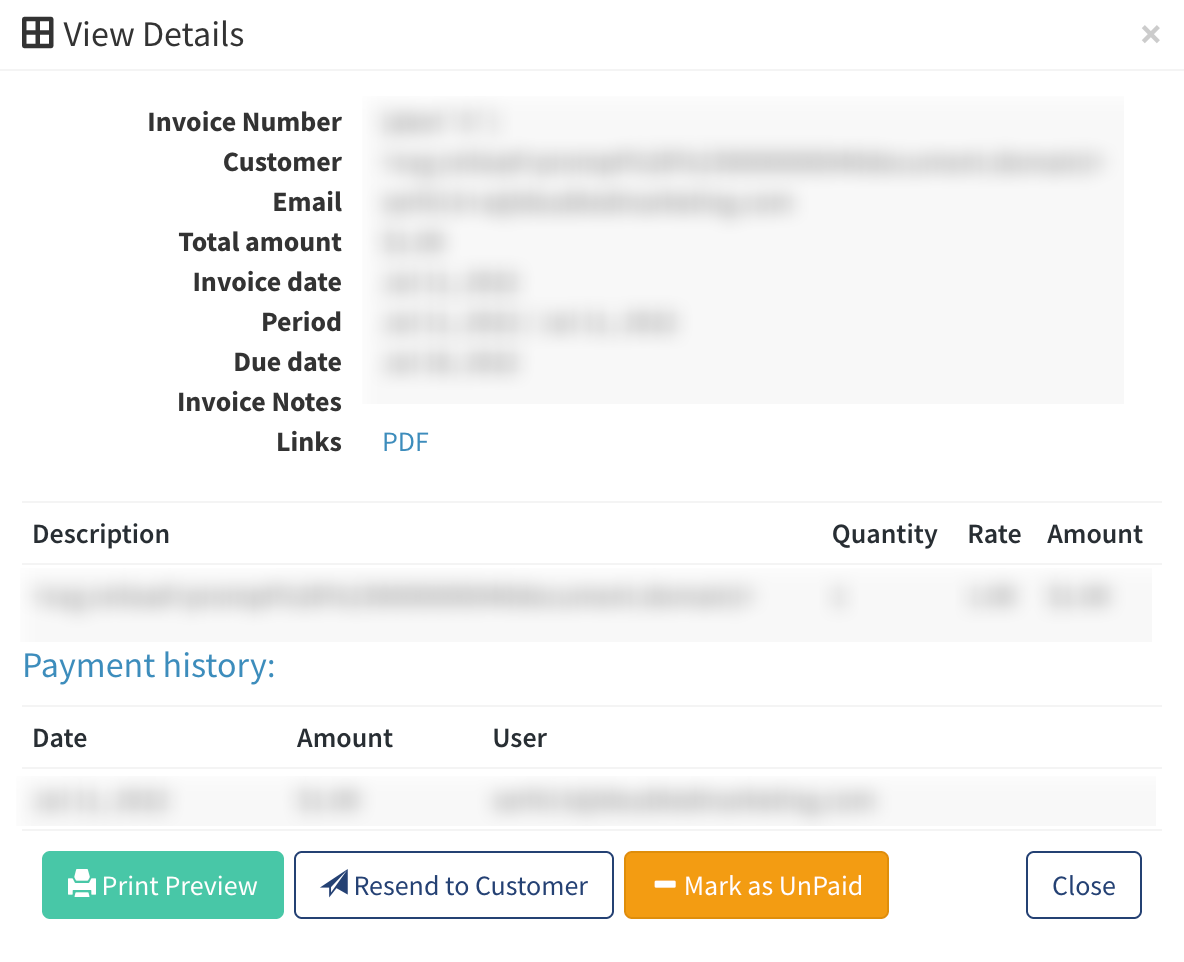
To view, edit, print, and resend the custom invoice record, click the “View Details” button in the “Actions” column.
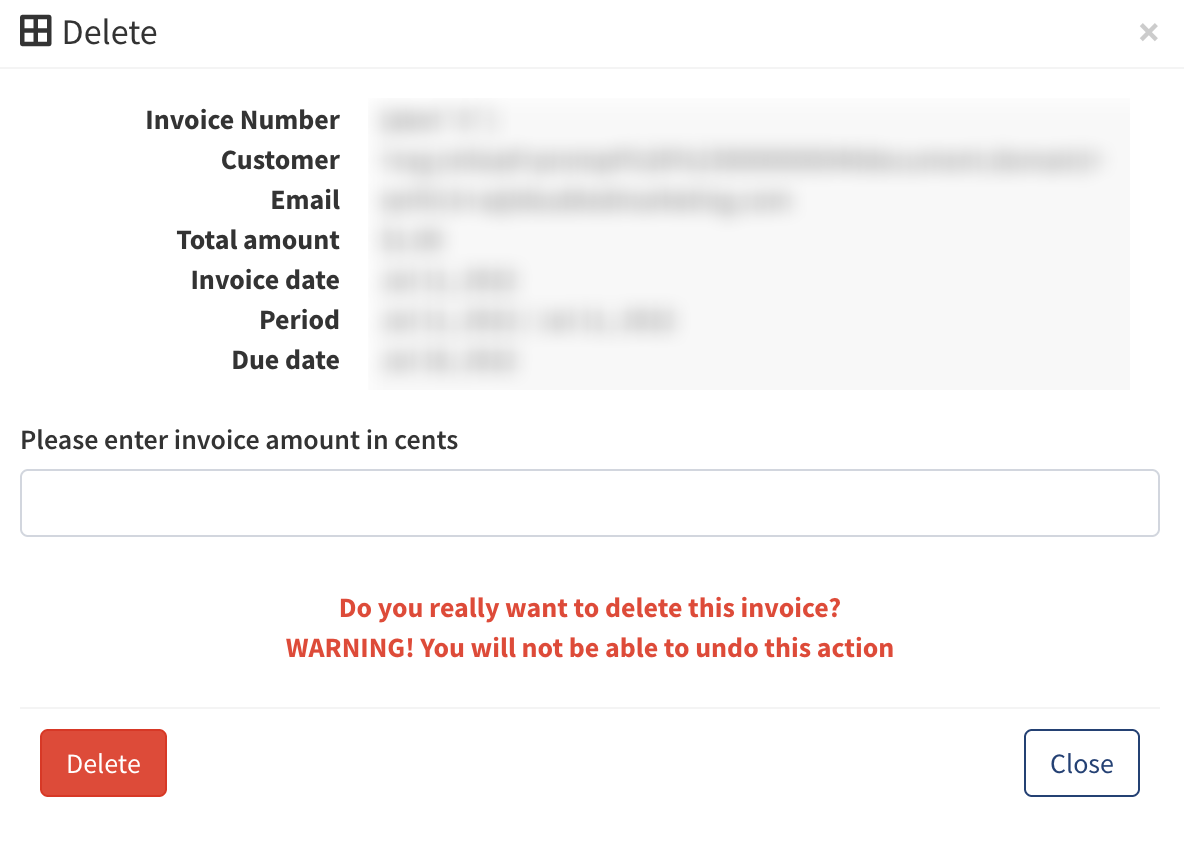
To delete the invoice record from the list, click the “Delete” button in the “Actions” column. Confirm the action by entering the invoice amount and clicking the “Delete” button in the pop-up window.