The Data Privacy Management section allows you to monitor and process unsubscribe and consumer data requests in the system.
To view the report, go to the All Reports > Extras > Data Privacy Management section.
Data Privacy
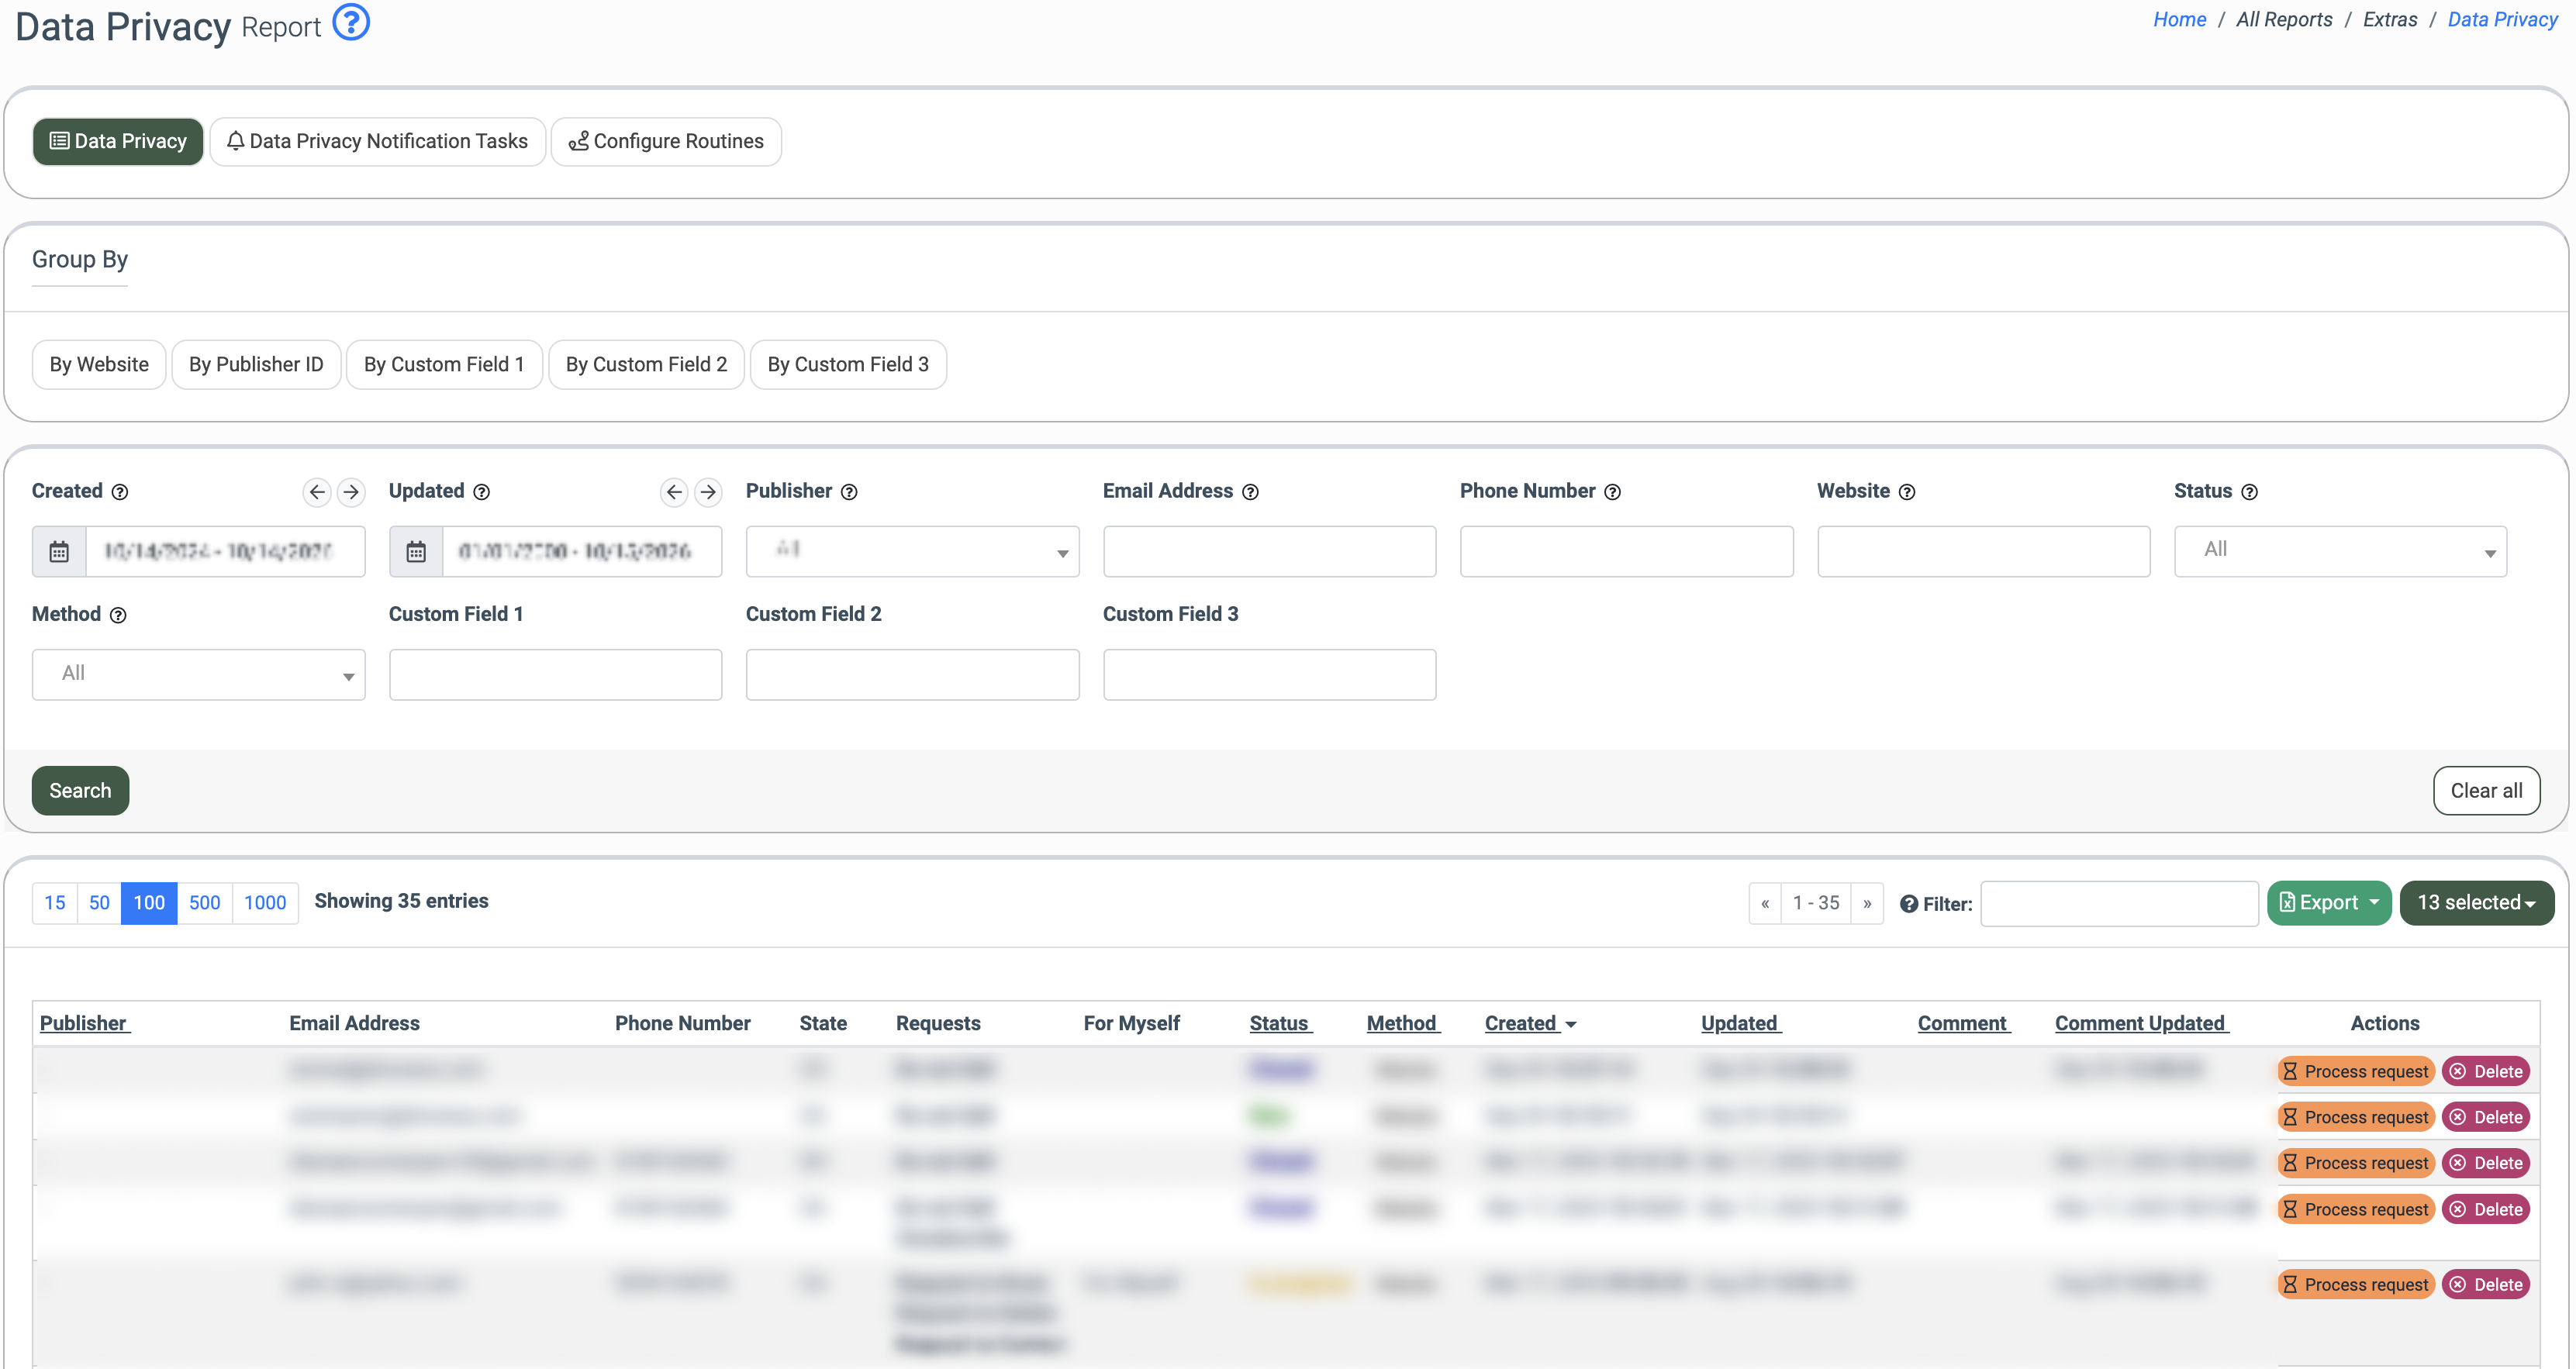
The "Data Privacy" tab provides a list of all unsubscribe requests and consumer data requests, along with general information about each lead for the selected period. You can organize this information by website or Publisher, based on your preference. Additionally, you have the option to process or remove these requests.
You can narrow down the search results by using the following filters:
- Created: Enter the date when the unsubscribe link was created.
- Updated: Enter the date when the unsubscribe link was updated.
- Publisher: Enter the name of the Publisher.
- Email Address: Enter the email address for the request.
- Phone Number: Enter the phone number for the request.
- Website: Enter the name of the web source from which the request came.
- Status: Select the status of the unsubscribe link. (New / In Progress / Closed / Partially Deleted).
- Method: Select the method of receiving the request (Website /Manual / API).
Click the “Search” button to generate the report.
The Data Privacy list contains the following information:
- Publisher: The name of the Publisher corresponding to the request.
- Email Address: The email address for the request.
- Phone Number: The phone number for the request.
- First Name: The first name that is attached to the request.
- Last Name: The last name that is attached to the request.
- Website: The web source from which the request came.
- Date of Birth: The date of birth corresponding to the request.
- Short SSN: The last 4 digits of the Social Security Number corresponding to the request.
- State: The name of the state that was determined as the location corresponding to the request.
- Requests: The request to delete information, unsubscribe, or disclose the categories of third parties to which the information is shared.
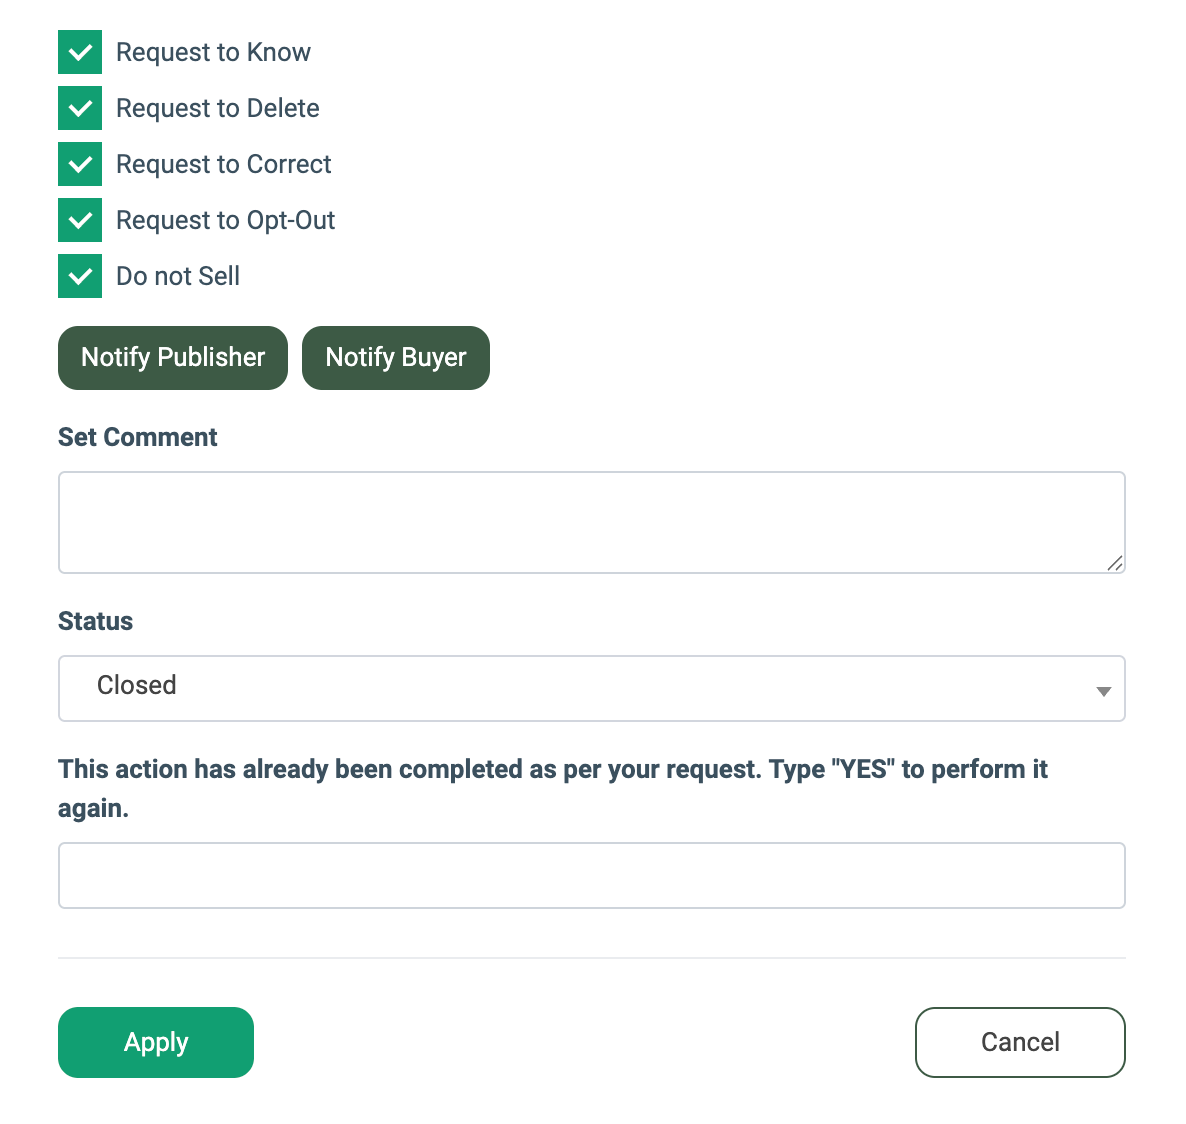
- Request to Know: The user’s request to know the personal information that has been collected.
- Request to Delete: The user’s request to delete the personal information that has been collected.
- Request to Correct: The user’s request to correct the personal information that has been collected.
- Request to Opt-Out: The user’s request to opt-out regarding the personal information that has been collected.
- Do not Sell: The user’s request to exclude the collected personal information from future selling or sharing with third parties.
- Unsubscribe: The user’s request to unsubscribe from further email notifications.
- For Myself: The column indicates on whose behalf the request was made (For Myself / On Behalf of another person).
- Status: The request status. (New / In Progress / Closed / Partially deleted).
- Method: The method of receiving the request (Website / Manual / API).
- Created: The date when the request was created.
- Updated: The date when the request was updated.
- Comment: The comment that is added to the request.
- Comment Updated: The date and time when the comment was updated.
To process a new request through the system, click the “Process Request” button in the “Actions” column. In the pop-up window, specify the request reason, enter the comment, and select a suitable status of the request. To notify the Publisher or Buyer that the lead was added to the Data Privacy Management list, click the respective buttons: “Notify Publisher” or “Notify Buyer”.
Note: Please make sure that your Buyers/Publishers' compliance notification settings are updated. Read more about how to enable Compliance Notifications for Publishers and Buyers in the respective Knowledge Base articles.
If the request has already been processed, the corresponding actions are performed, and you need to perform it again, enter the word "YES" in the “This action has already been completed as per your request. Type "YES" to perform it again.” field.
Note: If the request was processed before without filling out this field, the tracking event will not be triggered when re-processing the request. However, if the request was processed previously with this field filled out, the tracking event will be triggered each time the request is re-processed.
Click the “Apply” button to confirm the processing.
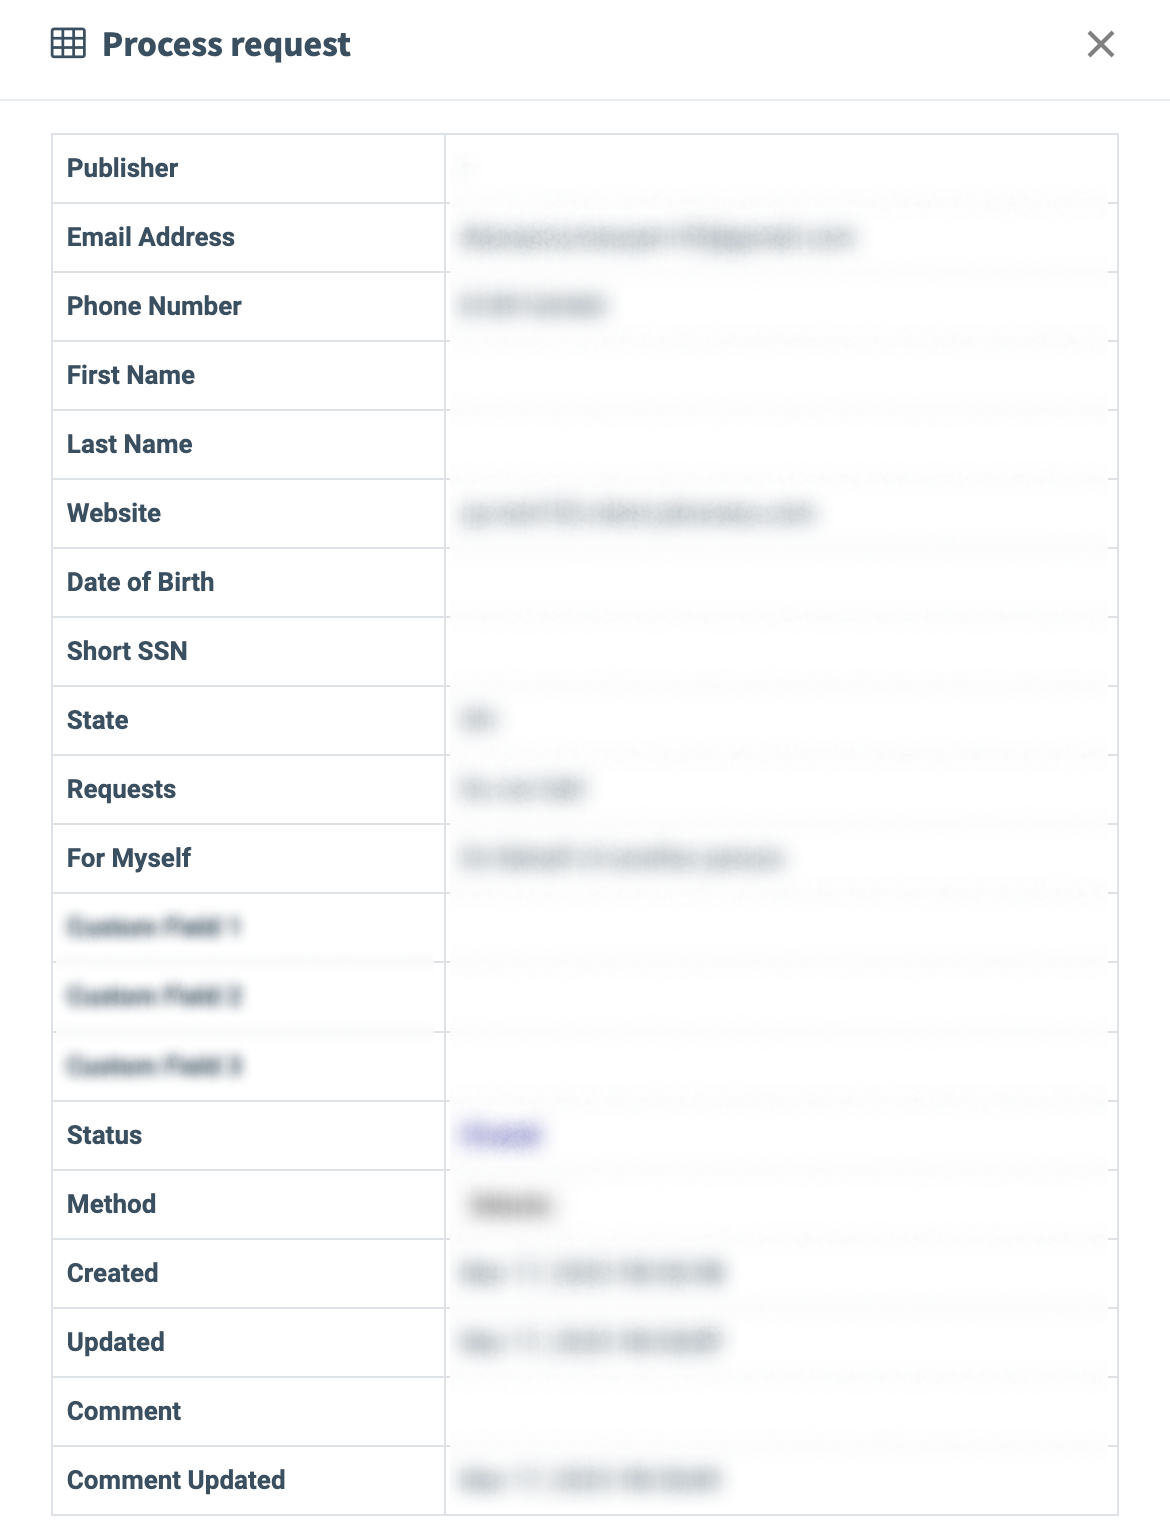
Note: Custom fields are displayed only if they are specified using the fieldLabel parameter.
To remove a request and its associated lead, click the “Delete” button. In the pop-up window, select the Product from which you want to remove the lead, and then click the “Next” button.
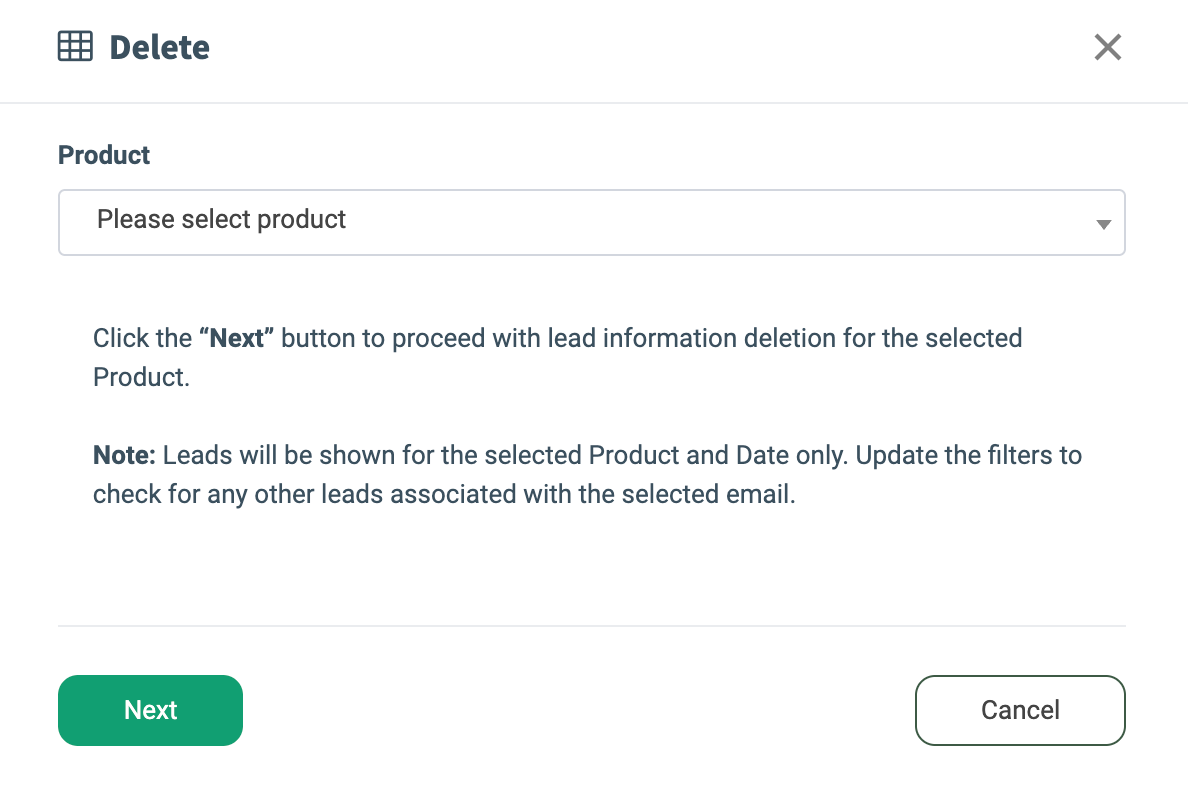
This way, you will be redirected to the “Lead Deletion” report. Read more about the “Lead Deletion” report in this article.
Data Privacy Notification Tasks
The “Data Privacy Notification Tasks” tab allows you to view the list of all notifications sent to Publishers and Buyers due to unsubscribe and consumer data requests.
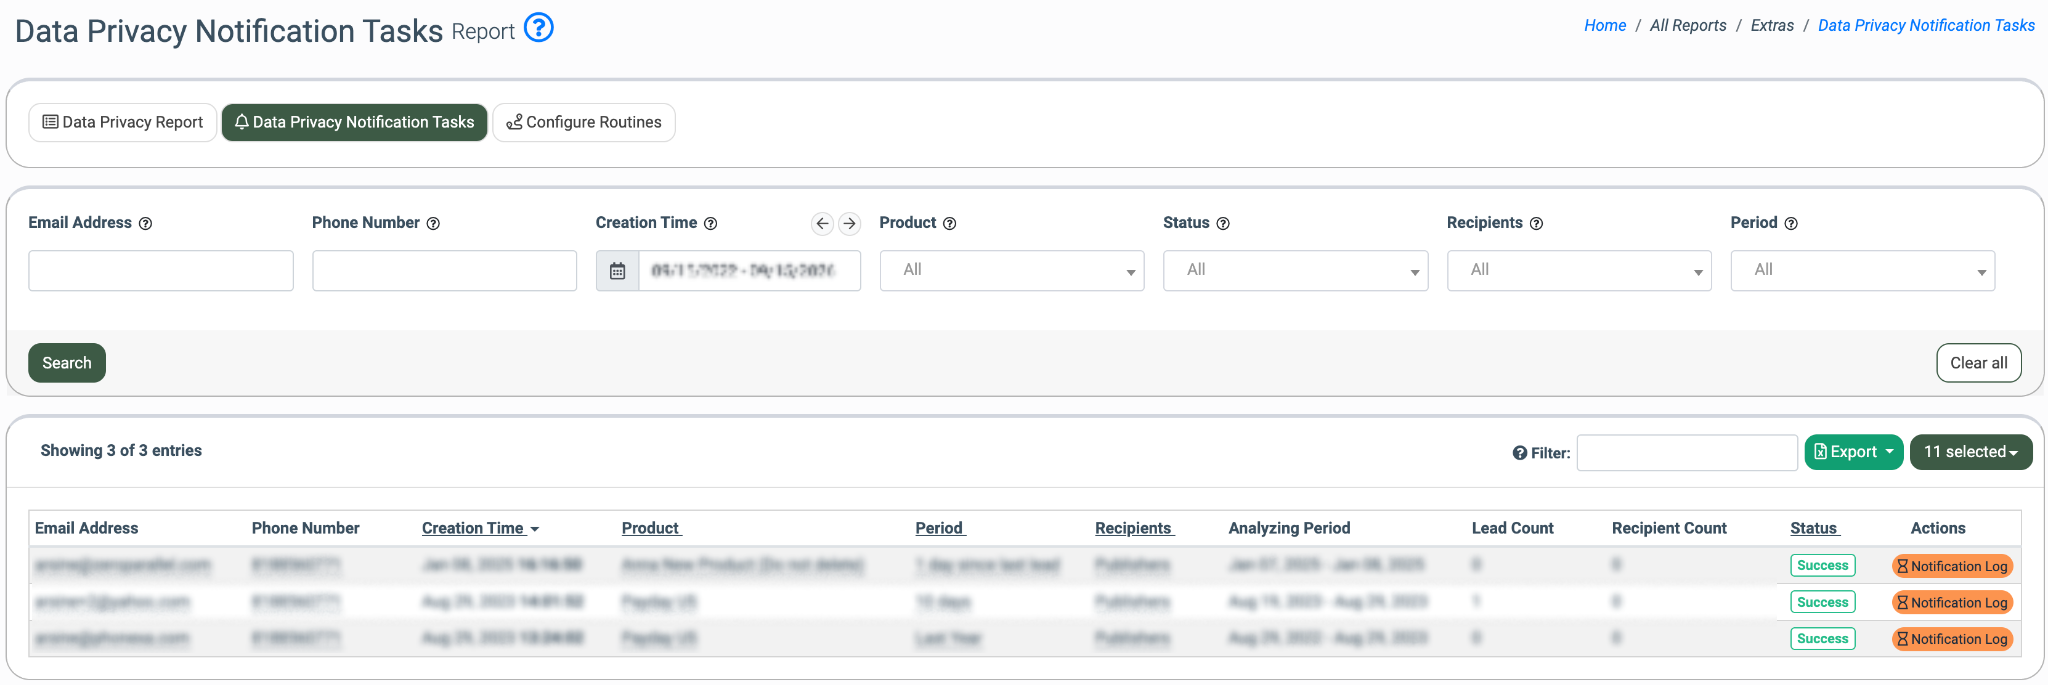
You can narrow down the search results by using the following filters:
- Email Address: Enter the email address of the lead.
- Phone Number: Enter the phone number of the lead.
- Creation Time: Select the date range within which the request was created.
- Product: Select the Product.
- Status: Select the status of the request (Pending / Collecting data / Analyzing Leads / Sending to Email Queue / Success / Error).
- Recipients: Select the recipients of the notification(s) (Publishers / Buyers)
- Period: Select the designated period for the notification task (1 day since last lead / 10 days / 30 days / Last Year).
Note: Leads will be shown for the selected date only. Update the “Date” filter to check for any other leads associated with the selected email.
The Data Privacy Notification Tasks report contains the following information:
- Email Address: The email address of the lead.
- Phone Number: The phone number of the lead.
- Creation Time: The date when the request was created.
- Product: The name of the Product.
- Period: The designated period for the notification task.
- Recipients: The user group to receive the notification (Publishers / Buyers).
- Analyzing Period: The actual time range that the system uses to perform the lead search.
- Lead Count: The number of leads found from the analyzing period.
- Recipient Count: The number of Publishers/Buyers to receive the notification.
- Status: The status of the notification task.
To view the Notification Log report with the sent email notifications, click the “Notification Log” button in the “Actions” column. Read more about the “Notification Log” in this Knowledge Base article.
Configure Routines
The “Configure Routines” tab allows you to enable the Event Tracking feature for the leads that are added to the Data Privacy Management list. The Event Tracking actions can be triggered by the reason(s) specified in the request. Event tracking rules are grouped by request type in separate tabs: “Request to correct”, “Request to delete”, “Request to know”, “Request to Opt-Out”, “Do Not Sell”, and “Unsubscribe”.
Read more about the Event Tracking feature in this Knowledge Base article.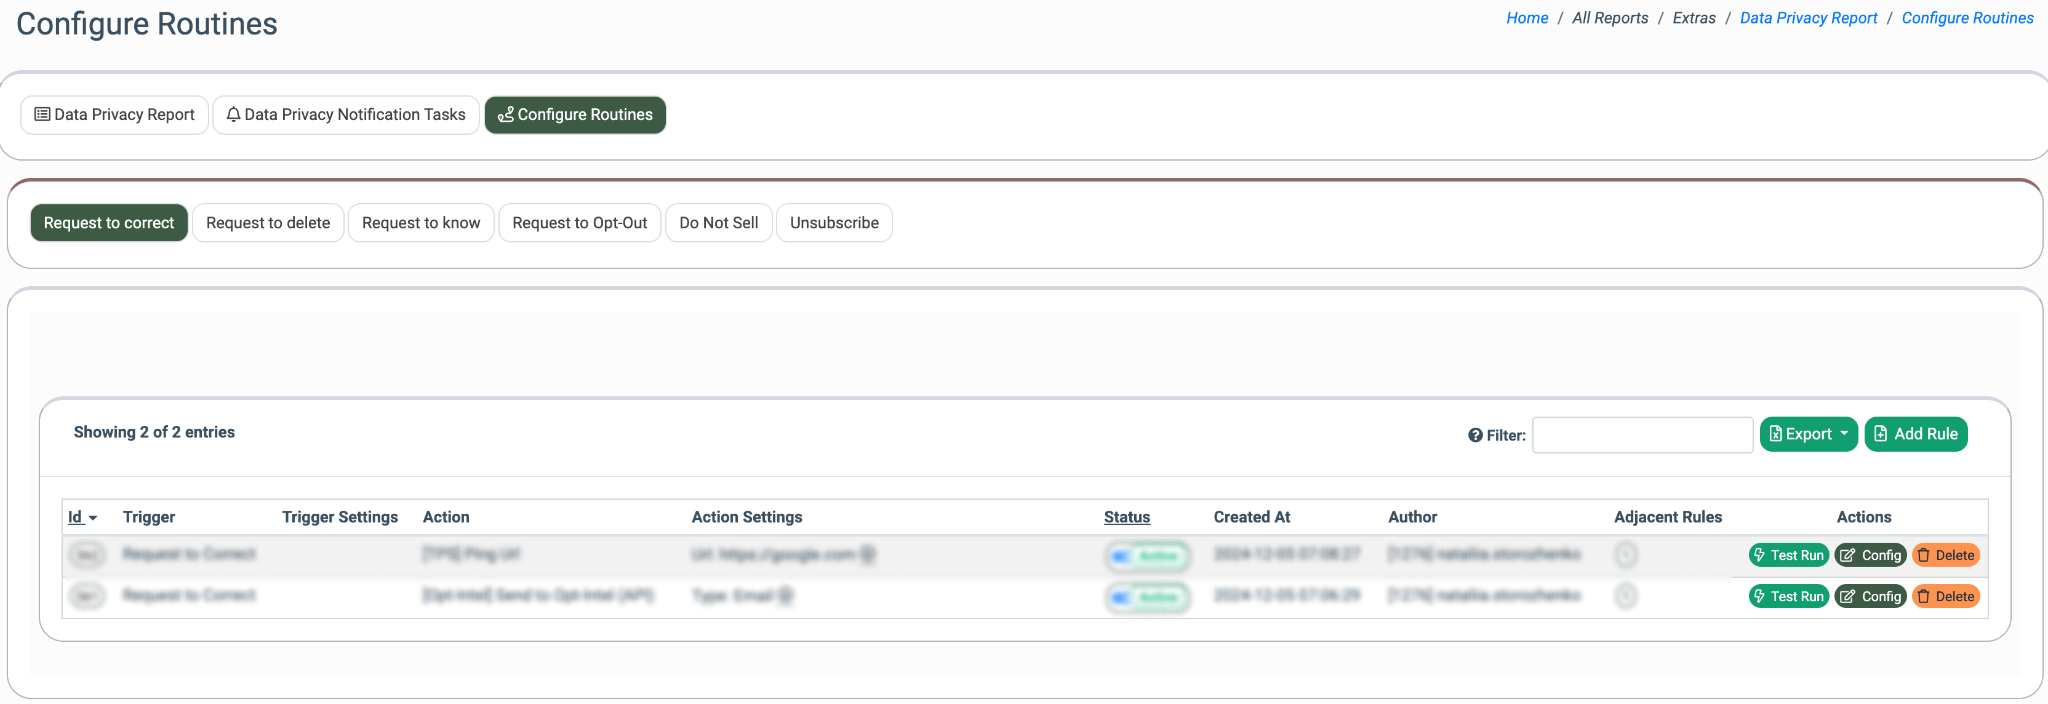
The list of event tracking rules contains the following information:
- ID: The ID number of the event tracking rule.
- Trigger: The selected request reason that will trigger the event tracking action.
- Trigger Settings: The trigger settings that indicate whether a rule is applied to all Publishers or specific ones.
- Action: The action that will be triggered once the corresponding request is processed.
- Action Settings: The details that are required for the action to trigger.
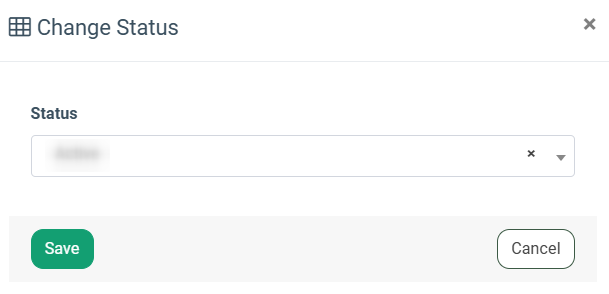
- Status: The event tracking rule status (Active / Disabled). To change the current status of the rule, click the “Status” button and select the corresponding status in the “Change Status” pop-up window. Click the “Save” button to complete the action.
- Created At: The date and time when the rule was set up.
- Author: The name of the user who added the rule.
- Adjacent Rules: The adjacent rules assigned to the tracking rule.
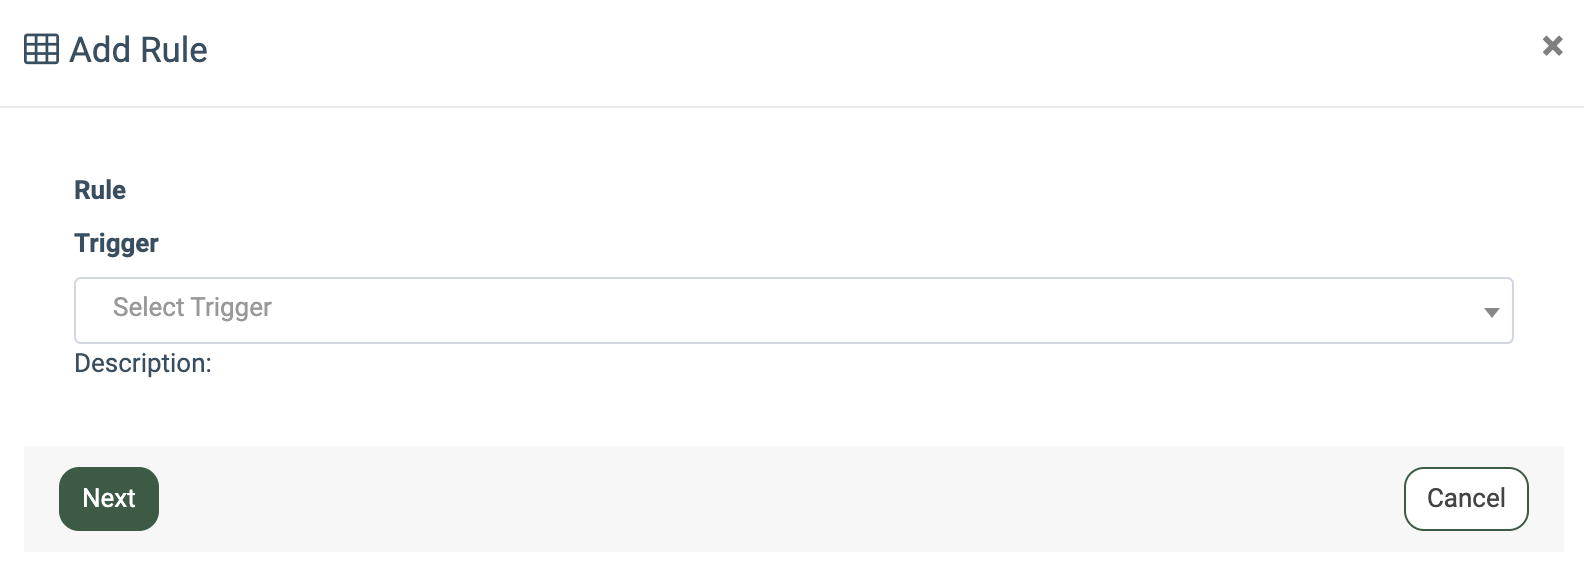
To set up a new event tracking rule, click the “Add Rule” button. Select the request reason that will trigger the event tracking action via the “Trigger” field. Click the “Next” button to continue.
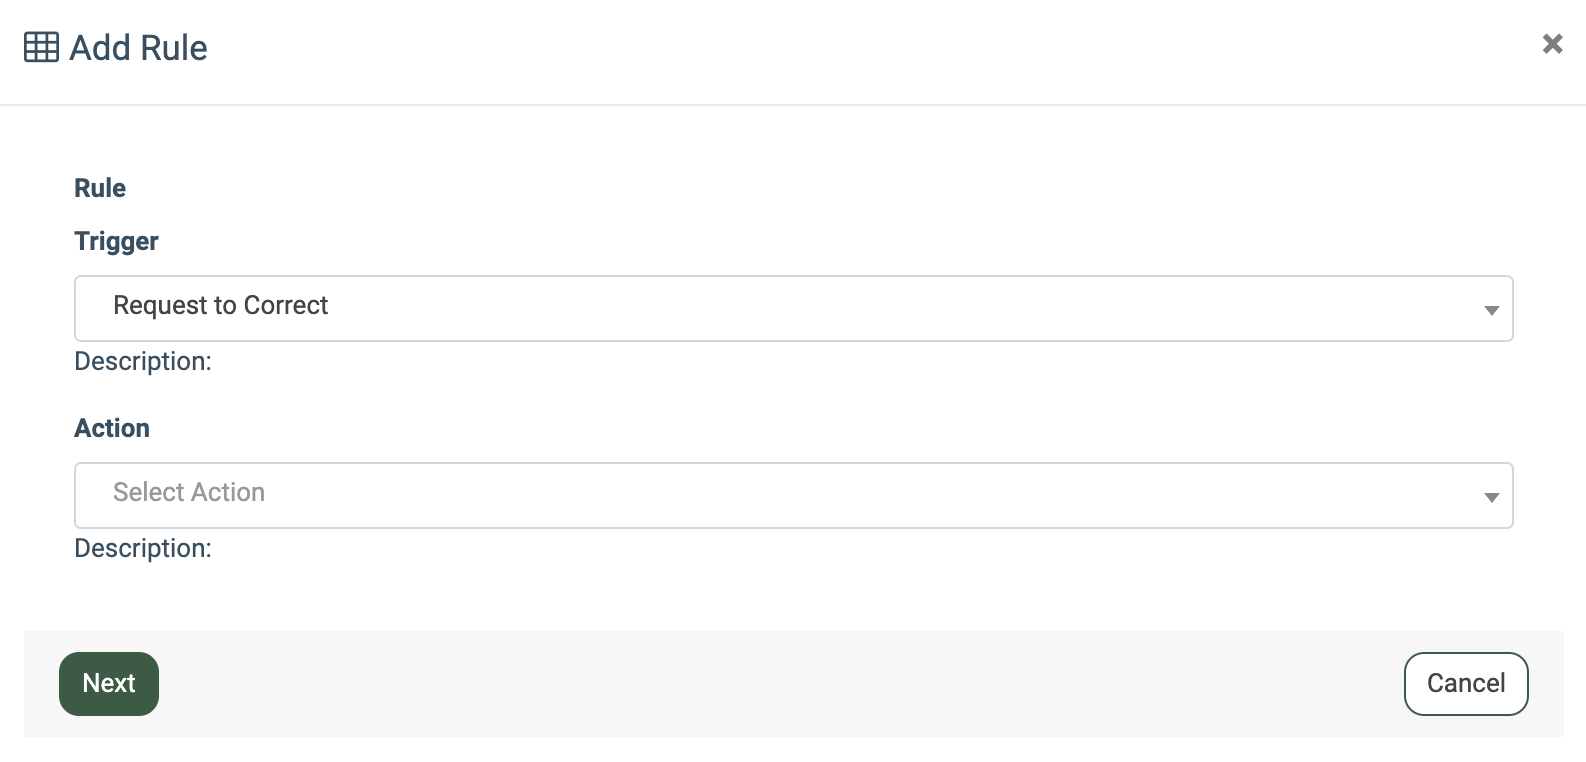
Then select the action that will be triggered once the lead with the corresponding request reason is processed. To view all of the available action types, please refer to this Knowledge Base article.
Click the “Next” button to continue.
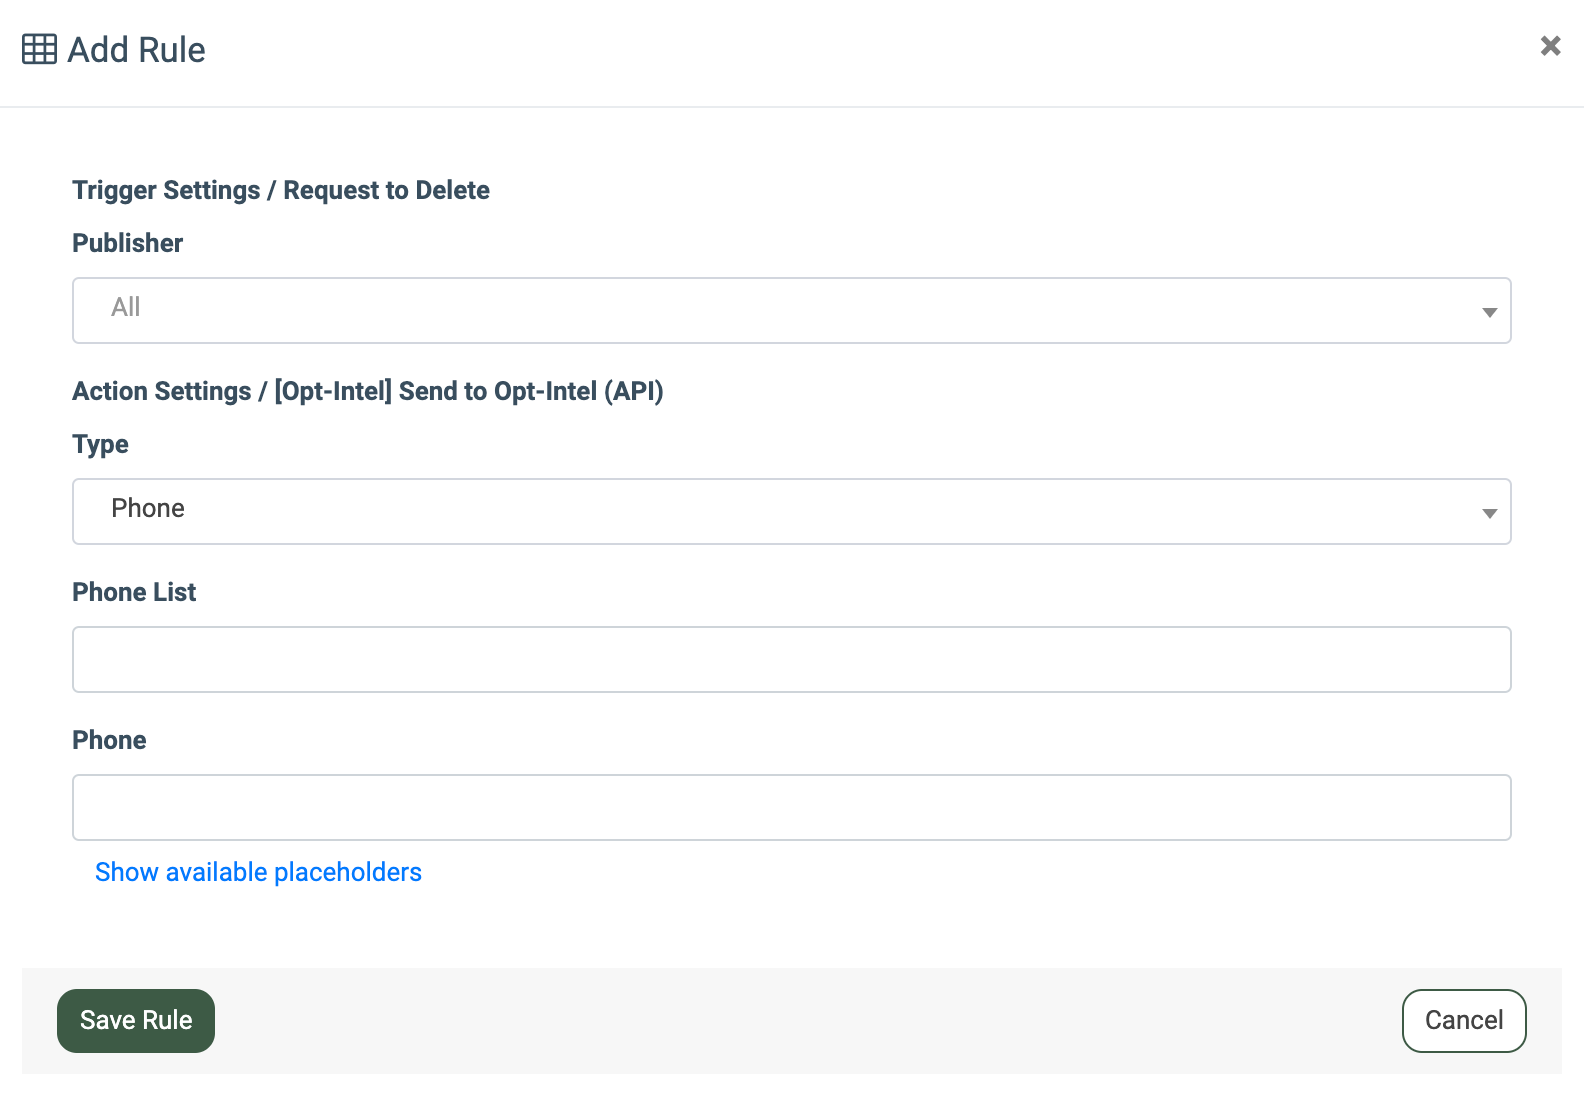
Depending on the selected action, fill in the required fields and click the “Save Rule” button.
 Once the event tracking rule is set up, each time the request is processed with the corresponding request reason and trigger settings, it will activate the selected action.
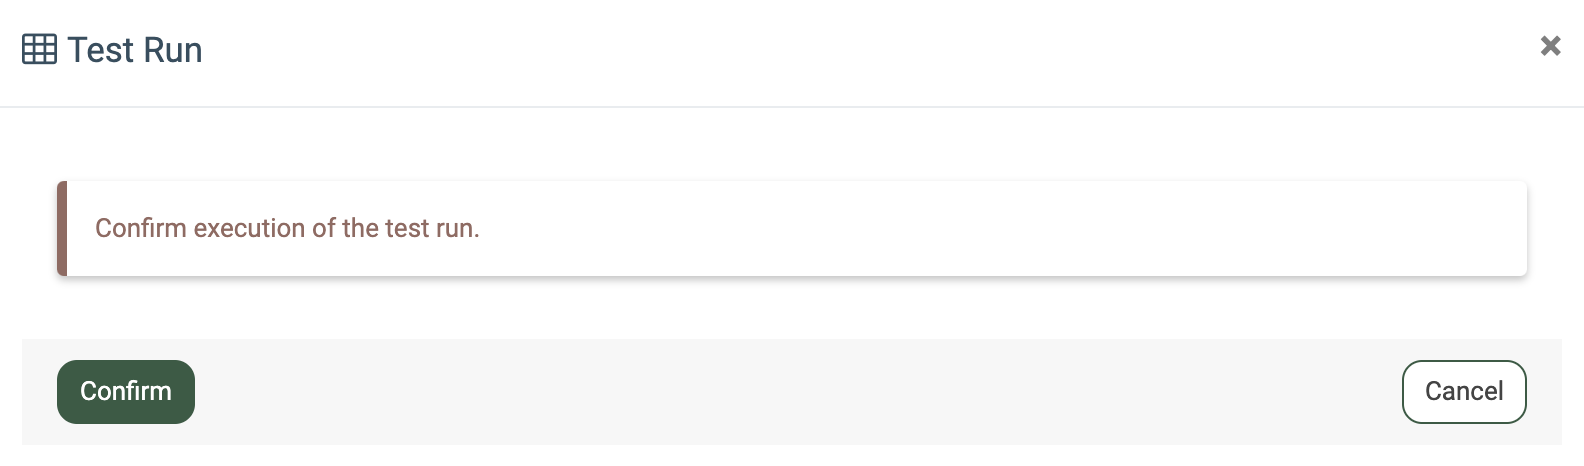
To test whether the rule is applied properly, click the “Test Run” button. Then click the “Confirm” button to proceed.
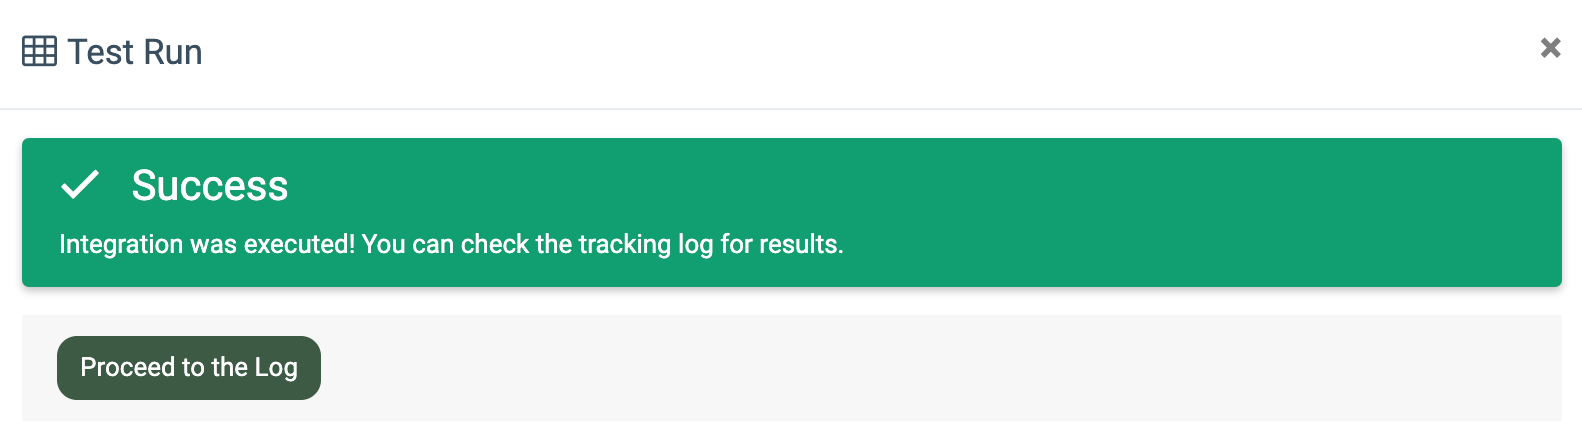
If the test run is successful, you can click the “Proceed to the Log” button to view the details via the “Tracking Log” report. Read more about the “Tracking Log” in this Knowledge Base article.
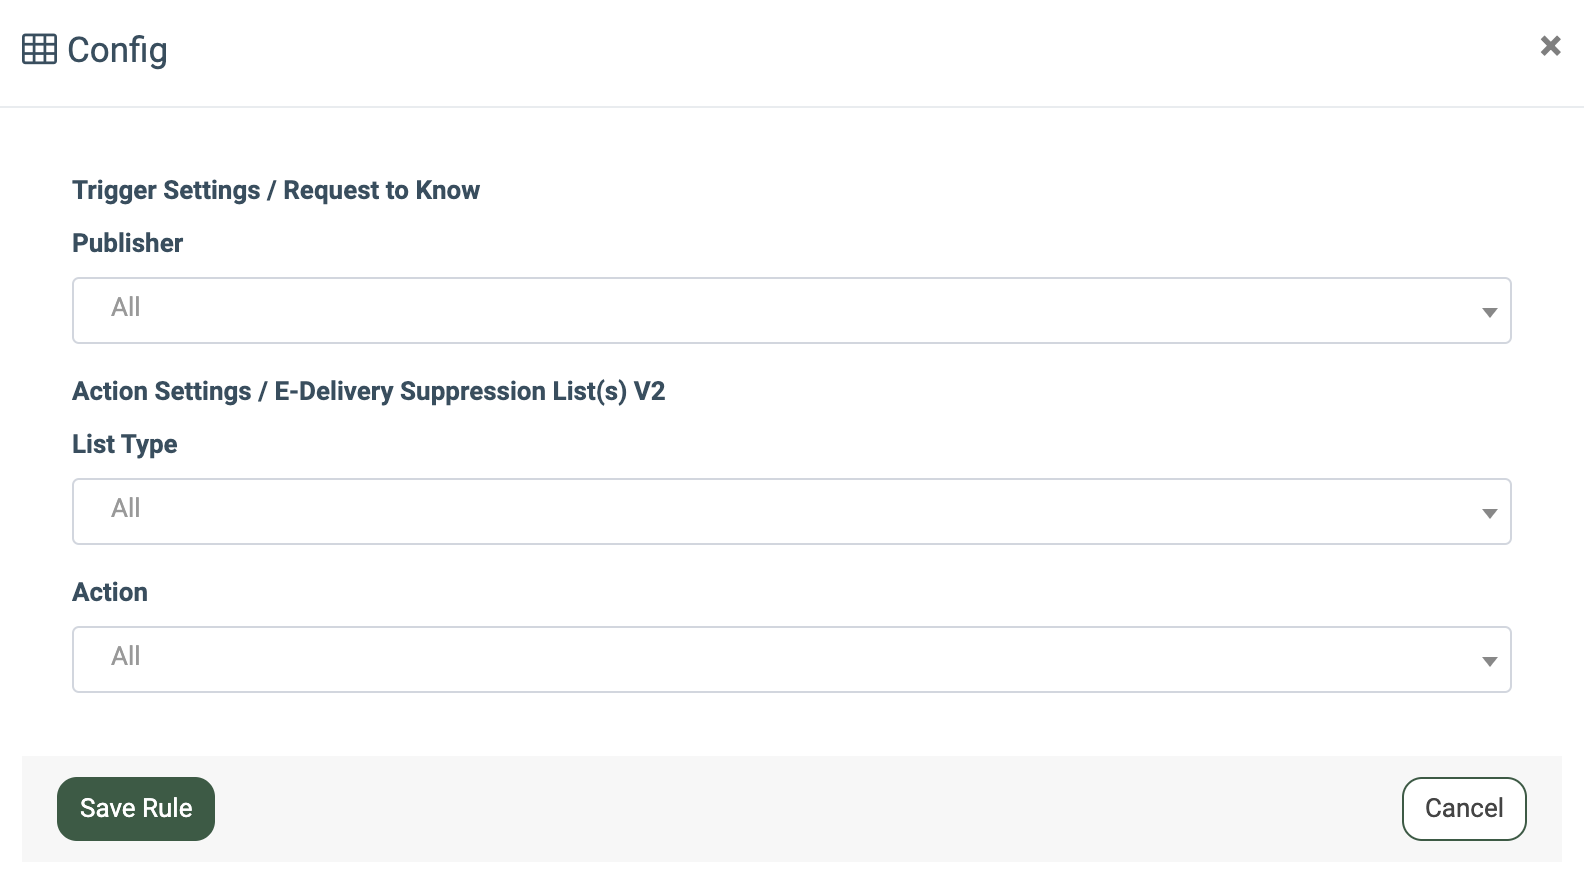
 To modify the settings of the event tracking rule, click the “Config” button. Fill in the necessary fields in the “Config” pop-up window and click the “Save Rule” button.
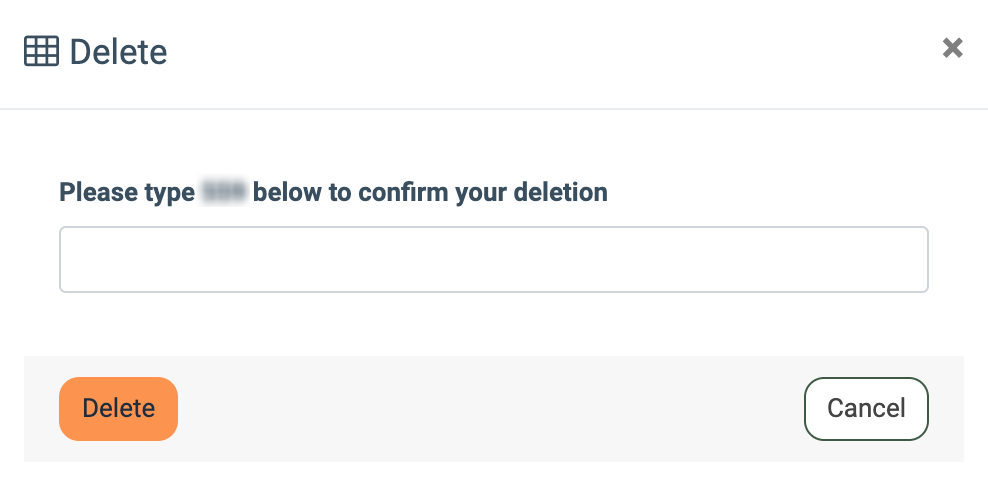
 To remove the existing event tracking rule, click the “Delete” button. Fill in the provided number in the pop-up window and click the “Delete” button once again.