The Data Privacy feature allows you to collect and manage requests for unsubscribing and consumer data in your system. It is specifically designed to comply with privacy regulations such as GDPR, CCPA/CPRA, and other relevant state privacy laws and global standards. This ensures that organizations respect user preferences while complying with legal requirements. You can integrate this feature either through the API or by using the built-in unsubscribe form.
To enable the feature, go to the System Management > General > Project Settings section and select the “Global” tab. Enable the “Data Privacy API & Reporting” option in the “Data Privacy” subtab and click the “Save” button to complete. Copy the generated Data Privacy URL under the enabled option. You can use this link on your websites, forms, email messaging, etc.
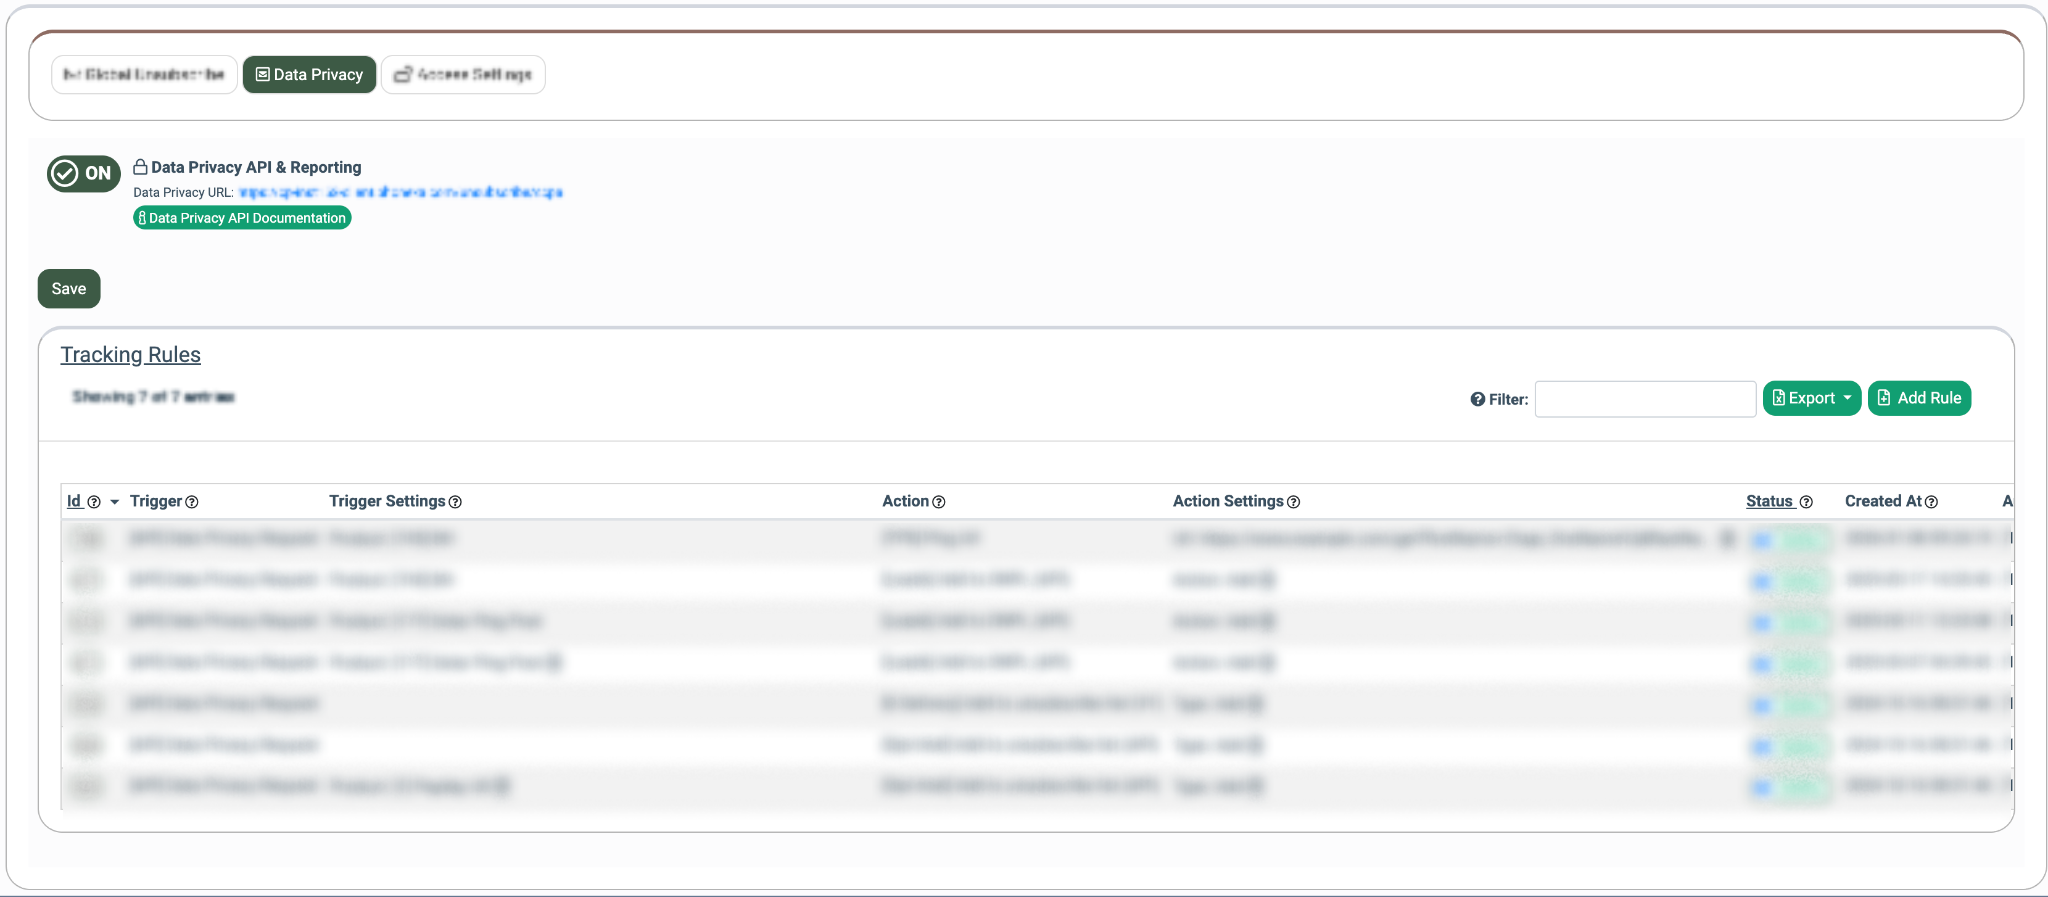
To view the Data Privacy API Documentation, click the corresponding button. 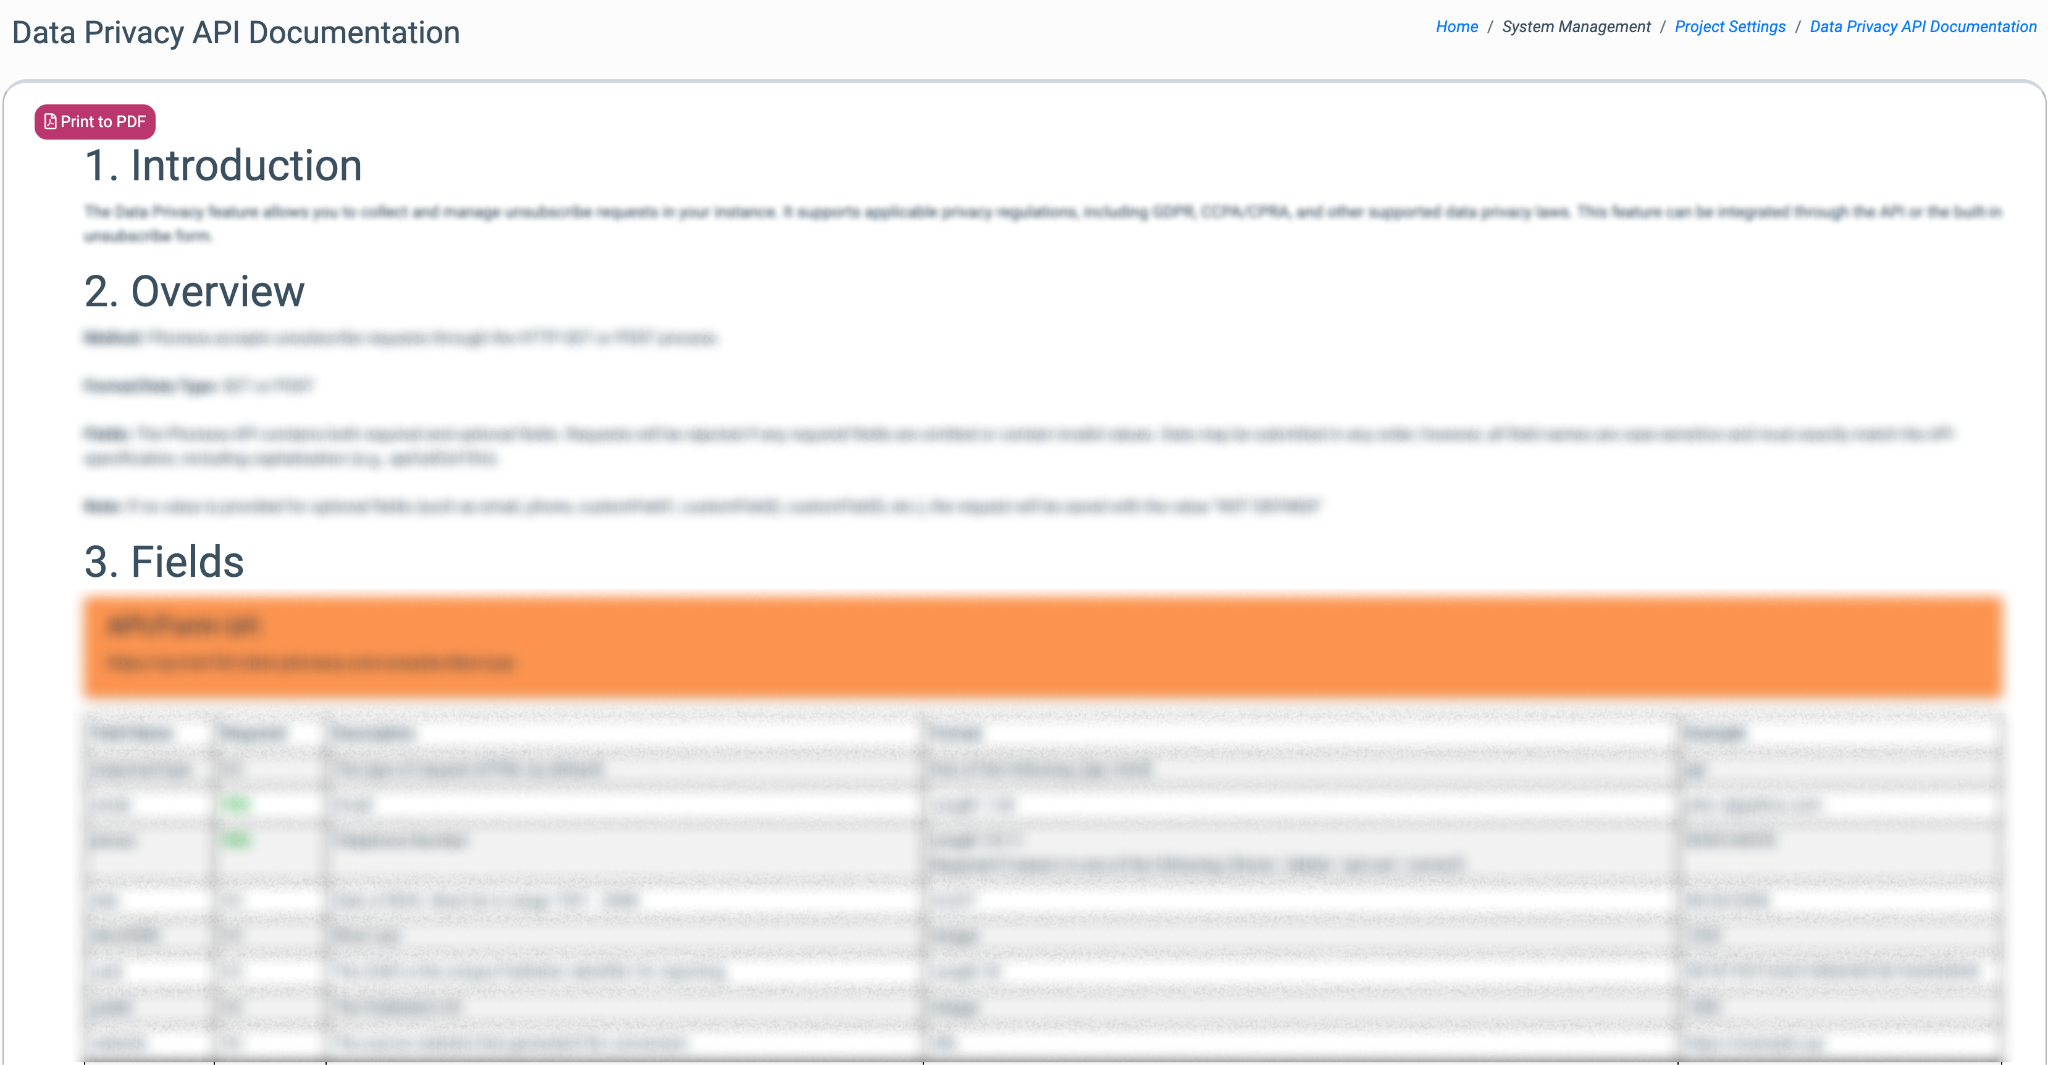
To get and print the API documentation as a PDF file, click the “Print to PDF” button.
To add the Data Privacy URL to your form, go to the System Management > Products section, select the preferred Product from the list, and click the “Settings” button in the “Actions” column. Select the “Additional Form Settings” tab and insert the URL you copied before in the “Form Unsubscribe Link” field.
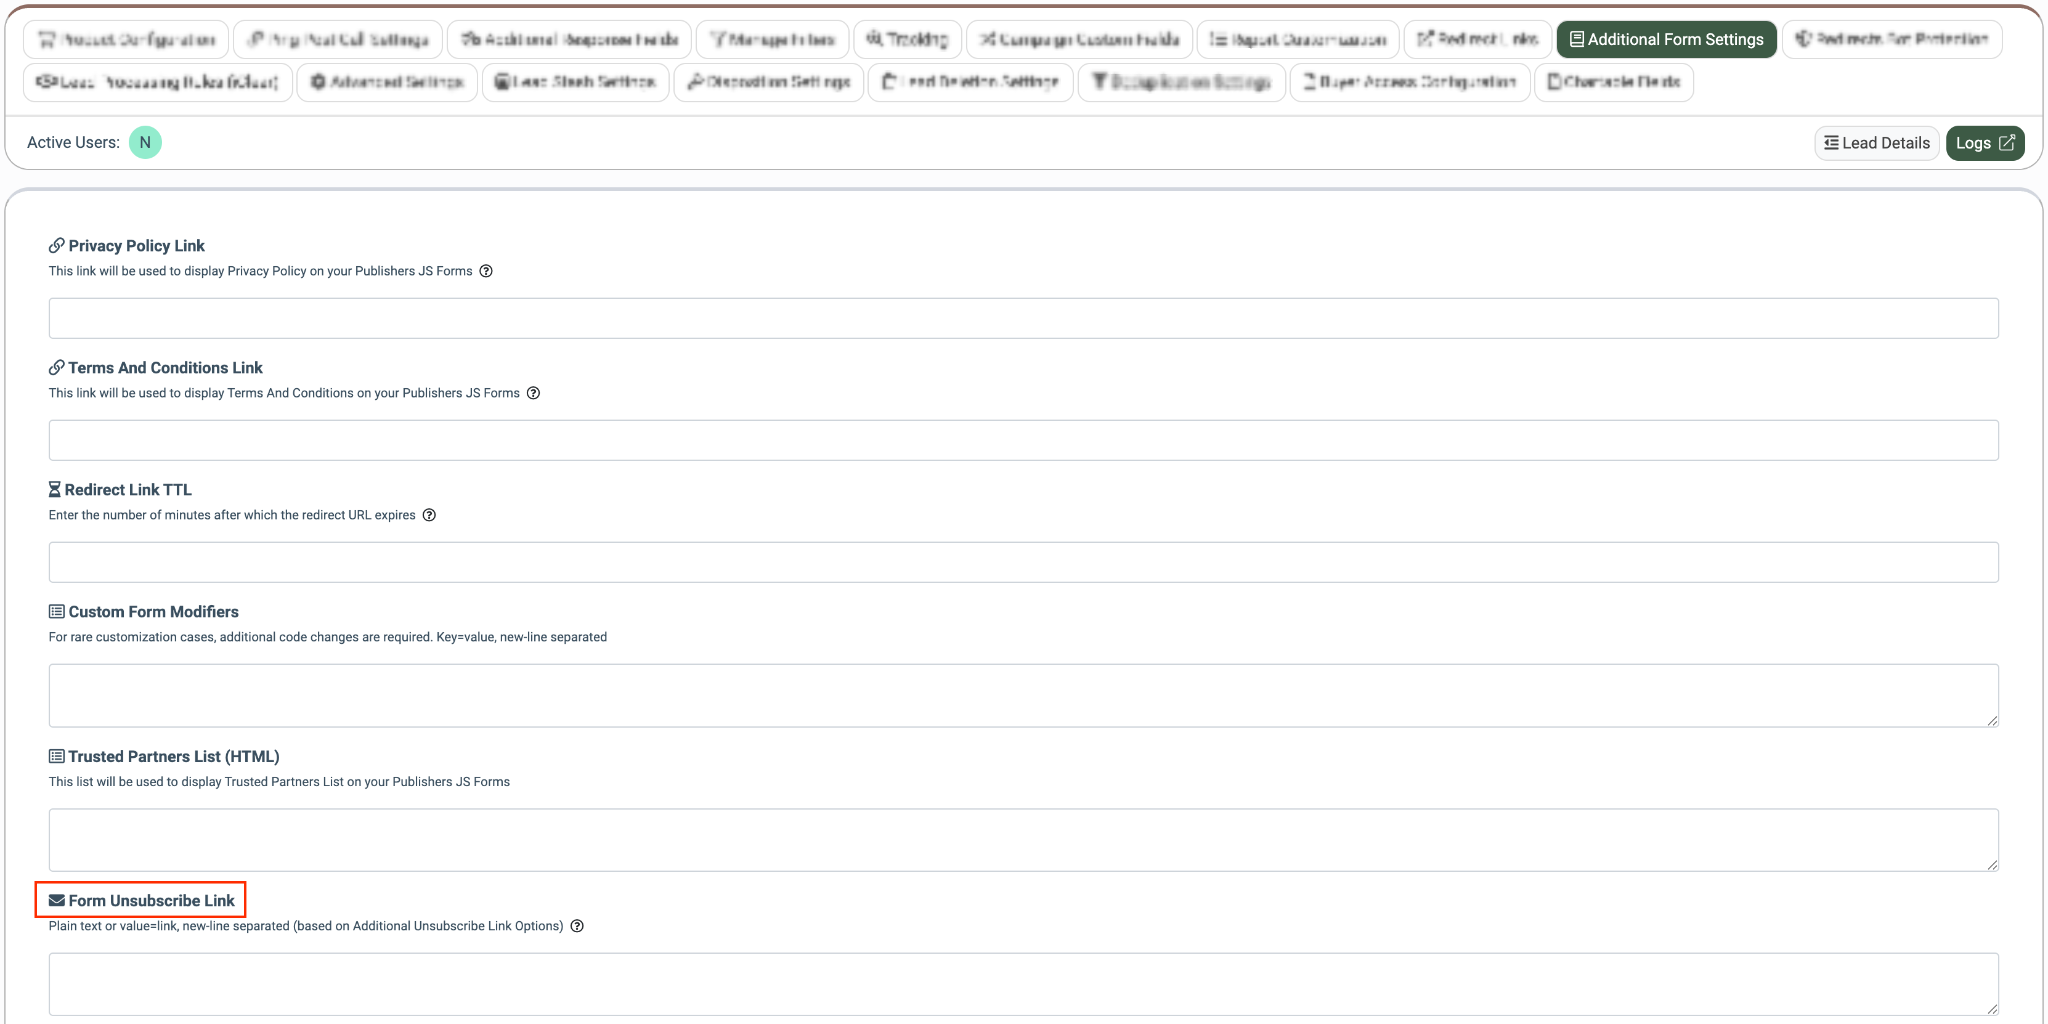
To set custom unsubscribe links for each option from the “Additional Options for Form Unsubscribe Link” field, add links in the following format: ca=http://usubscribewebsite1.com / fl=http://usubscribewebsite2.com / etc.
Every option should be added as a separate line.
Fill in the “Additional Options for Form Unsubscribe Link” field to attach the additional options for the form unsubscribe links. These options will be added to your JS Form along with the unsubscribe feature. 
Example: Enter the list of state abbreviations and state names that will be displayed in the unsubscribe pop-up window: ca=California, fl=Florida, etc. Every option should be added as a separate line.
You may use the Global Unsubscribe option as a default link. Read more about the Global Unsubscribe feature in the following Knowledge Base article.
To add a message that will be displayed in the unsubscribe pop-up window, enter the text into the “Message before Additional Options” field.

Example: We take your privacy seriously. To process your request, we require your personally identifiable information ("PII").
Click the “Save” button to apply the changes.
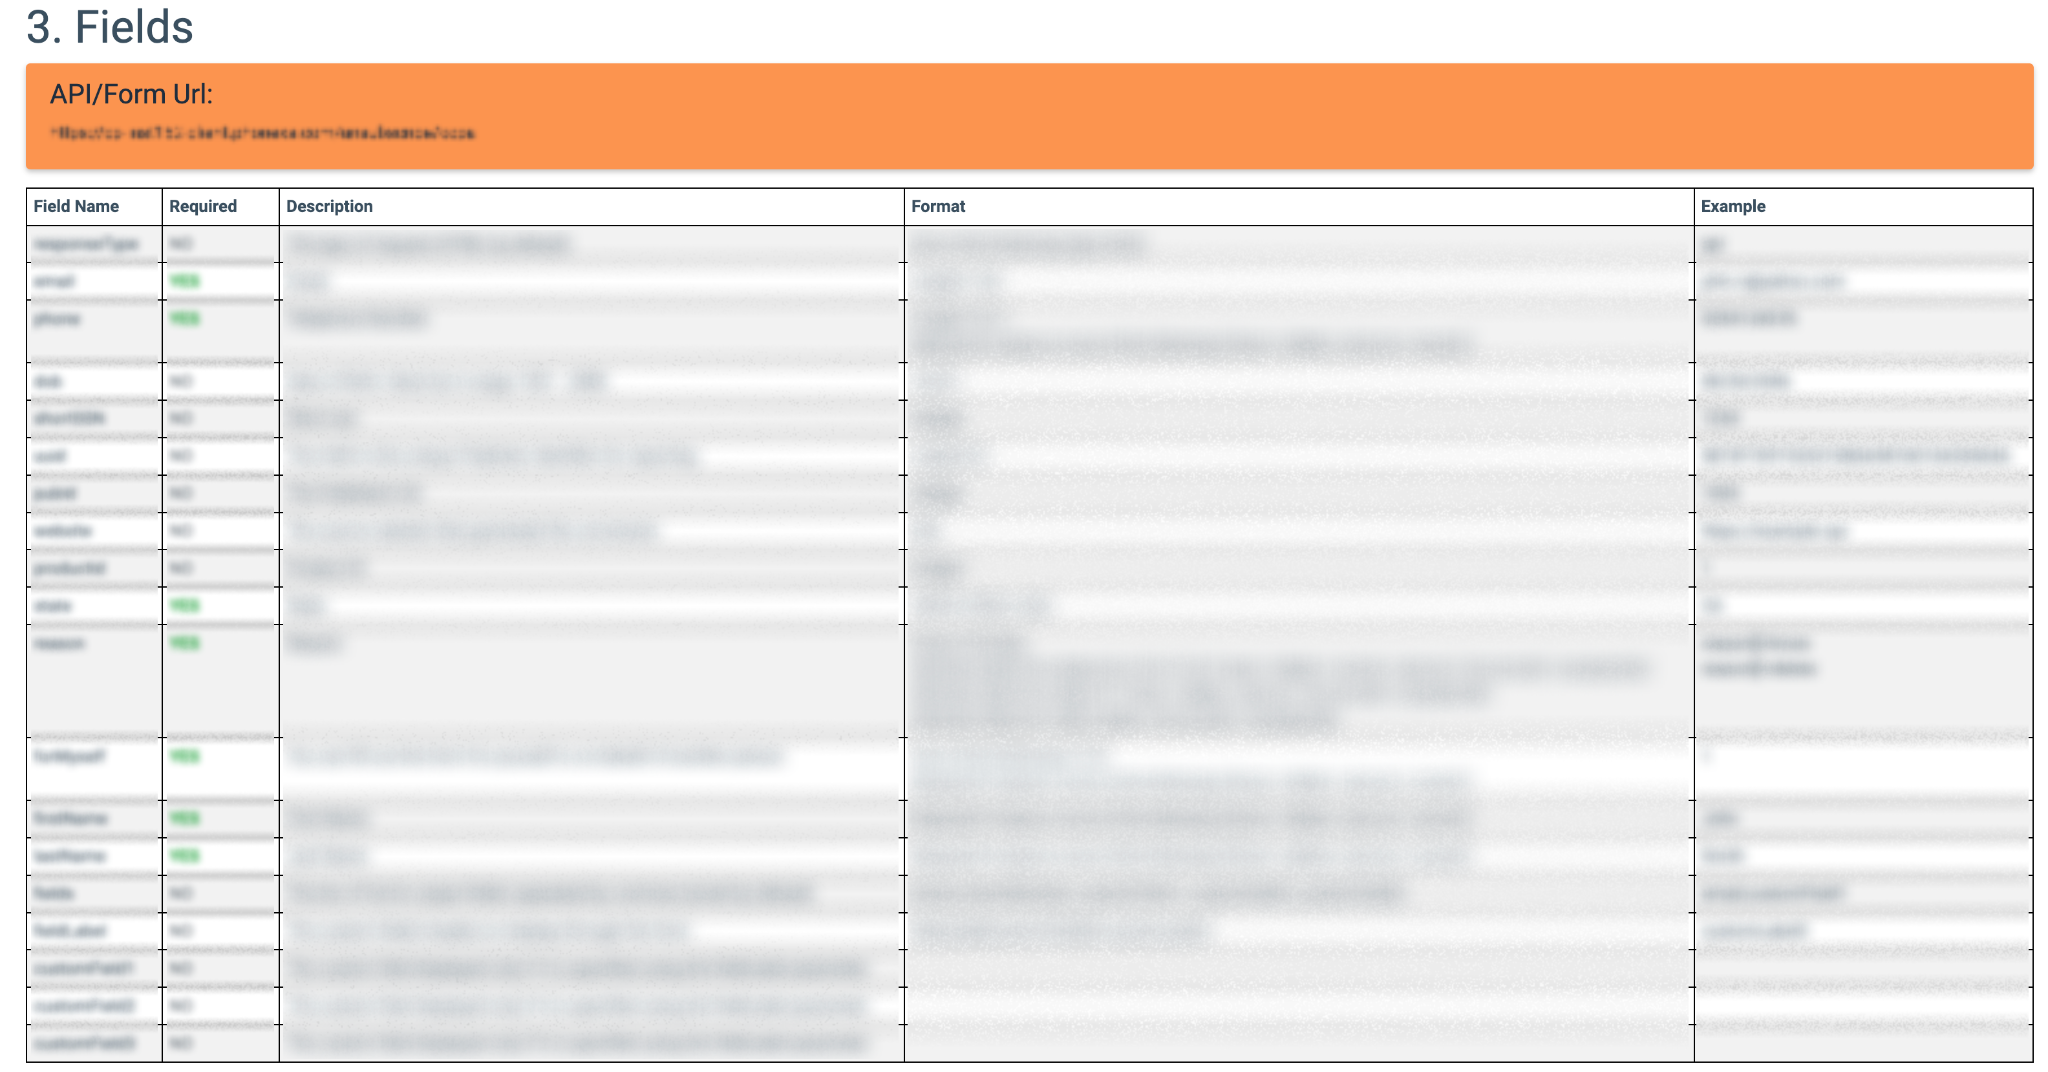
To view the list of unsubscribe form parameters that can be used, click the “API Doc” button and check the “Fields” section of the Data Privacy API Documentation.
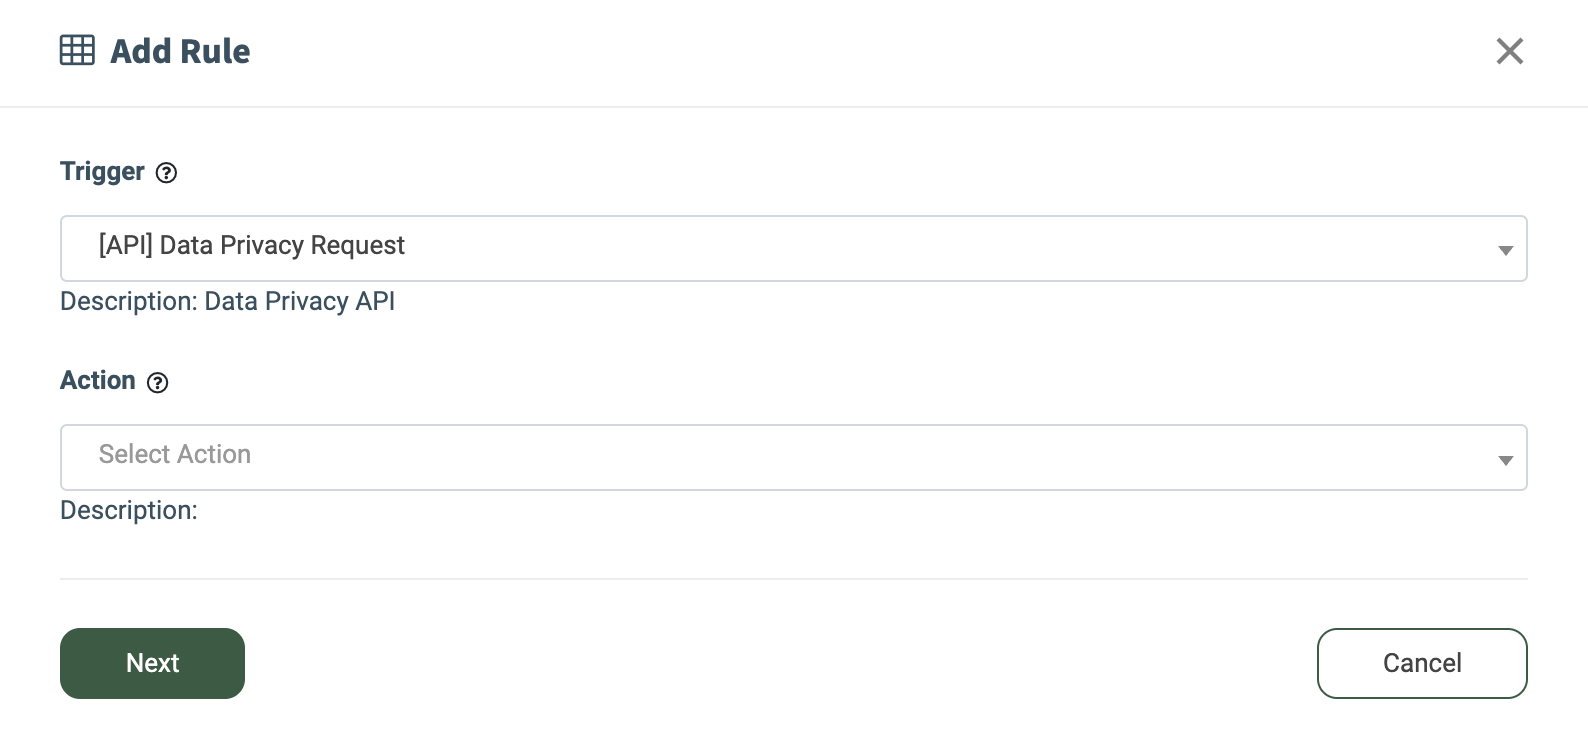
You can also set up Event Tracking Rules according to your preferences to automate actions triggered by global unsubscribe requests. To create rules for the Data Privacy data to be sent to the E-Delivery, Opt-Intel contact lists, or available TPS services, click the “Add Rule” button and complete the fields in the “Add Rule” pop-up window.
- Trigger: Select the “[API] Data Privacy Request” option.
- Action: Select the action that should be performed by triggering the unsubscribe action (the event tracking type).
Click the “Next” button to proceed with further rule configuration.
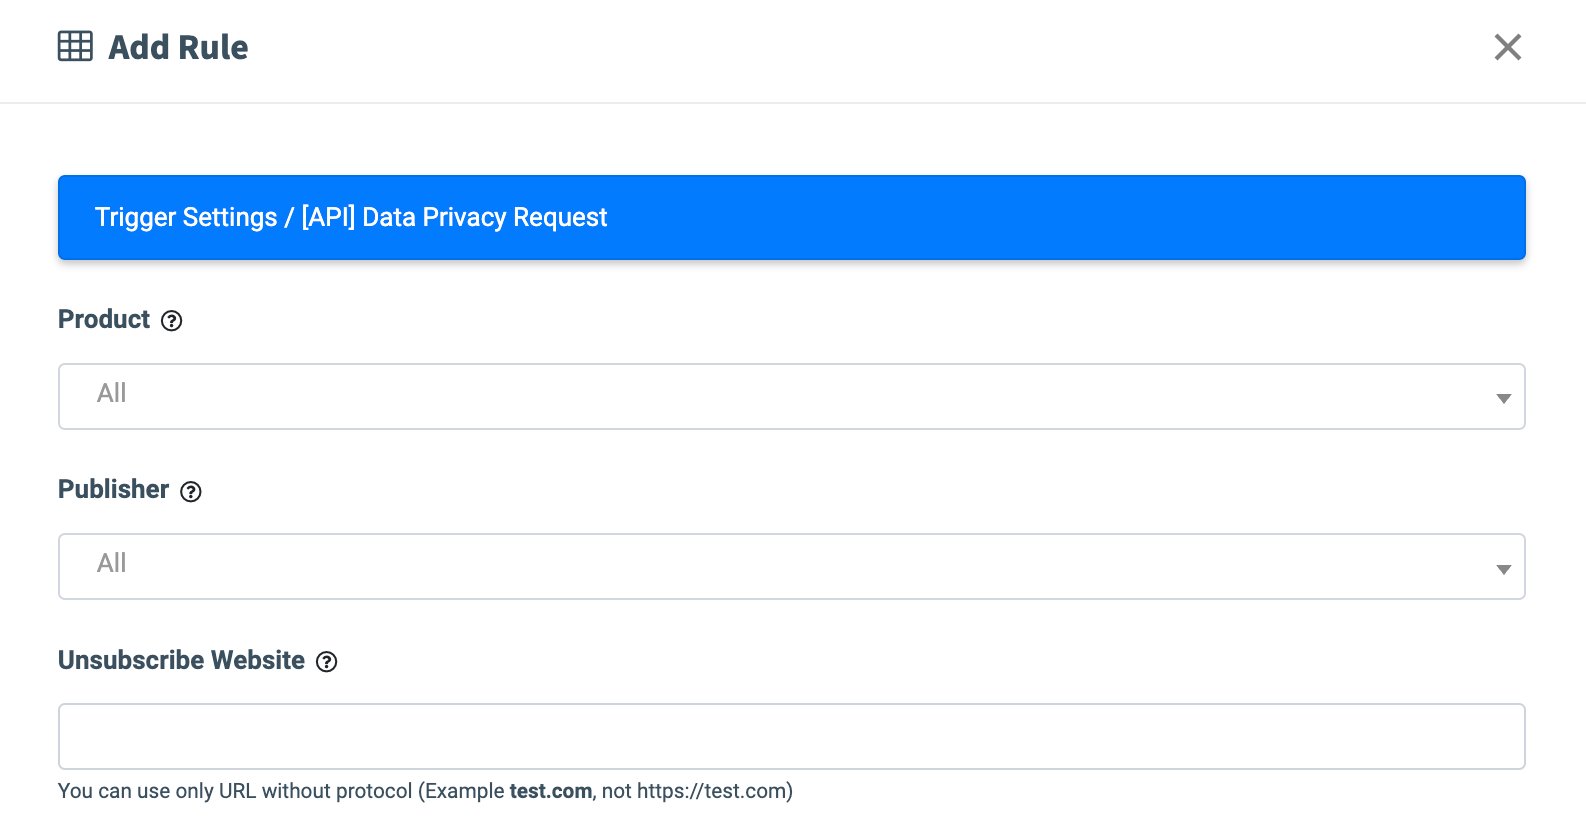
Fill in the following fields in the pop-up window:
- Product: Select the Product.
- Publisher: Select the Publisher.
- Unsubscribe Website: Enter the website address (string value, up to 254 symbols) from which the unsubscribe request is coming. Note: You should enter the URL only without the protocol (Example test.com, not https://test.com)
Then complete the settings in the “Action Settings” block depending on the selected action (event tracking rule).
The list of available actions (tracking types), along with the corresponding KB articles with more details on configuration, is the following:
- [TPS] SMTP with Custom Connection
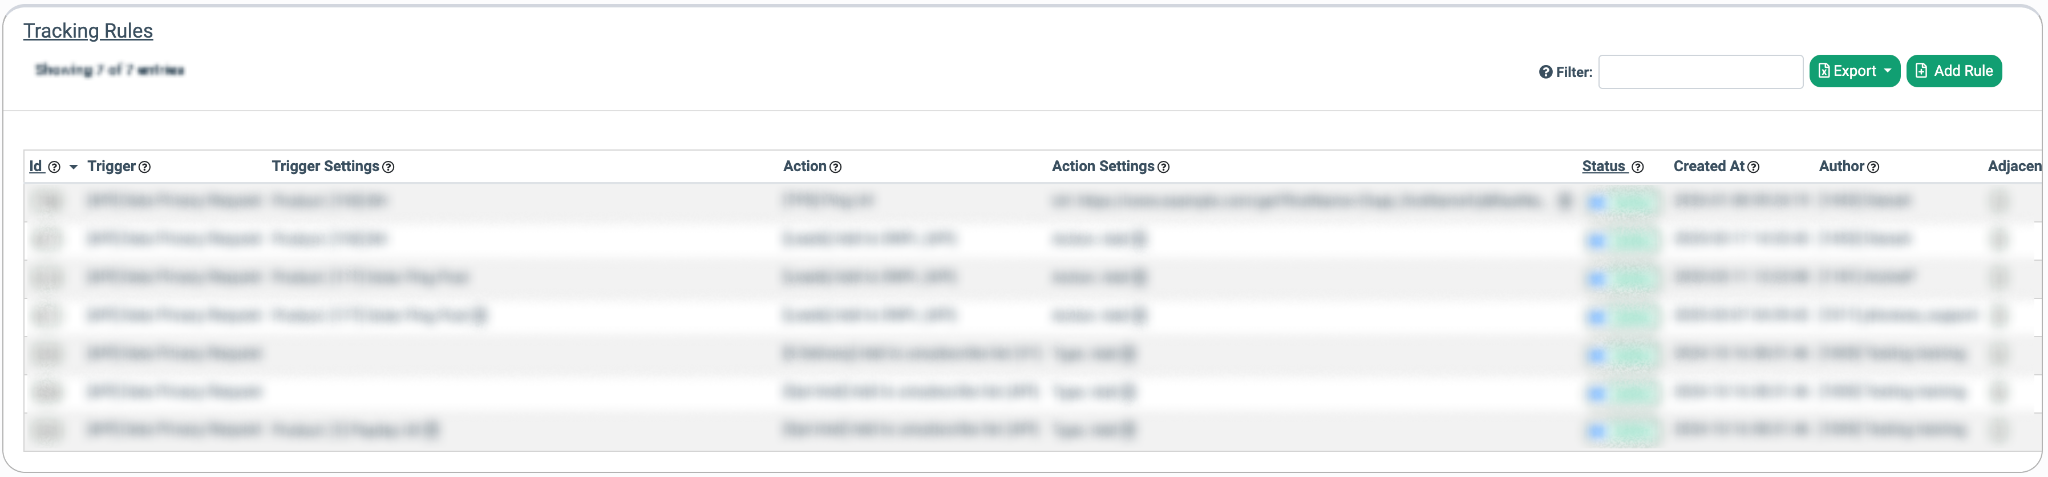
The list of global unsubscribe tracking rules contains the following information:
- Id: The unique identification number of the record.
- Trigger: The event that triggers the action.
- Trigger Settings: Defines the specific scope and parameters to which the integration rule applies.
- Action: The integration applied for the rule.
- Action Settings: The event tracking rule settings
- Status: The status of the rule.
- Created At: The date and time the rule was created.
- Author: The user who set up the rule.
- Adjacent Rules: The adjacent rules assigned to the tracking rule.