Read more about the Dialing List Requests section in the following Knowledge Base article.
To view available dialing lists, go to the Call Campaigns > Dialing Lists section.
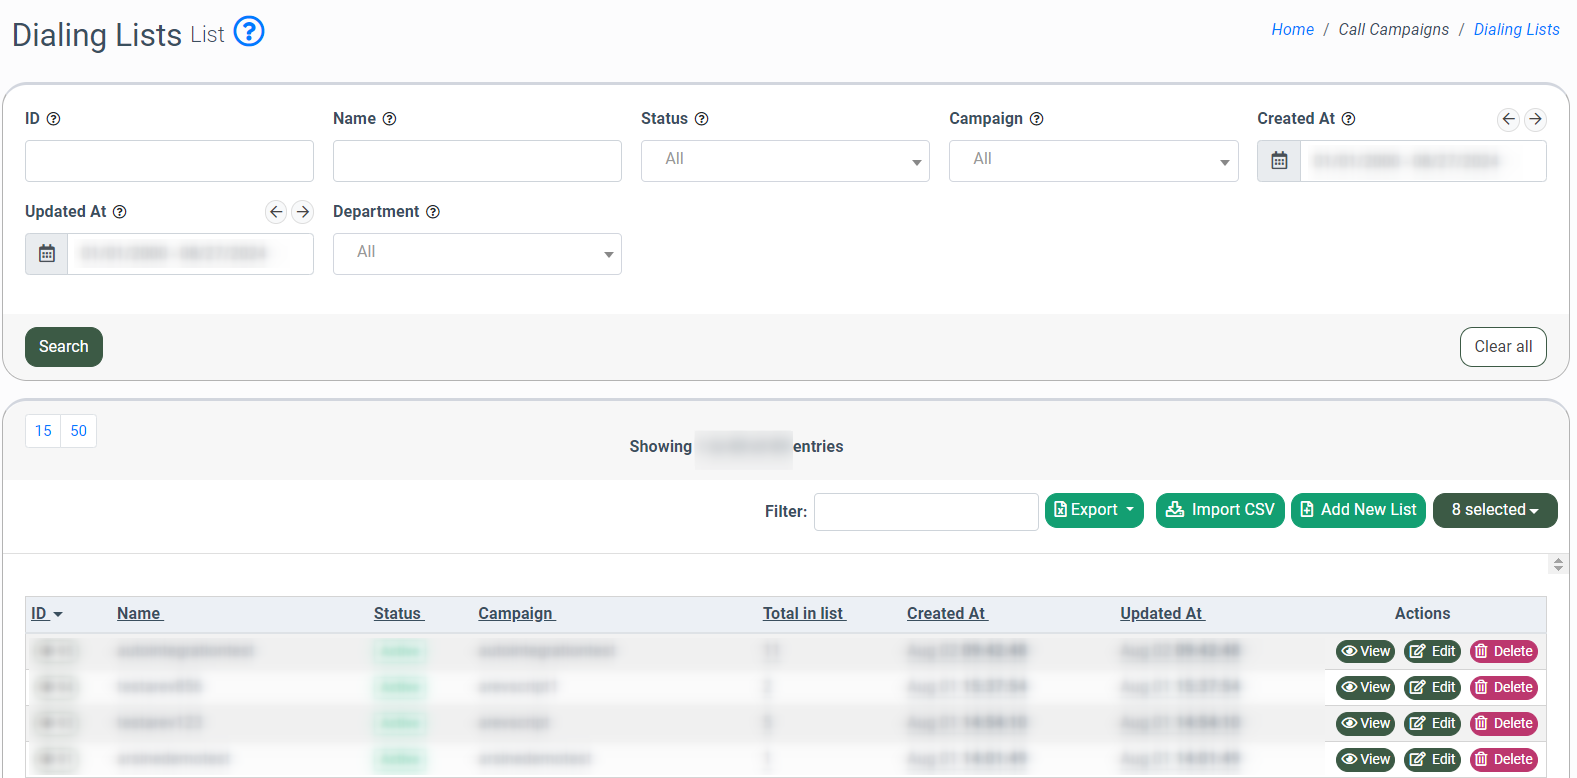
You can narrow down the search results by using the following filters:
- ID: Enter the unique identification number of the Dialing List.
- Name: Enter the name of the Dialing List.
- Status: Select the current status of the Dialing List (Disabled, Active, Importing, Deleted).
- Campaign: Select the related Call Campaign.
- Created At: Select the date range of the Dialing List creation.
- Updated At: Select the date range of the Dialing List's last update.
- Department: Select the related Department.
The list of available Dialing Lists contains the following information:
- ID: The unique identification number of the Dialing List.
- Name: The name of the Dialing List.
- Status: The current status of the Dialing List (Disabled, Active, Importing, Deleted).
- Campaign: The name of the related Call Campaign.
- Total in List: The total number of the Dialing List Requests.
- Created At: The date and time of the Dialing List creation.
- Updated At: The date and time of the last update of the Dialing List.
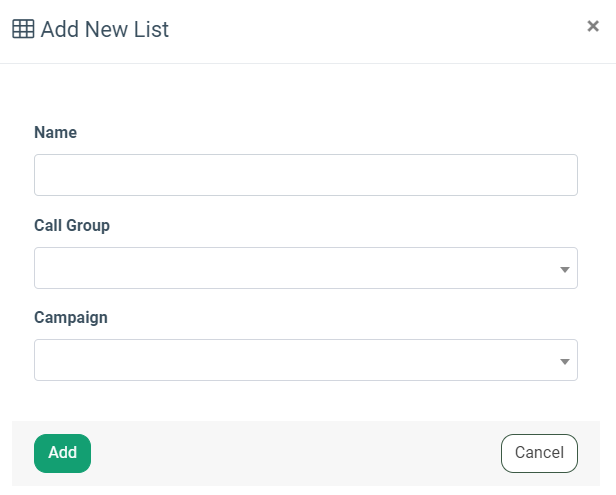
To create a new Dialing List, click the ”Add New List” button and fill in the following fields in the “Add New List” pop-up window:
- Name: Enter the name of the Dialing List.
- Call Group: Select the related Call Group.
- Campaign: Select the related Call Campaign.
Click the “Add” button to complete the action.
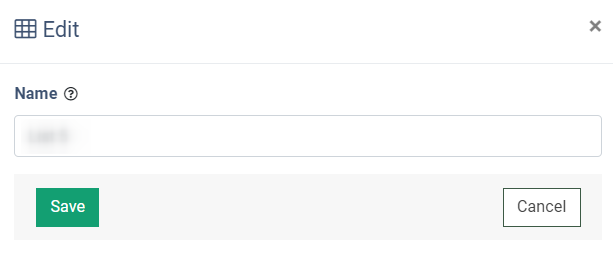
To edit the name of the Dialing List, click the “Edit” button in the “Actions” column, enter a new name in the “Name” field of the “Edit” pop-up window, and click the “Save” button to complete the changes.
To import the Dialing Lists from the CSV file, click the “Import CSV” button and fill in the following fields in the “Import CSV” pop-up window:
- Call Group: Select the related Call Group.
- Campaign: Select the related Call Campaign.
- CSV File: Select the corresponding CSV file for the Dialing Lists import. To check the appropriate format for the uploading file, click the “Download sample file” button. The Dialing List created by using this option will have the name “List List_ID” and contain phone numbers converted to the Dialing List Requests that are conducted in the imported CSV file.
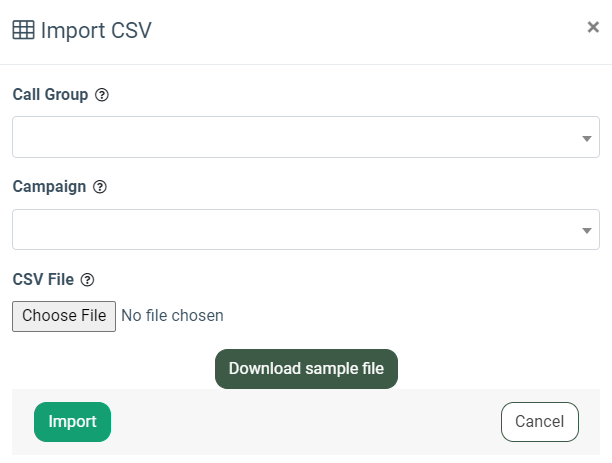
Click the “Import” button to start the data uploading process.
To view the list of Dlailing List Requests that are conducted in the ongoing Dialing List, click the “View” button in the “Actions” column or the “List Info” button in the “ID” column.
You will be redirected to the Dialing List Requests section > Dialing List Requests tab, where the list of the dialing requests will be sorted by the corresponding Dialing List selection in the “List” filter field.

Read more about the Dialing List Requests section in the following Knowledge Base article.
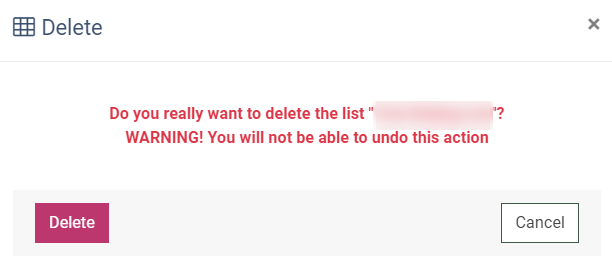
To remove the existing Dialing List from the list, click the “Delete” button in the “Actions” column. Confirm the removal operation by clicking the “Delete” button in the “Delete” pop-up window.