To enable this feature, go to the System Management > Project Settings section and select the “E-delivery” tab. In the “Notifications” sub-tab, switch the “Enable Header Set Templates” toggle to the “On” position. Click the “Save” button to confirm. Find out more about the Project Settings section for E-delivery configuration in this article.
Note: The Header Sets option is available only upon request.
Only users with the Global Admin, E-Delivery Admin, and Support roles can access this feature.
To open the Header Sets section, go to the Email Campaigns > Settings > Header Sets section.
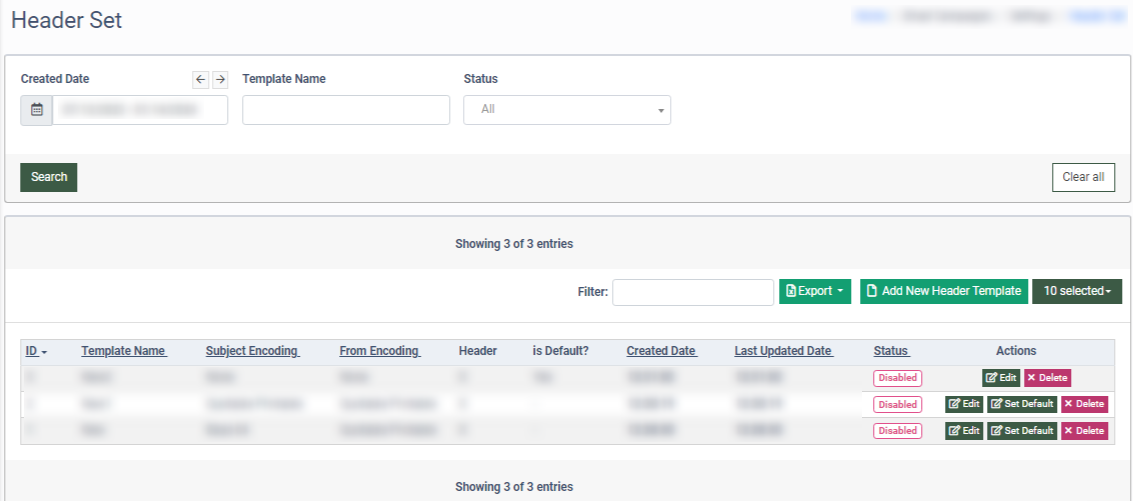
You can narrow down the search results by using the following filters:
- Created Date: Select the date when the header set template was created.
- Template Name: Enter the name of the header set template.
- Status: The status of the header set template (Active, Deleted, Disabled).
The Headers list contains the following information:
- ID: The unique identification number of the header set template.
- Template Name: The name of the header set template.
- Subject Encoding: The Subject encoding type of the header set template (None, Quoted Printable, Base64).
- From Encoding: The Friendly From encoding type of the header set template (None, Quoted Printable, Base64).
- Header: The number of headers in this particular set.
- is Default?: Displays if the header set template is set up as a default one (Yes / -).
- Created Date: The date and time the header set template was created.
- Last Updated Date: The date and time the header set template was last updated.
- Status: The status of the header set template (Active, Deleted, Disabled).
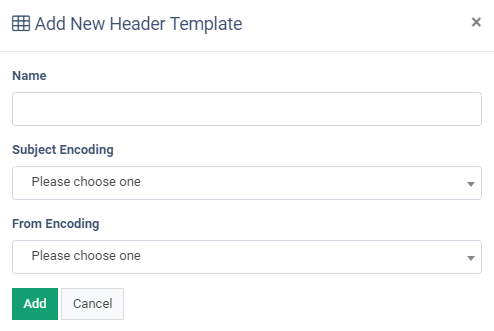
To add a new header set template, click the “Add New Header Template” button and fill in the data fields in the pop-up window:
- Name: Enter the name of the header set template.
- Subject Encoding: Select the Subject encoding type of the header set template (None, Quoted Printable, Base64).
- From Encoding: Select the Friendly From encoding type of the header set template (None, Quoted Printable, Base64).
Click the “Add” button to save.
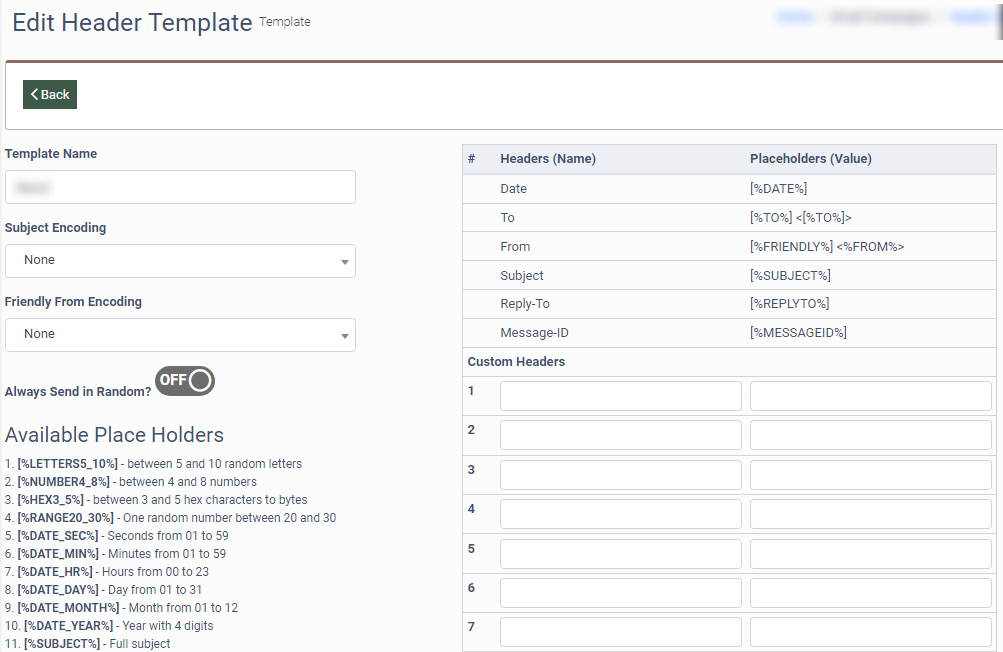
To edit an existing header set template, click the “Edit” button in the “Actions” column. The system will redirect you to the “Edit Header Template” page. You can configure the following data fields:
- Template Name: Enter the name of the editing Header Template.
- Subject Encoding: Select the Subject encoding type of the header set template (None, Quoted Printable, Base64).
- Friendly From Encoding: Select the Friendly From encoding type of the header set template from which encoding (None, Quoted Printable, Base64).
- Always Send in Random?: Switch the toggle to the “On” position to enable randomizing the headers’ sending order.
Note: This option can be used only for the Campaigns. If a campaign goes out with 1000 records the Headers will be randomized and applied in the same random order for all 1000 records.
- Custom Headers: You can add up to 15 custom headers.
- Headers (Name): Enter the name of the header.
- Placeholders (Value): Enter one of the available placeholders.
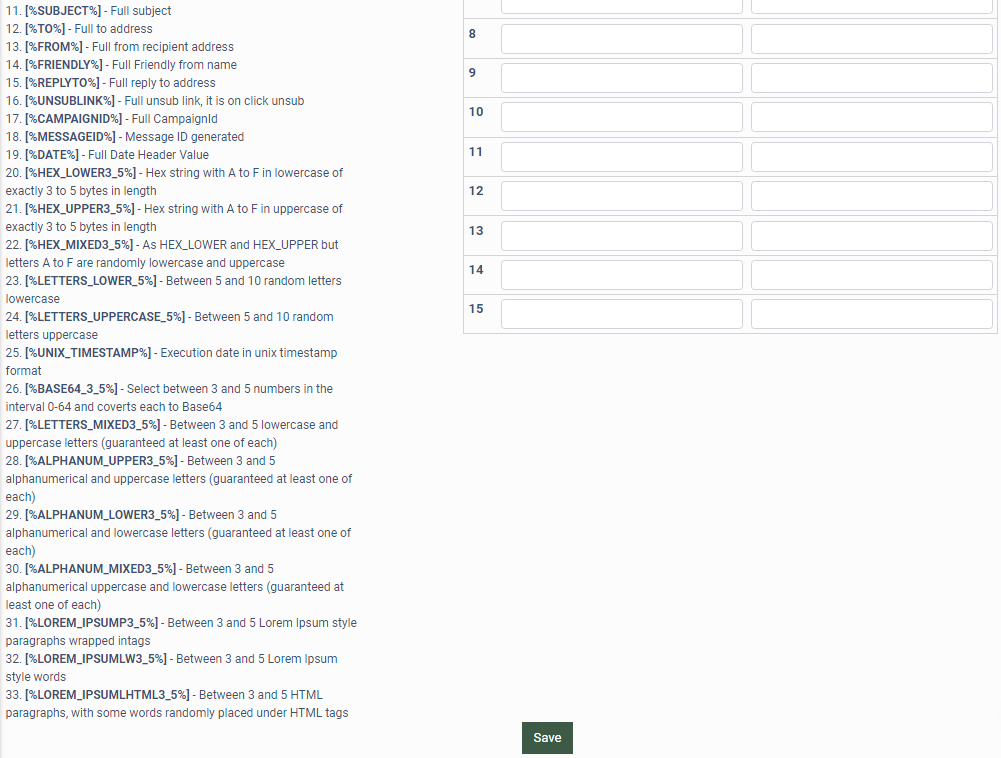
Click the “Save” button to confirm.
Once at least one header is added and saved, the header set’s status is changed to “Active” and can be applied to the mailing template.
Note: Read more about the mailing templates in this article.
To delete the header set template, click the “Delete” button in the “Actions” column.
Click the “Delete” button to confirm.
To set the header set template as a default, click the “Set Default” button in the “Action” column.