You can upload call data collected from Google Ads to the Google Ads Report in Call Logic. It will display under the “Group by Keyword” and “Details” tabs.
To review detailed data in the “Group by Keyword” and “Details” reports of the Google Ads Report section, you first need to import it from Google Ads. This can be done in two steps:
Step 1: Download data from Google Ads
Step 2: Upload data to Phonexa System
How to Download data from Google Ads
-
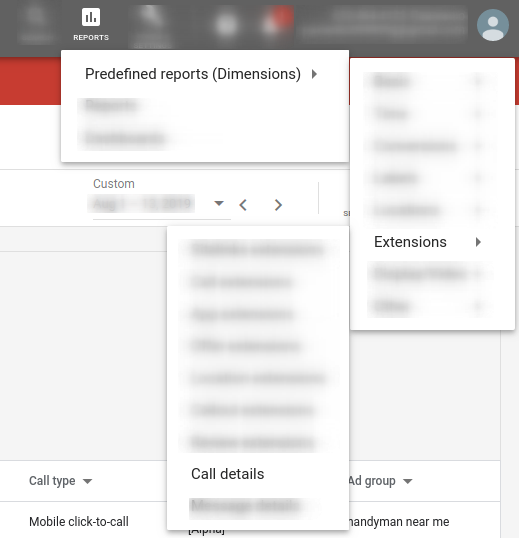
To download the report from Google Ads, go to the Reports > Predefined Reports (Dimensions) > Extensions > Call Details section and open the report.
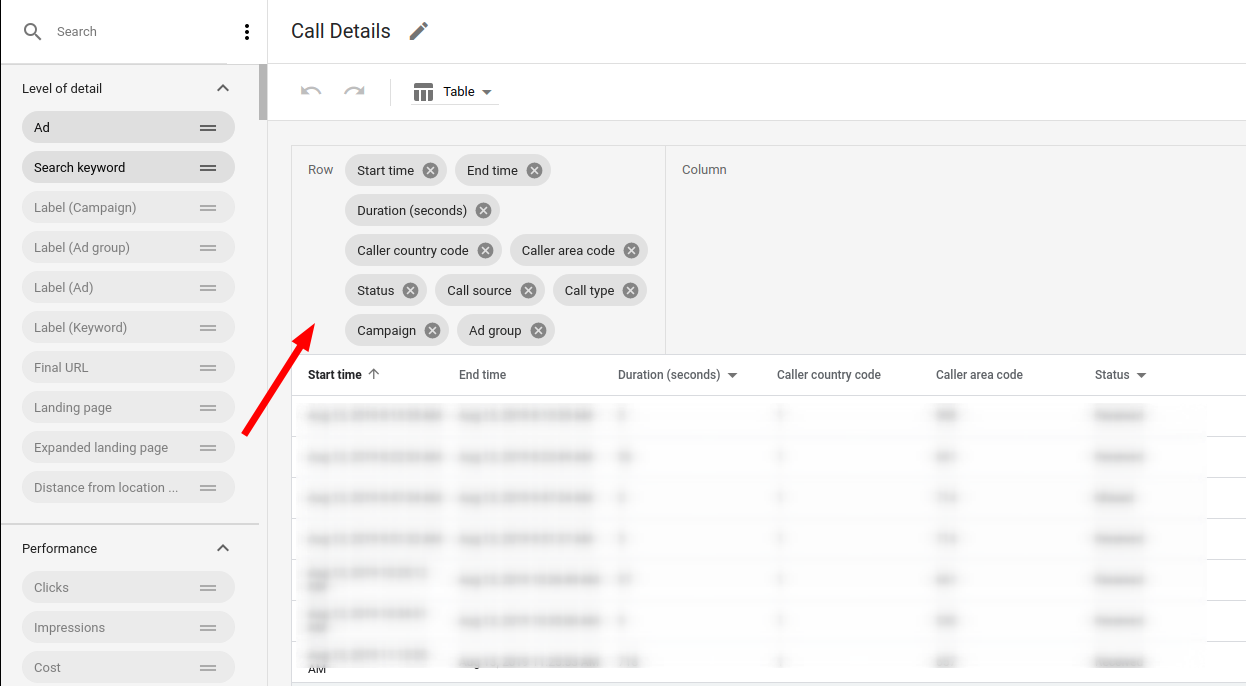
2. Select the date range and select the next required data groups in the “Columns” block: Start time, End time, Caller country code, Caller area code, Campaign, Ad group, Search keyword, Campaign ID, Keyword ID, and Ad group ID.
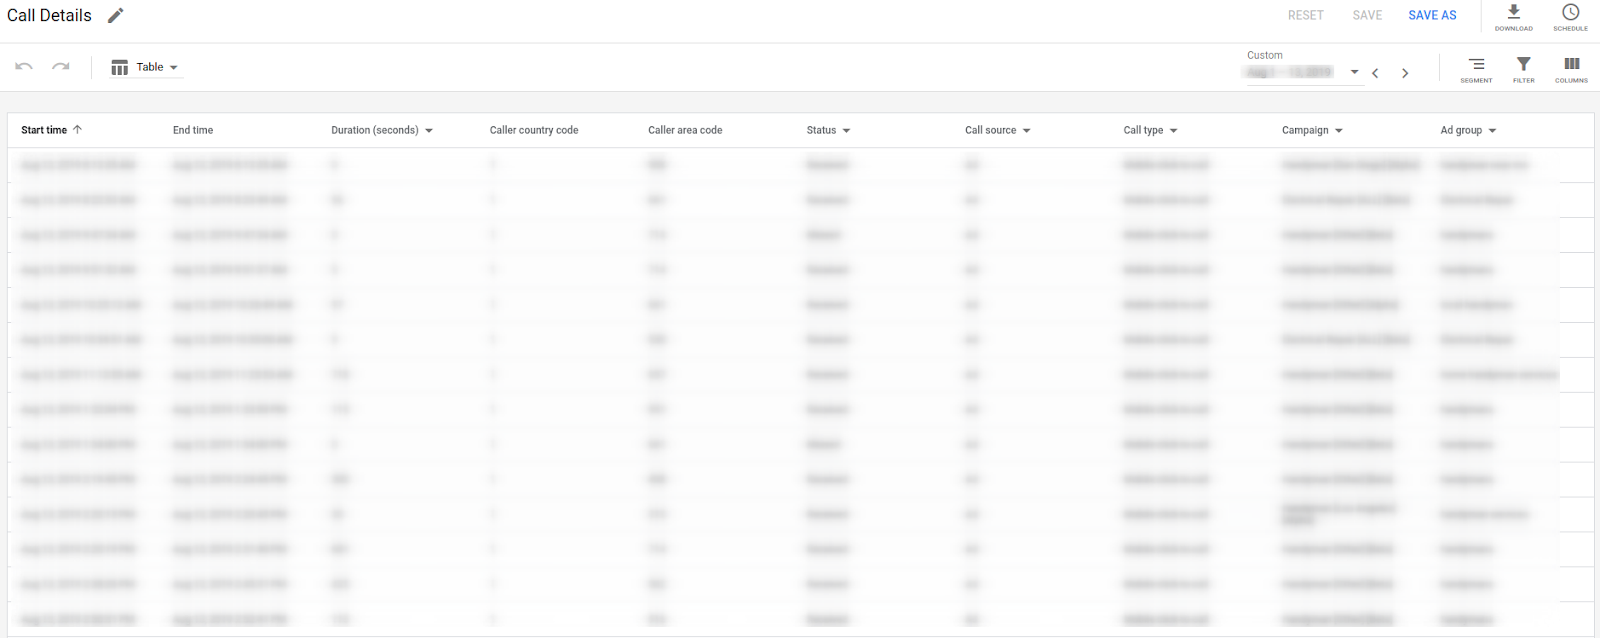
3. Click the “Download” button to download the report and select the .csv format.

How to Upload data to Phonexa System
-
Select Phonexa’s Call Logic product, go to the Analytics and Optimization > Publisher Analytics > Google AdWords Report section, and open the “Details” tab.
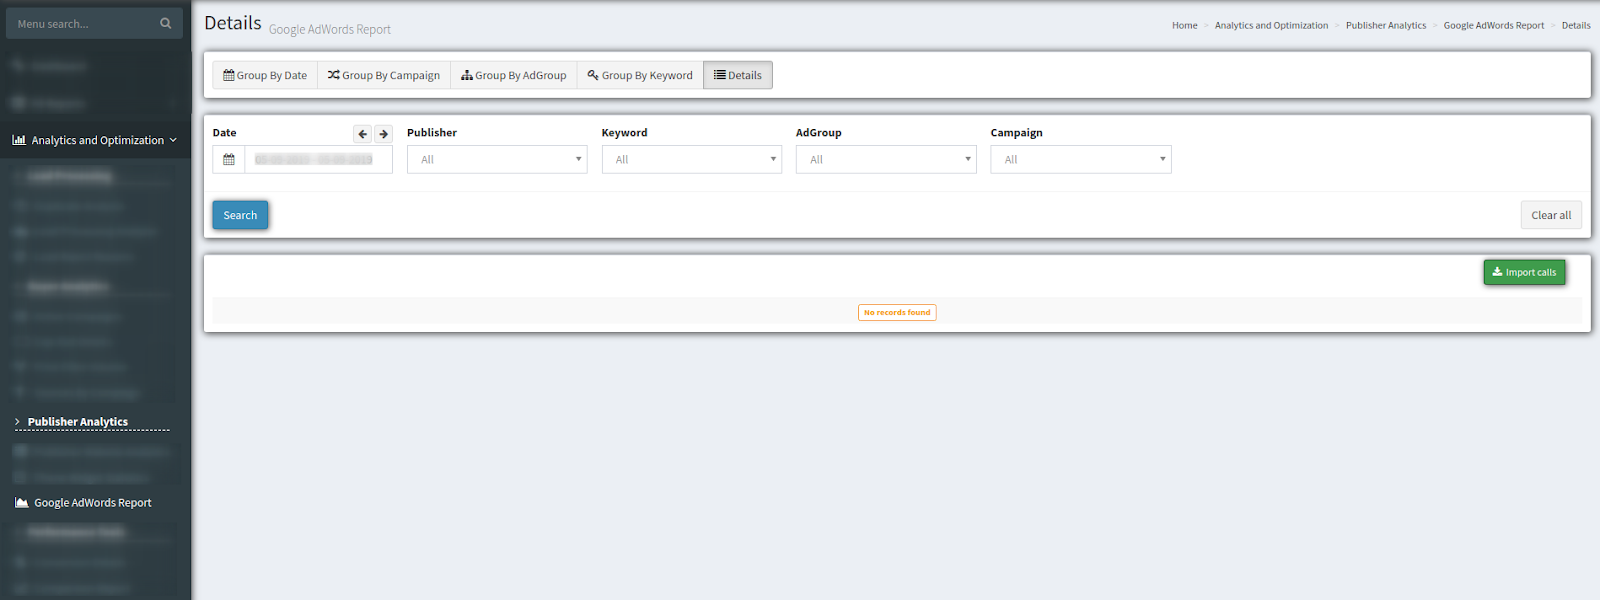
2. To upload your report from Google Ads, click the “Import calls” button and fill in the following fields in the pop-up window:
-
Publisher: Select the Publisher from the drop-down list.
-
Time Zone: Select the time zone (Time Zone must be the same as in the Google Ads account) from the drop-down list.
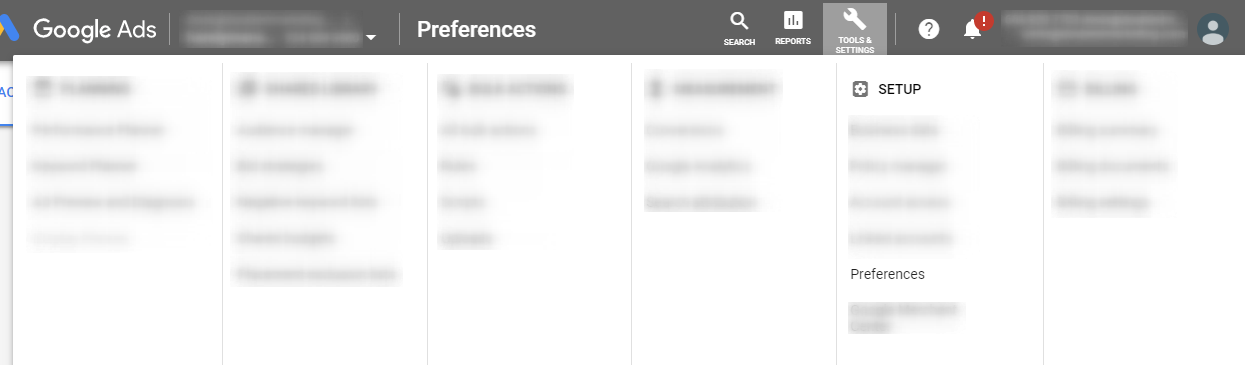
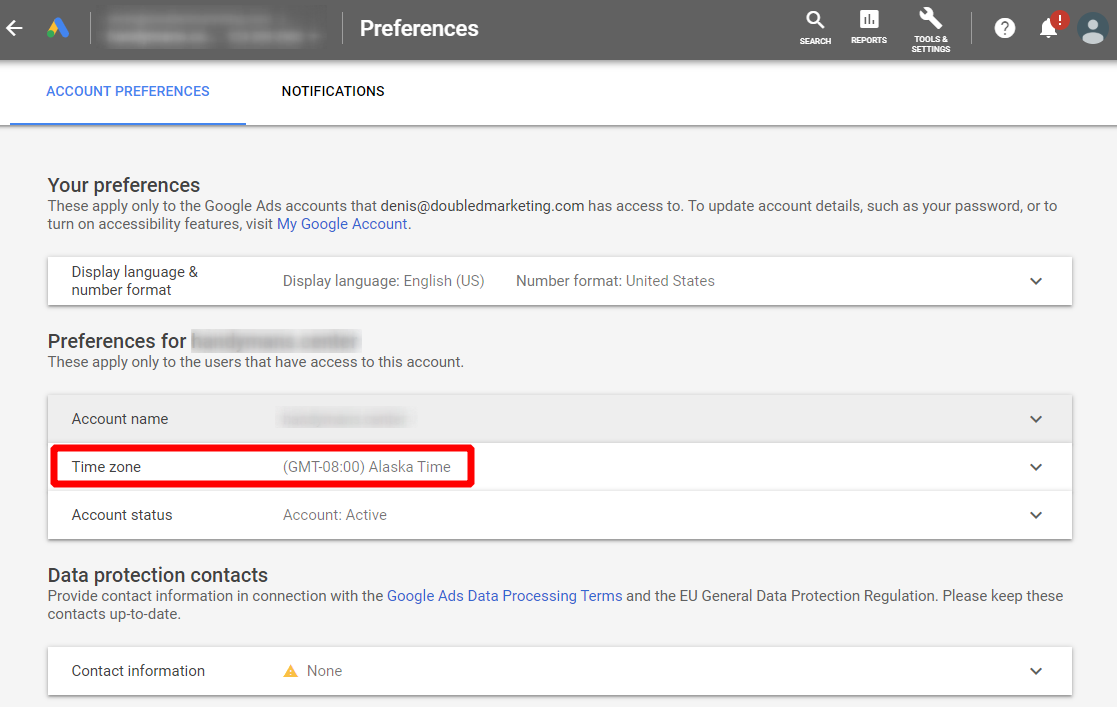
Note: To check the time zone, sign in to your Google Ads account. Click on the “Tools and Settings'', and go to the “Preference” tab in the “Setup” section.
Time Zone information is displayed in the Account Preferences tab.
-
CSV File: Select the .csv file downloaded from Google Ads.
Note: Make sure that the Start time and End time columns in the CSV file are in the following format: MM DD, YYYY HH:MM:SS AM/PM. Otherwise, the system will respond with the error message.
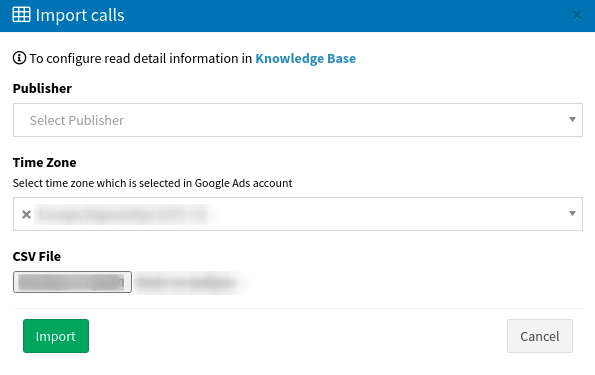
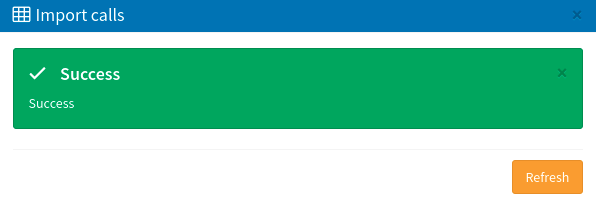
Click the “Import” button to complete.
If the uploaded file is correct, the system will display the following message:
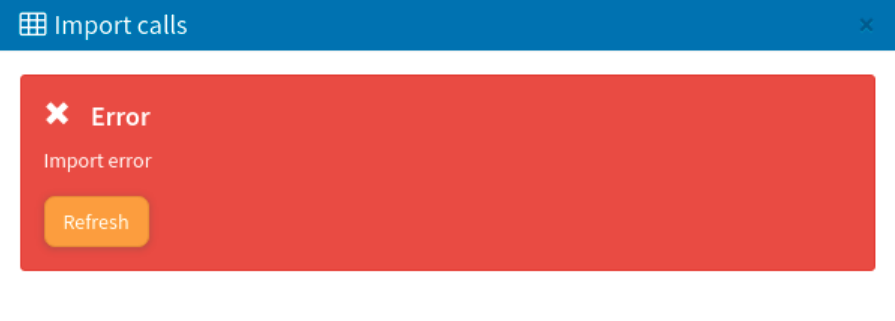
 If the uploaded file does not contain the required data or doesn’t match the required format, the system will display the following error message: