To view the group's list, go to the Home > Affiliates > Groups section.
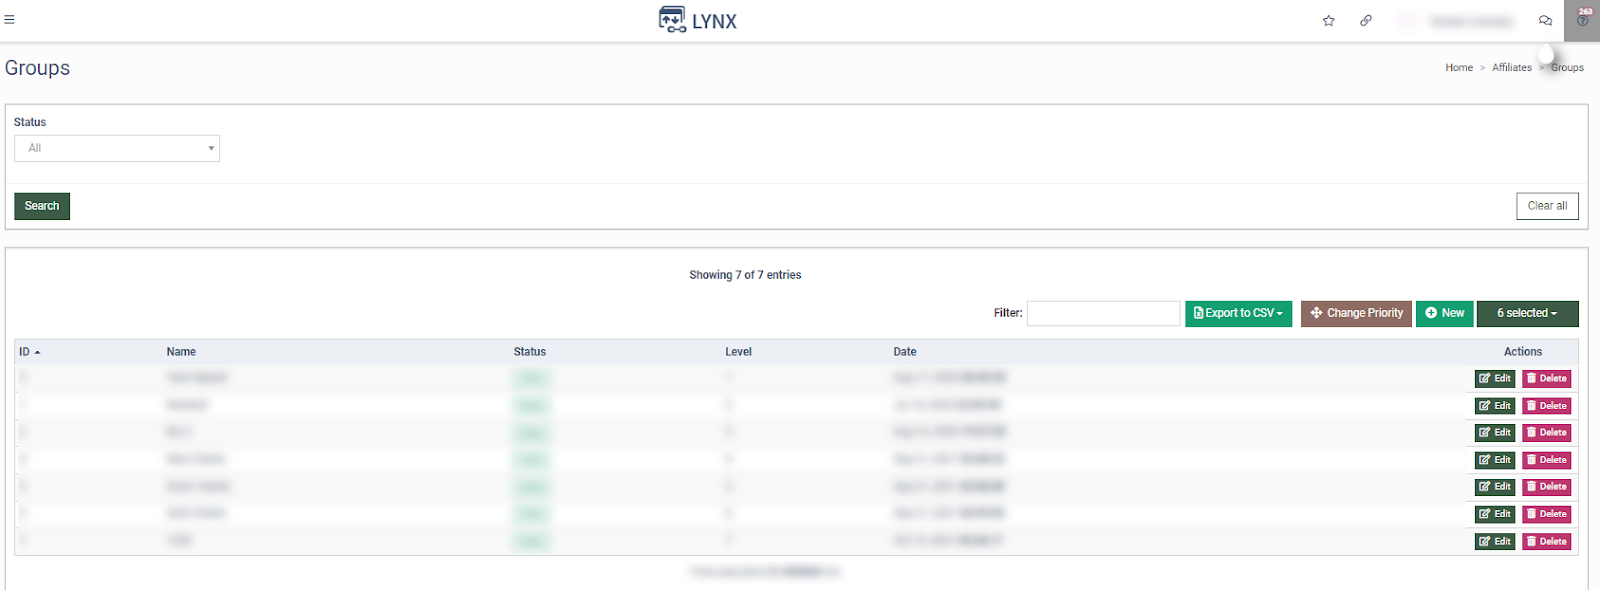
The Groups list contains the following information:
-
ID: The unique identification number of the group.
-
Name: The name of the group.
-
Status: The status of the group (Active, Inactive, Deleted).
-
Level: The level of the group.
-
Date: The date when the group was created.
Select the Status (Active, Inactive, Deleted) in the appropriate filter field to generate a required group list. Click the "Search" button to generate the list.

To configure the group, click the “Edit” button in the “Actions” column. In the "Edit Group" pop-up window, you can rename the group or change its status (Active, Inactive).

Click the “Save” button to proceed with changes.
Click the “Cancel” button to close the window.
Click the “Delete” button in the “Actions” column to delete the group. Confirm the deletion in the pop-up window or click the “Cancel” button to close the window.

To create a new group, click the “New” button. Name the group in the “New Group” pop-up window and select the Status from the drop-down list (Active, Inactive). Click the “Add” button to complete or click the “Cancel” button to close the window.

To change the priority for the group, click the “Change Priority” button. Use drag and drop to move blocks and change the priority. The higher the group is, the higher level of priority. Confirm changes in the “Change Priority” pop-up window or click the “Cancel button.
