The Dashboard section shows you an overview of your system performance for the current date and compares it to the prior day and week in real time. You can customize the Dashboard section by adding available widgets, blocks, charts, and pages.
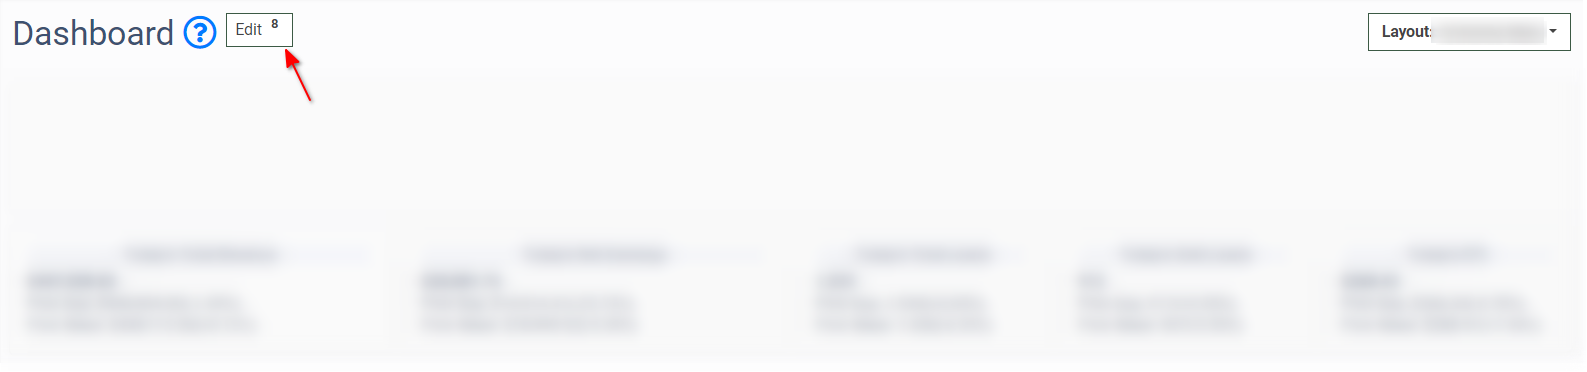
To add the block to your Dashboard, go to the Dashboard section, and click the “Edit” button.
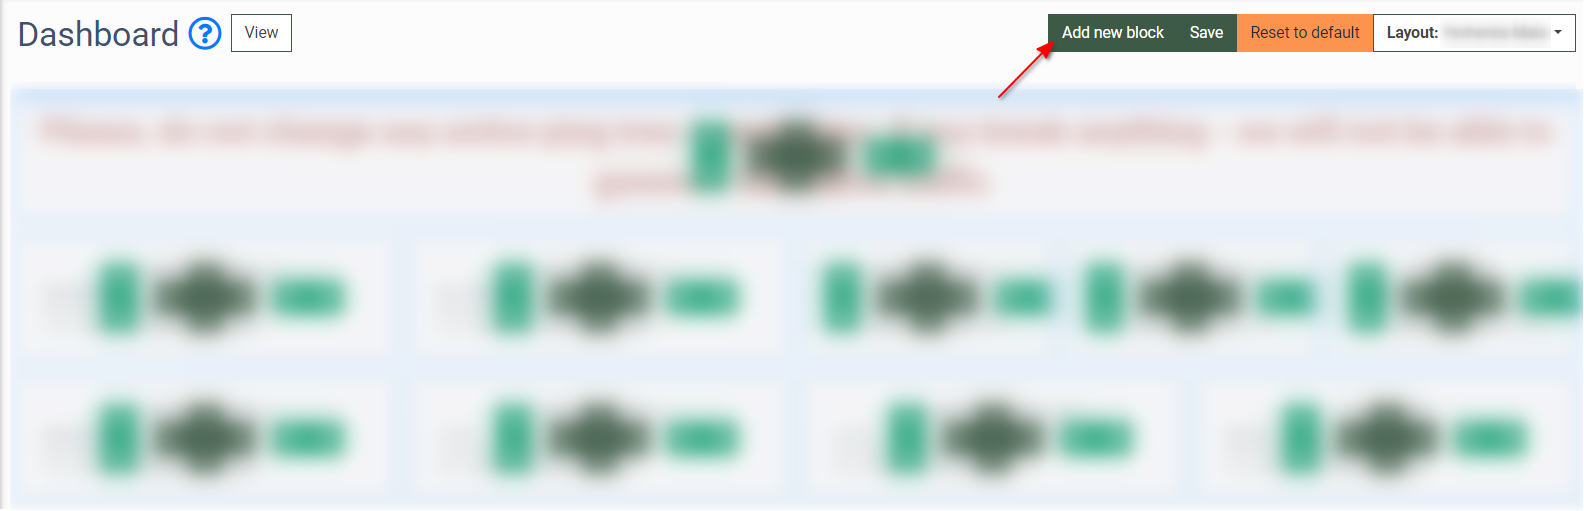
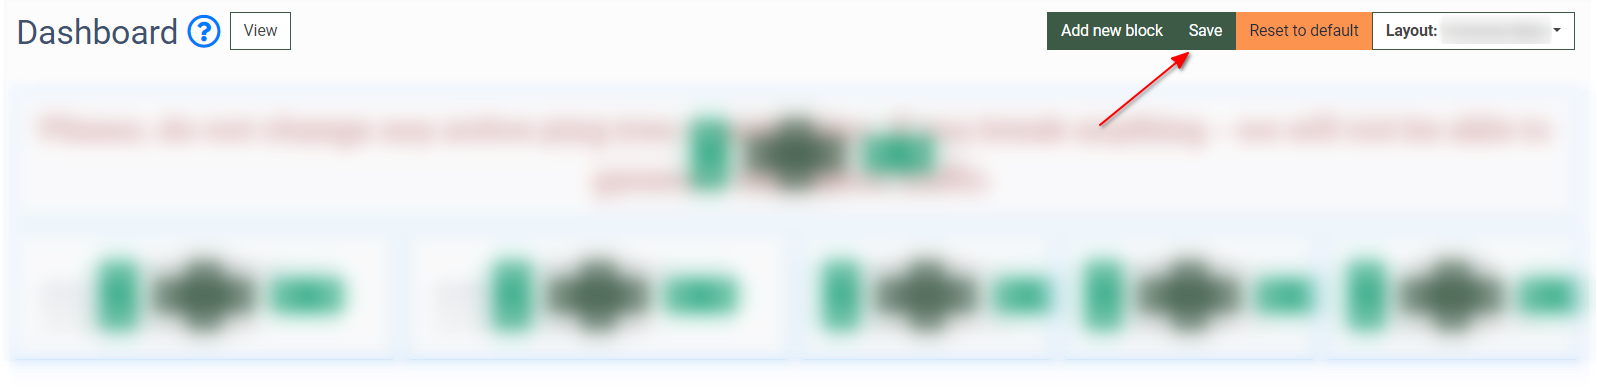
On the Dashboard edit page, click the "Add new block" button.
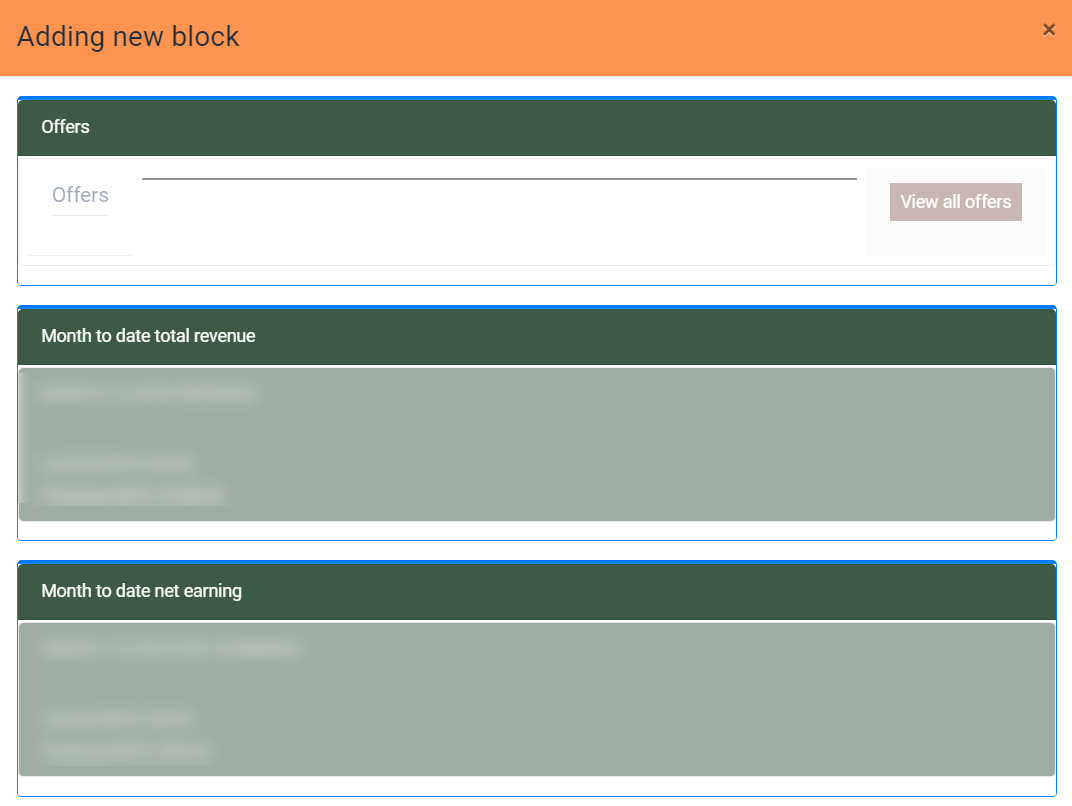
Select the block you prefer from the “Adding new block” pop-up window.
Note: You also can add the System Management Pages as widgets. The Pages section allows you to create public or private static pages. To create a Page, go to the System Management > General > Pages section.
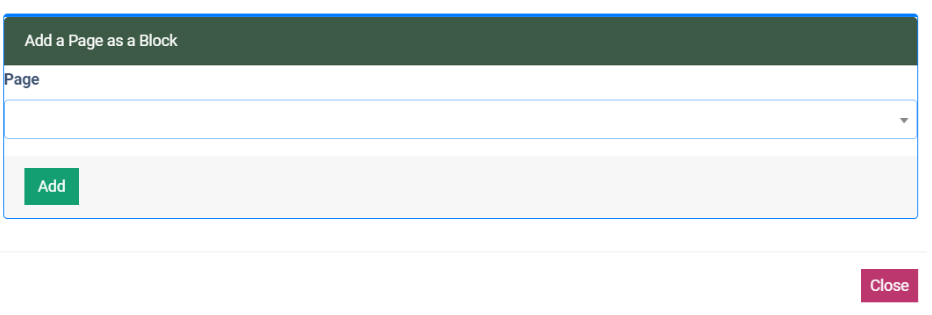
To add the Page as the Dashboard widget, scroll down the “Adding new block” window until you see the “Add a Page as a Block” block. Select the required Page from the drop-down list and click the “Add” button.
The Page Dashboard Widget is personalized, meaning no other user can see it.
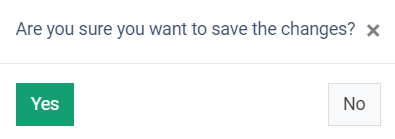
To save the changes, click the “Save” button on the Dashboard edit page and confirm your action in the pop-up window.
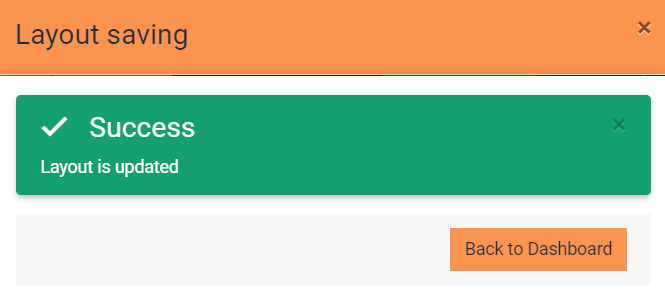
After the changes are saved, click the “Back to Dashboard” button to refresh the page and back to the Dashboard section.
To reset the default dashboard view, click the “Reset to default” button on the Dashboard edit page.
