Setup: Create a Contact List
Please follow this guide for creating a list so you can start scheduling and creating campaigns. The following steps need to be performed:
-
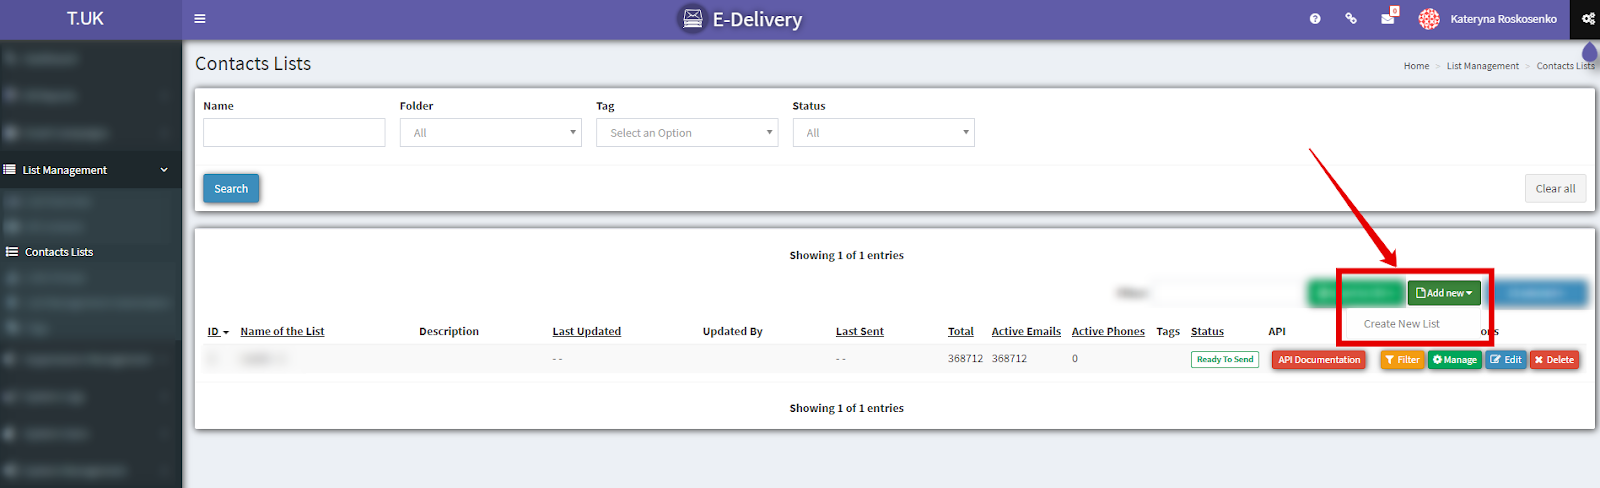
To create a list go to the List Management > All Contacts section. Click the “Add New” button and choose “Create New List”.
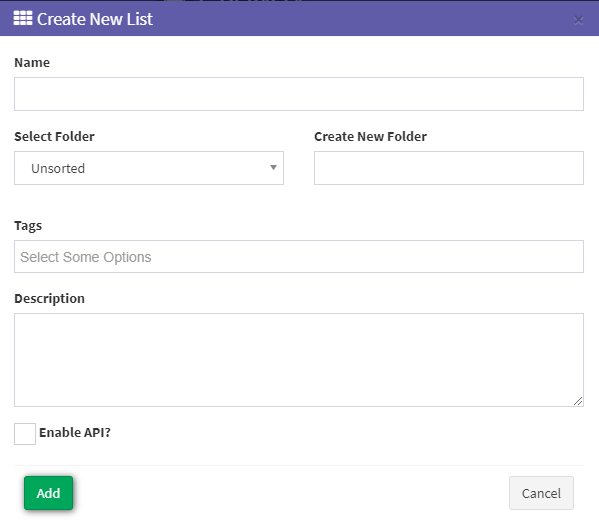
2. In the pop-up window, you can Name the list, add Tags, and add a Description. If you check ‘Enable API’, this option will make your contact list API enabled and it will generate API Documentation explaining how you could send a contact to the list through the API (checkpoint #7 for more details). Click the “Add” button to save a list. Your new list will appear at the top of the table.
Note: Tags are used to segment data for sending new campaigns. You can set these up in the “Tags” section of “List Management.” You can create tags for specific demographics, i.e., Female, Insurance, Car, Age Range. This can be used to create new lists in “Create New List by Tags.”
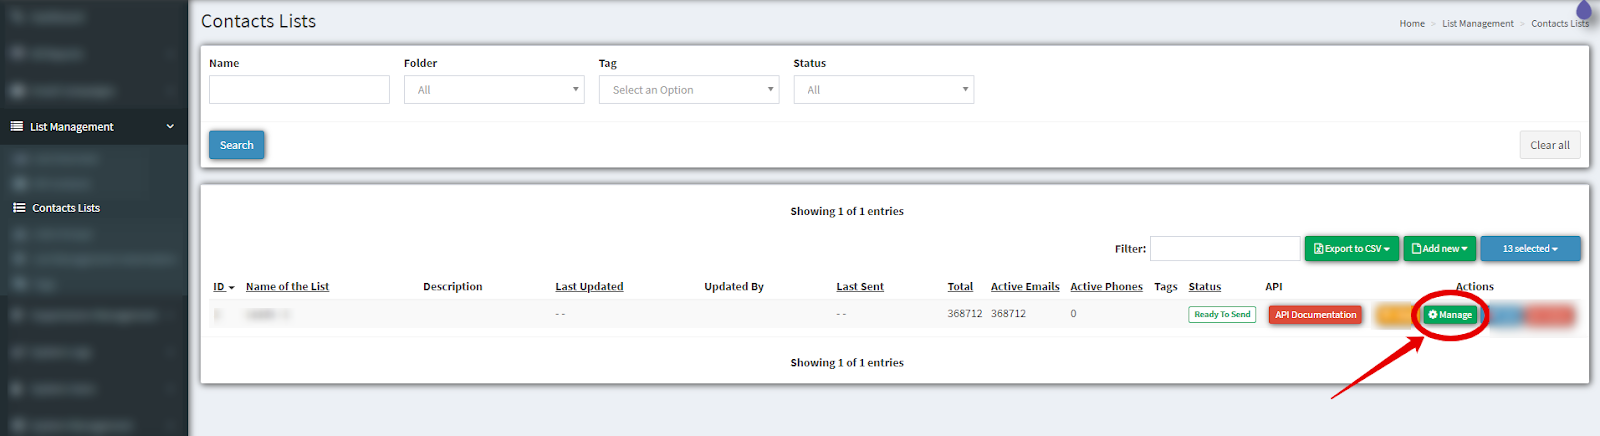
3. To edit the list click the “Manage” button.
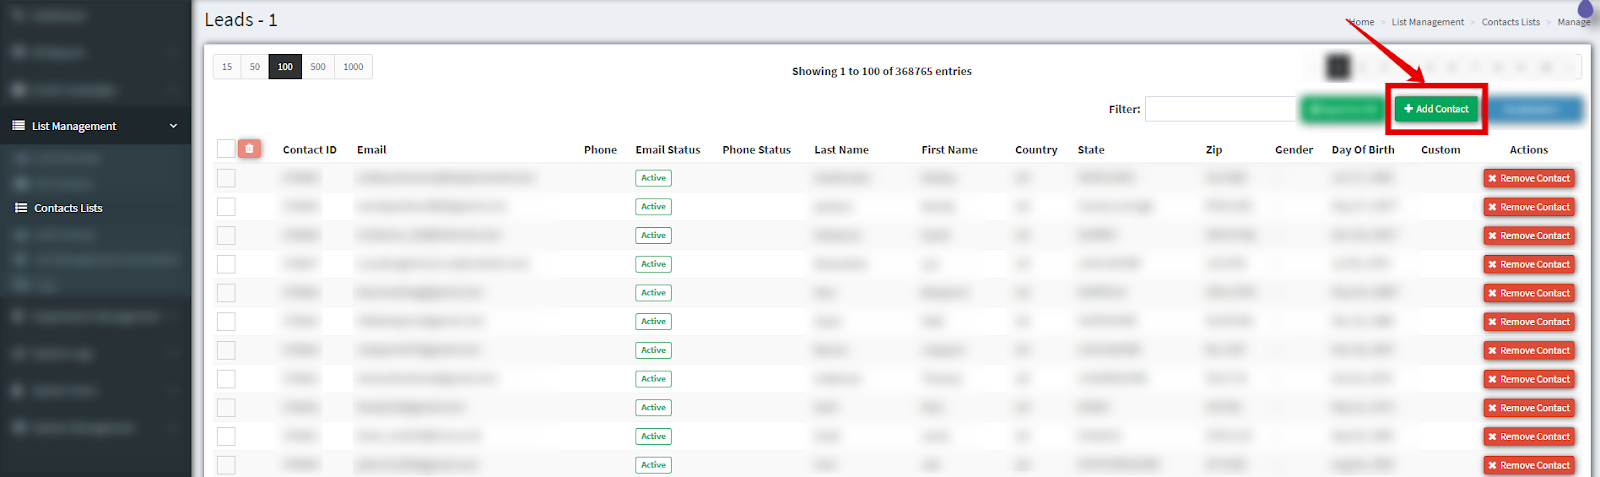
4. To add contacts in the list click the “Add Contact” button.
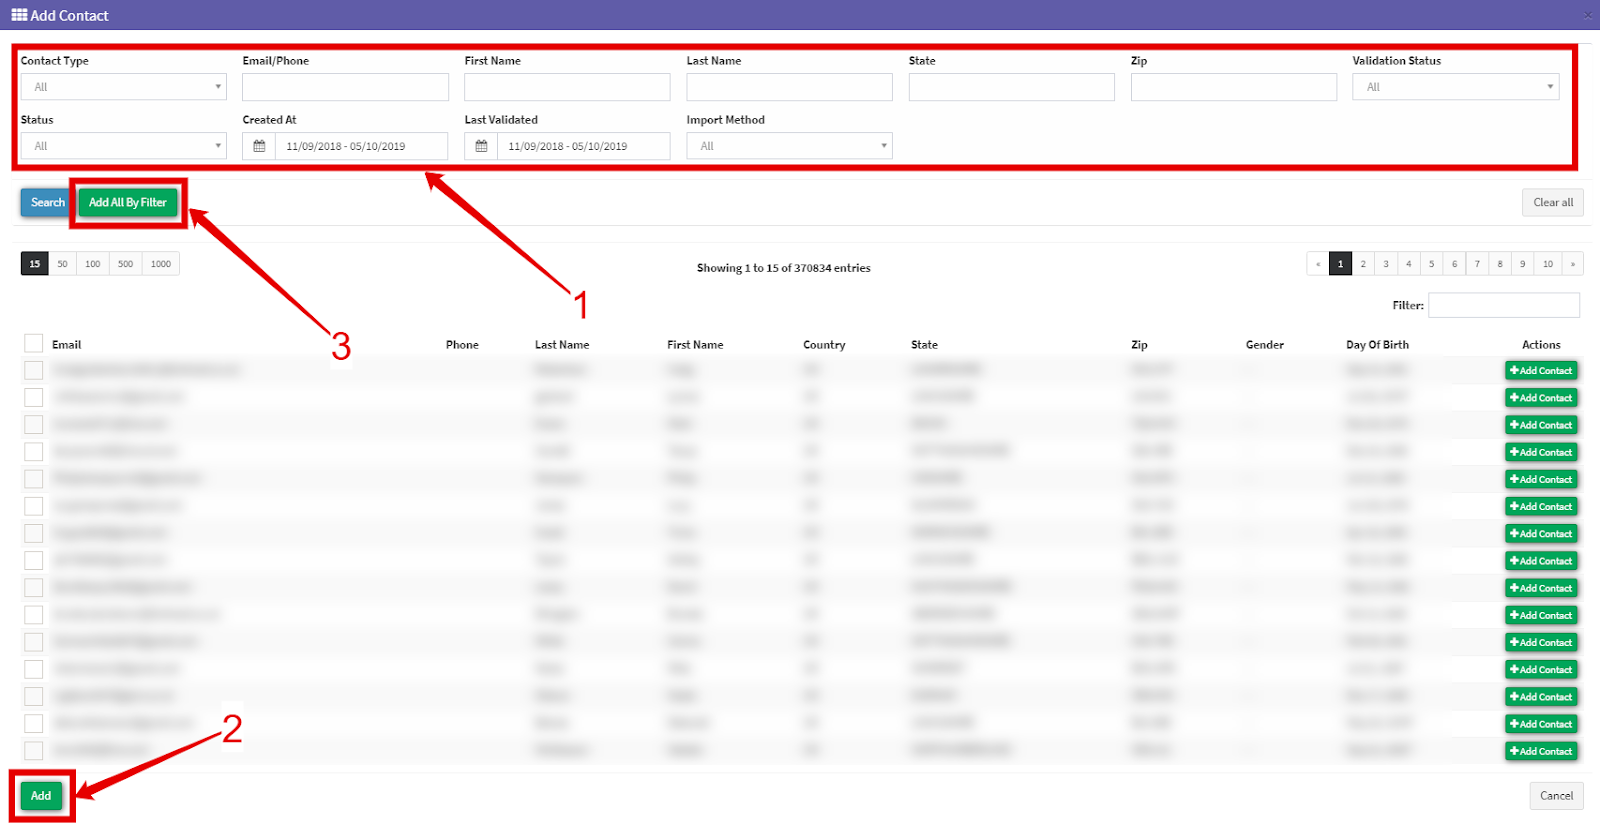
5. You can use Filter Fields (1) to choose the contacts you need. Fill in the fields and click the “Search” (2) button. Choose the contacts from the list and click the “Add” button to save changes. To add all your contacts to the list click the “Add All By Filter” (3) button.
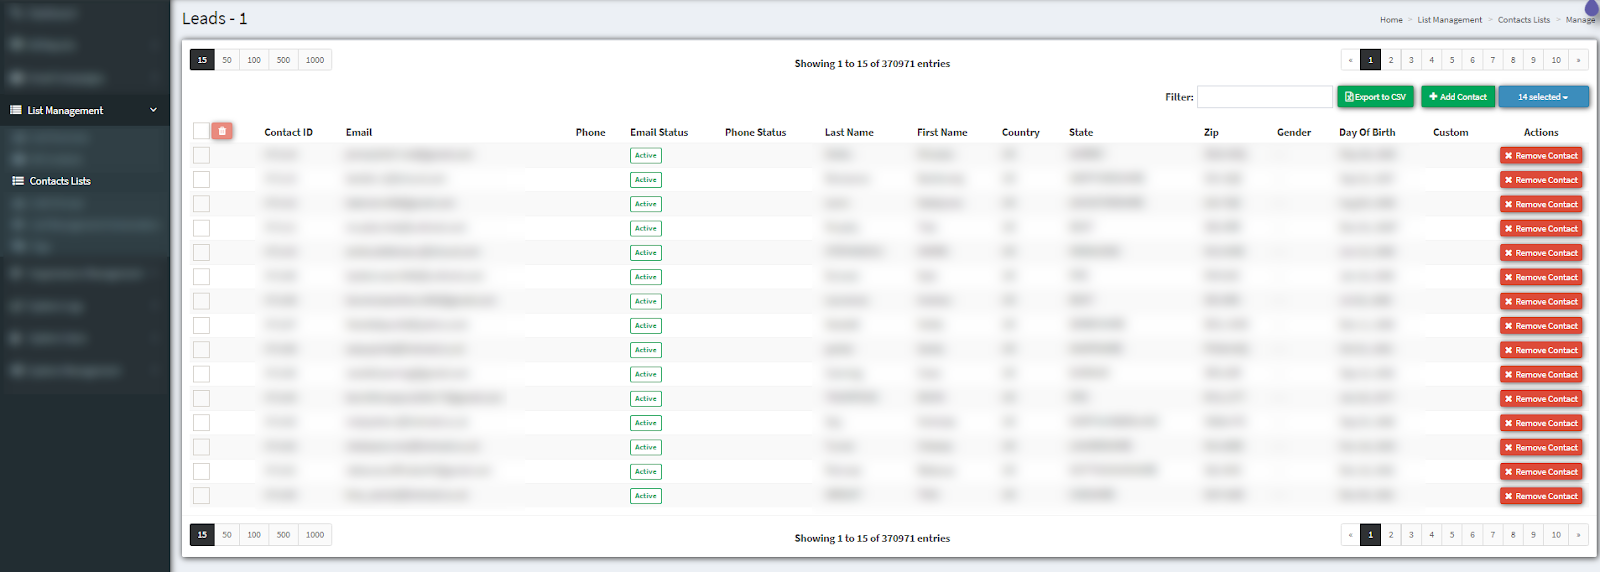
6. Once you have added your contacts, you will see the list here
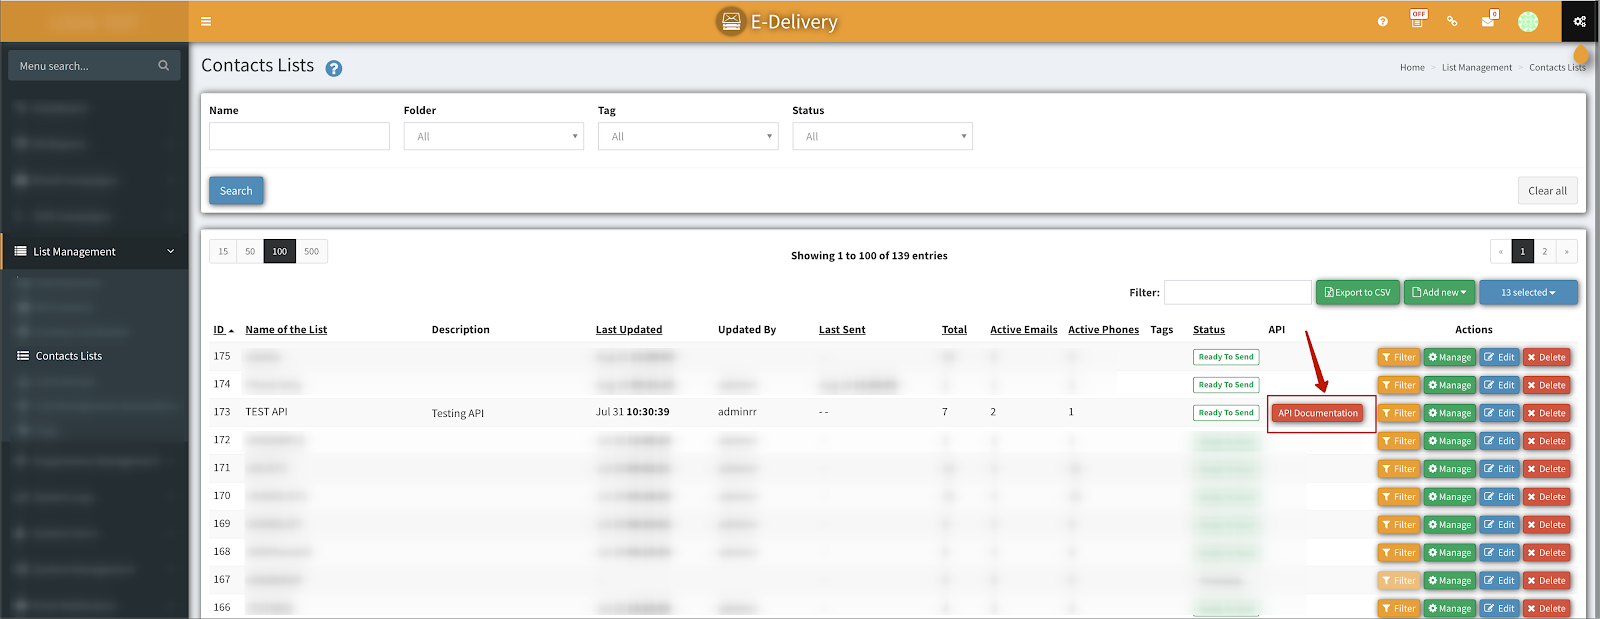
7. API Enabled Contact List
You can enable your list to receive new contacts through the API. Once you check the ‘Enable API’ option and click on the save button it will automatically create an API authKey. An ‘API Documentation’ button will show next to the list where it will provide more detailed information about what params you need to send to the API.