There are two options to create a user with the Publisher Agent role in the system. You can either create a new user with the Publisher Agent role or assign the Publisher Agent role to the existing user.
To create a new user with the Publisher Agent role, follow the instructions below.
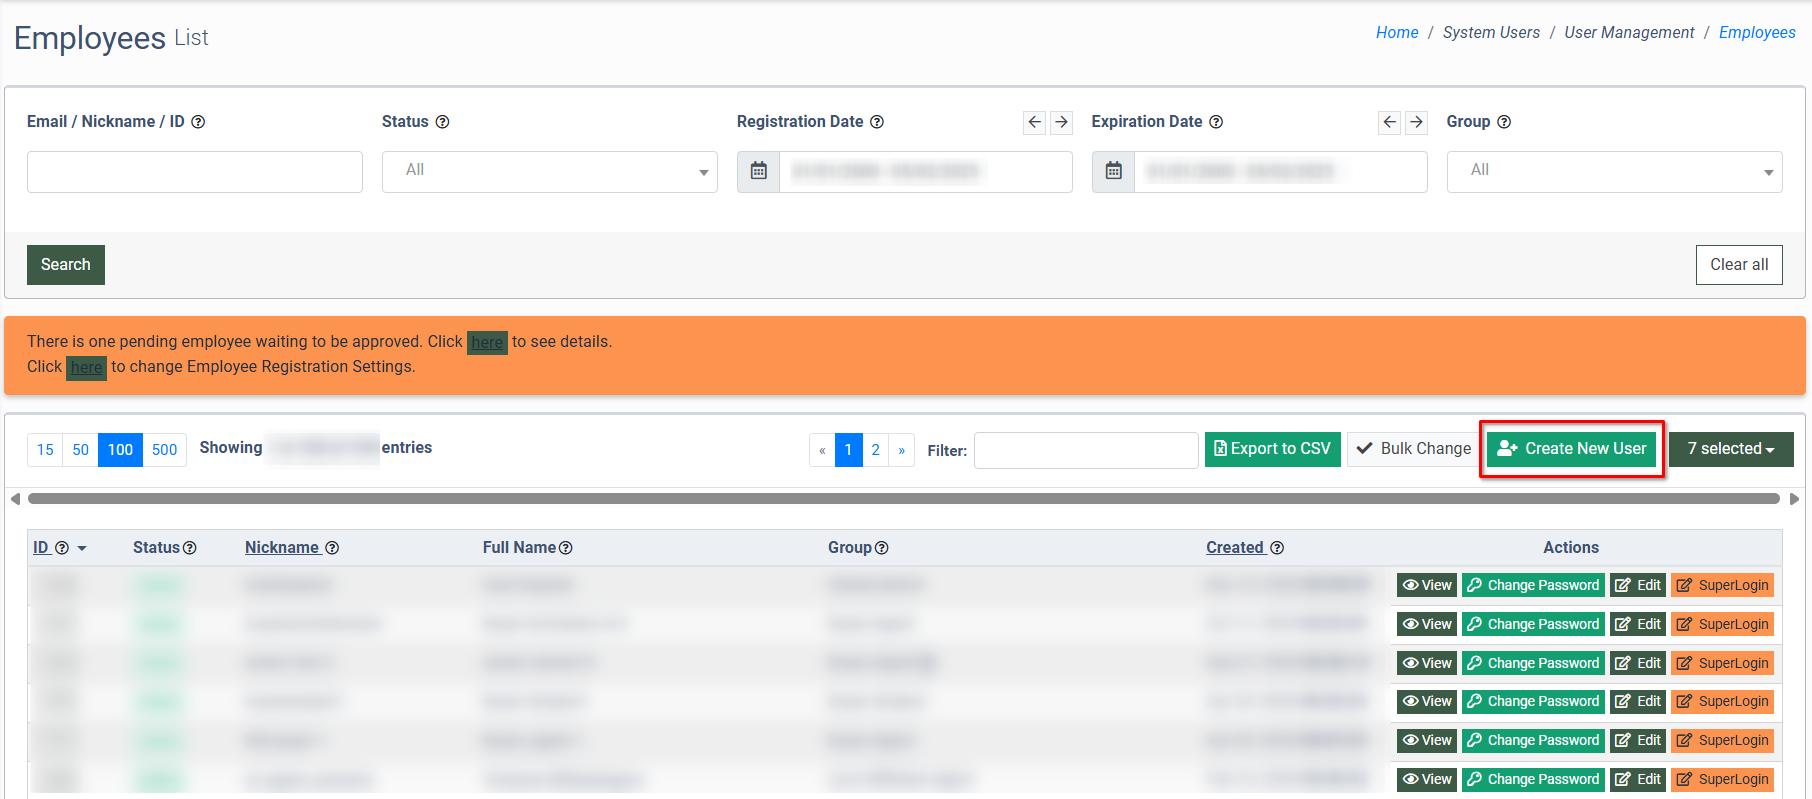
Go to the Global Dashboard > System Users > Employees section and click the “Create New User” button.
Fill the following fields in the “Create User” pop-up window:
- Email: Enter the email of the Publisher Agent. This email will be set as a primary contact.
- Nickname: Enter the system nickname for the Publisher Agent.
- Groups: Select the ”Publisher Agent” user group and check the “Publisher Agent Senior” if needed.
- Show Total Revenue: Check the box to display the “Pub”, “TTL”, and “ADM” columns for the particular Publisher Agent in the Publisher Performance Summary report. Read more about this report in the Knowledge Base article.
- View Related Buyer Reports: Check the box to give access to the Publisher Agent to the Buyer Performance Summary Report. Note: Only the tabs Group by Buyer, Group by Date, and Group by Campaign will be available for this Publisher Agent. In this case, some filters will not be visible to this Publisher Agent, and the report will display traffic that was sent by the Publishers of this Publisher Agent. Read more about the Buyer Performance Summary report in the Knowledge Base article.
- Status: Select the status for the Publisher Agent (Active or Disabled)
- New Password: Create a new password for the Publisher Agent. (The password should be at least 8 characters and require at least one number (0-9), uppercase and lowercase letters (a-Z), and at least one special character (!@#$%^&*~))
- Repeat Password: Enter the selected password for confirmation.
- First Name: Enter the first name of the Publisher Agent.
- Last Name: Enter the last name of the Publisher Agent.
Click the “Add” button to create a new user with the Publisher Agent role.
-3.png?width=593&height=853&name=unnamed%20(74)-3.png)
To change the password, click the “Change Password” button in the “Action” column. In the “Change Password” pop-up window, enter a new password in the “New password” field, confirm the new password in the “Repeat Password” field, and click the “Save” button to update the password.

To edit the user, click the “Edit” button in the “Action” column. In the “Edit” pop-up window, you can update the Nickname, User Groups, and Status (Active, Deleted, Disabled). Click the “Save” button to complete the changes.
-3.png?width=670&height=736&name=unnamed%20(75)-3.png)
To add the Publisher Agent role to the existing user, select the user in the Employees list and click the “Edit” button.
-3.png?width=670&height=737&name=unnamed%20(76)-3.png)
In the “Edit” pop-up window, select the “Publisher Agent” user role, check the “Publisher Agent Senior”, and/or the “Show Total Revenue” option if needed in the “Groups” field, and click the “Save” button to apply the changes.