Phonexa Cloud Softphone extension lets you make and receive calls directly from your browser. It's a simple, efficient way to handle all your communication needs without extra hardware, fully integrated with Cloud PBX, and available for the Google Chrome browser.
The following steps should be performed for the Phonexa Cloud Softphone extension installation.
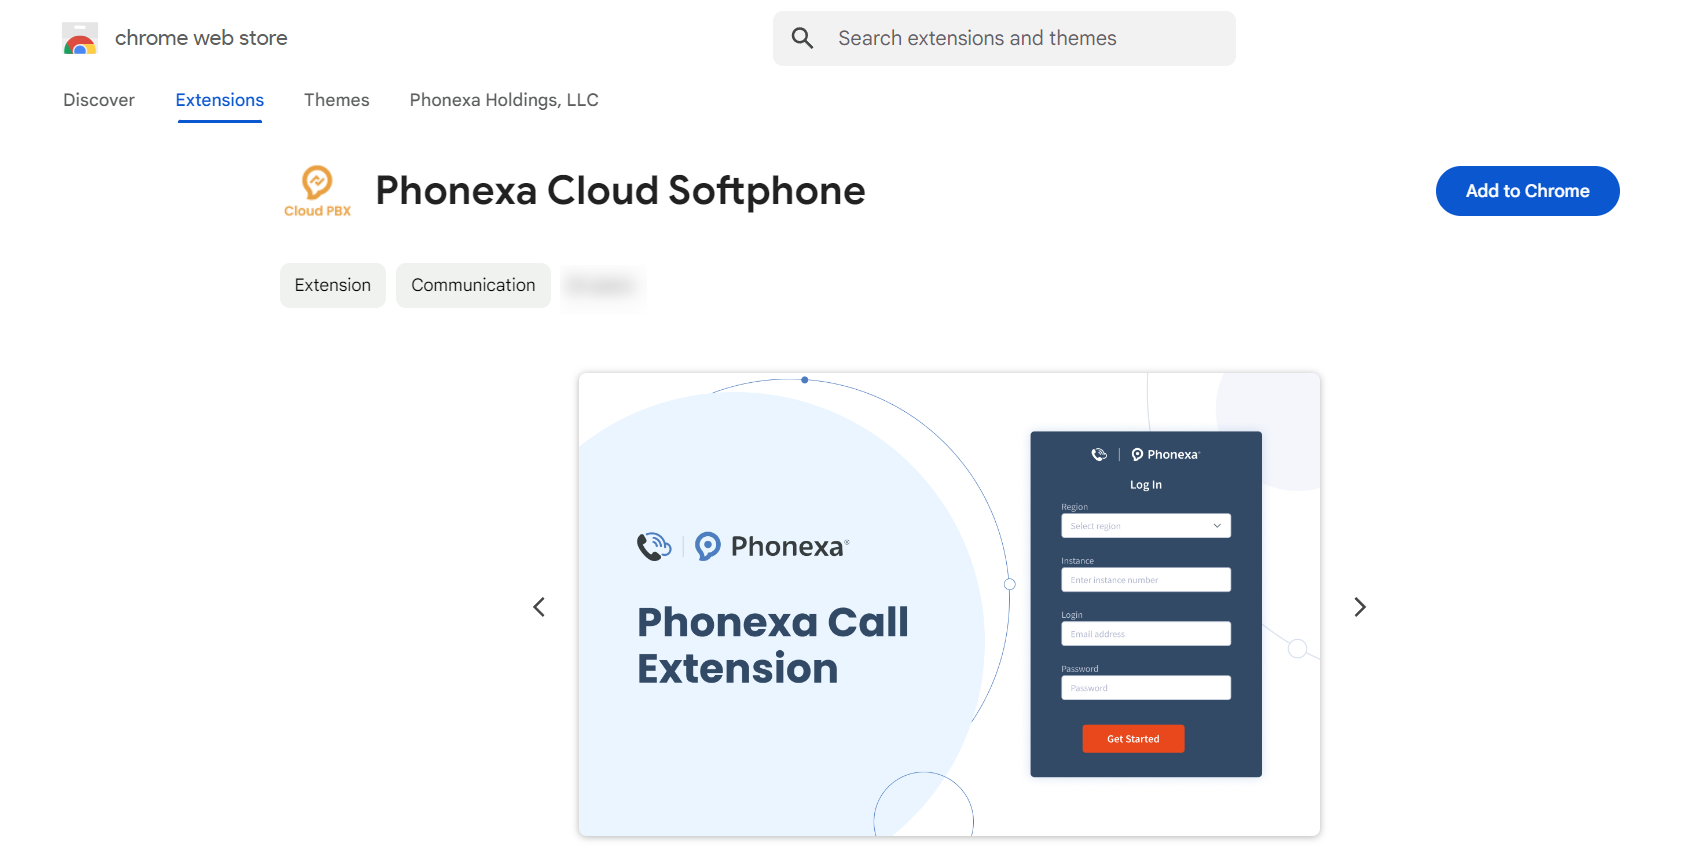
- Follow the link to the extension in the Chrome Web Store section: link.
- Click the “Add to Chrome” button to start the installation process.

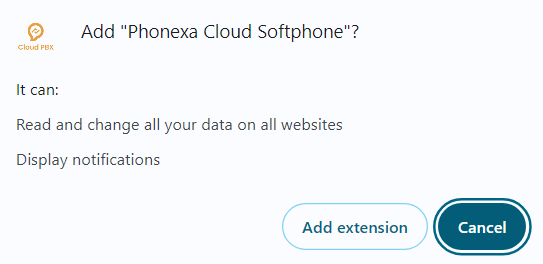
- Confirm the extension-adding operation by clicking the “Add extension” button in the “Add Phonexa Cloud Softphone” pop-up window.

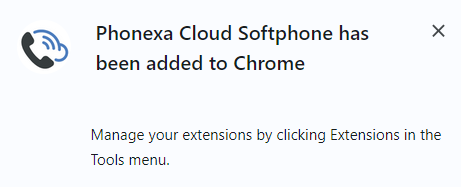
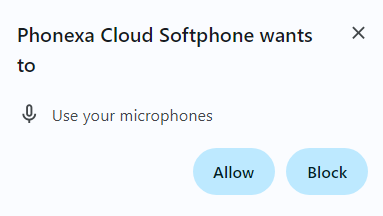
- As soon as the pop-up window with the message about the successful extension installation has appeared, give access to your microphone by clicking the “Allow” button in the “Phonexa Cloud Softphone wants to” pop-up window:


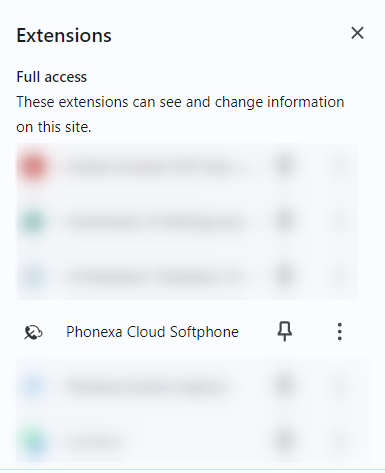
- To enter and manage the extension, click the “Extensions” tab at the top of the browser, select the “Phonexa Cloud Softphone” option, and click on it.

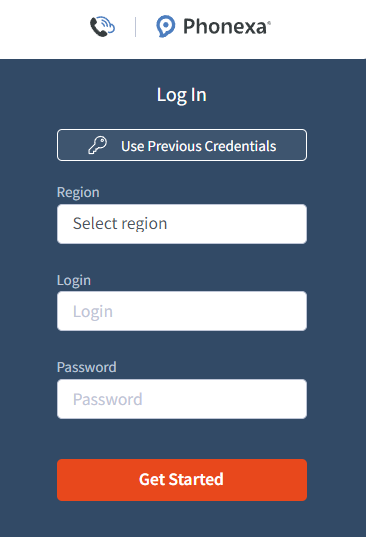
- Fill in the following fields in the pop-up window below:
-
- Region: Select the operation region (United States, United Kingdom, Canada).
- Login: Enter your operator’s SIP account login.
- Password: Enter the password for your operator’s SIP account.
Note: The credentials for the login can be obtained from the Operator’s Settings in the Cloud PBX system.
Read more about the Operator Settings section in the following Knowledge Base article.
-
Click the “Get Started” button to log in to the extension.
To use the credentials that were already used for the login, click the “Use Previous Credentials” button.