To enable this service, go to the Fraud and Anomaly > iClear > Lead Processing Rules section and select a Product from the drop-down list.
Once you select the Product, you’ll be automatically redirected to the “Lead Processing Rules (iClear)” subtab. You may also navigate here by selecting the System Management > Products section on the left-hand menu and clicking on the “Settings” button for the corresponding product (Lead Processing Rules (iClear) subtab).
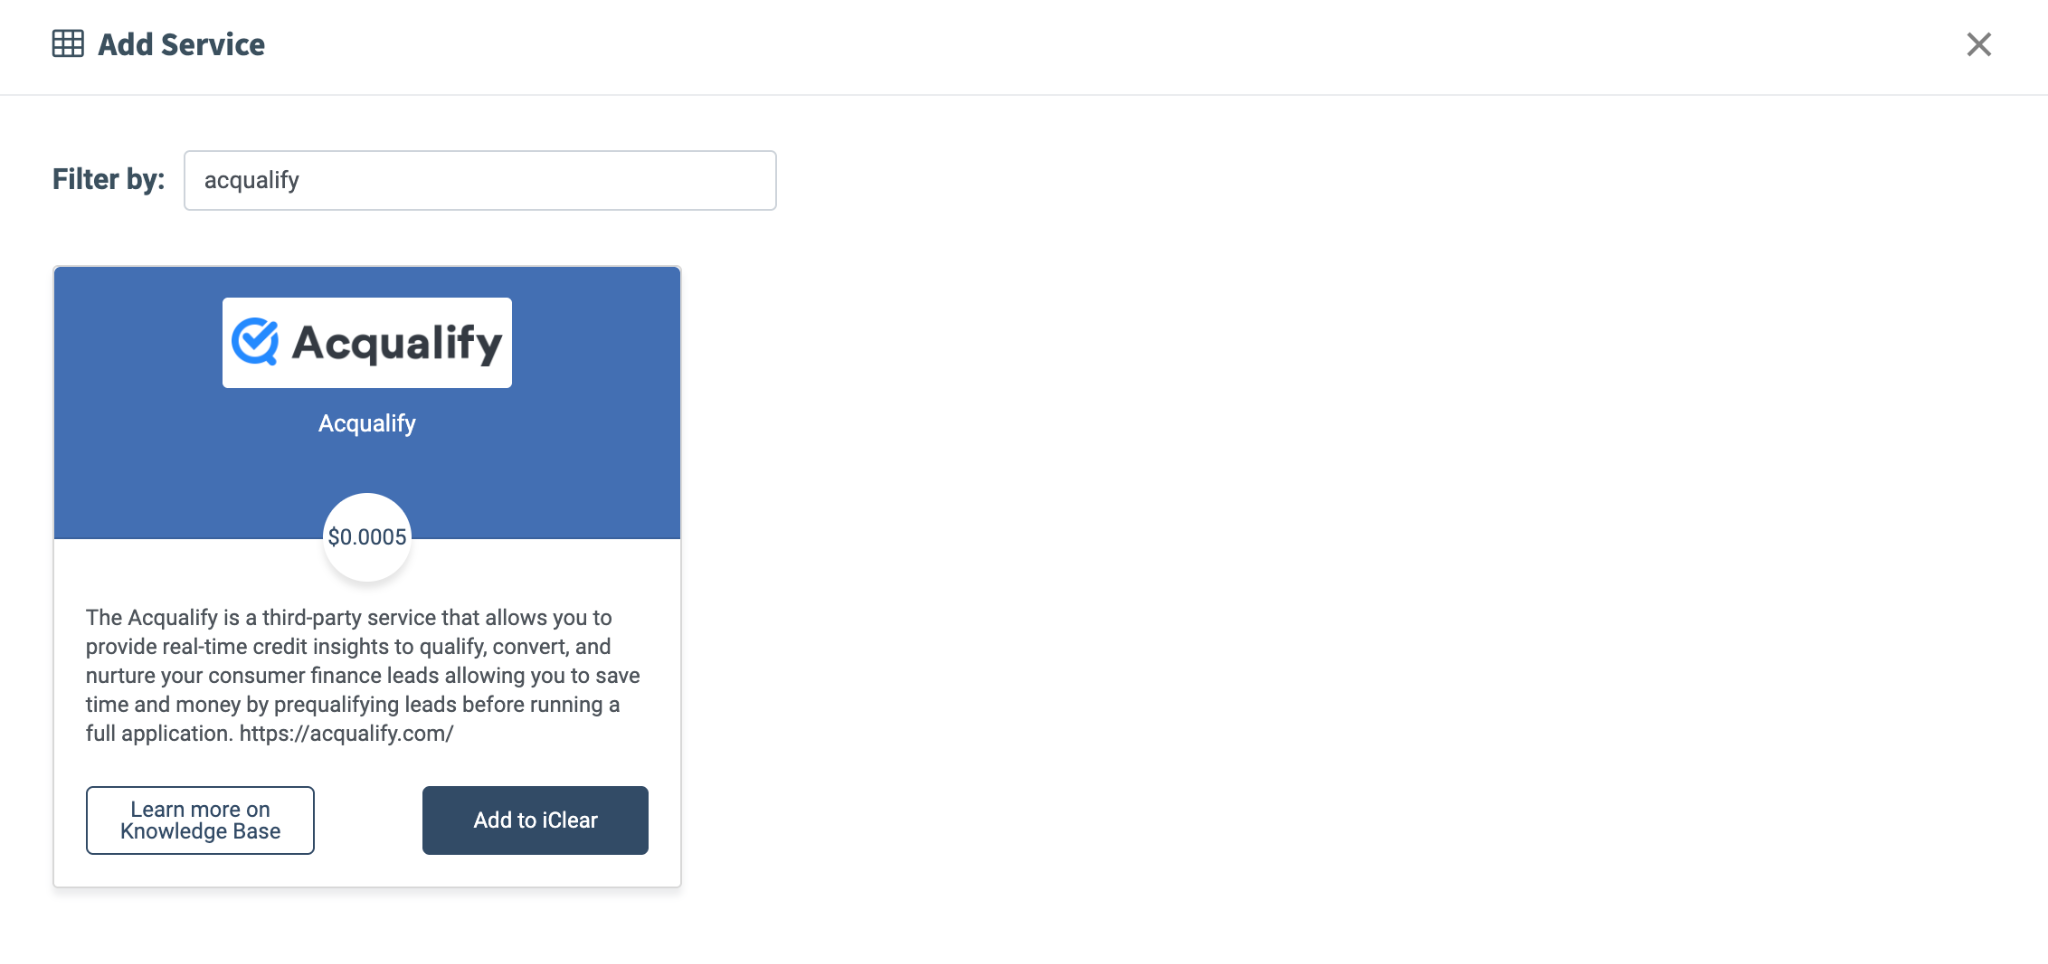
To configure this service, click the “Add Service” button in the Global Rules block. Navigate to the “Acqualify” block and click the “Add to iClear” button.
Fill in the following fields:
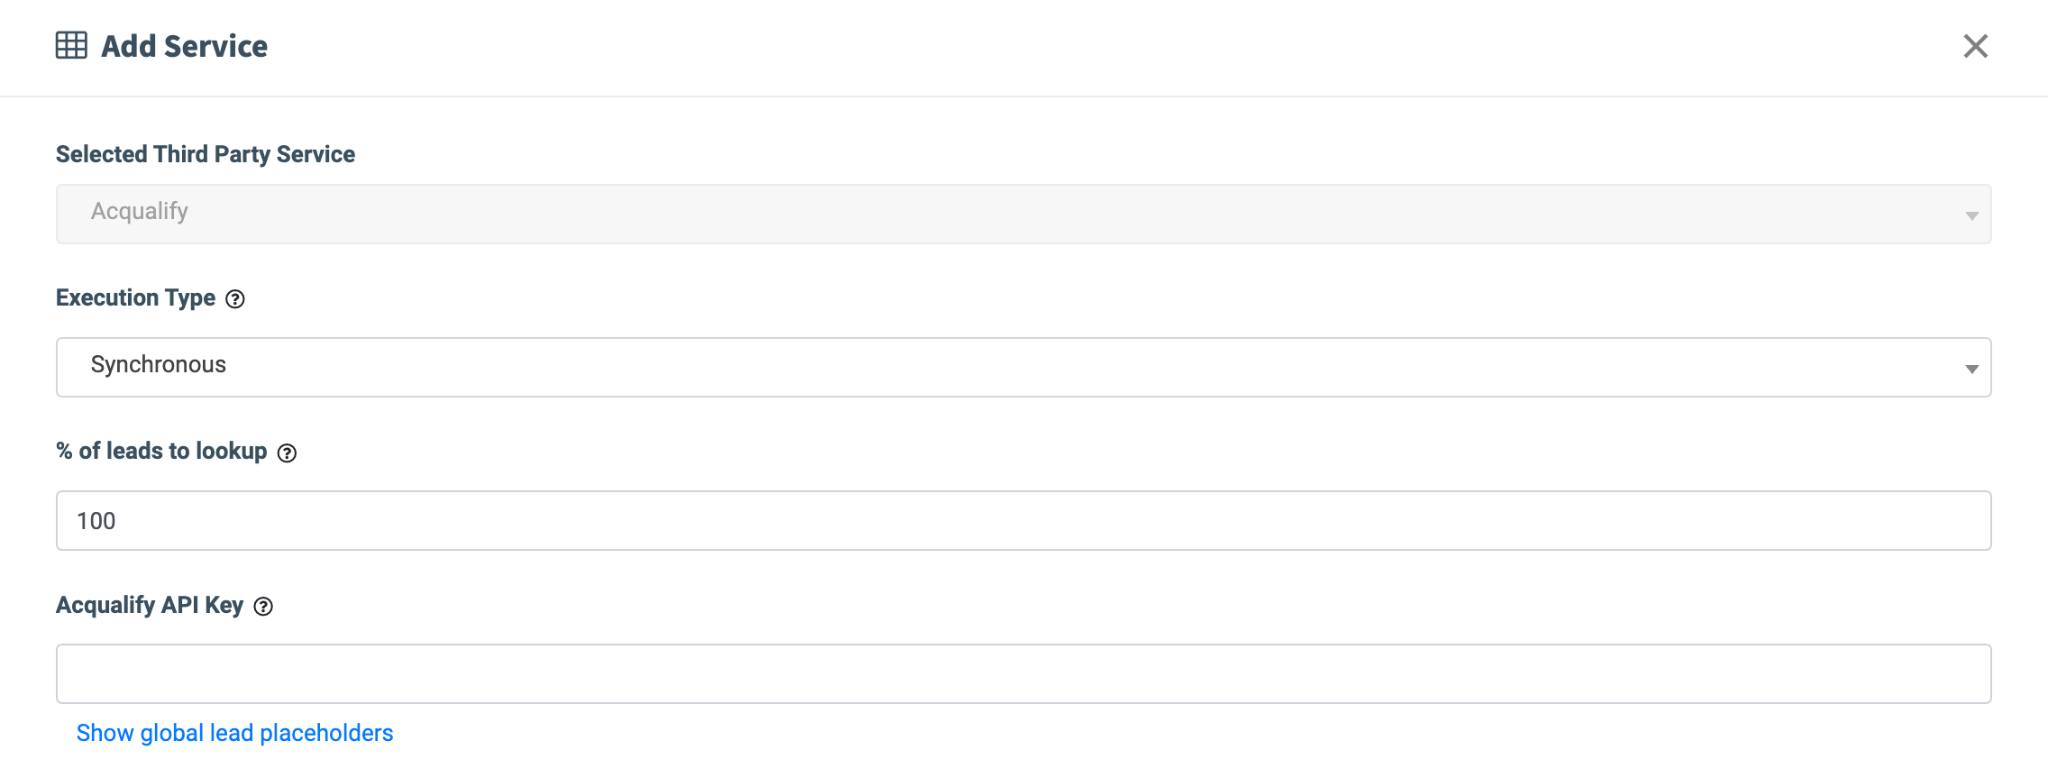
- Execution Type:
- Select the "Synchronous" option to wait for the service outcome before processing a lead. This execution type is recommended for real-time lead filtration based on the service status.
- Select the "Asynchronous" option to make a simultaneous request and process a lead without waiting for the service outcome. This execution type is recommended for analytical purposes, not real-time lead filtration based on the service status.
- Select the “On-Demand” option to enable lead filtration when the “% of lead to lookup” is set as 0 (null).
- % of leads lookup: Set the percentage of leads to be checked through this service. Note: This field is available only for Synchronous and Asynchronous Execution types.
- Acqualify API Key: Enter the API key from your Acqualify account. Note: You need to create an Acqualify account before adding a service to the Phonexa system.
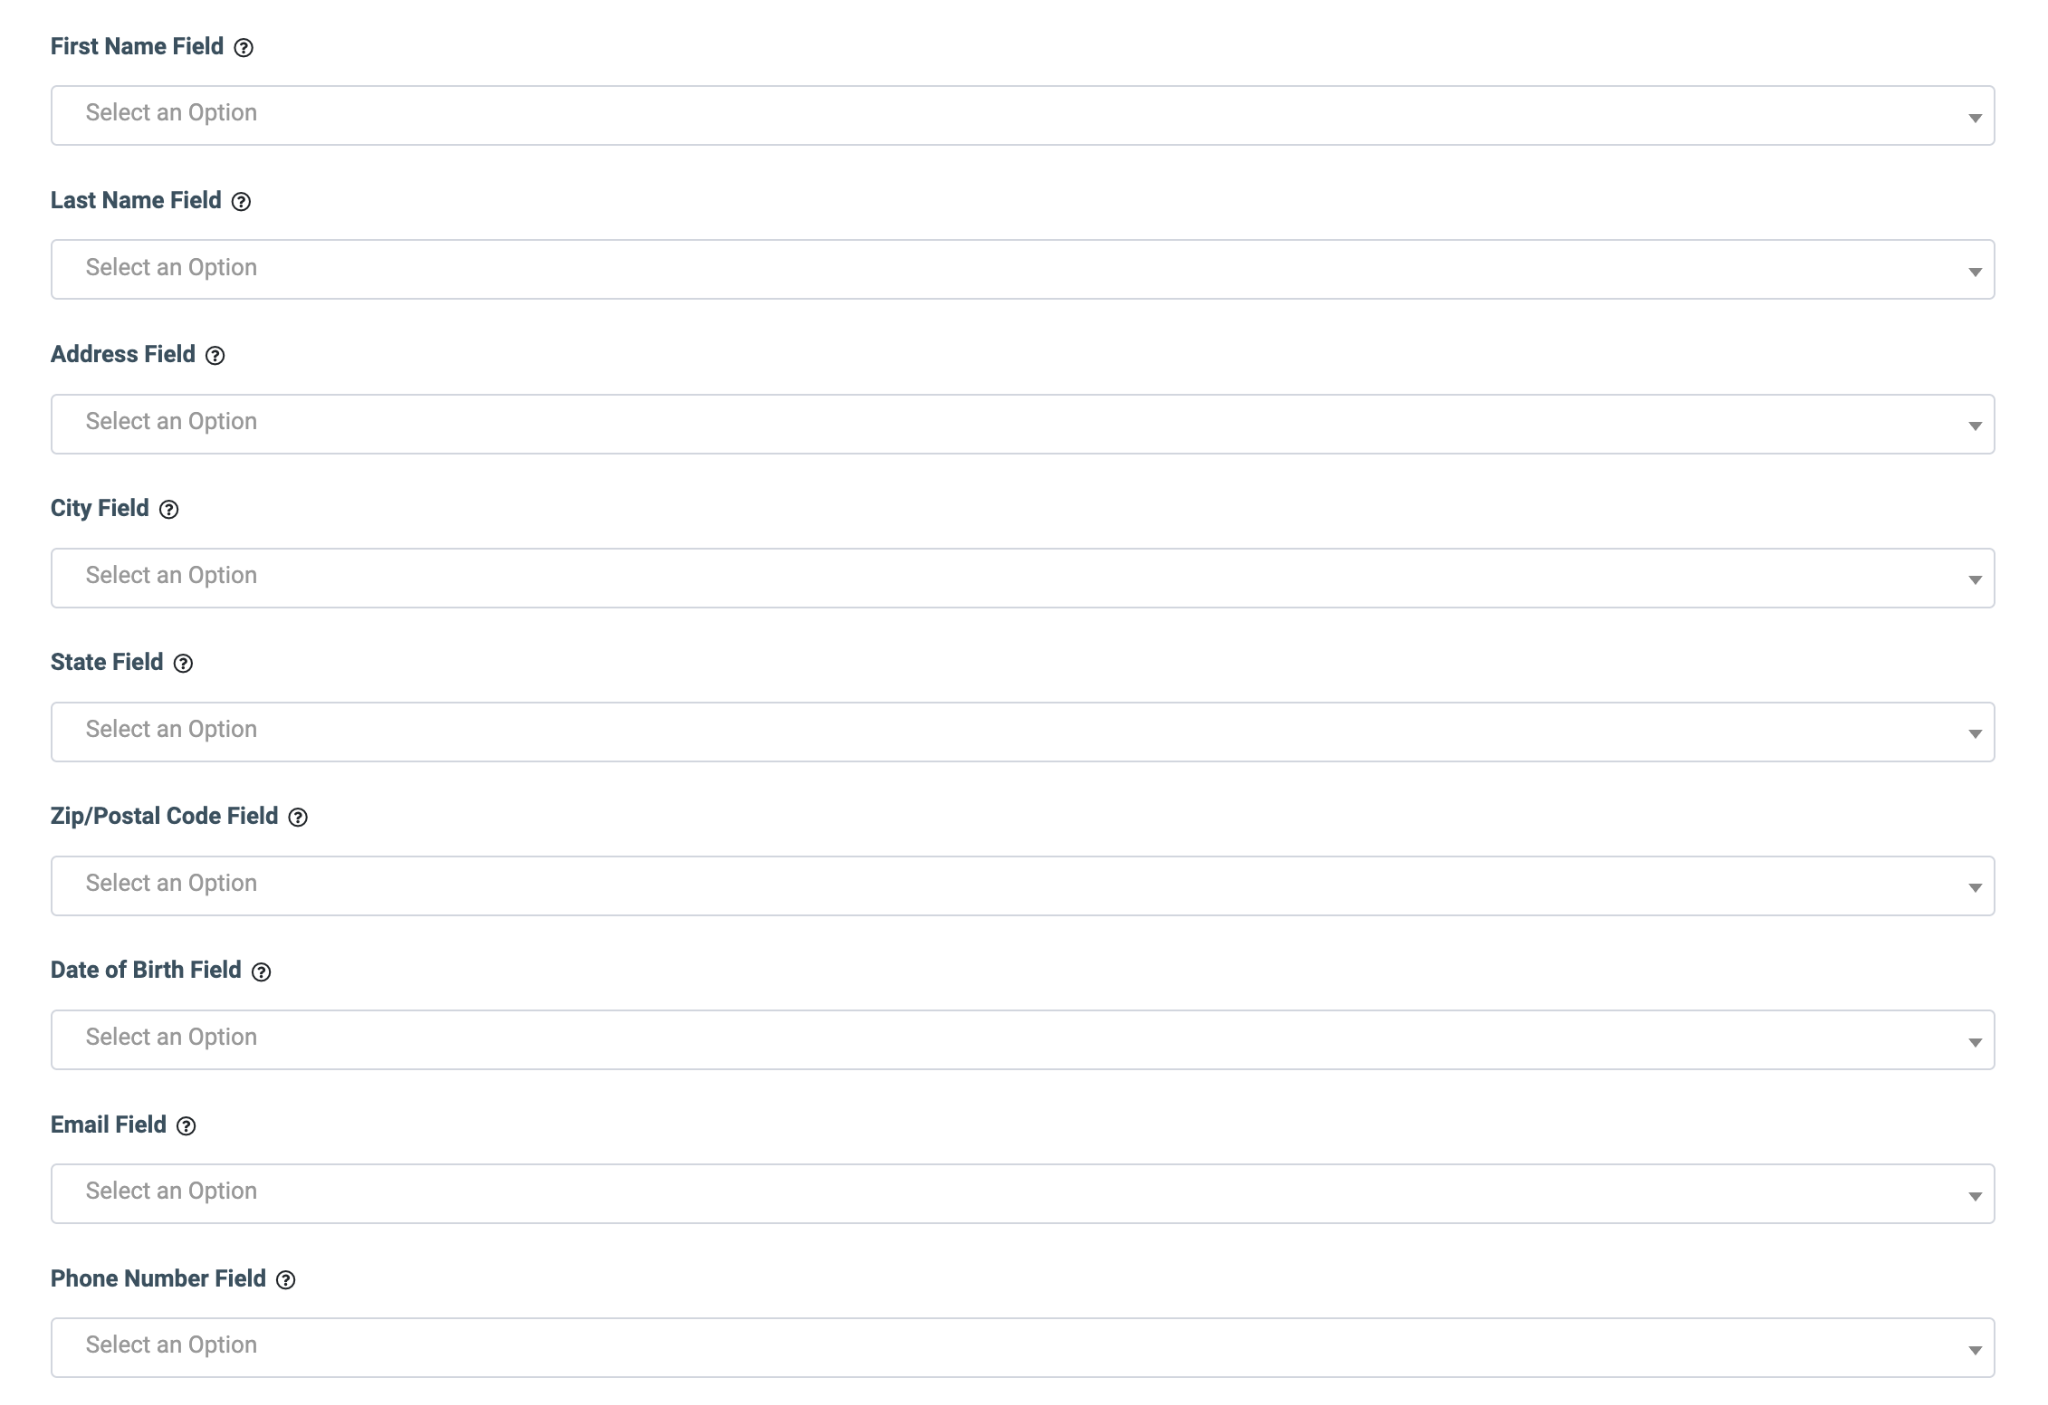
- First Name Field: Select the field that contains the lead`s first name (required).
- Last Name Field: Select the field that contains the lead`s last name (required).
- Address Field: Select the field that contains the lead`s address.
- City Field: Select the field that contains the name of the city.
- State Field: Select the field that contains the name of the state.
- Zip/Postal Code Field: Select the field that contains the postal code or zip information.
- Date of Birth Field: Select the field that contains the date of birth data.
- Email Field: Select the field that contains the lead`s email.
- Phone Number Field: Select the field that contains the lead`s phone number (required).
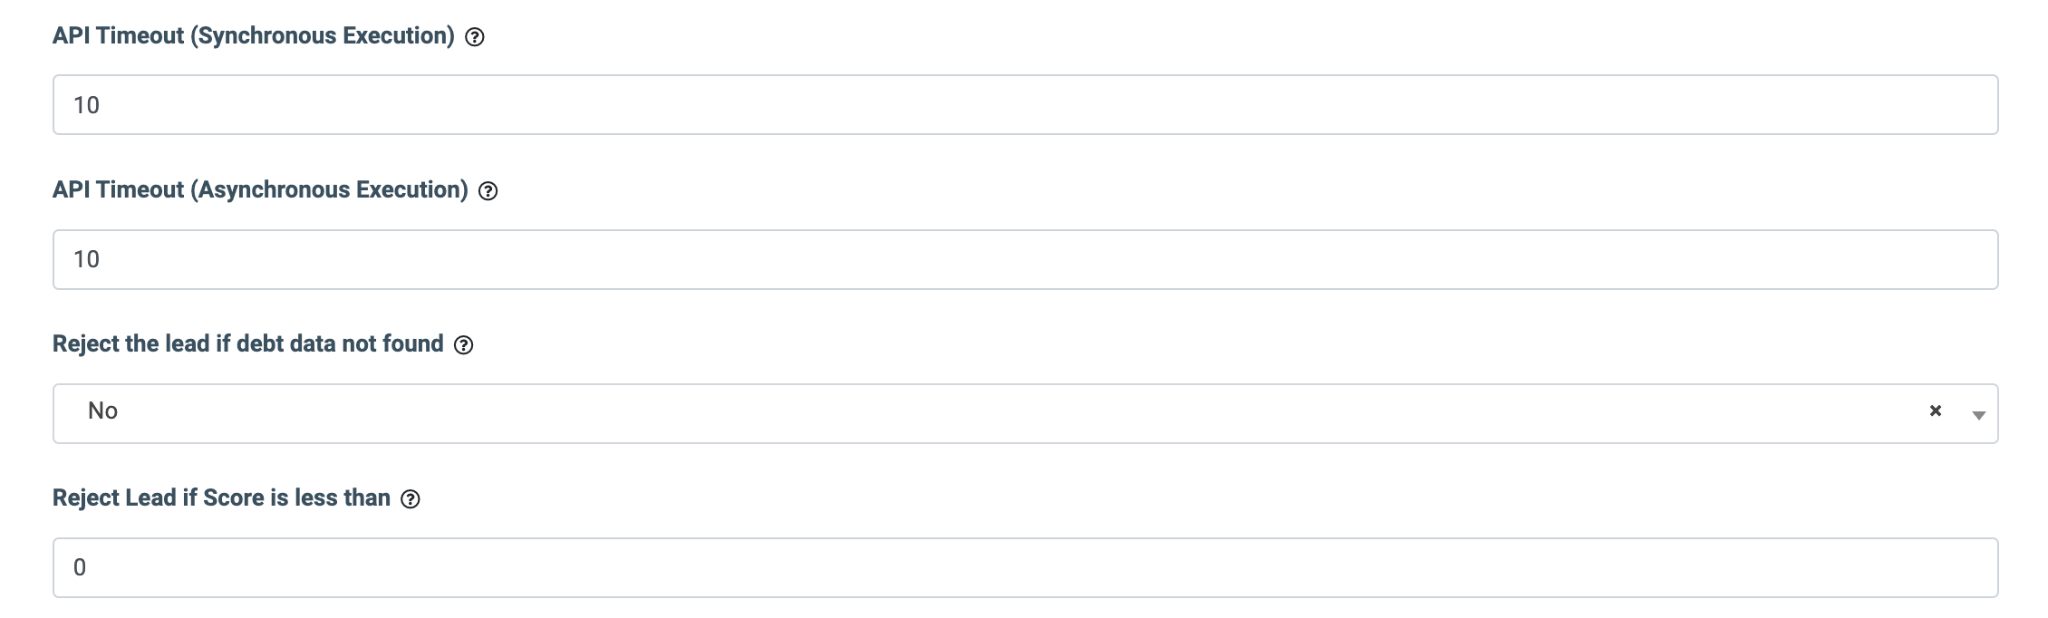
- API Timeout (Synchronous Execution): Enter the time range (in seconds) to wait for the service response.
- API Timeout (Asynchronous Execution): Enter the time range (in seconds) to wait for the service response.
- % of leads to lookup: Set the percentage of leads to be checked through this service.
- Reject the lead if debt data is not found: Select whether you want to reject the lead if its debt information is not found.
- Reject Lead if Score is less than: Enter the minimum credit score needed to process the lead. If the score received from the service is less than the value in this field, the lead will be rejected.
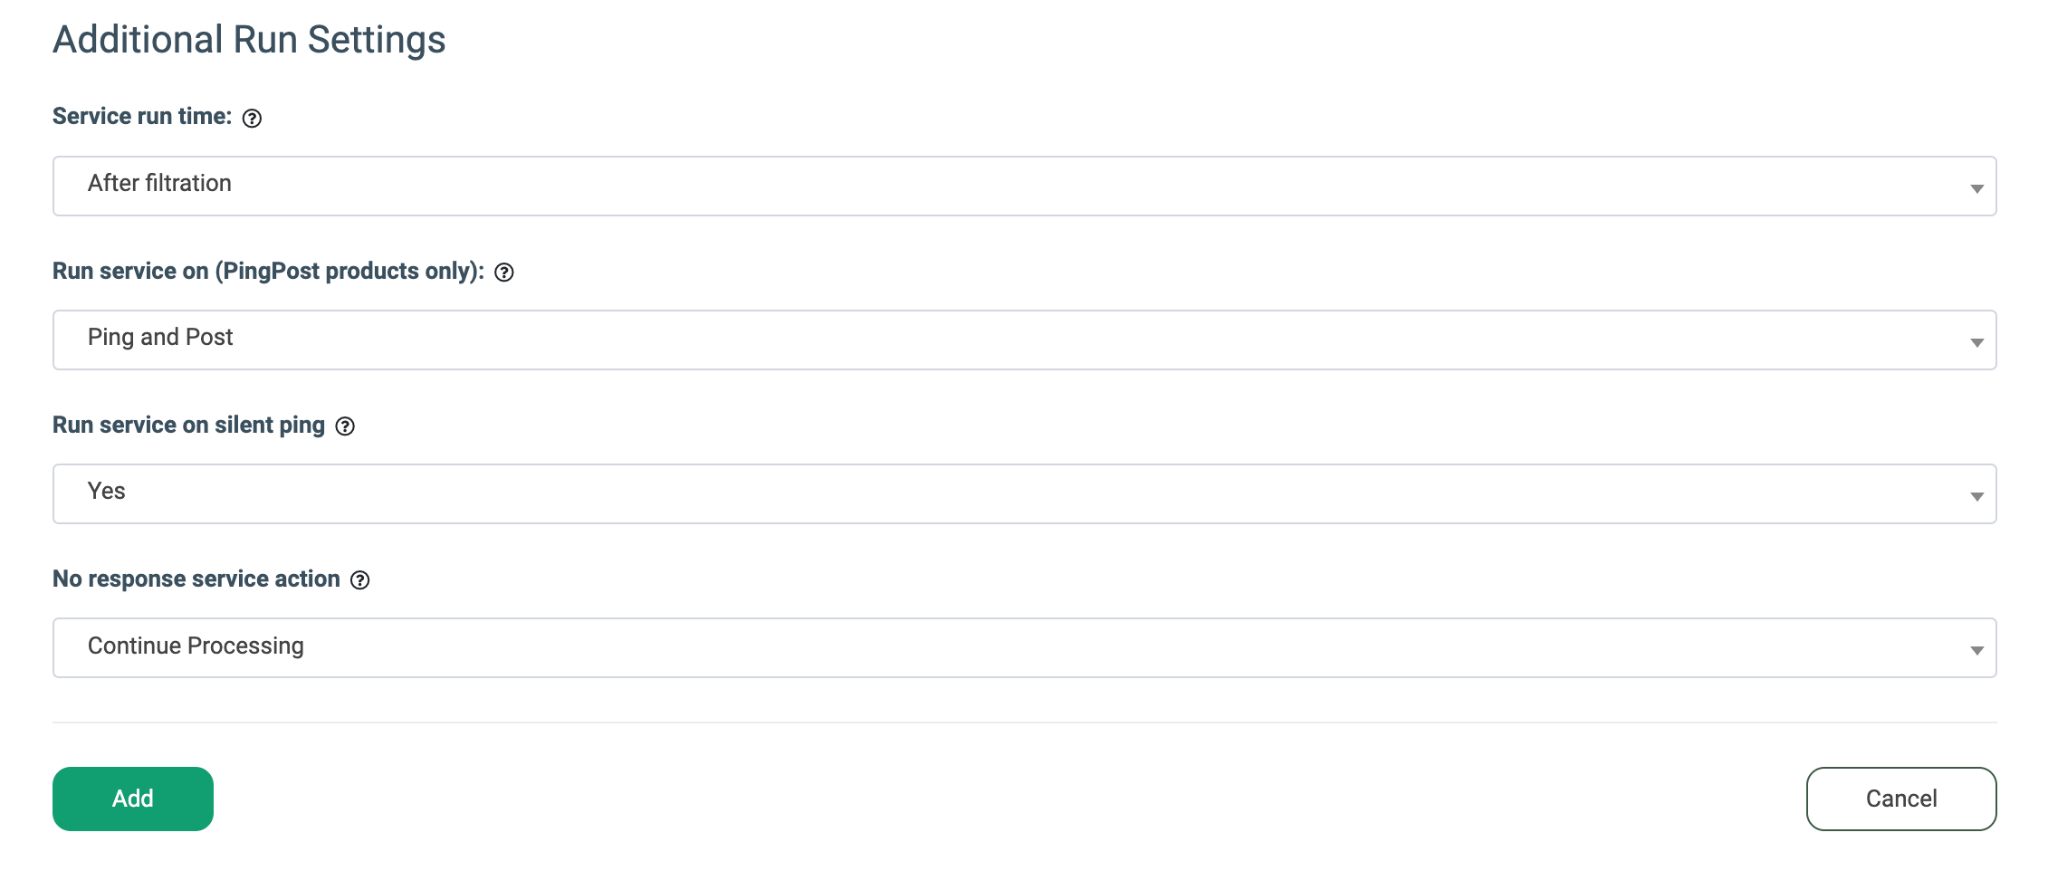
The “Additional Run Settings” configuration block allows you to configure more options to determine at which stage you would prefer to run the service.
- Service run time: Select whether you would prefer to run the service before or after the leads are filtered out (After filtration / Before filtration).
Note: Please be aware that selecting this option may impact your invoice. Once this option is selected and no campaigns remain for the service to run, there will be no charges incurred. - Run service on (PingPost products only): Select one of the options to determine at which stage you would prefer to run the service for the Ping Post products (Ping / Post / Ping and Post).
- Run service on silent ping: Select “Yes” if you would like to run the service during the silent ping stage. Select “No” to exclude this option.
- No response service action: (The system runs a lookup service. In case the service did not get any response, you can select the preferred action.)
- Select the “Continue Processing” option if you want to continue processing leads when the service does not respond.
- Select the “Reject the Lead” option if you want to reject the lead when the service does not respond.
Click the “Add” button to confirm.
Read more about the Global and Advanced Rules configurations in this Knowledge Base article.