To create a new export request, and view the list of all export requests, go to the System Management > Export > Lead Export section.
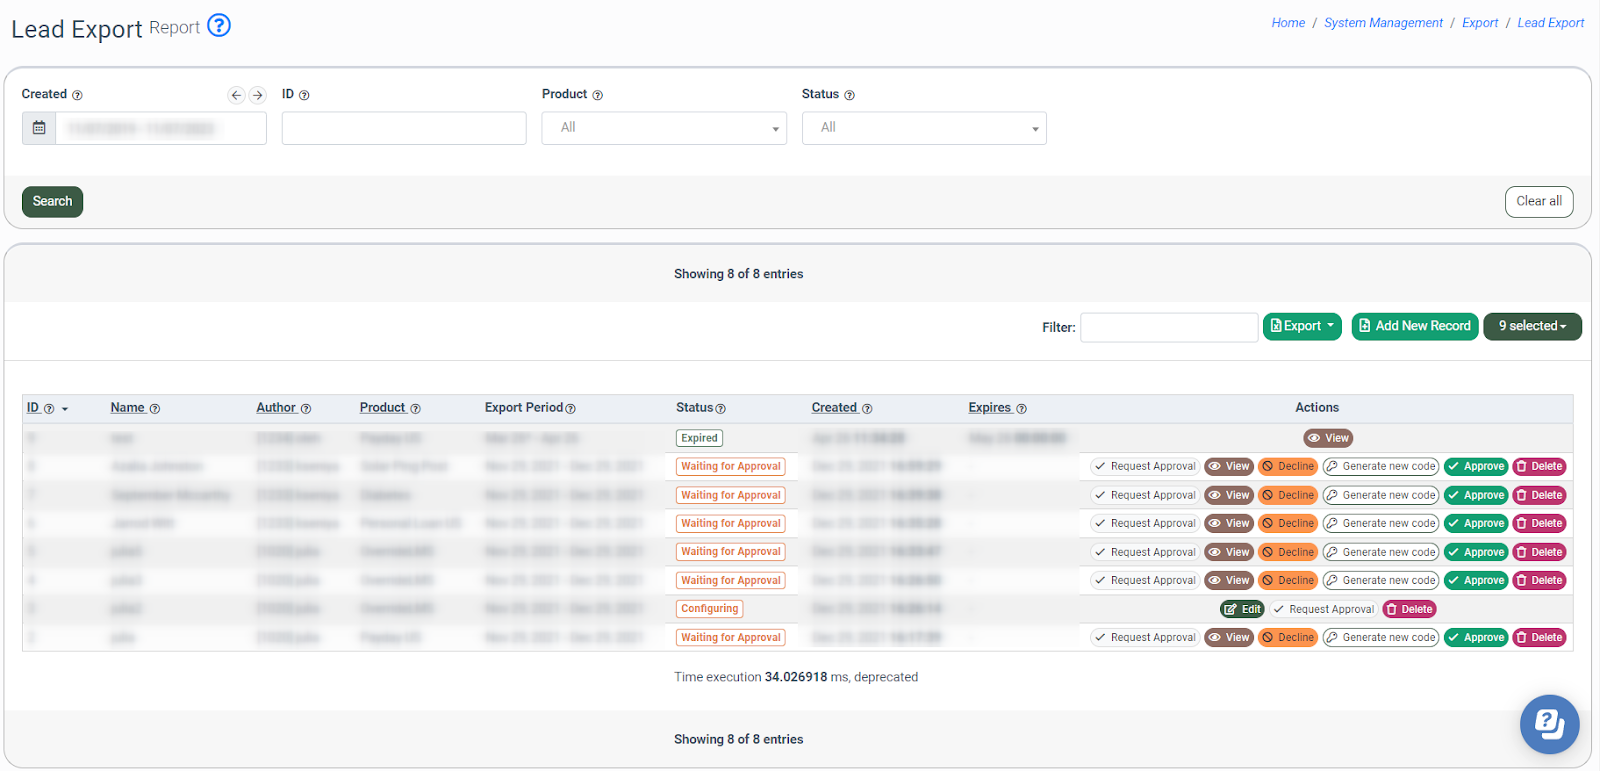
You can narrow down the search results by using the following filters:
- Created: Select the creation date of the request.
- ID: Enter the unique identification number of the request.
- Product: Select the Product for the request.
- Status: Select the status of the request.
The export requests list contains the following information:
- ID: The unique identification number of the request.
- Name: The name of the request.
- Author: The name of the user who created the request.
- Product: The name of the Product in the request.
- Export Period: The period for the lead export in the request.
- Status: The status of the request (Configuring, Waiting for Approval, Pending, Processing, Completed, Error, Declined, Blocked, Expired, Deleted, Aborted).
- Created: The creation date of the request.
- Expires: The date and time when the request expires.
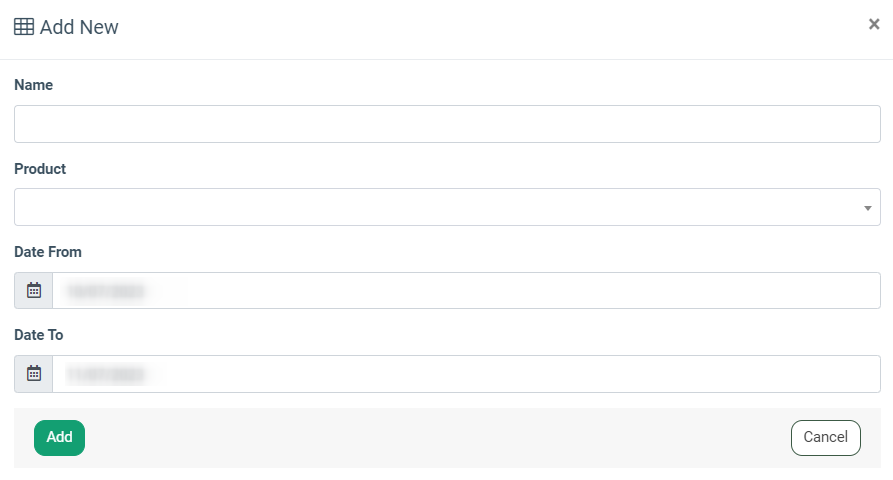
Fill in the following fields in the “Add New” pop-up window:
- Name: Enter the name of the request.
- Product: Select the Product for the request.
- Date From: Select the start date of the export period.
- Date To: Select the last day of the export period.
Click the “Add” button to proceed with the action.
To create a new export request, click the “Add New Record” button.
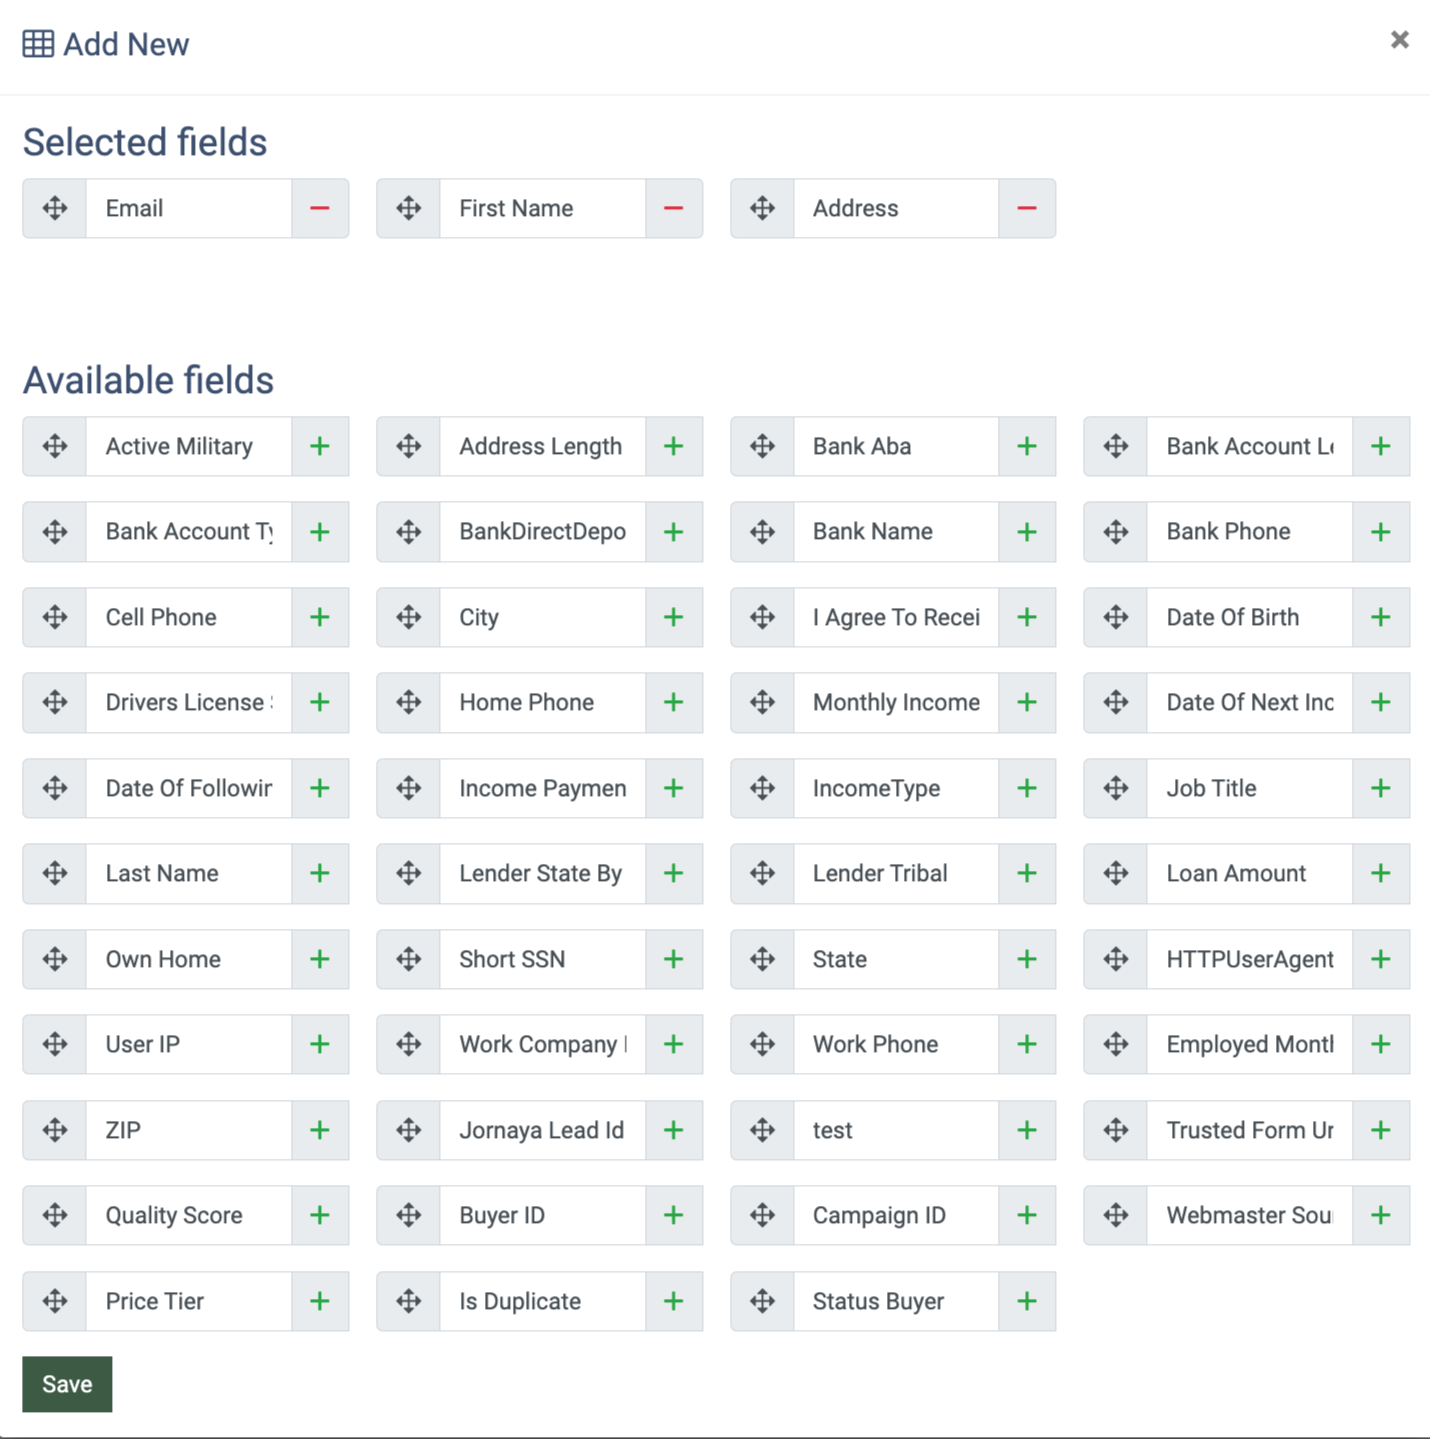
Select the lead details fields that will be included in the export by clicking the “+” button, or drag-and-drop it to set the order of the fields in the export report. Note: The list of the available fields depends on the Product.
Click the “Save” button to complete the action.
To edit the list of the exported fields and change their order, click the “Edit” button in the “Action” column.
When the request for the export is created, it can be approved or declined by the system owner or data manager.
The Data Manager system role is intended for employees who manage lead export processes in the system. Note: This role is not independent and must be assigned to the user's primary role.
To assign the Data Manager system role to the employee, go to the System Users > Employees section, and click the “Edit” button in the “Actions” column next to the corresponding employee.
-3.png?hsLang=en)
In the “Edit” pop-up window, check the box “Data Manager”, and click the “Save” button to finish.
You can assign this system role to users with the following primary system roles:
- Global Admin;
- LMS Admin;
- Call Logic Admin.
Now, this user will be included in the list of recipients of a verification code to confirm the Lead Export requested by other users. Note: All records on the Lead Export page become available to the user.
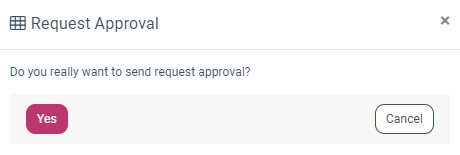
To request approval, click the “Request Approval” button in the “Action” column. The approval code will be generated and sent to the owner`s email address. The approval code is valid for 24 hours, and the owner has only three attempts to enter the code into the system.
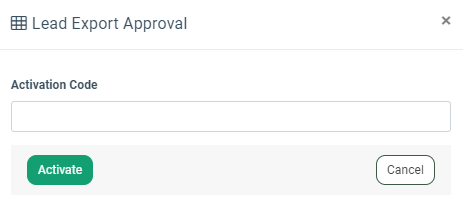
To approve the export request, click the “Approve” button in the “Action” column, enter the code in the pop-up window, and click “Activate”.
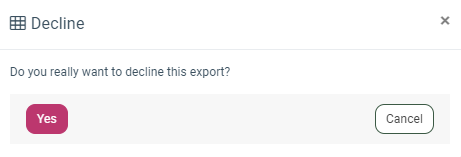
To decline the export request, click the “Decline” button in the “Action” column.
To generate a new code when the previous one is expired, click the “Generate New Code” button in the “Action” column.
If the wrong code is entered three times, the export request status automatically changes to “Blocked”.
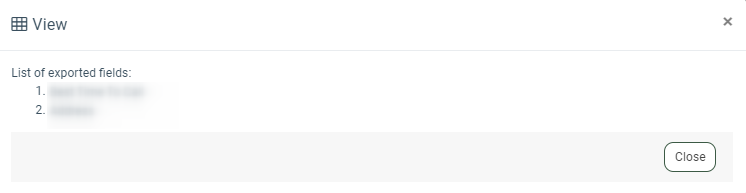
To view the list of the exported fields, click the “View” button in the “Action” column.
To delete the record from the list, click the “Delete” button in the “Action” column.
To abort generating the CSV files, click the “Abort” button in the “Action” column.
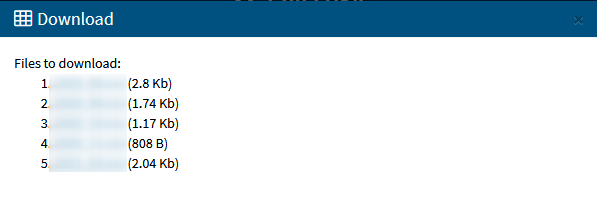
Click the ”Download” button in the “Action” column to download the CSV files with the export data. Click the name of the CSV file in the “Download” pop-up window to start the download.
Depending on the report status, the following action buttons are available:
- For the Configuring status - the “Delete”, “Edit”, and “Request Approval” buttons.
- For the Waiting for Approval status - the “Delete”, “Approve”, “Generate New Code”, “Decline”, and “View” buttons.
- For the Pending status - the “Abort” and “View” buttons.
- For the Processing status - the “Abort” and “View” buttons.
- For the Completed status - the “Delete”, “View”, and “Download” buttons.
- For the Error status - the “View” button.
- For the Deleted status - the “View” button.
- For the Declined status - the “View” button.
- For the Blocked status - the “View” button.
- For the Expired status - the “View” button.
- For the Aborted status - the “Delete” button.