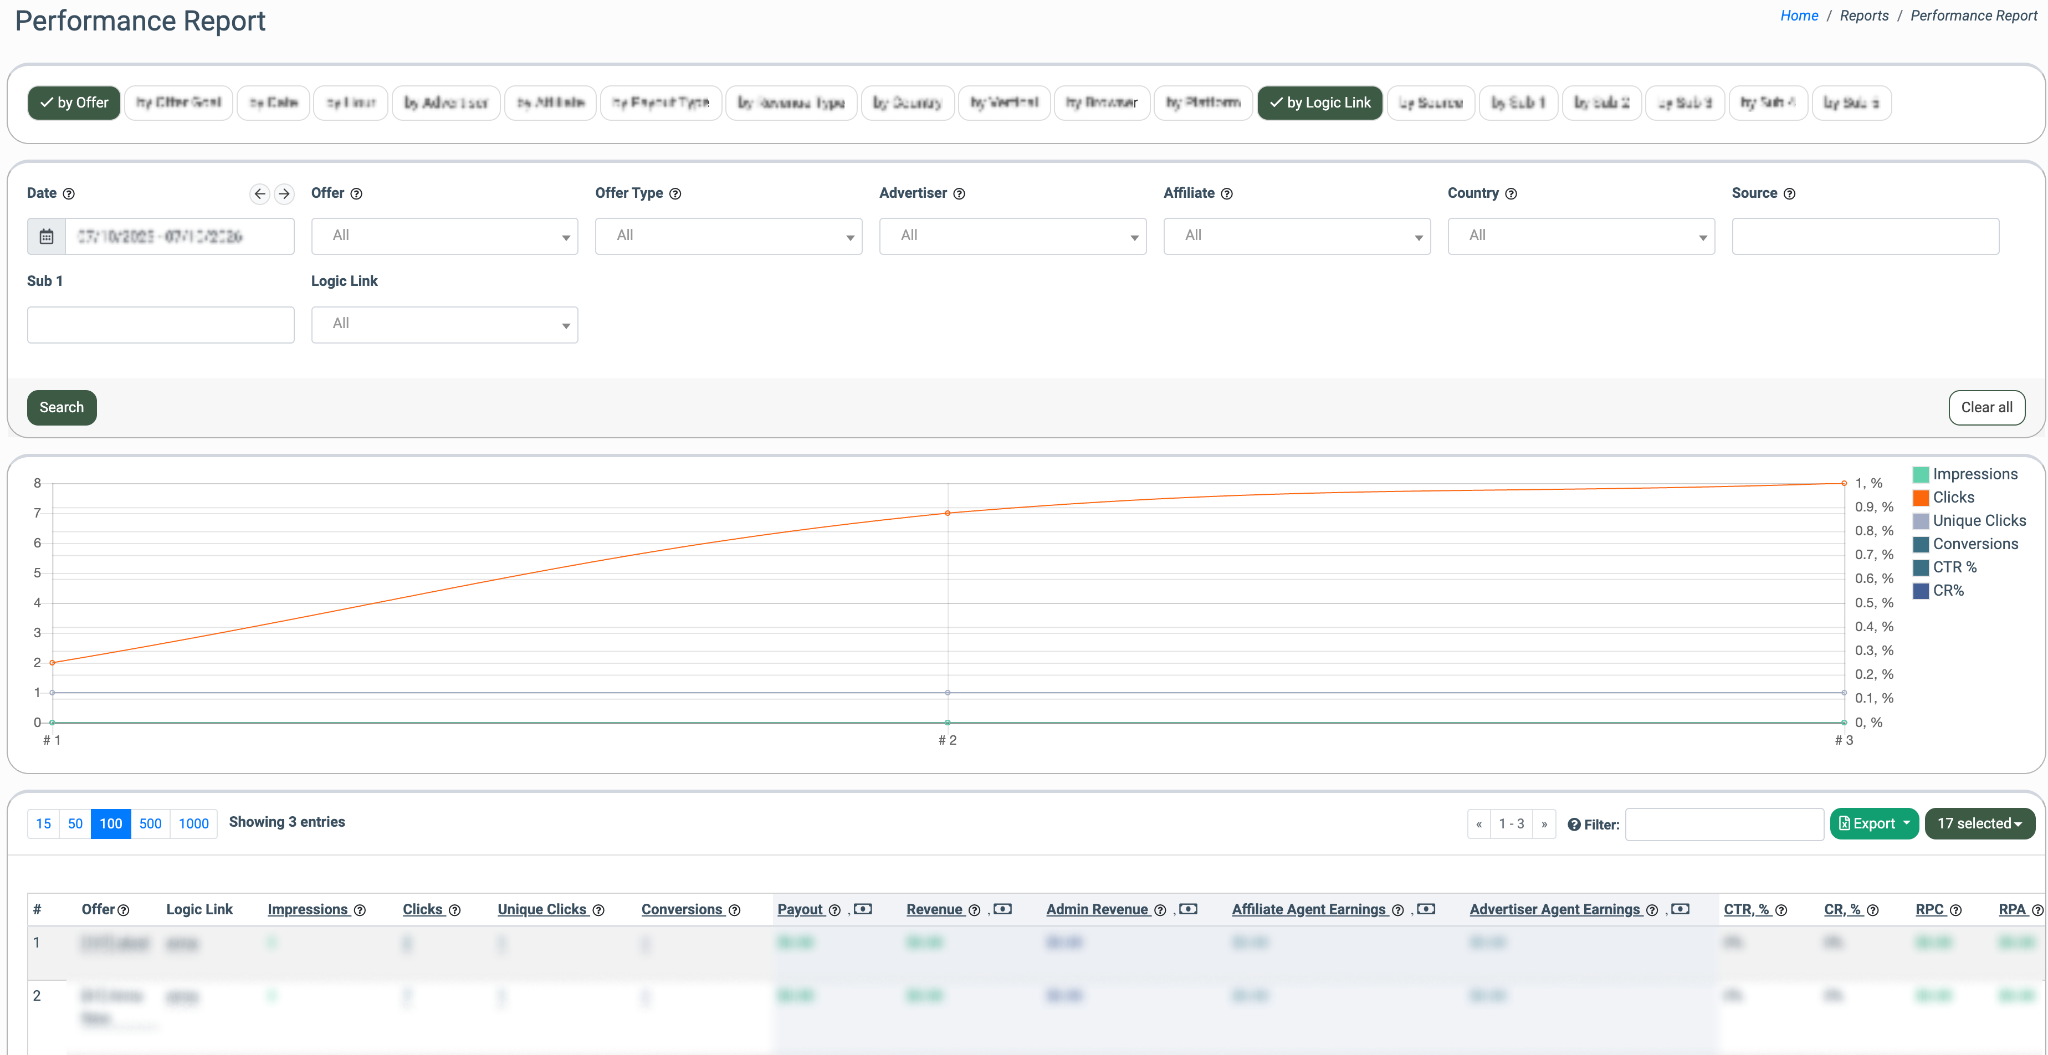
A Logic Link groups multiple Offers that belong to the same Advertiser. When a user clicks the Logic Link tracking URL, the system automatically evaluates the offers in the link and redirects the user to the single most suitable offer based on the configured Order Strategy (Priority or Weight) and each offer’s targeting rules.
Logic Links eliminate the need to manage traffic distribution manually. Instead of giving Affiliates separate tracking links for every offer and asking them to split traffic themselves, you provide one link, and Lynx handles offer selection, targeting checks, and redirection in real time.
Common use cases:
- Send all traffic for one vertical (e.g., personal loans) through a single link while the system routes each click to the best-matching offer by geography, device, or other targeting rules.
- Split traffic between competing offers by weight to test performance.
- Fail over automatically: if a top-priority offer stops accepting traffic (e.g., targeting mismatch), the click is routed to the next eligible offer - or to a designated Catch-All Offer.
How Offer Selection Works
When a user clicks a Logic Link tracking URL, the system:
- Loads the list of offers attached to the Logic Link.
- Applies the selected Order Strategy to determine the candidate offer.
- Checks the candidate offer’s targeting rules against the click (e.g., geolocation, device).
- Redirects the user to the first offer that passes targeting.
- If no offer in the list passes targeting, it redirects the user to the Catch-All Offer (if configured).
The Offer selection depends on the configured Order Strategy:
- Priority: Offers are evaluated in order of priority. The first Offer that matches the visitor according to its targeting rules is selected.
- Weight: The system randomly selects an eligible Offer based on its assigned Weight. Offers with higher weights have a greater probability of receiving traffic.
If none of the Offers match the visitor’s targeting criteria, you can optionally configure a Catch-All Offer to receive the traffic instead.
To access the section, go to the Offers > Logic Links section.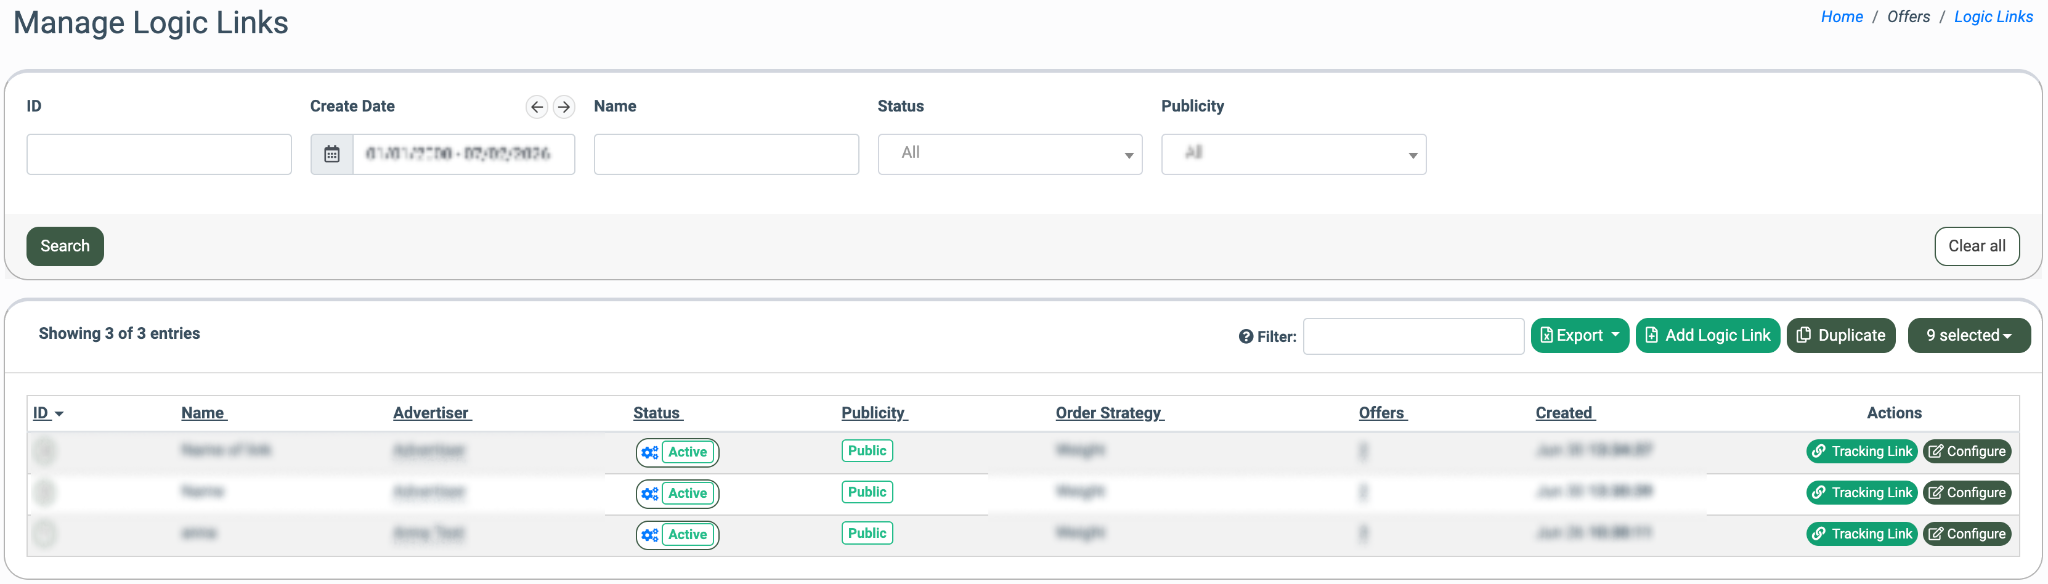
You can narrow down the search results by using the following filters:
- ID: Enter the logic link ID.
- Create Date: Select the creation date.
- Name: Enter the logic link’s name.
- Status: Select the link’s status (Active, Disabled, Deleted).
- Publicity: Select the link’s publicity (Public, Private, Hidden).
The list of links contains the following information:
- ID: The unique logic link identifier.
- Name: The name of the logic link.
- Advertiser: The Advertiser that owns the logic link and its offers.
- Status: The current status of the logic link (Active, Disabled, Deleted).
- Publicity: The visibility of the logic link (Public, Private, Hidden).
- Order Strategy: The distribution method used to select an offer (Priority, Weight).
- Offers: The number of offers assigned to the logic link.
- Created: The date and time when the logic link was created.
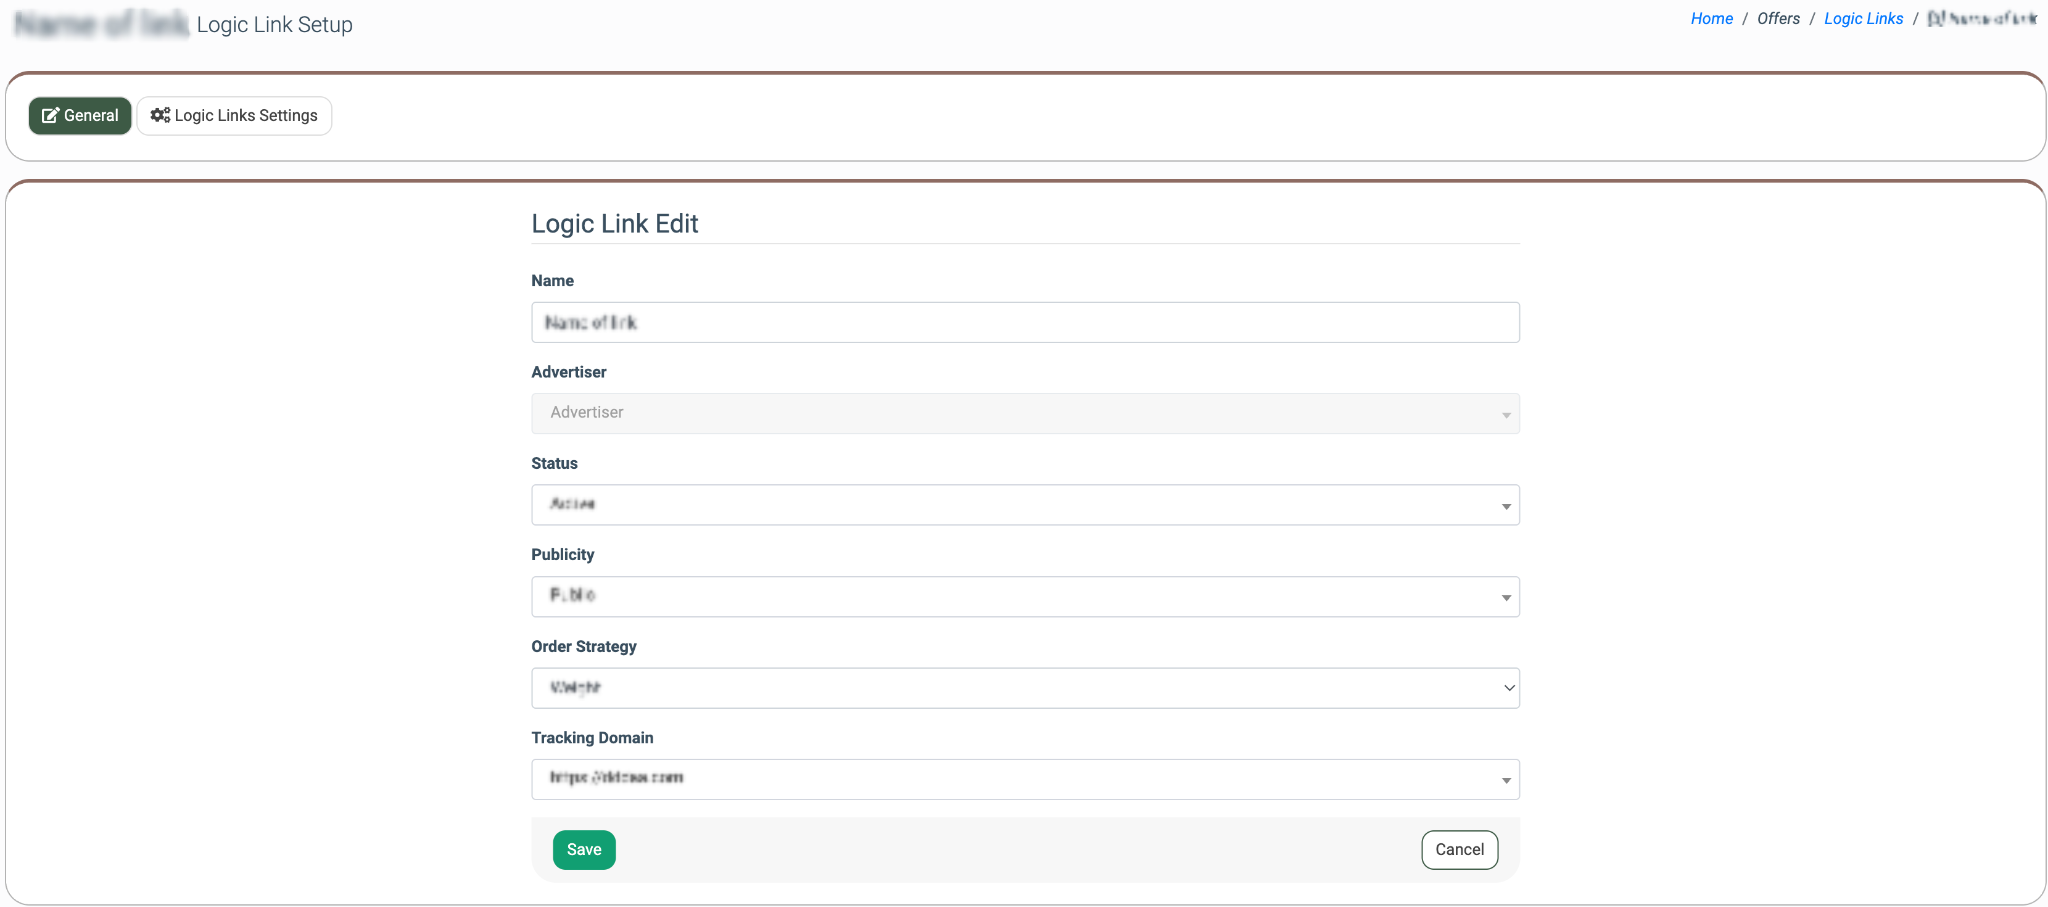
To create a new logic link, click the “Add Logic Link” button and fill in the following information:
- Name: Enter a name for the logic link.
- Advertiser: Select the Advertiser whose Offers will be included.
Note: This field is required. For Admin users, the Advertiser is selected from the drop-down list. For Advertiser users, the Advertiser is assigned automatically.
The Advertiser can only be changed while no Offers have been added to the Logic Link. - Status: Select the logic link status (Active, Disabled, Deleted).
- Publicity: Select who can access the logic link.
- Public: Available to all Affiliates in the network. Select this option when the Logic Link has no traffic restrictions and you want to maximize its reach.
- Private: Available only to selected Affiliates. After selecting this option, specify the Affiliates that should have access. Select this option when the offers require vetted traffic sources - for example, compliance-sensitive verticals, exclusive payout terms, or Advertisers that accept traffic only from approved partners. Note: The list of selected Affiliates is never visible to Affiliates.
- Hidden: Not accessible. Select this option when no Affiliate should see the Logic Link in their portal - for example, while it is being configured or tested, or when the link is used only internally on your own traffic sources.
- Order Strategy: Select how the system chooses an offer.
- Priority: Offers are checked in order of priority. The first offer that satisfies all targeting rules is selected. Use this strategy when you want to give preference to specific offers.
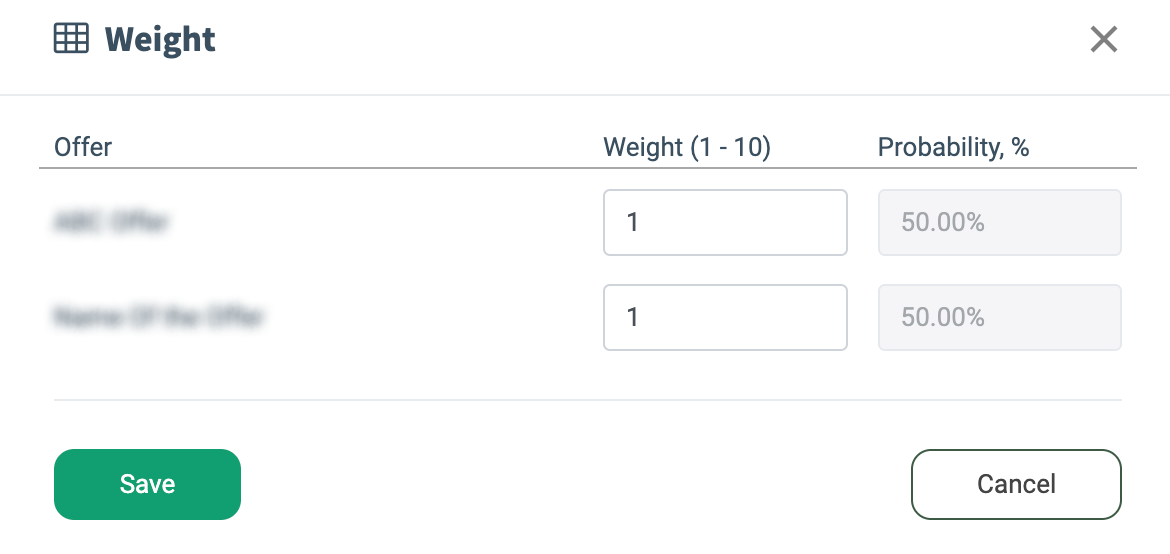
- Weight: Eligible offers are selected randomly according to their assigned Weight values. The probability of selecting an offer is calculated as: Offer Weight/Sum of All Offer Weights × 100%. Use this strategy to distribute traffic proportionally across multiple offers.
- Tracking Domain: Select the tracking domain that will be used to generate the Logic Link tracking URL.
Click the “Add” button to confirm.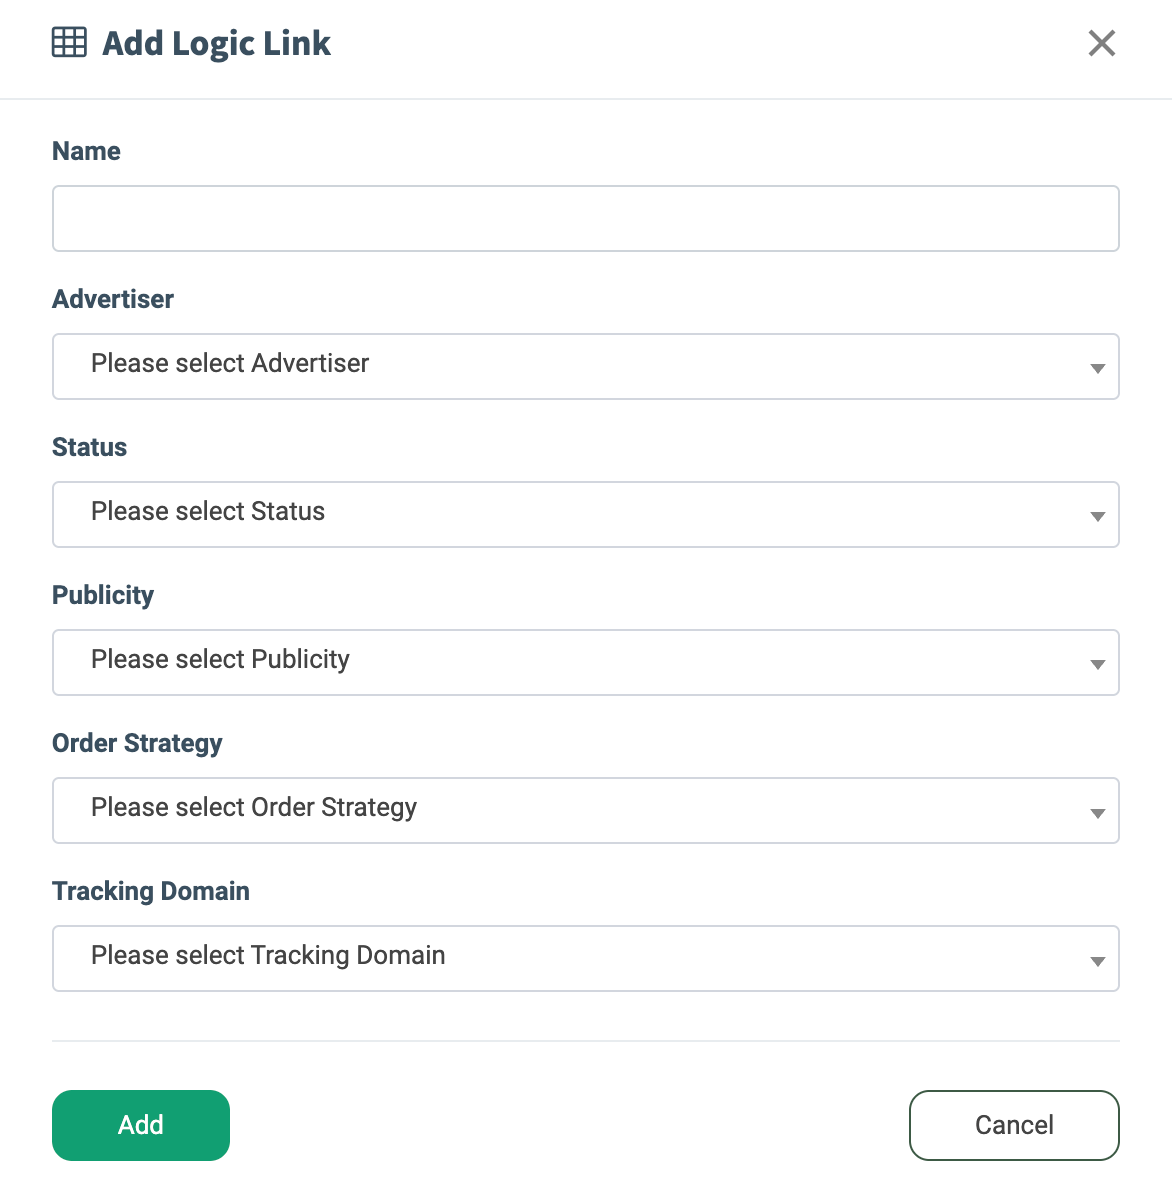
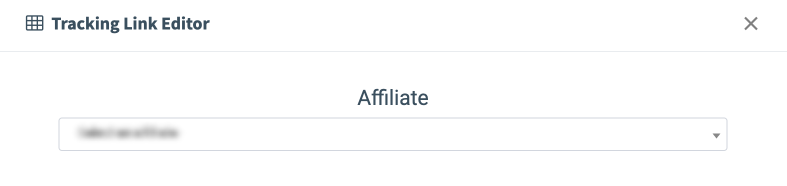
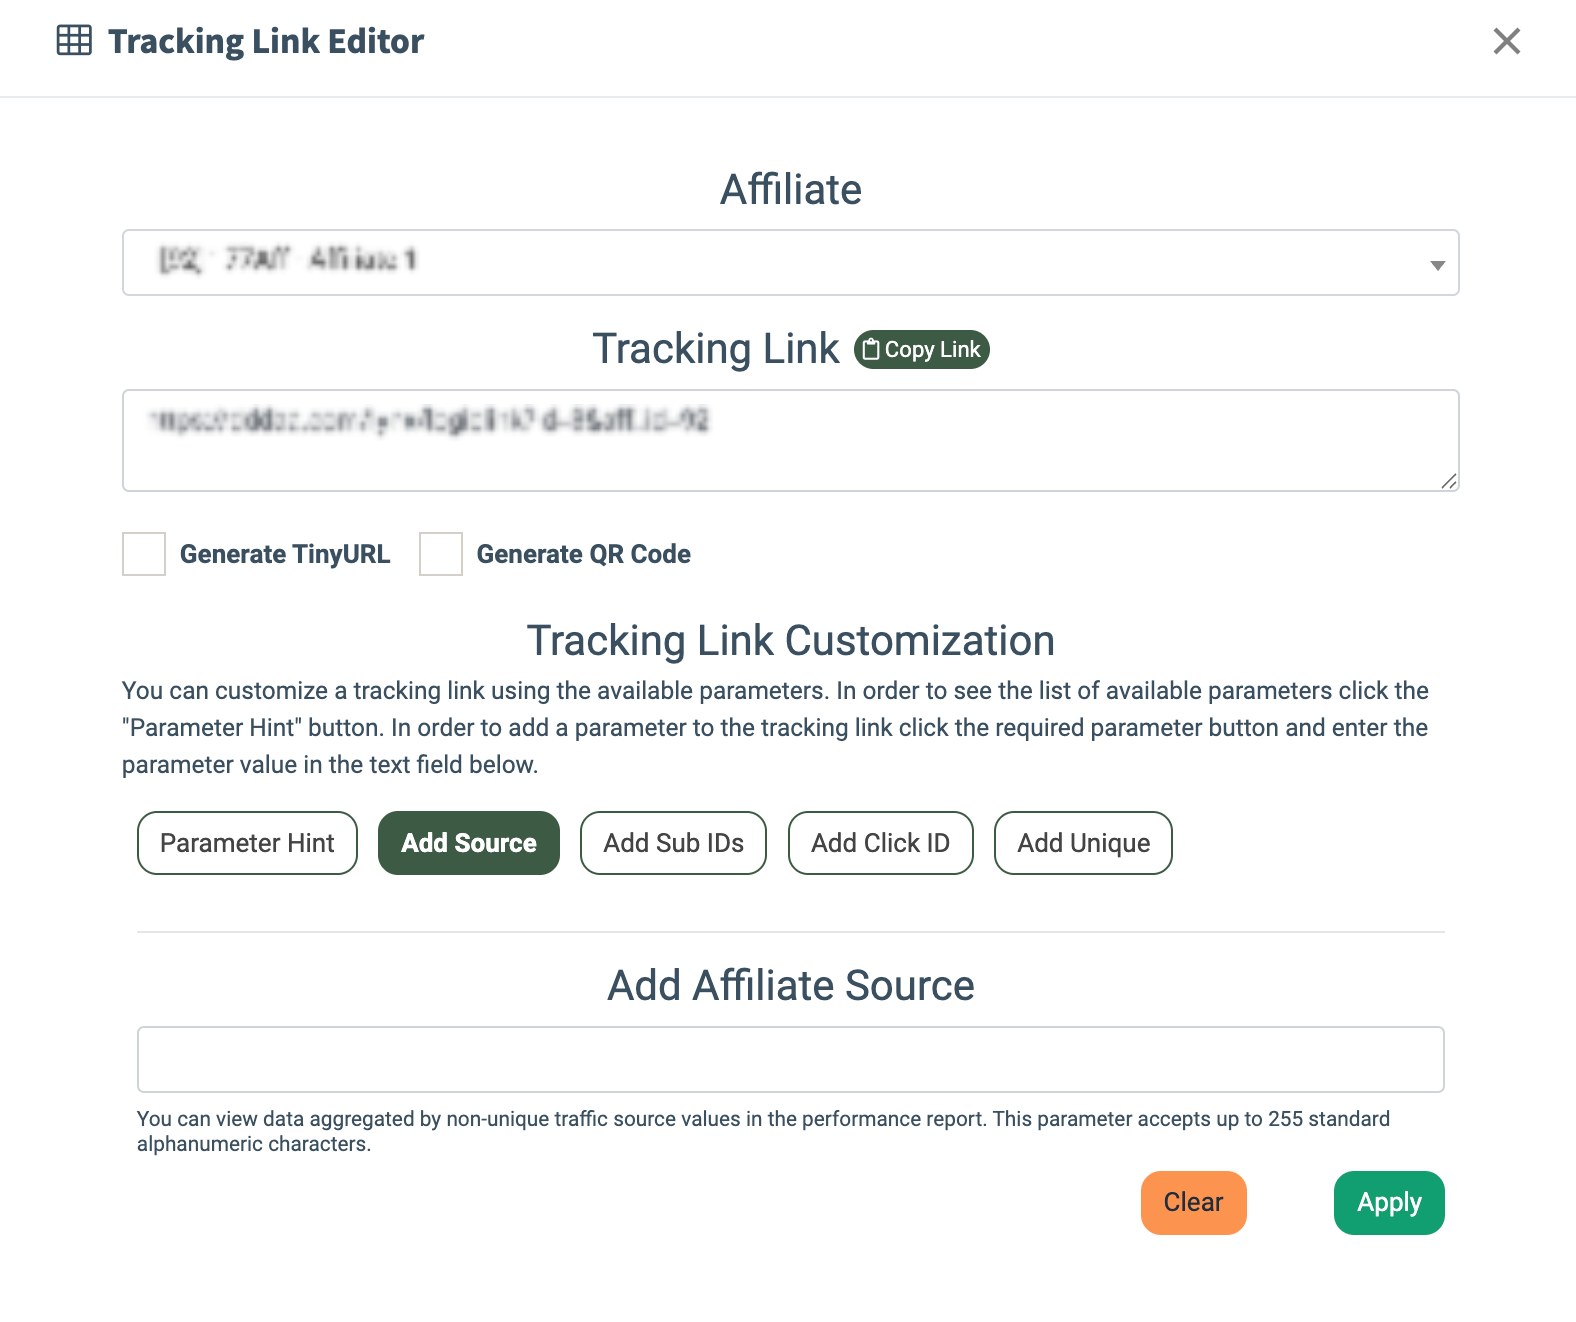
Each Logic Link has its own tracking URL that can be shared with Affiliates or used in marketing campaigns. To view, click the “Tracking Link” button in the “Actions” column.
To view the settings of the tracking link, select the corresponding Affiliate in the “Affiliate” field.
Note: If only one Affiliate is available for selection, the settings for the tracking link will be displayed for this Affiliate.
To set up the logic link, click the “Configure” button in the “Actions” column.
In the “General” tab, you can modify the configuration details provided during the initial setup of the logic link.
In the “Logic Link Settings” tab, you can add or remove offers from the logic link, configure the offer’s priority or weight depending on the selected strategy, and manage the pool of offers used for automatic distribution.
Fill in the following fields:
- Order Strategy: Select how the system chooses an offer.
- Priority: Offers are checked in order of priority. The first offer that satisfies all targeting rules is selected. Use this strategy when you want to give preference to specific offers.
- Weight: Eligible offers are selected randomly according to their assigned Weight values. The probability of selecting an offer is calculated as: Offer Weight/Sum of All Offer Weights × 100%. Use this strategy to distribute traffic proportionally across multiple offers.
- Catch-all Offer: Optionally select a fallback offer. If none of the offers assigned to the logic link match the visitor’s targeting rules, traffic will be redirected to the Catch-All Offer instead. The Catch-All Offer must be an active offer that belongs to the same Advertiser.
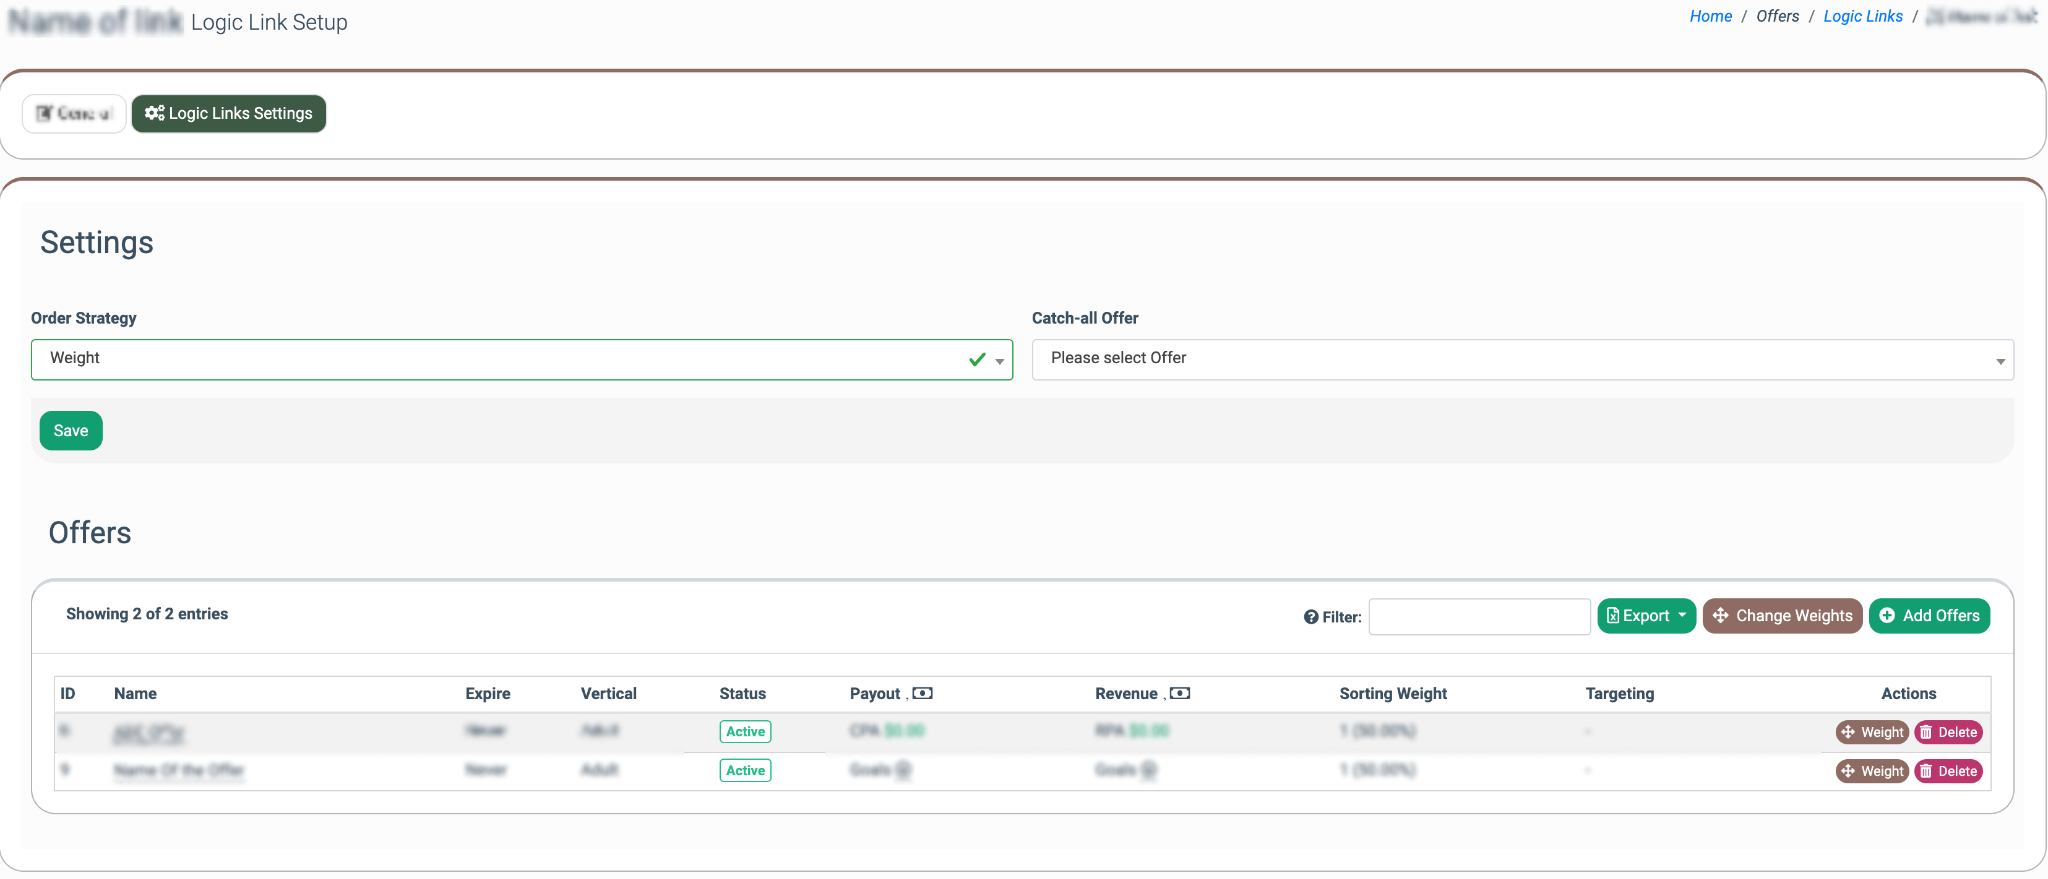
The list of offers contains the following information:
- ID: The unique identifier of the offer.
- Name: The name of the offer.
- Expire: The offer expiration date.
- Vertical: The market segment of the offer.
- Status: The offer’s current status.
- Payout: The offer’s payout to the Affiliate.
- Revenue: The offer’s revenue from the Advertiser.
- Sorting Weight: The weight of the offer within the logic link. (Weight strategy only).
- Targeting: The offer’s targeting data.
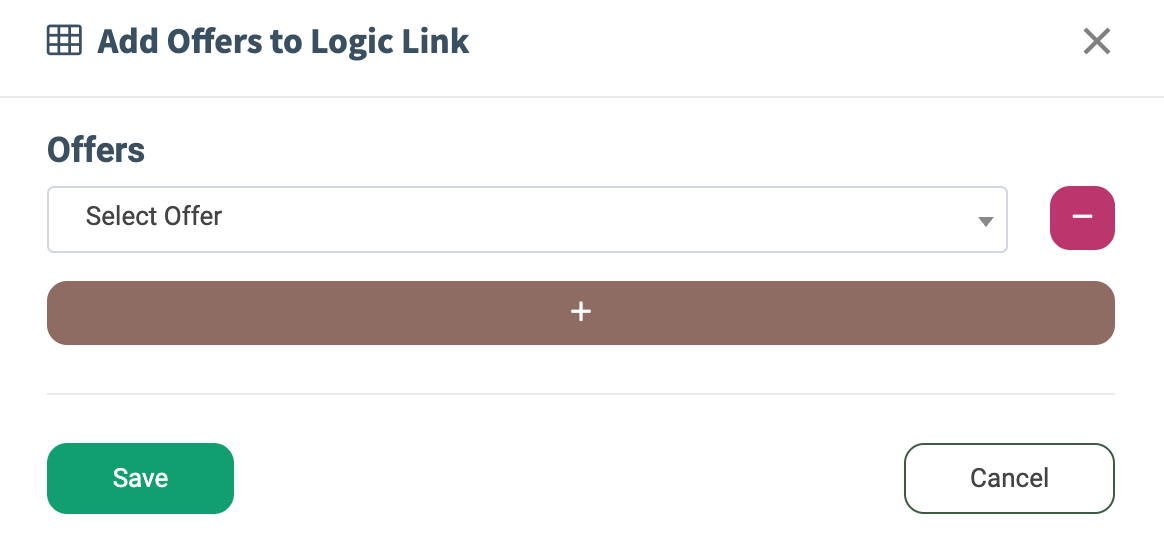
To add an offer to the logic link list, click the “Add Offers” button. Once selected, click the “Save” button to confirm.
Note: Only offers that belong to the selected Advertiser can be added to a logic link. During each visit, the system considers only offers that meet its configured targeting rules before applying the selected distribution strategy.
Click the “Weight” button in the “Actions” column to distribute the weight values among the offers added to the list from 1 to 10. Click the “Save” button to confirm the changes.
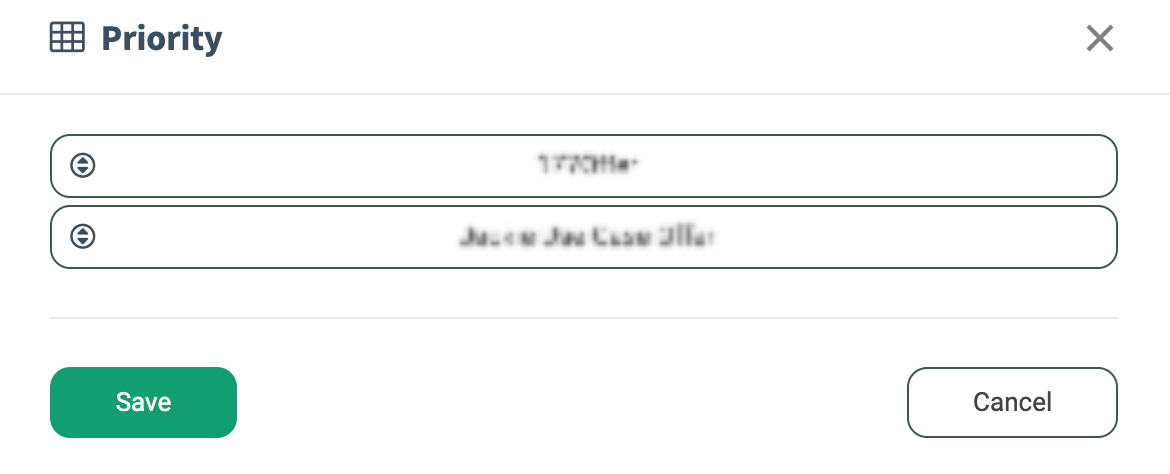
Click the “Priority” button in the “Actions” column to reorder offers in the list according to the preferred distribution priority. Click the “Save” button to confirm the changes.
Click the “Delete” button in the “Actions” column to remove the offer from the list.
To monitor and track the performance of a specific logic link, utilize the “by Logic Link” filter via the All Reports > Performance Report section. Read more about the Performance Report in this Knowledge Base article.