Offer is a proposal to advertise a specific product or service.
Affiliate - Individual or organization that generates traffic for the offer
Advertiser - the owner of the offer who will pay for traffic.
To create and customize an offer, please follow this guide. The following steps need to be performed in this particular order.
1. First, you should create three employee roles: Lynx Admin, Lynx Affiliate Agent, and Lynx Advertiser Agent. To create employee roles, go to the System Users > Employees section and click the “+ Create New User” button.
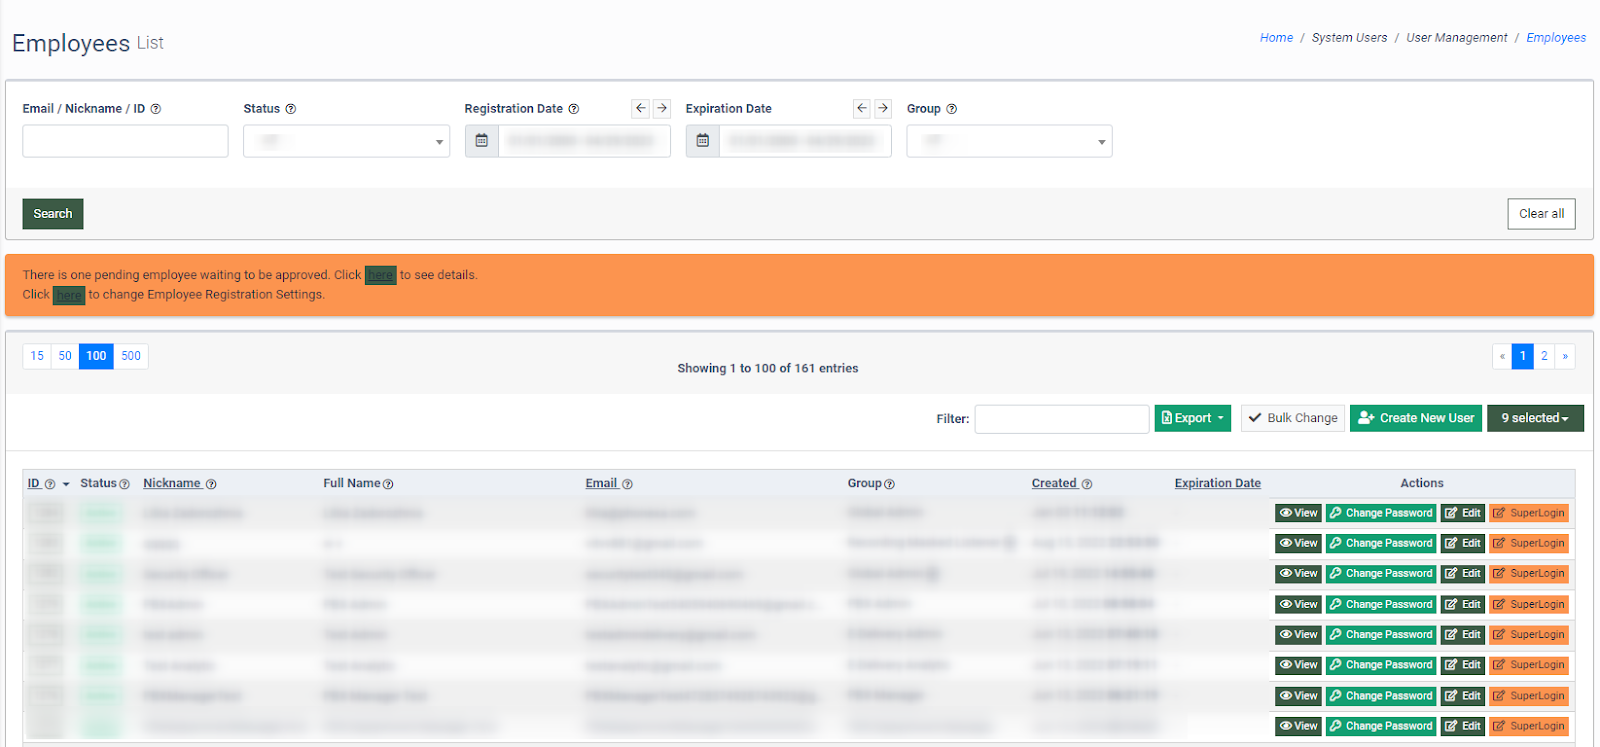
Fill in the required fields in the pop-up window:
- Email: Enter the email.
- Nickname: Enter the nickname.
- Groups: Select one of the user groups (select Lynx Admin, Lynx Affiliate Agent, or Lynx Advertiser Agent).
- Status: Select the status (Active or Disabled).
- Expiration Date: Enter the expiration date.
- New password: Enter the password.
- Repeat password: Repeat the password.
- First name: Enter the first name.
- Last name: Enter the last name.

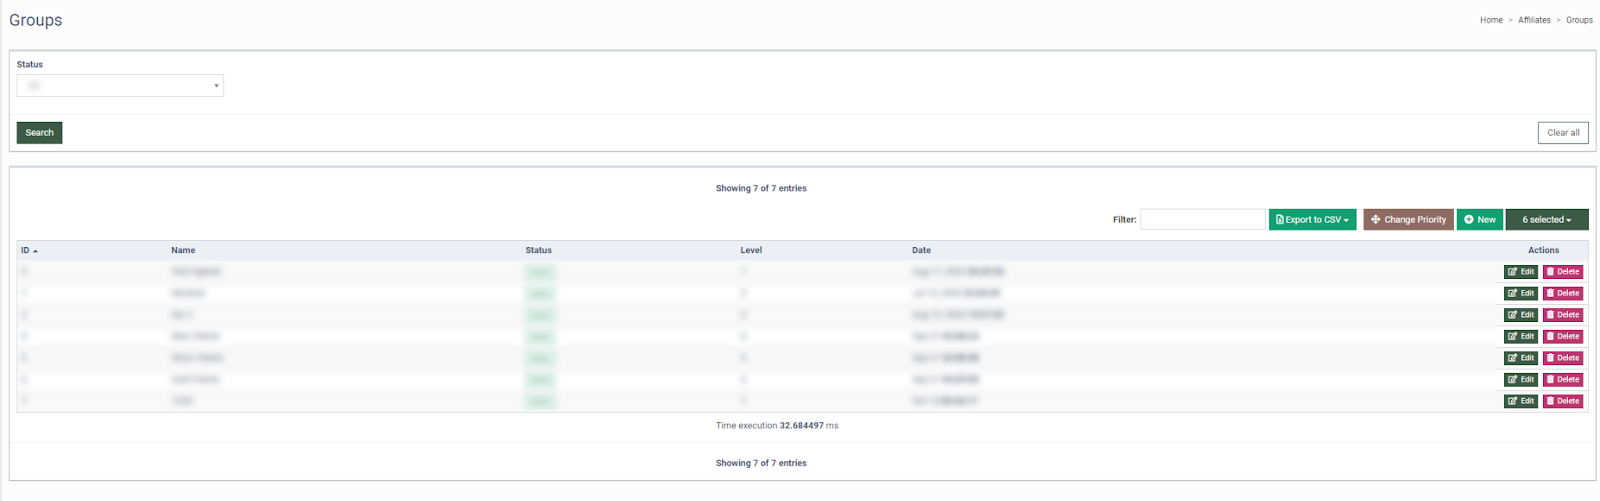
Fill in the required fields in the pop-up window:
- Name: Enter the name of the New Group.
- Status: Select the status (Active, Inactive).

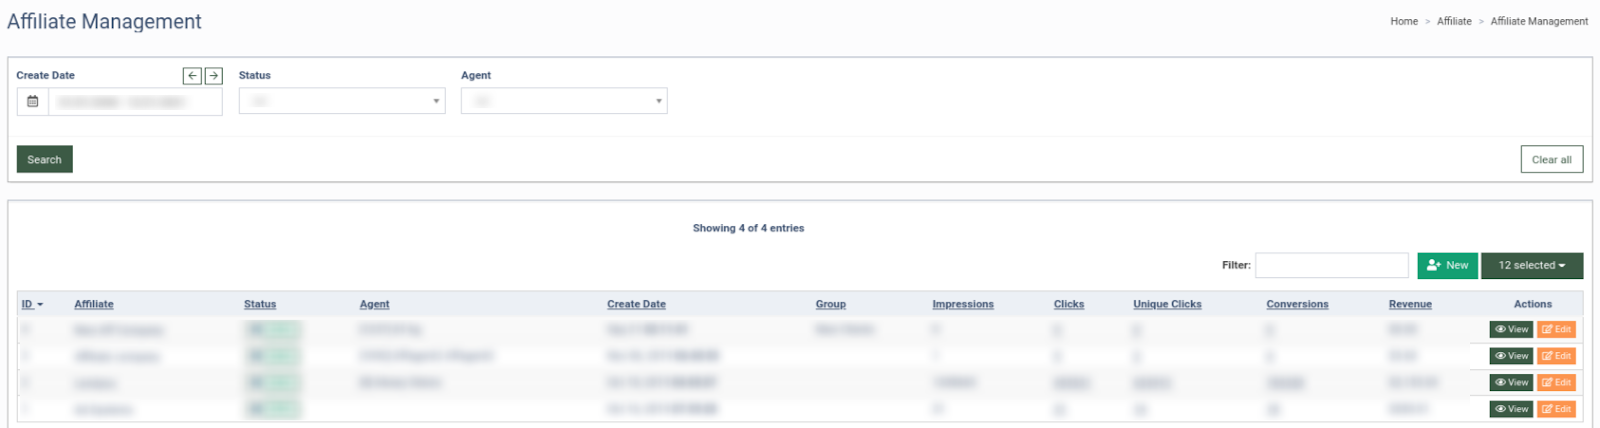
Fill in the required fields in the pop-up window:
- Affiliate: Enter the name of the affiliate.
- Status: Select the status (Active, Pending, Blocked, Deleted).
- Agent: Select the agent.
- Email: Enter the email address.
- Country: Select the country.
- Group: Select the group.
- City: Enter the city.
- Address 1: Enter the address.
- Address 2: Enter the address.
- Zipcode: Enter the zip code.
- Phone: Enter the phone number.

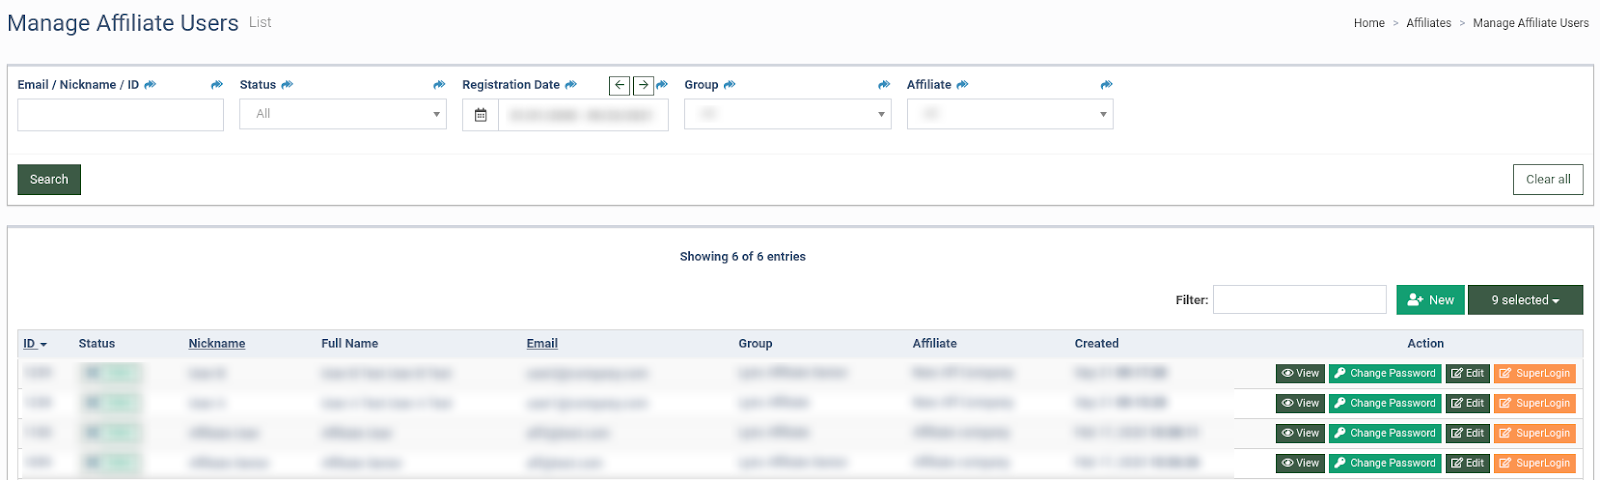
Fill in the required fields in the pop-up window:
- Email: Enter the email address.
- Nickname: Enter the nickname.
- Affiliate: Select the Affiliate.
- Groups: Select the group (Lynx Affiliate or Lynx Affiliate Senior).
- Status: Select the status.
- New password: Enter the password.
- Repeat password: Enter the password.
- First name: Enter the first name.
- Last name: Enter the last name.

Fill in the required fields in the pop-up window:
- Advertiser: Enter the name of the Advertiser.
- Agent: Select the Agent.
- Status: Select the status (Active, Pending, Blocked, Deleted).
- Email: Enter the email address.
- Country: Select the country.
- City: Enter the name of the city.
- Address 1: Enter the address.
- Address 2: Enter the address.
- Zipcode: Enter the zip code.
- Phone: Enter the phone number.

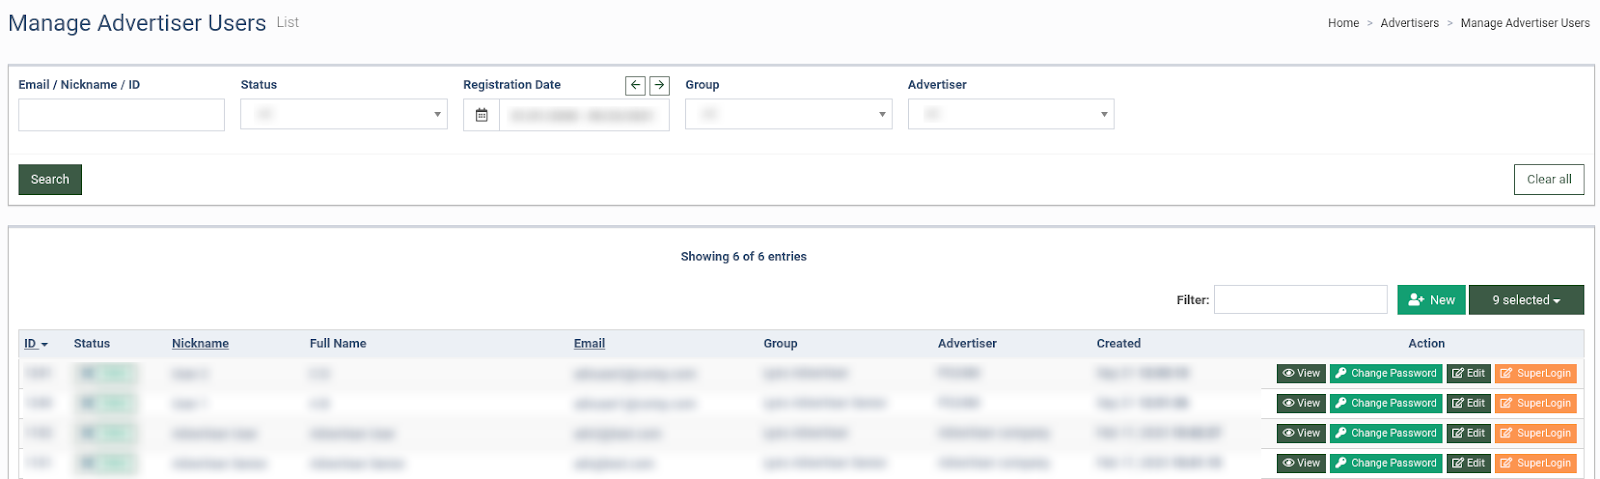
Fill in the required fields in the pop-up window:
- Email: Enter the email address.
- Nickname: Enter the nickname.
- Advertiser: Select the Advertiser.
- Groups: Select the group (Lynx Advertiser or Lynx Advertiser Senior).
- Status: Select the status.
- New password: Enter the password.
- Repeat password: Enter the password.
- First name: Enter the first name.
- Last name: Enter the last name.

Note: you should register two users simultaneously - Lynx Advertiser Senior and Lynx Advertiser to be able to create and manage users.
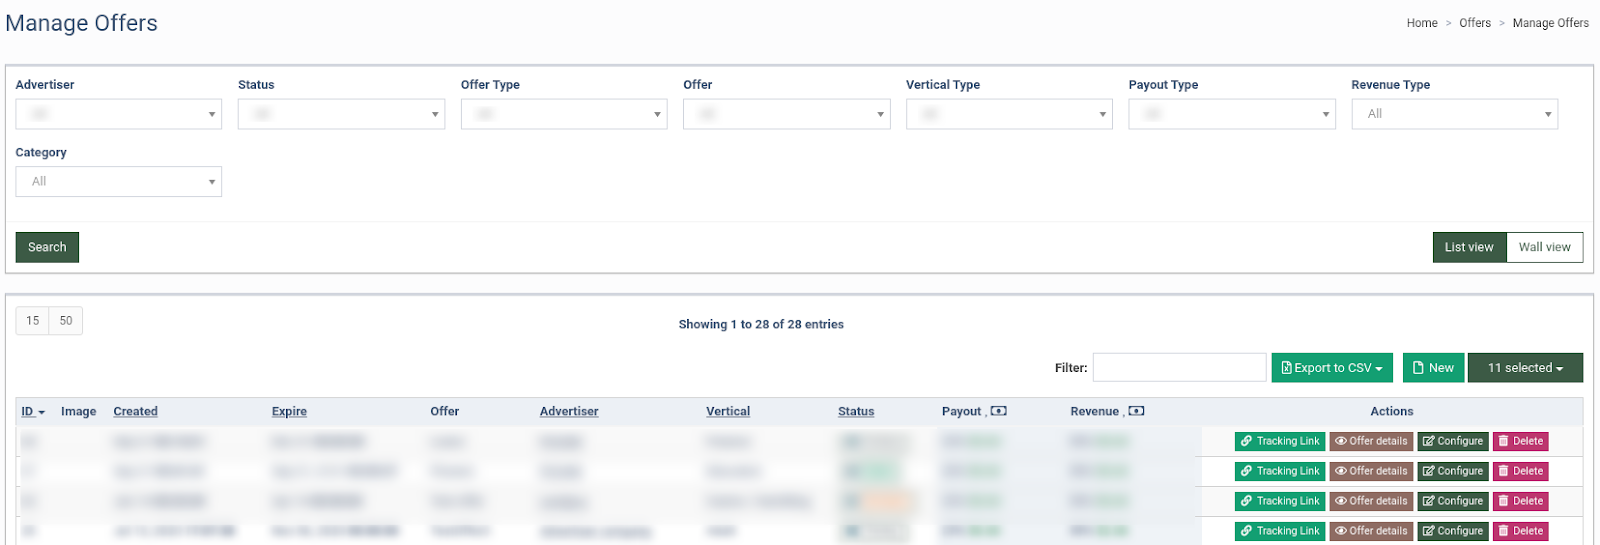
7. To create an offer for the advertiser, go to the Offers > Manage Offers section and click the “New” button, and fill in the required fields in the “Create Offer” pop-up window:
- Advertiser: Select the Advertiser from the drop-down menu.
- Name: Enter the name of the offer.
- Offer type: Select the offer type.
- Vertical: Select the vertical from the drop-down menu.
- Categories: Select offer categories.
- Expiration date: Select the expiration date. If the expiration date is unknown, switch “Make Infinite” on.
- Timezone: Select the timezone.
- Preview URL: Enter the link that gives a preview of an offer.
- Offer URL: Enter the link by which the client will go to the advertiser's website.
- Add Parameters to Offer URL:
- Parameter Name: Enter the parameter name.
-
- Macros: Select the macros.
- Enabled Goals: Switch the toggle to the “On” position to allow goals to.
- Private: Switch the toggle to the “On” position to make the offer Private.
- Enabled Deep Links: Switch the toggle to the “On” position to enable deep links.
A deep link directs users straight to a specific page, allowing them to skip the homepage and access the exact content they want. This offers a more efficient and user-friendly browsing experience.

Click the “Add” button, and the system will redirect you to the offer setup page. This view is when there are no Goals activated, because when we activate the goals, revenue and payout need to be configured in the goals.
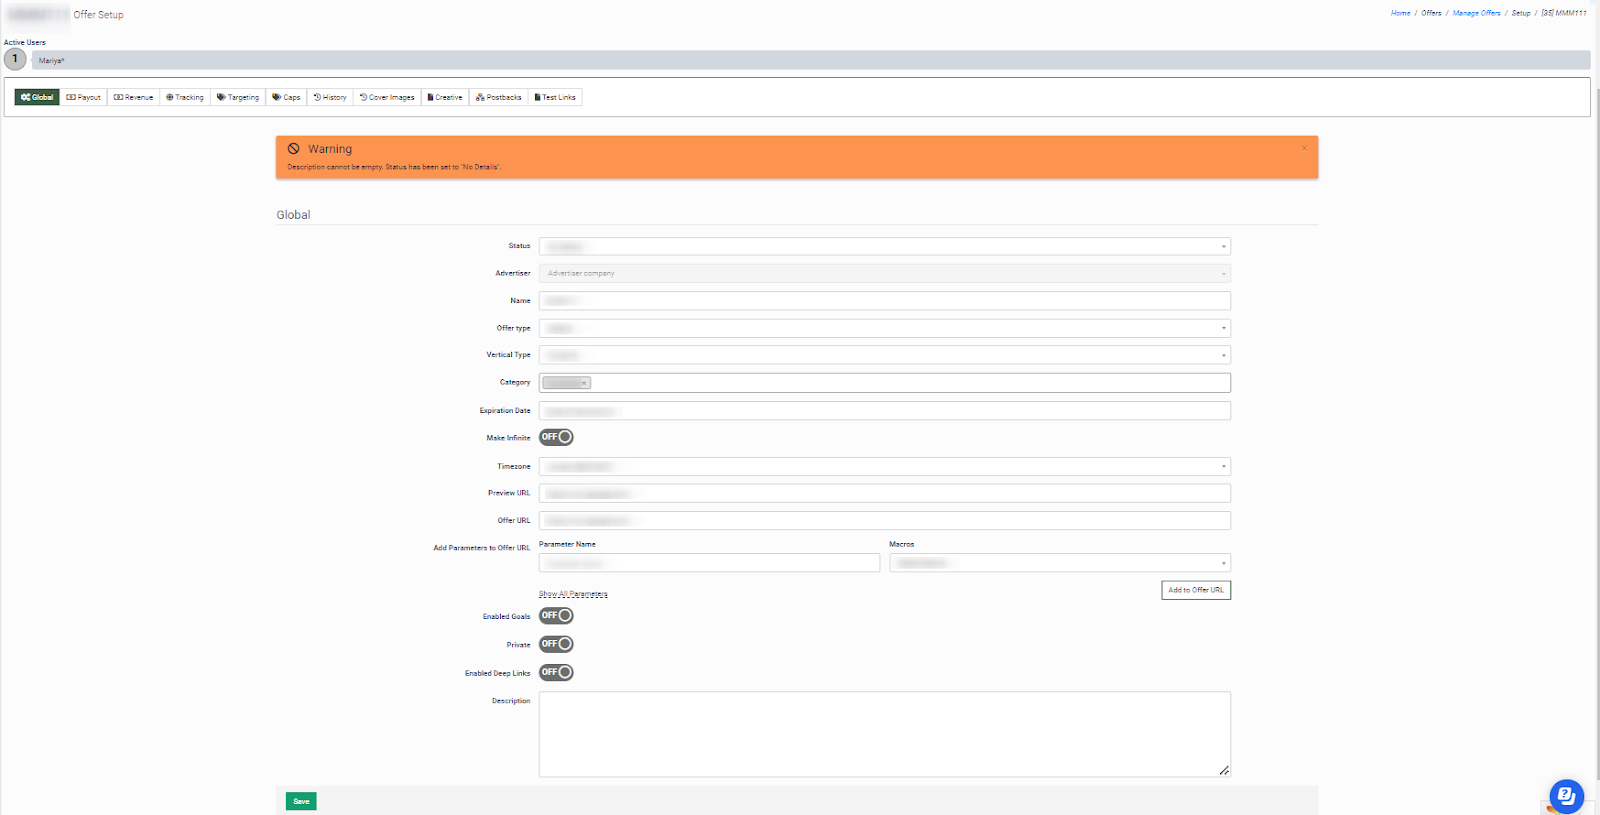
The Advertiser Agent must fill in the Revenue and Description fields, as a result of which, the offer goes into the Pending status.
Note: Only a user with the Agent status can activate an offer (change the status to Active).
After that, the offer appears in the Offers> Manage Offers section with the “Active” status. Copy the offer link from the Tracking Link and place it on the website.
To group offers, you can create categories. Go to the Offers > Categories section and click the “+ New” button.
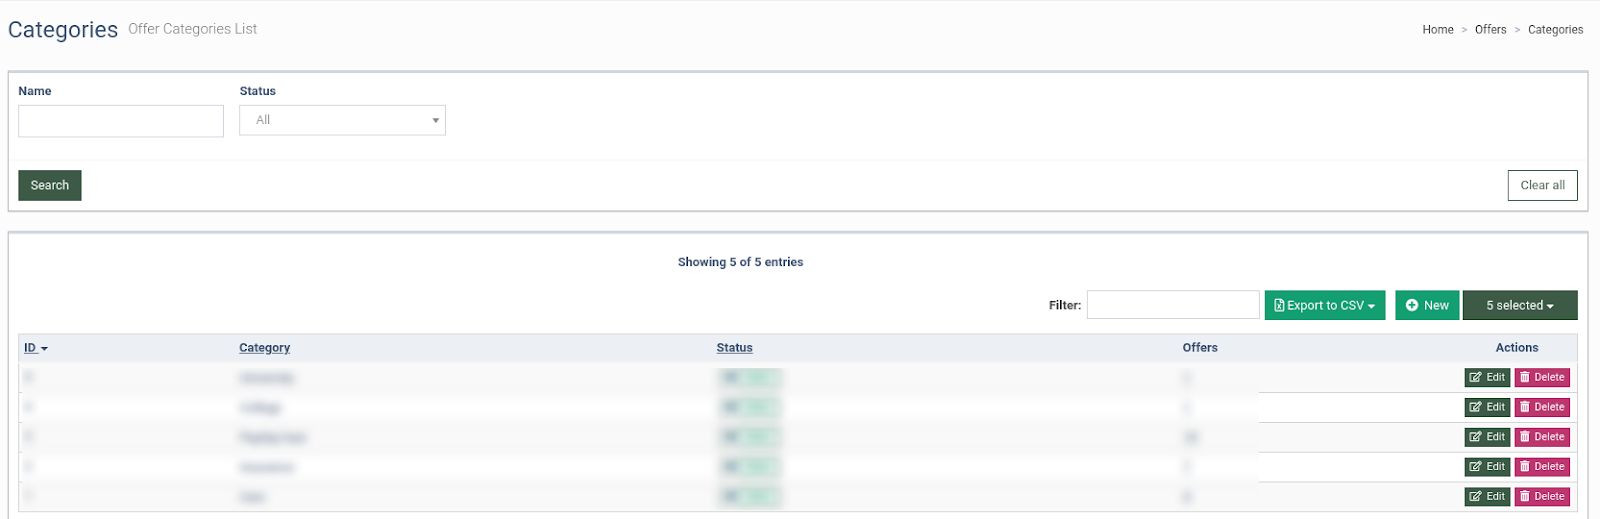
Fill in the required fields in the pop-up window:
- Name: Enter the name of the category.
- Status: Enter the status of the category (Active, Hidden, Deleted).
