To view the mailer’s list, go to the Mailers > Manage Mailers section.
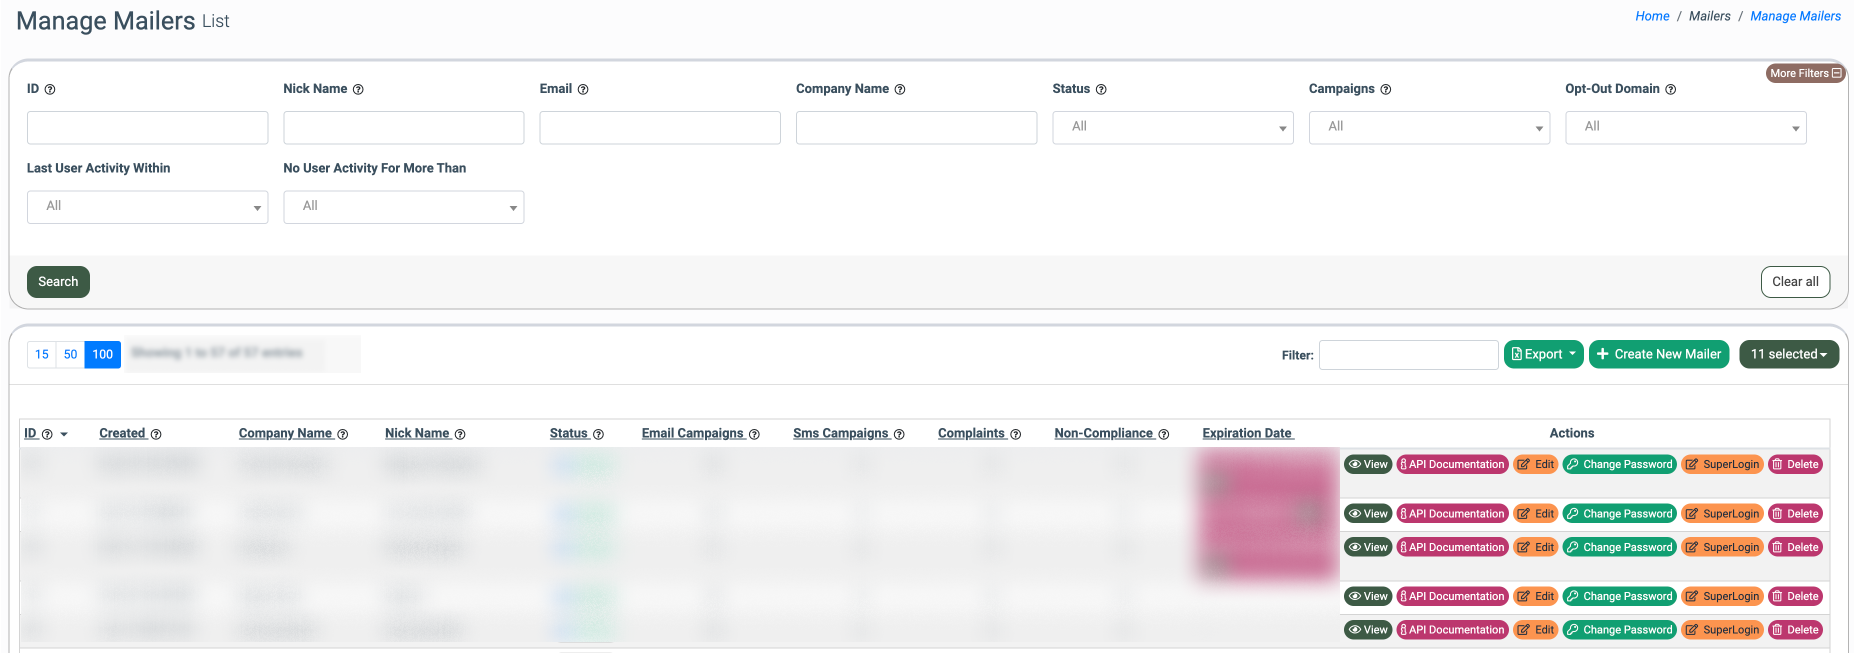
You can narrow down the search results by using the following filters:
- ID: Enter the mailer ID.
- Nick Name: Enter the nickname of the mailer’s person of contact.
- Email: Enter the mailer’s email address.
- Company Name: Enter the mailer’s company name.
- Status: Select the mailer’s status.
- Campaigns: Select the Campaign.
- Opt-Out Domain: Select the opt-out domain.
- Last User Activity Within: Select the range for the user’s last activity (Week / Two Weeks / Month / Three Months / Six Months / Year).
- No User Activity For More Than: Select the range for the user’s inactivity (Week / Two Weeks / Month / Three Months / Six Months / Year).
The “Manage Mailers” list contains the following information:
- ID: The unique identification number of the mailer.
- Created: The date and time of the mailer creation.
- Company Name: The name of the mailer’s company.
- Nick Name: The nickname of the mailer’s person of contact.
- User Activity: The activity status of the advertiser:
- Online: The last activity was less than 10 minutes ago.
- Recently Online: The last activity was less than 30 minutes ago.
- Away: The last activity was less than 1 hour ago.
- Offline: The last activity was more than 1 hour ago.
- Email: The mailer’s email address.
- URL: The mailer’s website URL.
- Status: The status of the mailer.
- Email Campaigns: The number of email Campaigns the mailer is assigned to.
- SMS Campaigns: The number of SMS Campaigns the mailer is assigned to.
- Opt-Outs: The number of opt-outs from all Campaigns assigned to the mailer.
- Complaints: The number of complaints received from users who are getting emails five days after opt-out.
- Non-Compliance: The number of non-compliance alerts received by the mailer when the mailer has not reviewed a campaign for a set number of days.
- Expiration Date: The expiration date of the mailer user. If the user’s account expires, it is highlighted in red, and you have the option to extend the user’s access for seven days.
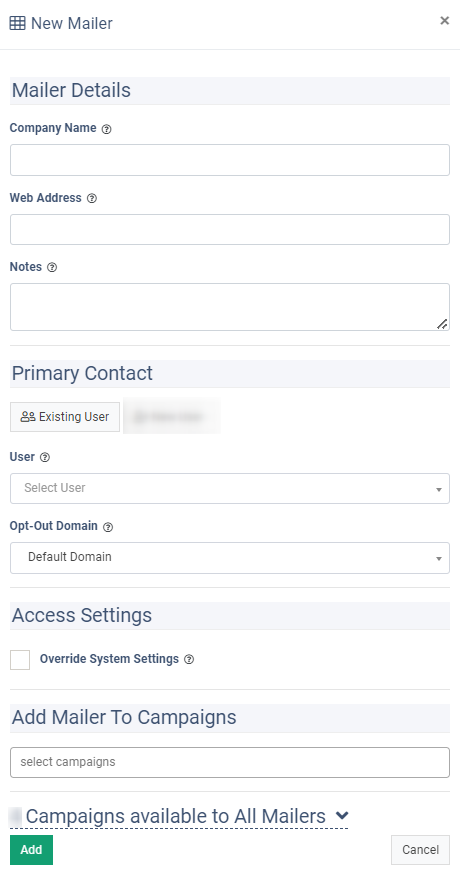
To create a new mailer, click the “+ Create New Mailer” button. To add a new mailer for the existing user, go to the “Existing User” tab in the “New Mailer” pop-up window and fill in the following fields:
- Company Name: Enter the mailer’s company name.
- Web Address: Enter the mailer’s website URL.
- Notes: Enter notes related to the mailer.
- User: Select the User.
- Opt-Out Domain: Select the opt-out domain settings (Default Domain, System Domain, Custom Domain). To manage opt-out domains, go to the System Management > Opt-Out Domains section.
- Override System Settings: Check the “Override System Settings” box if you want to override the system access settings for this mailer and the additional fields will become available:
- Plain Contact: Check the box to allow the mailer to export the contacts in plain text format. This option is only available if the contacts are stored in Plain&MD5 / SHA-512 format.
- MD5 / SHA-512 Encrypted: Check the box to allow the mailer to export the contacts in the encrypted format.
- List Cleansing: Check the “Allow Upload of Opt-In List” box to allow the mailer to perform the list cleansing.
- Download Deltas: Check the “Allow Mailer to Download Deltas (changes)” box to allow the mailer to download the deltas.
- Add Mailer to Campaigns: Select the Campaigns you want to assign the mailer to.
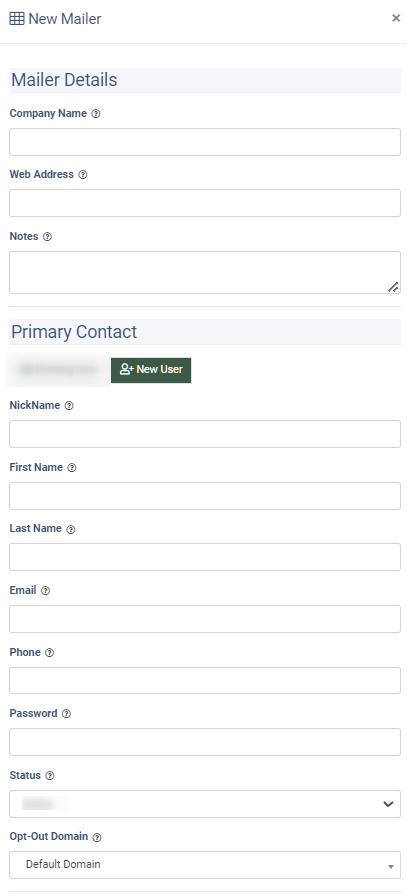
To add a new mailer for the new user, go to the “+ New User” tab in the “New Mailer” pop-up window and fill in the following fields:
- Company Name: Enter the mailer’s company name.
- Web Address: Enter the mailer’s website URL.
- Notes: Enter notes related to the mailer.
- NickName: Enter the nickname of the mailer’s person of contact.
- First Name: Enter the first name of the mailer’s person of contact.
- Last Name: Enter the last name of the mailer’s person of contact.
- Email: Enter the mailer’s email address.
- Phone: Enter the mailer’s phone number.
- Password: Enter the mailer’s password.
- Status: Assign a status to the mailer (Active, Disabled, Deleted).
- Opt-Out Domain: Select the opt-out domain settings (Default Domain, System Domain, Custom Domain). To manage opt-out domains, go to the System Management > Opt-Out Domains section.
- Override System Settings: Check the “Override System Settings” box if you want to override the system access settings for this mailer and the additional fields will become available:
- Plain Contact: Check the box to allow the mailer to export the contacts in the plain text format. This option is only available if the contacts are stored in Plain&MD5 / SHA-512 format.
- MD5 / SHA-512 Encrypted: Check the box to allow the mailer to export the contacts in the encrypted format.
- List Cleansing: Check the “Allow Upload of Opt-In List” box to allow the mailer to perform the list cleansing.
- Download Deltas: Check the “Allow Mailer to Download Deltas (changes)” box to allow the mailer to download the deltas.
- Add Mailer to Campaigns: Select the Campaigns you want to assign the mailer to.
To view the name and the number of Campaigns available to all mailers, click the arrow icon “Campaigns available to All Mailers” at the bottom of the window.
Click the “Add” button to continue.
To access the API documentation of the mailer, click the “API doc” button in the “Actions” column. You will be redirected to the Account Settings > API documentation section.
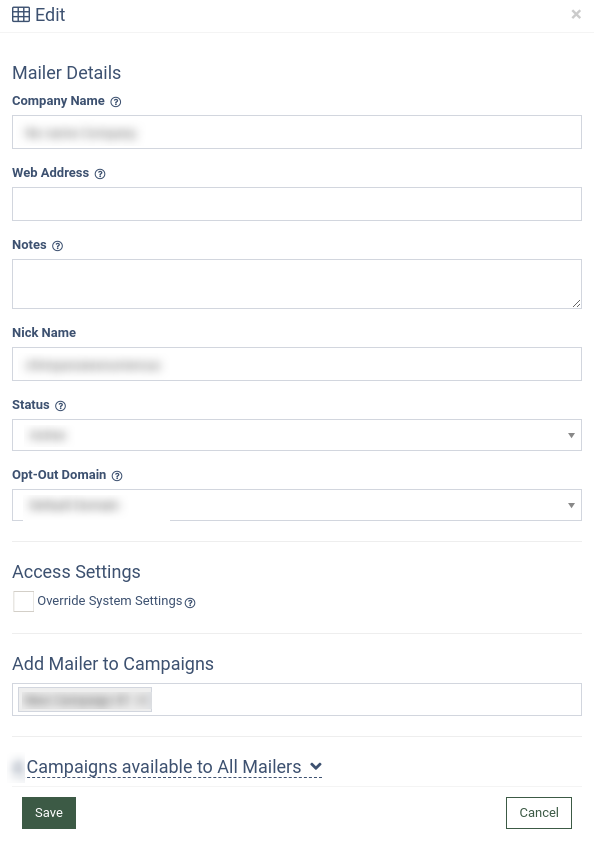
To edit the mailer, click the “Edit” button in the “Action” column, change the required fields in the pop-up window, and click the “Save” button to confirm the changes.
To log in as a mailer user, click the “SuperLogin” button in the “Actions” column. Confirm the action in the pop-up window. 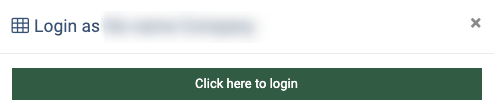
To change the password, click the “Change Password” button, enter a new password to the “New Password” field, and repeat it in the “Repeat Password” field. To confirm changes, click the “Save” button.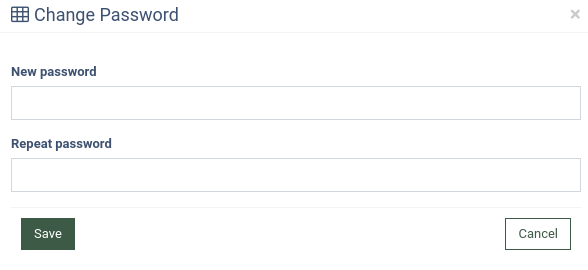
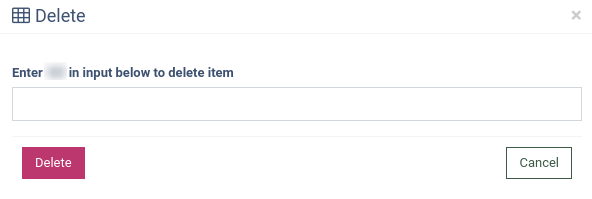
To delete the mailer, click the “Delete” button, follow the instructions, and click the “Delete” button to confirm the action.
To view the mailer’s details, click the “View” button in the “Actions” column. The system will redirect you to the mailer details page.
The “General” tab displays general information about the mailer: ID, company name, status, web address, etc.
The “Contacts” tab allows you to view and edit the mailer’s contact information. Click the “Add New Record” button to add the contact information.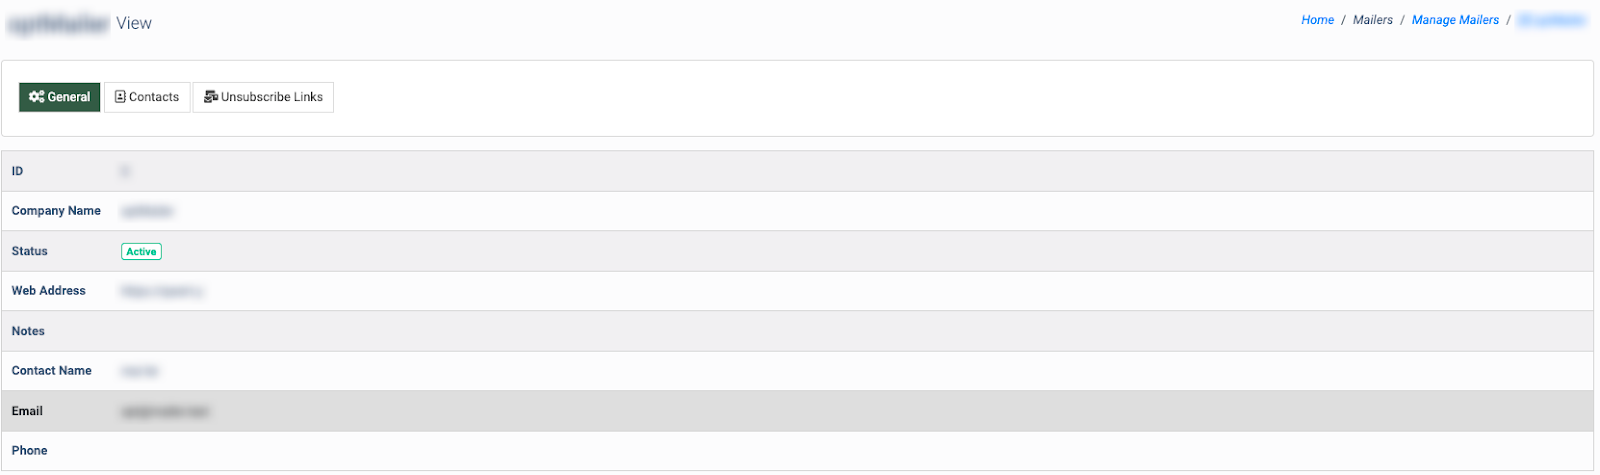
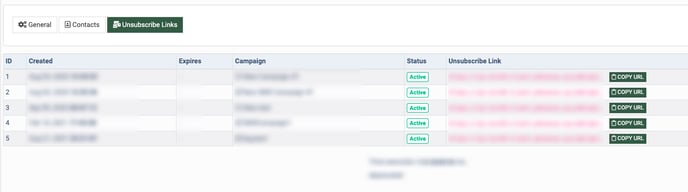
The “Unsubscribe Links” tab allows you to view the list of the links owned by the mailer for the unsubscribe. To copy a link, click the “Copy URL” button.