The Management section allows you to determine where your tickets will be assigned. In sending tickets, the sender will indicate to which group they want to direct their inquiry, such as the technical department or accounting department. Also, you can add and delete users from the Tickets Category.
To view the Tickets Category list, go to the Support > Management section.
The Tickets Category list contains the following information:
-
Title: The name of the ticket category.
-
Status: The status of the ticket category.
-
Created at: The exact time when the ticket was created.
You can narrow down the search results by using the following filters:
-
Title: Enter the name of the ticket category.
-
Status: Select the ticket category status (Active, Disabled, Deleted).

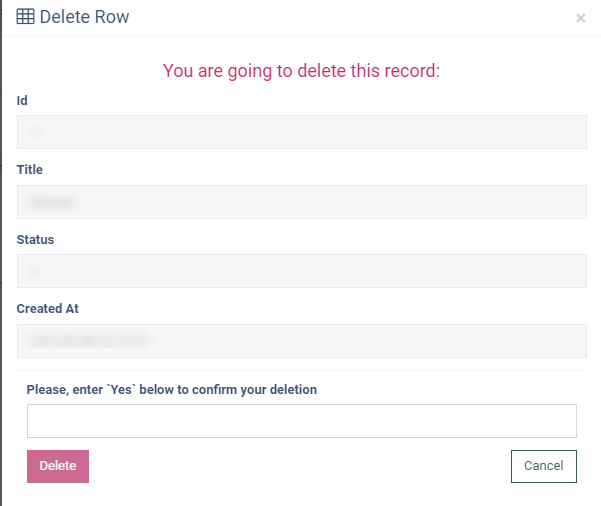
To delete the ticket category, click the “Delete” button in the “Actions” column.
NOTE: Before deleting the ticket category, you should first remove all users from the category.
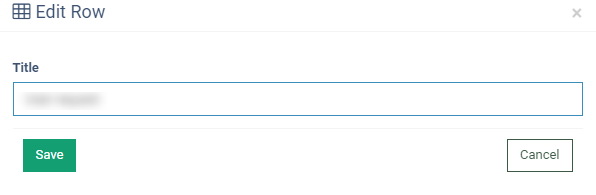
To rename the ticket category, click the “Edit” button in the “Actions” column. Fill in the data fields in the pop-up window and click the “Save” button to complete.
Click the “Manage Category” button, and the system will redirect you to the category setup page. You can add or delete a user category here.
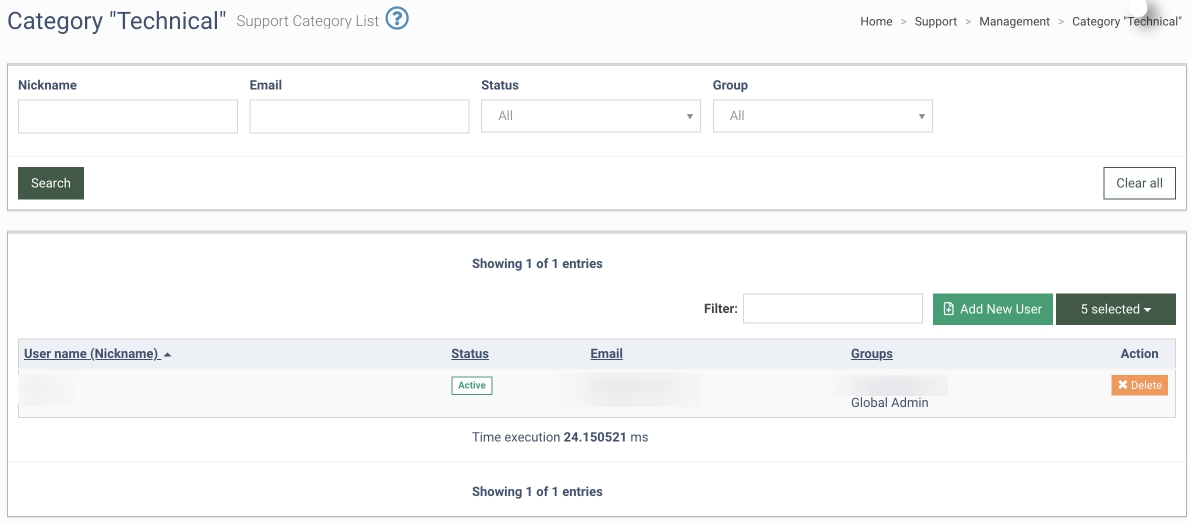
The Support Category list contains the following information:
-
User name (Nickname): The name of the user.
-
Email: The email address of the user.
-
Status: The status of the user.
-
Groups: The group to which the user belongs.
You can narrow down the search results by using the following filters:
-
Nick Name: Enter the name of the user.
-
Email: Enter the email address of the user.
-
Status: Select the status of the user.
-
Group: Select the group to which the user belongs.
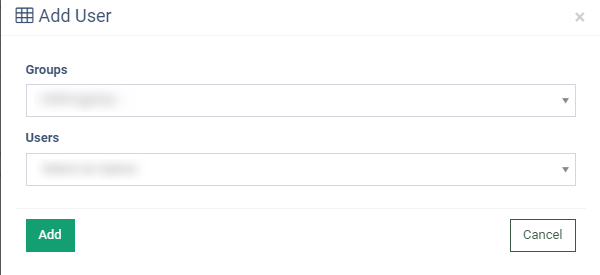
To add a new user to the category, click the “Add New User” button and fill in the data fields in the pop-up window:
-
Groups: Select a group.
-
Users: Select the name of the user/users.
Click the “Add” button to save.
To delete the user from the category, click the “Delete” button and enter the “Yes” value in the required field to confirm your operation. Click the “Delete” button to confirm the action.
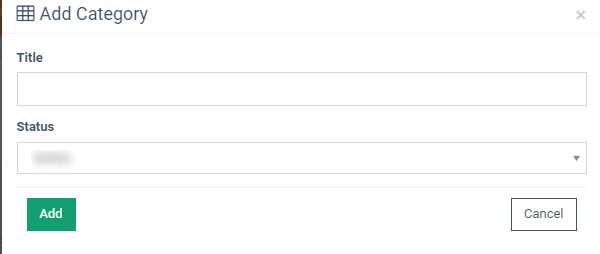
To add a new Tickets Category, click the “Add New Category” button and fill in the fields in the pop-up window.
-
Title: Enter the name for the new category.
-
Status: Select the status of the new category.
Click the “Add” button to save.