The Performance Exam Report allows you to compare the offer performance by different dates.
To view the list, go to the Home > All Reports > Performance Exam Report section.
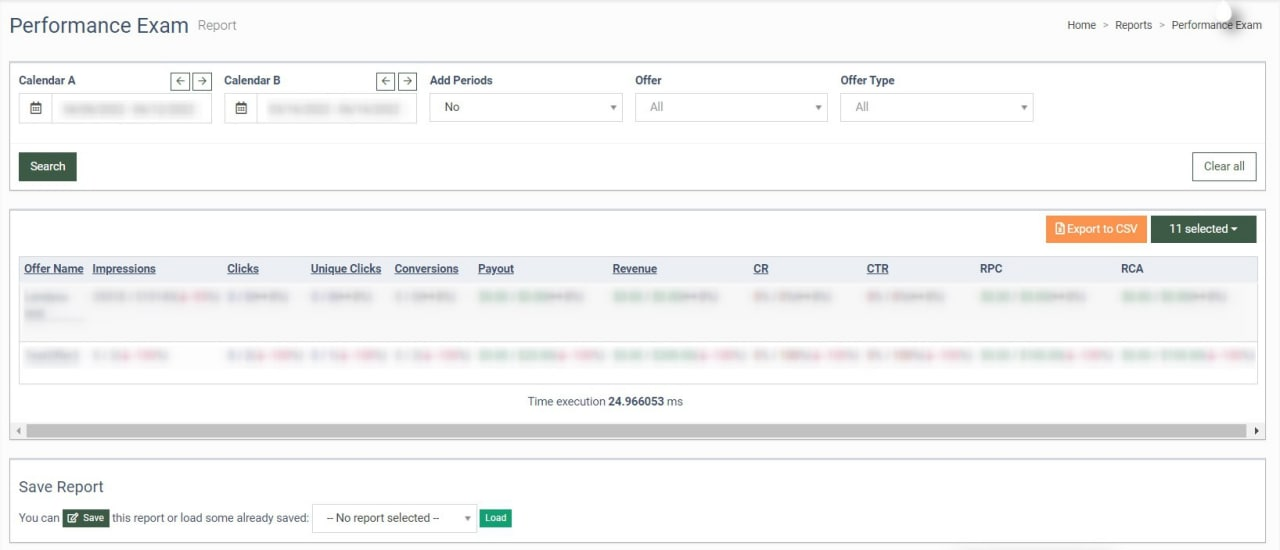
The Performance Exam Report contains the following data columns:
-
Offer Name: The name of the offer.
-
Impressions: The total number of shows ad link on the website.
-
Clicks: The total number of clicks for a particular offer.
-
Unique Clicks: The total number of first-time clicks from the clients.
-
Conversions: The number of conversions for the current offer.
-
Payout: The Offer payout to the affiliate.
-
Revenue: The total earnings amount for the selected date.
-
CR (The conversion rate): the metric that shows the percentage of site visitors who have performed a certain action, of the total number of visitors.
-
CTR (the click-through rate): The metric that reflects the percentage of users who clicked on your ad and went to a website or landing page.
-
RPC: The revenue for total clicks.
-
RCA: The revenue per conversation.
You can narrow down the search results by using the following filters:
-
Calendar A: First time period to compare (Last 6 months/ Today/ Yesterday/ This week/ Last week/ This month/ Last month/ Custom Range).
-
Calendar B: Second time period to compare (Last 6 month/ Today/ Yesterday/ This week/ Last week/ This month/ Last month/ Custom Range).
-
Add Periods: Yes/no, allows adding extra periods to compare (Calendar C/ Calendar D).
-
Offer: Offer name to compare.
-
Offer Type: Type of an offer to compare (All/ Default/ LMS+Call Logic).
In each line, the values are separated by a slash for each period accordingly. The ratio in parentheses shows a compared percentage from selected periods that has increased, decreased, or remained the same.
You can save the selected filtering settings (except date range) and column filters for the report. Scroll down to the bottom of the report and click the “Save” button. The saved report will be available in the “Saved Reports” section.
