This guide will walk you through the process of setting up permissible calling hours in your call center solution, ensuring you meet the necessary legal requirements and avoid potential complaints.
Regulations on permissible calling hours, designed to protect consumers from unwanted calls, specify the legal times during which telemarketing calls can be made.
In the United States, telemarketers must follow FCC and FTC regulations, which include:
- Time Restrictions: No calls before 8 a.m. or after 9 p.m. local time of the called party.
- State-specific Regulations: Additional restrictions may apply in certain states.
- Federal Holidays and Weekends: While not federally regulated, it is advised to avoid calls on these days to prevent complaints.
In the United Kingdom, according to Ofcom guidelines, while there are no specific regulations, the following practices are recommended to avoid complaints:
- Monday to Friday: Calls between 8 a.m. and 9 p.m.
- Saturdays: Calls between 9 a.m. and 9 p.m.
- Sundays and Public Holidays: No calls.
Our Schedule tab allows you to set these rules, ensuring your call center remains compliant. The corresponding schedule rules can be set via the Call Campaign.
Note: The schedule settings will be applied for Call Campaigns with the Manual and Auto Callback campaign types.
During the Dialing List Requests processing via autodialing mode, the system checks the current time and if it does not match the timing set in the schedule rule the corresponding call will be declined according to the timing settings.
The corresponding request will be marked as "Skipped," and the system will move on to the next request. The "Skipped" dialing request is blocked for up to 15 minutes so the system will not dial this request earlier than 15 minutes later.
To set the schedule settings on the Call Campaign’s level, go to the Call Campaigns > Campaigns section, select the Call Campaign from the list, and click the “Configure” button in the “Actions” column.
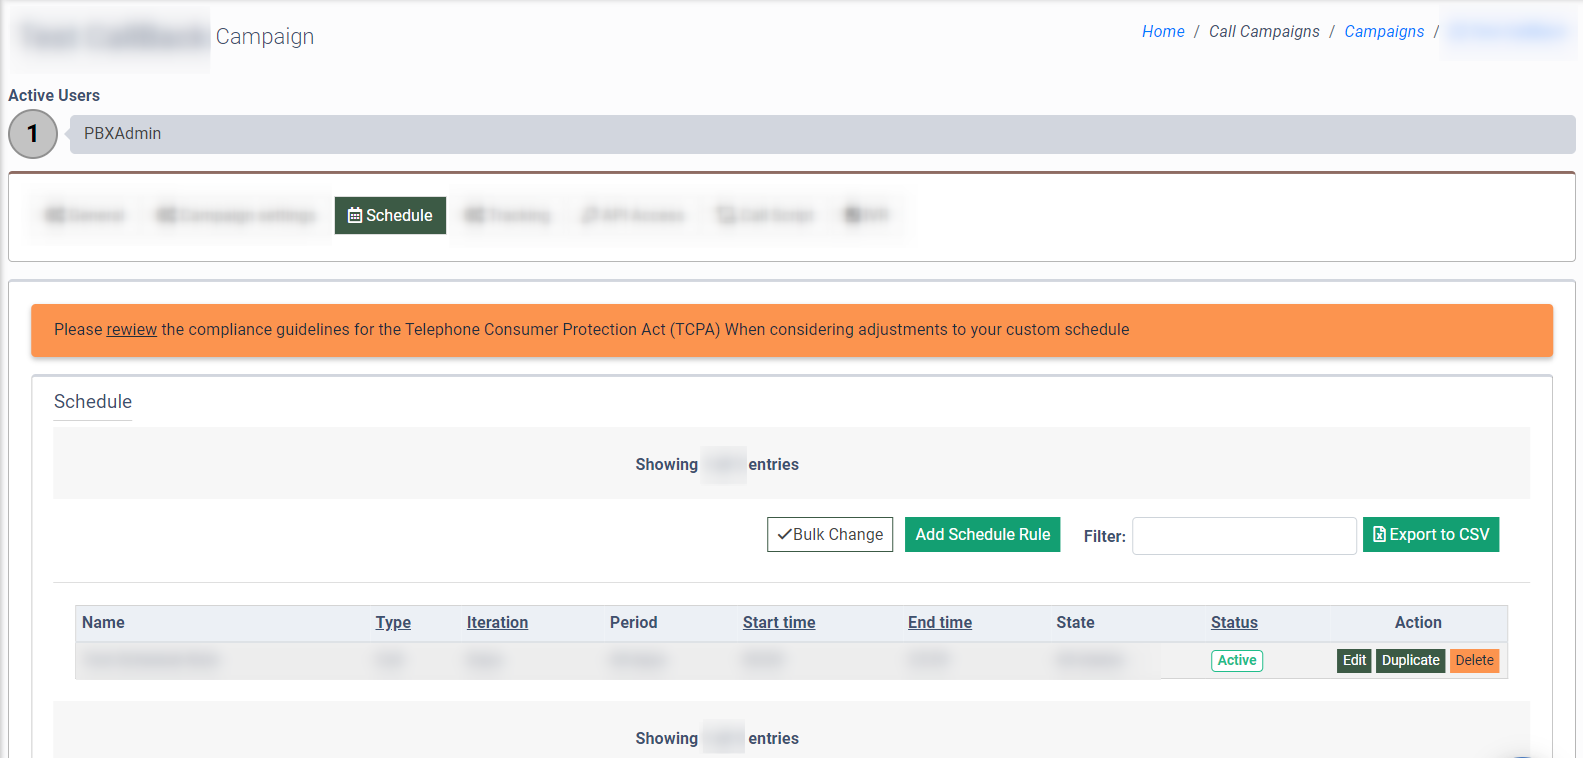
 Go to the Campaign Setup page and select the “Schedule” tab.
To check the ongoing regulations and recommendations for telemarketing call processing, click the corresponding link in the “Please review the compliance guidelines for the Telephone Consumer Protection Act (TCPA) when considering adjustments to your custom schedule.”.
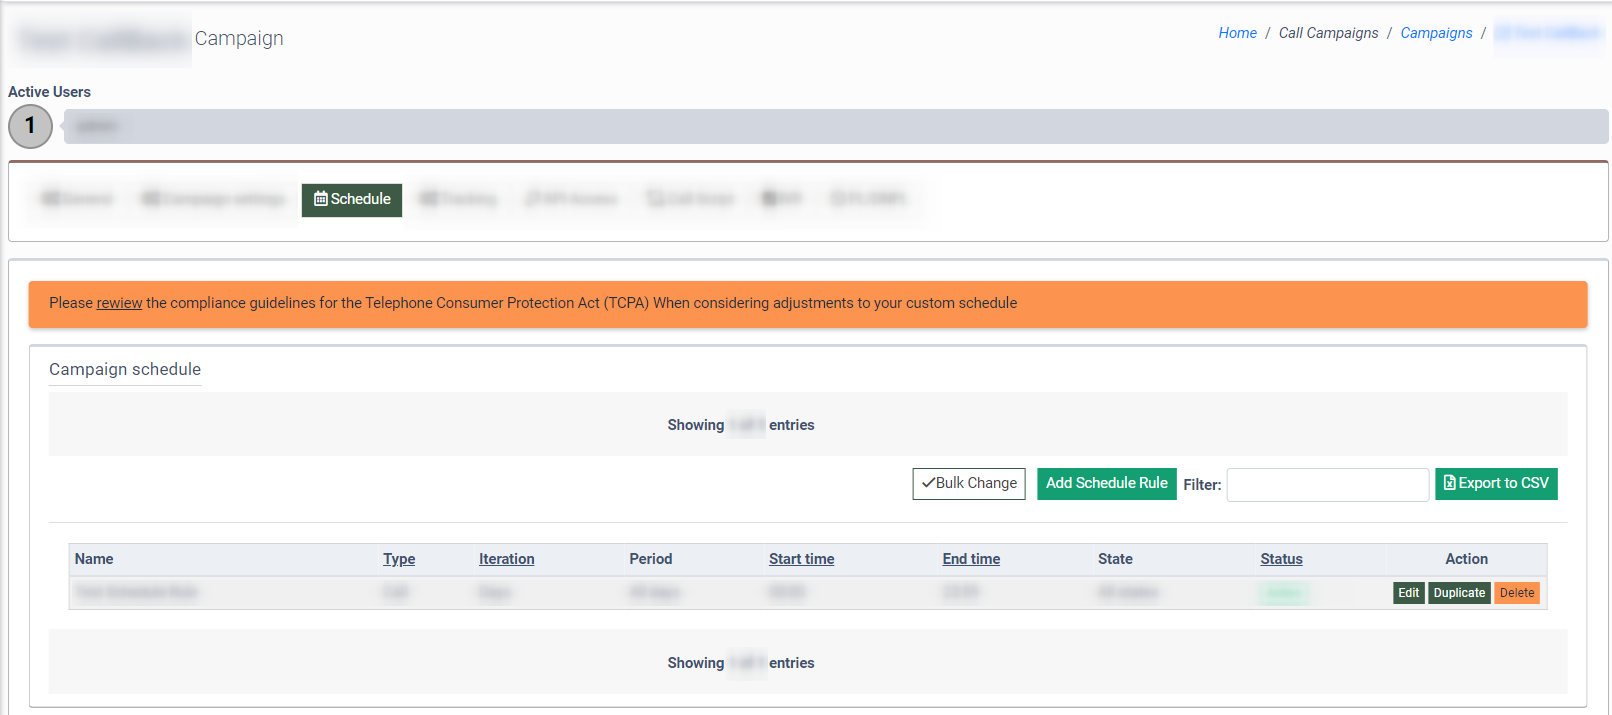
To add a schedule rule, click the “Add Schedule Rule” button.
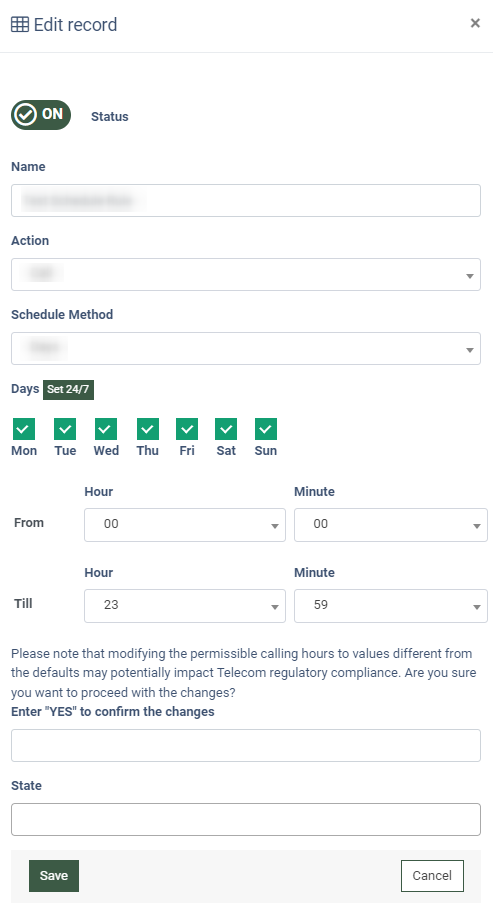
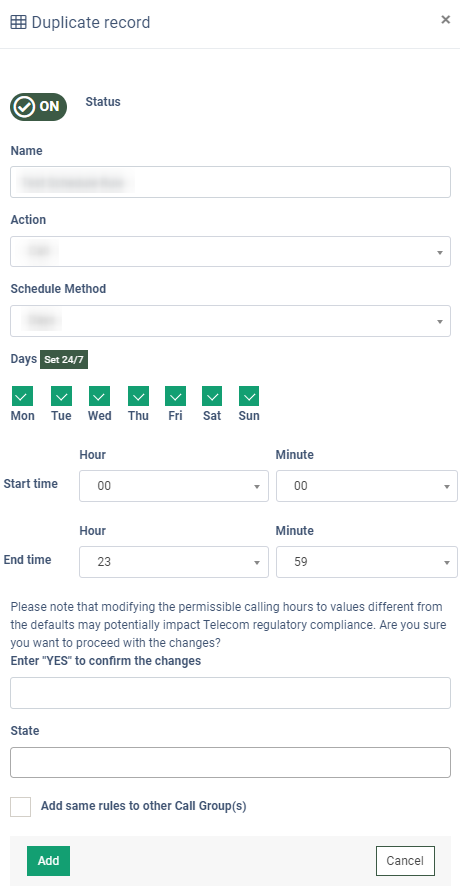
Fill in the following fields in the “Add Schedule Rule” pop-up window:
- Status: Select the current status of the schedule rule. The feature is enabled by default. Switch the toggle to the «OFF» position to disable the schedule rule.
- Name: Enter the name of the schedule rule.
- Action: Select the action that should be performed during the ongoing rule execution (Call, Do not call).
- If the “Call” action is selected, the call will be made during the set time range.
- If the “Do not call” action is selected, no calls will be made during the set time range.
- Schedule Method: Select the type of date and/or time limitations for the schedule rule (Days, Date Range).
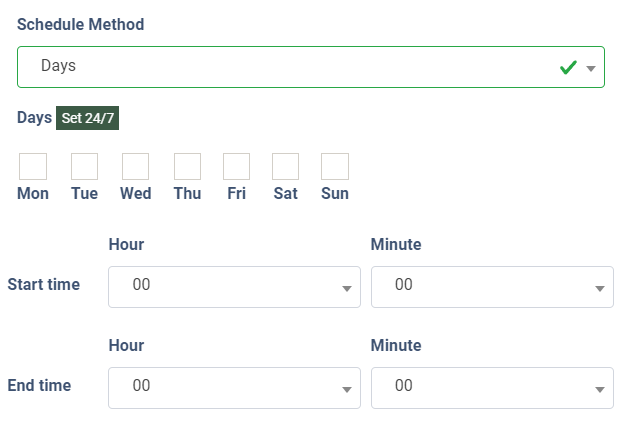
- If the “Days” option is selected, the limitation will be applied according to the days of the week:
- Days: Check the corresponding boxes for the particular days of the week. To set the 24/7 schedule rule, click the “Set 24/7” button.
- If the “Days” option is selected, the limitation will be applied according to the days of the week:
- If the “Date Range” option is selected the limitation will be applied according to the date and time limitation:
- Start date: Select the date for when the schedule rule starts working.
- End date: Select the date for when the schedule rule ends working.
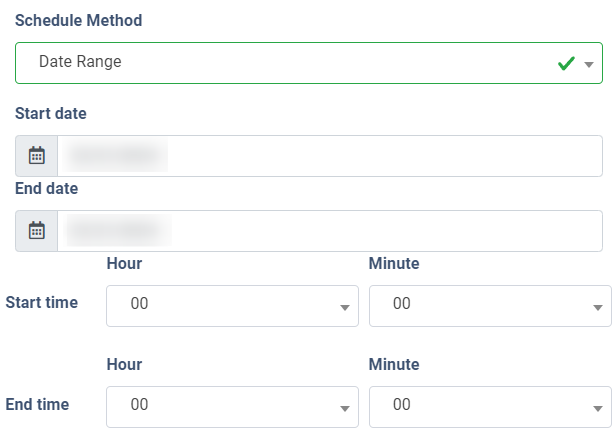
- Start time: Enter the hour (the “Hour” field) and minutes (the “Minute” field) of the schedule rule starting for the option selected in the “Schedule Method” field.
- End time: Enter the hour (the “Hour” field) and minutes (the “Minute” field) of the schedule rule ending for the option selected in the “Schedule Method” field. Please note that modifying the permissible calling hours to values different from the regulatory defaults may potentially impact Telecom regulatory compliance. Make sure you want to proceed with these changes.
- Enter "YES" to confirm the changes: Enter the word “YES” to confirm the schedule rules settings.
- State: Select the corresponding state for which the schedule rule should be applied. If no state is selected, the rule will be applied to all states. Note: The option is available only for the US region.
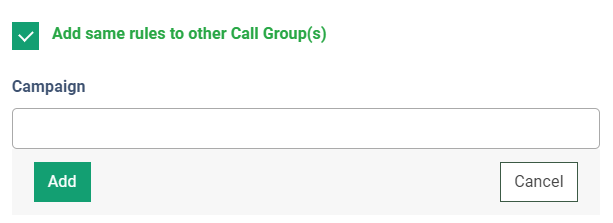
- Add same rules to other Call Group(s): Check the box to add the ongoing schedule rule to another Call Campaign(s):
- Campaign: Select the particular Campaign(s) for the schedule rule adding.
Click the “Add” button to complete the action.
The Schedule list contains the following information:
- Name: The name of the schedule rule.
- Type: The type of the schedule rule.
- Iteration: The type of the selected time range, whether particular hours for the rule activity or particular dates and timing.
- Period: The particular days of the week when the schedule rule is active.
- Start time: The time of the day when the schedule rule starts working.
- End time: The time of the day when the schedule rule ends working.
- State: The names of states that are included in the schedule rule.
- Status: The current status of the schedule rule.
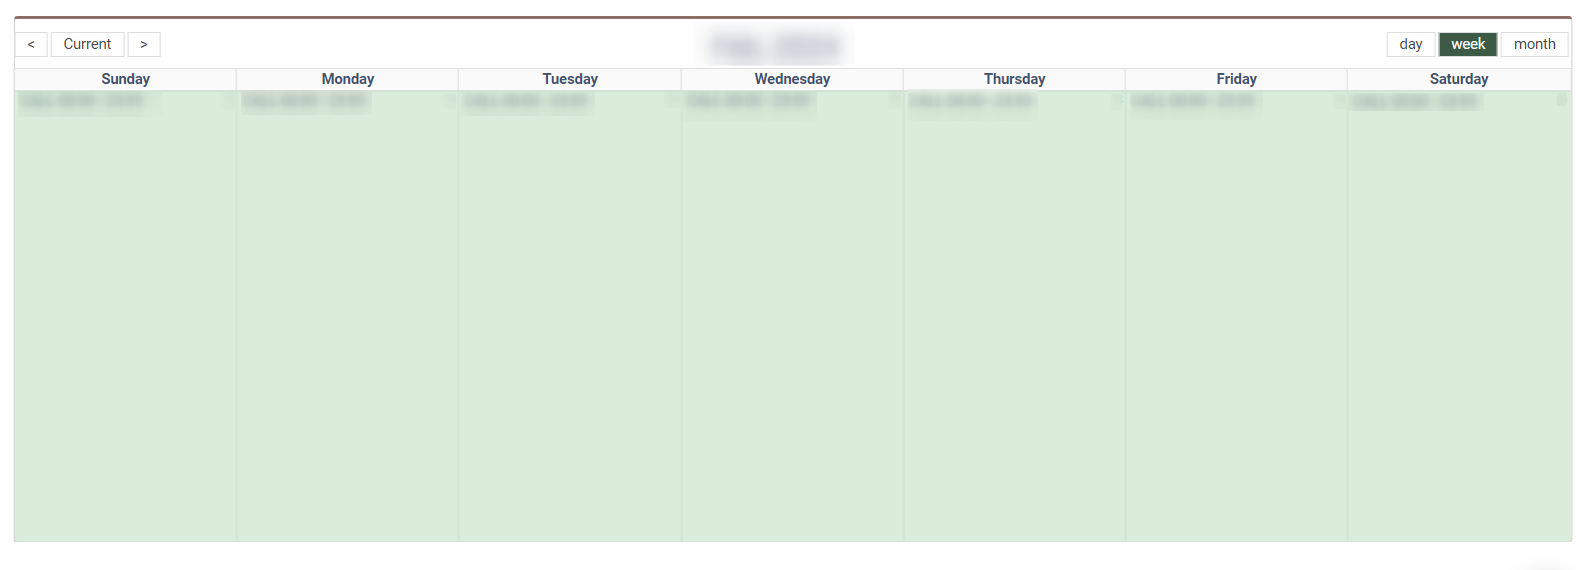
You can also view the information about the current schedule rule in the calendar format below the table with the list of rules.
 To configure or change the schedule rule, select the rule from the list and click the “Edit” button in the “Action” column. Then proceed with the changes in the “Edit record” pop-up window, and click the “Save” button to complete the edition process.
 To make a copy of the existing schedule rule, click the “Duplicate” button in the “Action” column. Check the current settings of the schedule rule in the “Duplicate record” pop-up window, make the corresponding changes or corrections if needed, and click the “Add” button to complete the action.
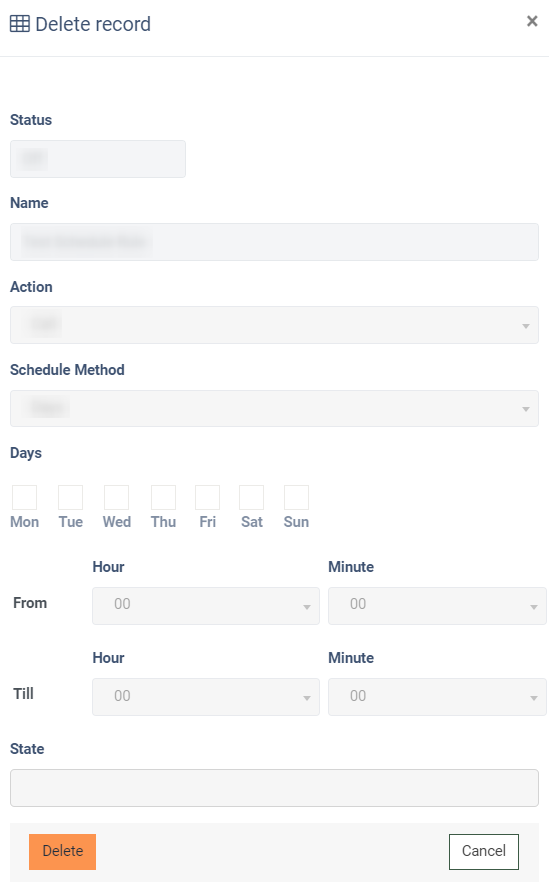
 To remove the schedule rule from the list, click the “Delete” button in the “Action” column. Confirm and complete the deletion operation by clicking the “Delete” button in the “Delete record” pop-up window.