To port in (port out) the Phone Number list, go to the System Management > Porting Phone Management > Porting Phone Numbers section and find the required list by using the filters.
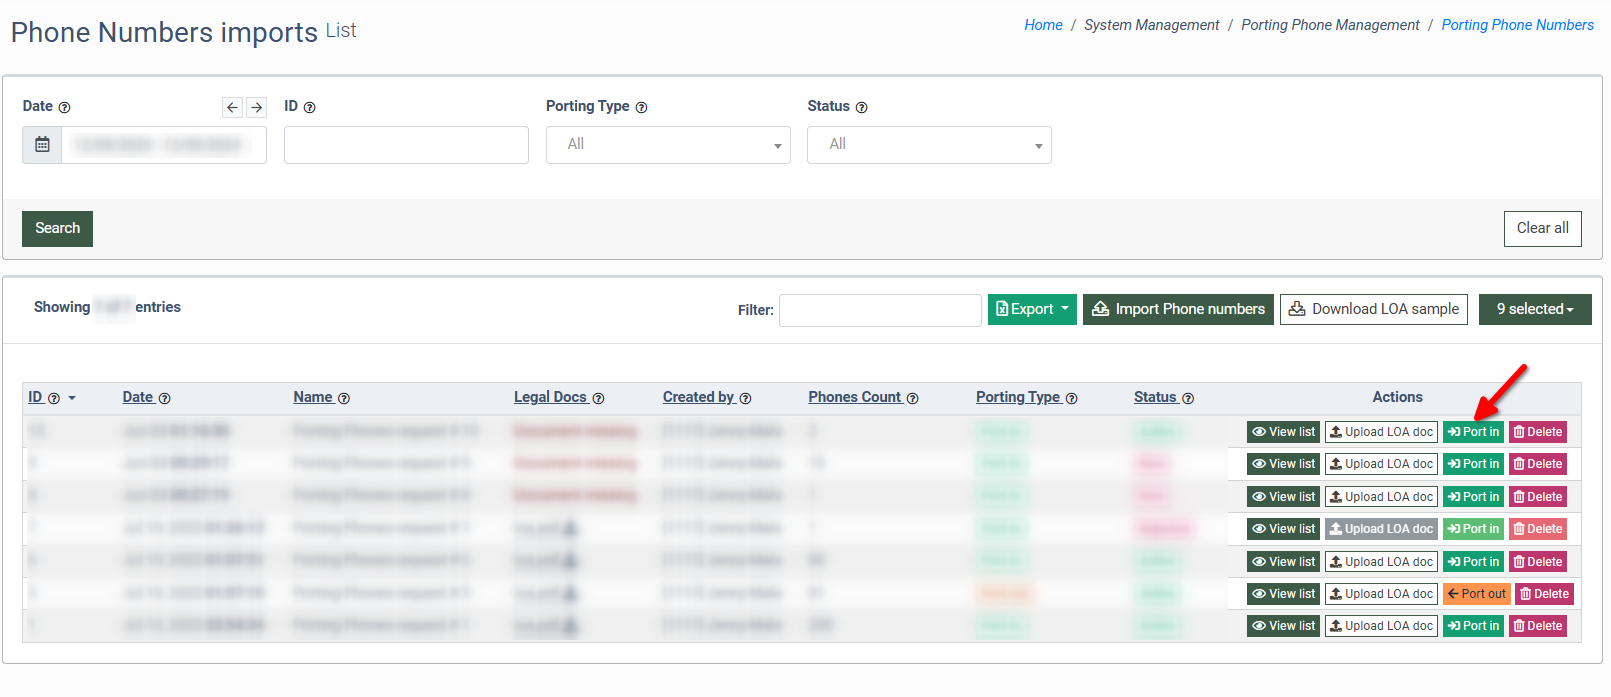
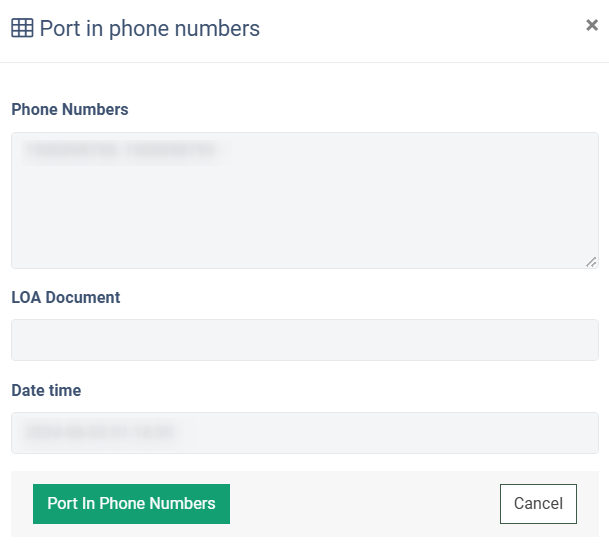
Then, click the “Port in” (“Port out”) button next to the respective list in the “Action” column. Check the “Phone Numbers” and “Legal Documents” fields, and confirm the porting application by clicking the “Port in (Port out) phone numbers” button.
Note: You can not port the phone numbers if you are missing the LOA. Also, the phone numbers that have not been validated will have the “Failed” status and will not be ported.
The Phone Numbers list will be sent for approval. The instance owner will receive a notification confirming the acceptance of the application, which will be processed within 7 days. Another notification will be sent as soon as a decision regarding this application is made.
You can narrow down the search results by using the following filters:
- Date: Select the date range for the report.
- ID: Enter the unique identification number of the Phone Number list.
- Porting Type: Select the porting type (Port-in or Port-out).
- Status: Select the status of the Phone Numbers list (New, Active, Pending, Completed, Rejected).
The Porting Phone Numbers section contains the following information:
- Legal Docs: The presence of the Legal Documents in the system.
- Created by: The ID and name of the person who added the list.
- Phones Count: The number of the phone numbers in the list.
- Porting Type: The porting type (Port-in / Port-out).
- Status: The status of the Phone Numbers list.
- New: The new Phone Numbers list contains the numbers not available for porting for any reason, e.g., there are insufficient digits in the phone number. To view, edit, add, or delete the phone numbers, click the “View list” button in the Action column. Note: The status is applied only if the list of phone numbers was uploaded as a file. The incorrect phone numbers that were inserted manually will not be added to the list.
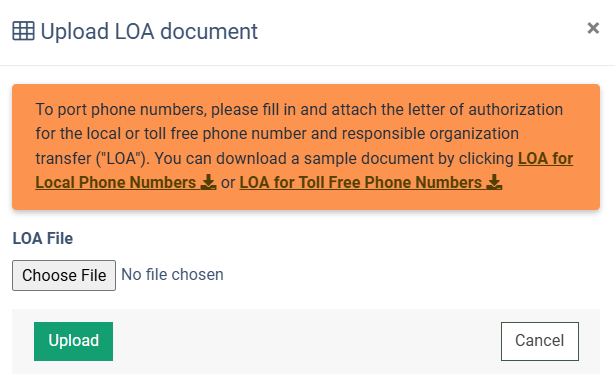
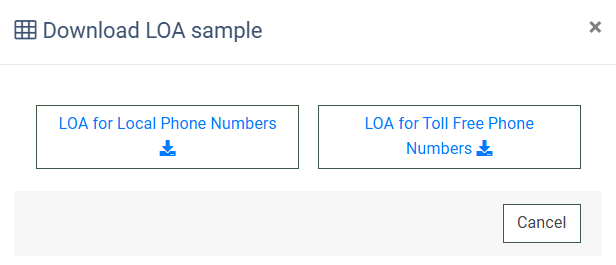
- Active: The new Phone Numbers list has been successfully uploaded, the phone numbers are correct and can be ported after adding the Letter of Authorization. Note: The Letter of Authorization (LOA) is required before porting the phone numbers list. To upload the LOA document, click the “Upload legal doc” button in the Action column. Supported file formats: pdf, tiff. Note: To download the sample of the LOA document, click the “Download LOA sample” button. The sample for the Local Phone Numbers and Toll-Free Phone Numbers LOAs is available for download.


- Pending: The port-in/port-out application is waiting for approval.
- Completed: The port-in/port-out application is approved and completed.
- Rejected: The port-in/port-out application is denied (due to insufficient documentation or the number belonging to another provider).

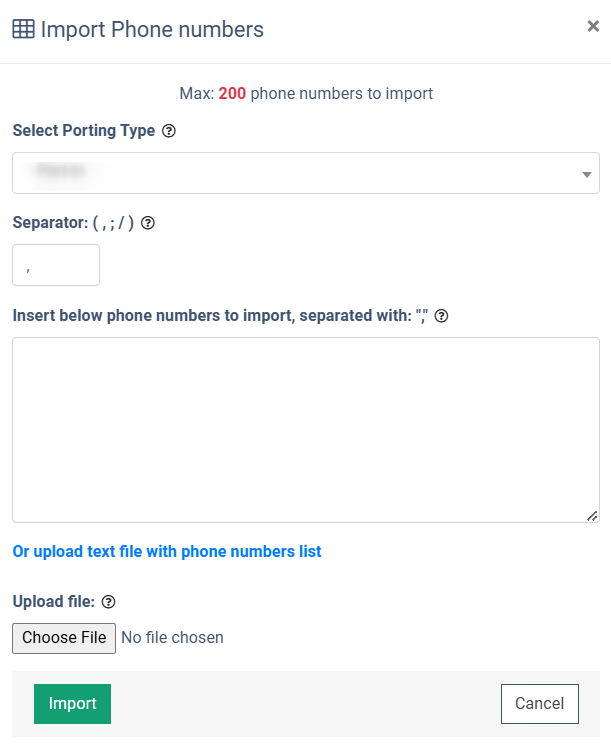
To add a new Phone Numbers list, click the “Import Phone numbers” button and fill in the following fields:
- Select Porting Type: Select the porting type (Port-in or Port-out).
- Separator: Enter the separator (, ; /) used when listing the phone numbers.
- Insert below phone numbers to import, separated with: "(chosen separator)": Enter the phone numbers, separated with the symbol you have entered in the “Separator” field. Note: You can import up to 200 numbers at a time, but at most twice under one LOA, e.g. if you have 320 numbers, you can do it in batches - 200 and 120 - under one LOA. If you plan to have a third import later, they will need a new LOA.
- Upload file: Upload the text file with the phone numbers list. Note: You can import up to 200 numbers at a time, but at most twice under one LOA.
To proceed, click the “Import” button.
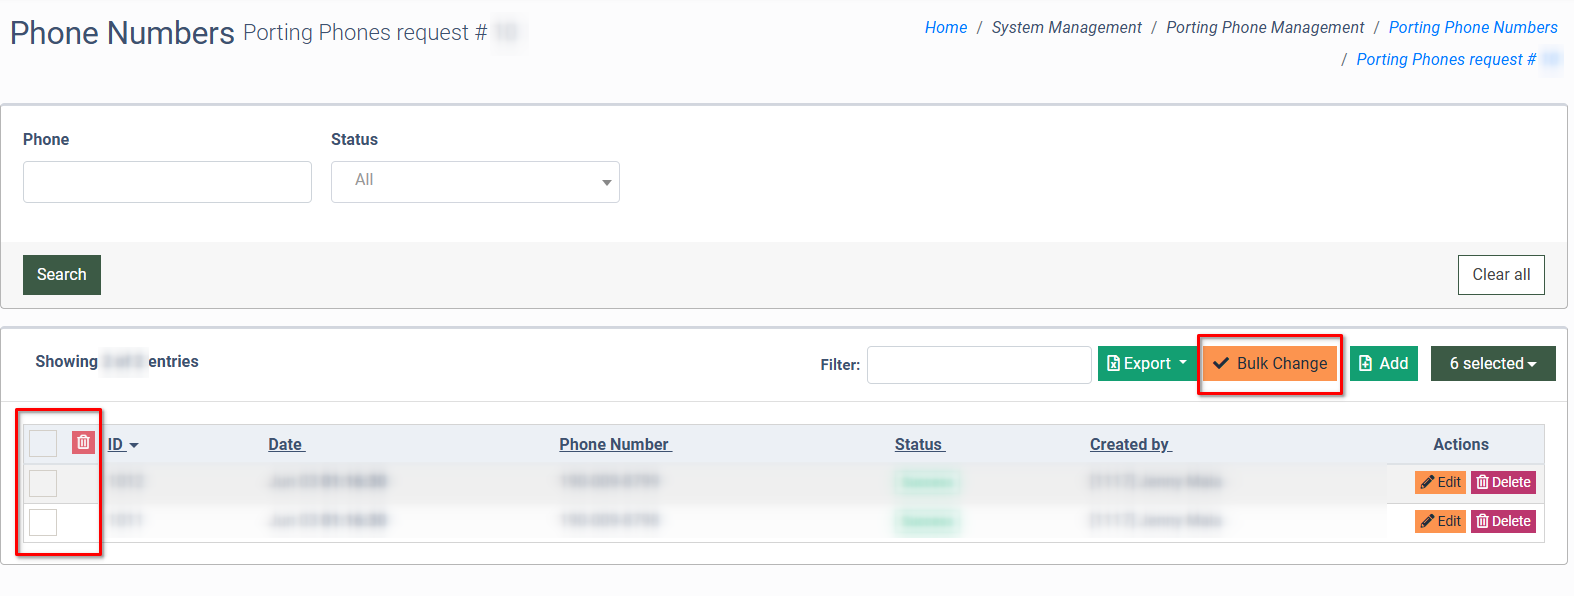
To view, edit, add, or delete phone numbers, click the “View list” button in the Actions column. The system will redirect you to a new page where you can view the following information:
- ID: The unique identification number of the phone number.
- Date: The date and time when the phone number has been uploaded.
- Phone Number: The phone number.
- Status: The phone number status
- Success: The phone number was successfully validated.
- Failed: The phone number wasn’t validated.
- Created by: The ID and name of the person who uploaded the phone number.
You can narrow down the search results by using the following filters:
- Phone: Enter the particular phone number.
- Status: Select the status of the phone number.

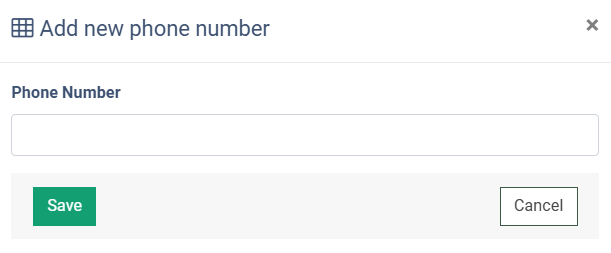
To add a new phone number, click the “Add” button, and enter the phone number for adding in the “Phone Number” field of the “Add new phone number” pop-up window. Click the “Save” button to complete the action.
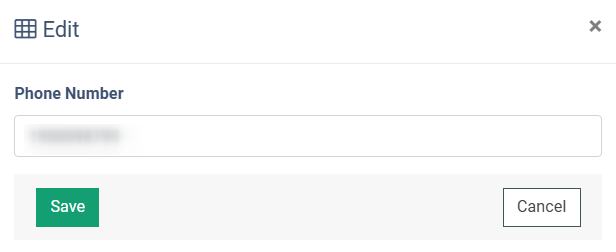
To correct the phone number, click the “Edit” button. Enter the correct number in the “Phone Number” field and click the “Save” button.
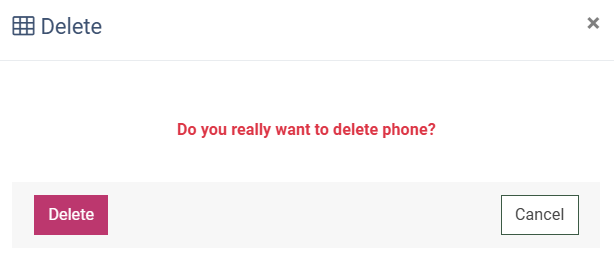
To delete the phone number, click the “Delete” button and confirm the action.
To delete several phone numbers from the list, click the “Bulk Change” button, select the corresponding checkboxes, and click the “Delete” button in the first column of the report to complete the action.
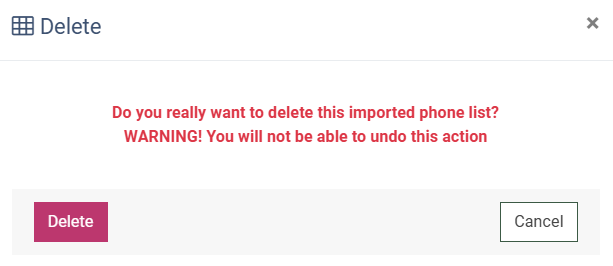
To delete the imported phone number list, click the “Delete” button in the “Actions” column, and confirm the action by clicking the “Delete” button in the “Delete” pop-up window.