The Manage Filters tab allows you to view and manage filters for the selected Product, including both pre-configured and the ones that are created for the extra fields. By changing the status of each filter, you can configure their availability via the "Filters" tab of the Campaign Setup page. Please note that if you enable a previously disabled filter, it will run according to its last configuration.
Read more about how to create additional filters for the Product’s extra fields in this Knowledge Base article.
To access these settings, go to the System Management > Products section, click the “Settings” button in the “Actions” column for the selected Product, and choose the “Manage Filters” tab.

The Manage Filters tab contains the following information:
- Filter Name: The name of the filter.
- Field Internal Name: The name of the field.
- Field Name In Reports: The name of the field that will be displayed in the reports and the filter names.
- Filter Type: The filter type (Integer value, Integer values range, Select from list, Select range from 2 lists, String value, Textarea, Radio-buttons, Checkbox, Checkbox group, Separator, Comma separated numbers, Comma separated text, Integer value (min), Integer value (max), Field A = Field B filter out match, Field B includes Field A, Value String length range, Regular Expression, Comma separated regex exclude (slow), Field A = Field B filter out mismatch, Value String length range (without adduction to integer), Empty, Non-empty, Is non-empty (ignore ping), Is empty (ignore ping)).
- Filter Description: The filter description.
- Status: The status of the filter (Active, Disabled).
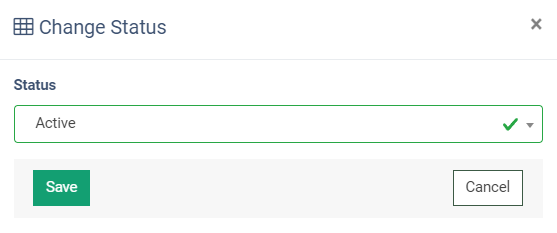
To change the filter’s availability for the Campaign Setup page, click the Setting icon in the “Status” column. Select the status in the “Change Status” pop-up window:
- Active: Enable the filter field.
- Disabled: Disable the filter field.
Note: By default, all filters are in an active status.