The Enrollment to LMS & Call Logic settings allow you to control how users from other Phonexa components are registered and onboarded as Publishers within your system.This functionality enables seamless integration between components (currently, Lynx) by automatically converting eligible users into publishers and granting them access to LMS and/or Call Logic.
Benefits
- Automated Publisher Creation: Reduces manual work and setup time
- Faster Time-to-Activation: Users gain instant access to LMS and/or Call Logic
- Consistent User Experience: Standardize how users enter and interact with the platform
To enable Lynx Affiliates to register as LMS/Call Logic Publishers, go to the System Management > General > Project Settings section, select the “LMS & Call Logic” tab, and then select the “Enrollment to LMS and Call Logic” subtab.
Select the “Yes” value in the “Allow Lynx affiliates automatic registration on the LMS and/or Call Logic platform” field.
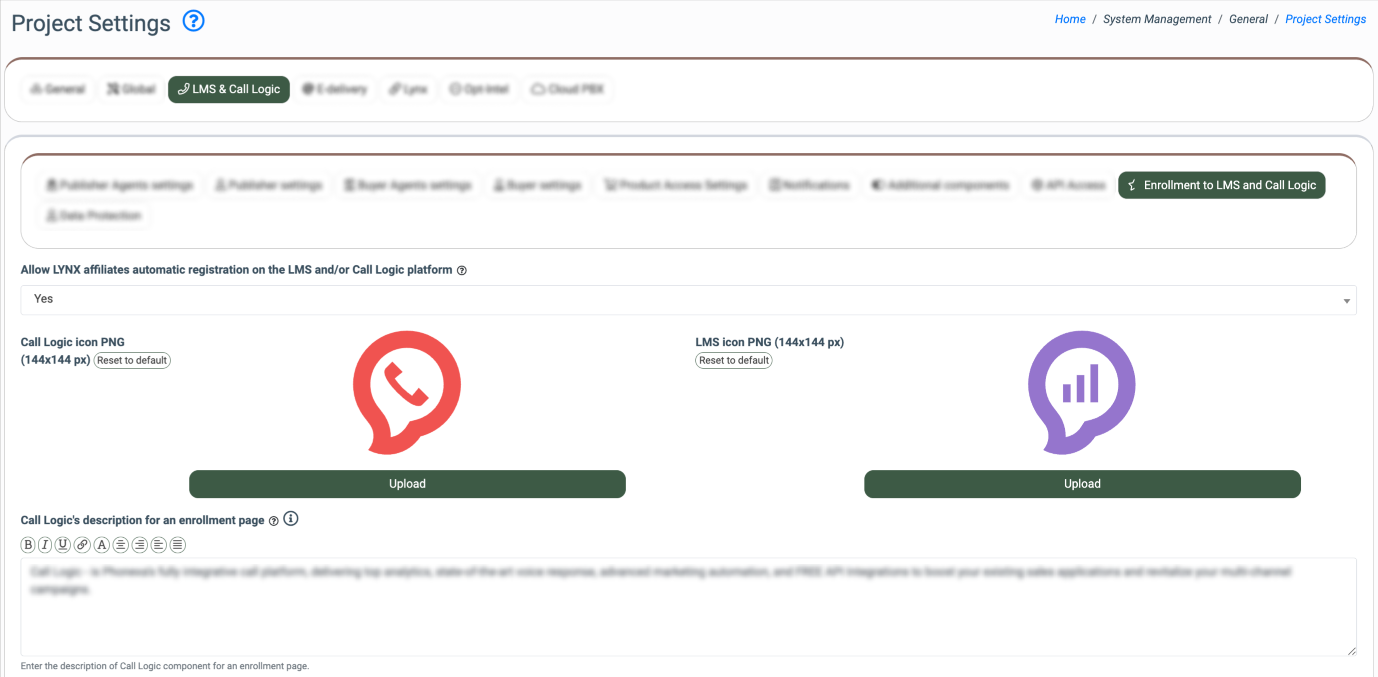
You can manage the following settings of the enrollment page for the LMS and Call Logic:
-
Call Logic icon PNG: To change the icon of the Call Logic enrollment page, click the “Upload” button. To restore the default icon, click the “Reset to default” button.
-
LMS icon PNG: To change the icon of the LMS enrollment page, click the “Upload” button. To restore the default icon, click the “Reset to default” button.
-
Call Logic's description for an enrollment page: Enter the text. You can change the appearance and formatting of the page description by using HTML tags.
-
LMS's description for an enrollment page: Enter the text. You can change the appearance and formatting of the page description by using HTML tags.
-
Button text for an enrollment page: Enter the name of the enrollment button.
-
Button icon for an enrollment page: Select the icon for the enrollment button.
Click “Save” to complete the action.