To view the Project settings for the Lynx, go to the Project Settings > Lynx section.
The “Lynx” page contains eight tabs:
Application
The Application tab allows you to submit the Application for the network.

To submit the application for the network, fill in the following fields:
-
Network Name: Enter the name of the network. Note: Affiliates and Advertisers will see this as your company/network name.
-
Network Time Zone: Select the Time Zone for your network (London BST/GMT, New York EST/EDT, Chicago CST/CDT, Edmonton MST/MDT, Los Angeles PTS/PDT). Note: Changing your Time Zone may result in timestamped data reporting.
-
Offer Expiration Notification Threshold: Enter the number of days when the offer expires and a notification is sent.
-
Upload File Size Limit, MB: Enter the file size of creatives advertisers/affiliates may upload. Note: Maximum is 10MB.
Advertiser Agent
The Advertiser Agent tab allows you to set up the default earning percent, and select the Advertiser Agent, and Method of Advertiser Agent Assignment.

To set up the Advertiser Agent, fill in the following fields:
-
Default Earning Percent: Enter the percentage for the Default Earning Percent.
-
Default Advertiser Agent: Select the default Advertiser Agent from the List of agent advertisers.
-
Method Of Advertiser Agent Assignment: Select the Method of the Advertiser Agent Assignment (Default Agent, Random, Rotation with Weight). Note: Available for new users.
Affiliate Agent
The Affiliate Agent tab allows you to set up the default earning percent, and select the Affiliate Agent, and Method of Affiliate Agent Assignment.

To set up the Affiliate Agent, fill in the following fields:
-
Default Earning Percent: Enter the percentage for the Default Earning Percent.
-
Default Affiliate Agent: Select the default Affiliate Agent from the List of agent affiliates.
-
Method Of Affiliate Agent Assignment: Select the Method of the Affiliate Agent Assignments (Default Agent, Random, Rotation with Weight). Note: Available for new users.
Advertisers
The Advertisers tab allows you to set up how Advertisers' account applications are processed.

To set up the Advertisers Registration Process fill in the following fields:
-
Advertiser Registration Process: Select the status of the Advertiser Registration Process (Auto Approve, Required Approve, Disabled). Note: Advertiser account status will be based on this setting.
-
Advertiser registration URL: The Advertiser registration URL.
-
Conversion Approval/Rejection: Select the possibility to reject or approve the conversion rate manually for the Advertisers from the drop-down list (Enabled, Disabled).
-
Advanced Security: Select the Advanced Security status (Enabled, Disabled). Note: Advanced Security provides an additional level of security from any potential fraudulent postback URLs and authenticates each conversion with a token that is unique for each Advertiser.
-
Default Global Limit of all offer's files, MB: Enter the maximum Default Global allowed average file size per offer, in MB.
Affiliate
The Affiliate tab allows you to set up how Affiliates' account applications are processed.

To set up the Affiliates Registration Process, fill in the following fields:
Affiliate Registration Process: Select the process's status (Auto Approve, Required Approve, Disabled). Note: This setting will determine the affiliate account's status.Registration Page Name: Enter the registration page name.
Sale Amount: Select the status of the Sale Amount to allow affiliates to see the sale amount of conversions in their reporting (Enabled, Disabled).
Conversion: Select the status of the Conversion to specify which conversions affiliates have access to view in the Conversion Report (Only Approved, Approved/Pending, All).
Custom message: Enter additional information in the Affiliate registration URL form.
Allow Adding New Postbacks for Affiliates: Select whether to allow affiliates to add new postbacks or not (Allow, Allow only for Senior Affiliates, Do not allow). The default option is “Allow”. Note: When the “Do not allow” option is selected, the “Add Postback“ button in the Postback list section will be hidden for affiliate users, and they won’t be able to add new postbacks, but if there were postbacks created earlier, they will be displayed for users in this list and will be available for configuration.
Offer
The Offer tab allows you to set up the Offer, Access for the Offers, Caps, and select the Conversion Approved Period.

To manage the Offers features, fill in the following fields:
- Geotargeting: Select the status of Geotargeting to target Offers to users by location based on their IP address (Enabled, Disabled).
- Offer Access: Select the status of the Offer Access to hide Offers from Affiliates and allow you to grant access to specific affiliates (Enabled, Disabled).
- Caps: Select the Caps' status to set the maximum number of conversions an offer can receive per day (Enabled, Disabled).
- Offer Targets: Select the status of the Offer Target to enable or disable multiple conversion points, each with different payout and revenue settings.
- Conversions Approve Period: Select the Conversions Approve Period.
Tracking
The Tracking tab allows you to manage the Tracking features and Postback Conversion.

To manage the Tracking features, fill in the following fields:
-
Default Redirect URL: Select the status of the Default Redirect URL to redirect traffic to a specified URL in the event that there are no valid offer URLs to redirect to (Enabled, Disabled).
-
URL: Enter the default redirect URL.
-
Default redirect URL: Select the status of the Default redirect URL (Enabled, Disabled).
-
Conversion Referrals: Select the status of the Conversion Referrals URL to be set when the conversion pixel is loaded for all offers with cookie-based tracking (Enabled, Disabled).
-
Postback Conversion Amount: Select the status of the Postback Conversion Amount to allow the payout and revenue to be passed in on the conversion request (Enabled, Disabled).
-
Postback Conversion Status: Select the status of the Postback Conversion Status to allow the status of conversions to be set in conversion requests (Enabled, Disabled).
-
Search Bots: Select the status of the Search Bots to allow search bots to access tracking links like a regular user (Enabled, Disabled).
Enrollment to Lynx
The Enrollment to Lynx tab allows LMS&Call Logic Publishers automatically register on the LYNX platform.
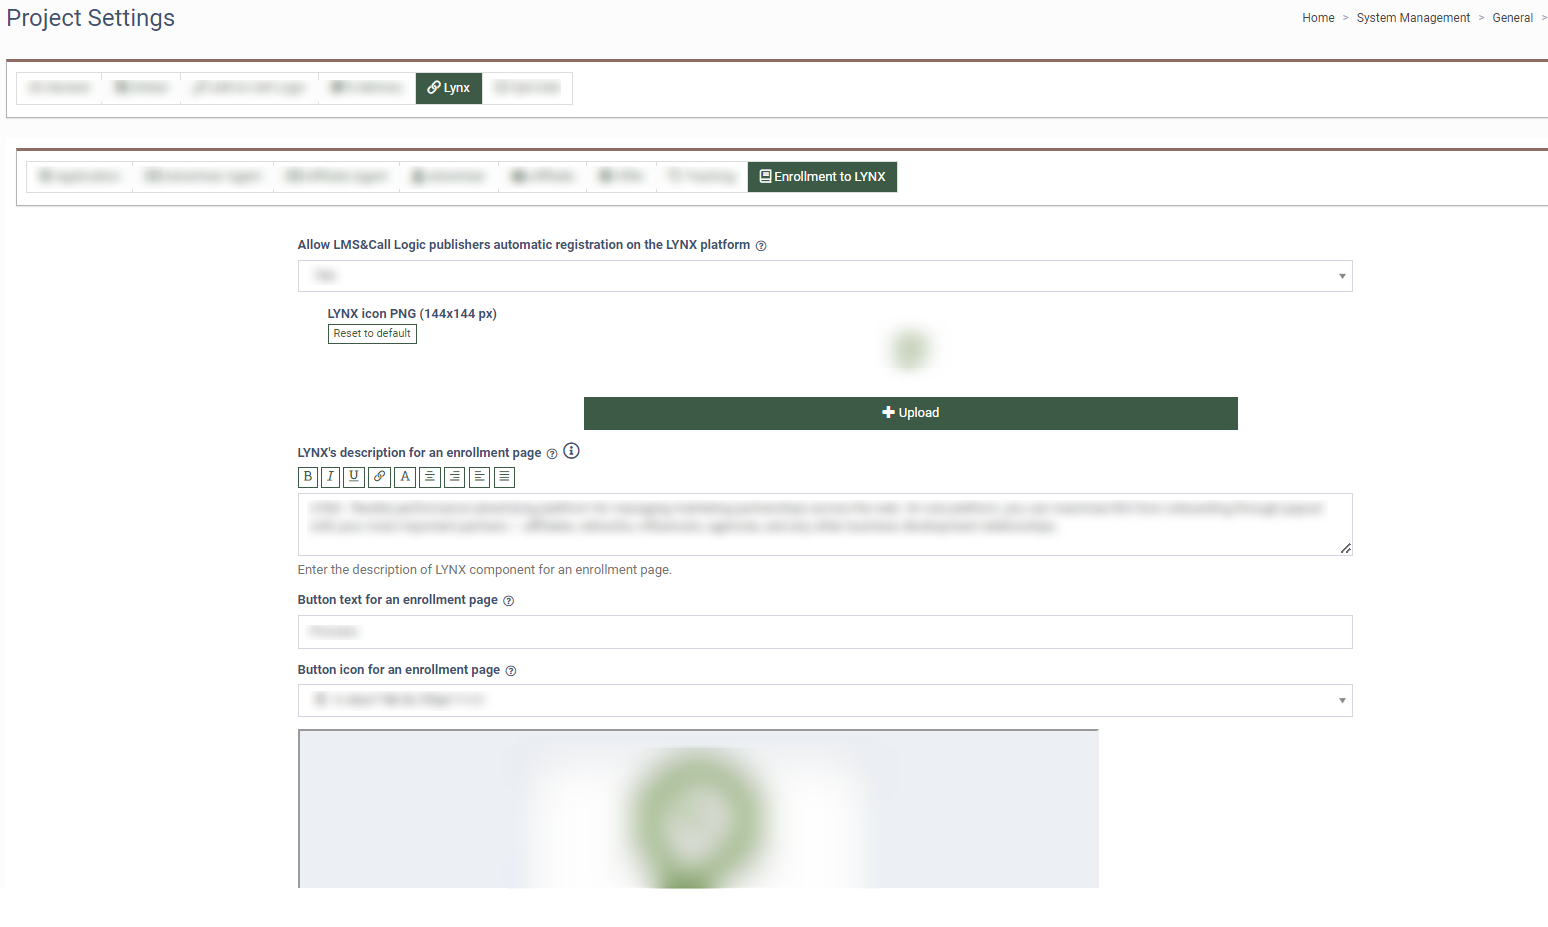
Select the “Yes” value in the “Allow LMS&Call Logic publishers automatic registration on the LYNX platform” field to Allow LMS and Call Logic publishers to register as Lynx Affiliates and fill in the following field:
-
LYNX icon PNG (144x144 px): Click the “Upload” button to upload the new icon for the Lynx in the PNG format or click the “Reset to default” button to reset the icon to the default one.
-
LYNX's description for an enrollment page: Enter the description of the LYNX component for an enrollment page. Note: You can change the appearance and formatting of the page description by using the HTML tags. Click the “BBCode list” button next to the field name to see the list of HTML tags.
-
Button text for an enrollment page: Enter the name of the Enrollment button.
-
Button icon for an enrollment page: Select the icon for the Enrollment button from the drop-down list.