To view the tab, go to the Publisher Management > Publishers section, select the Publisher, and click the “View” button in the “Action” column.
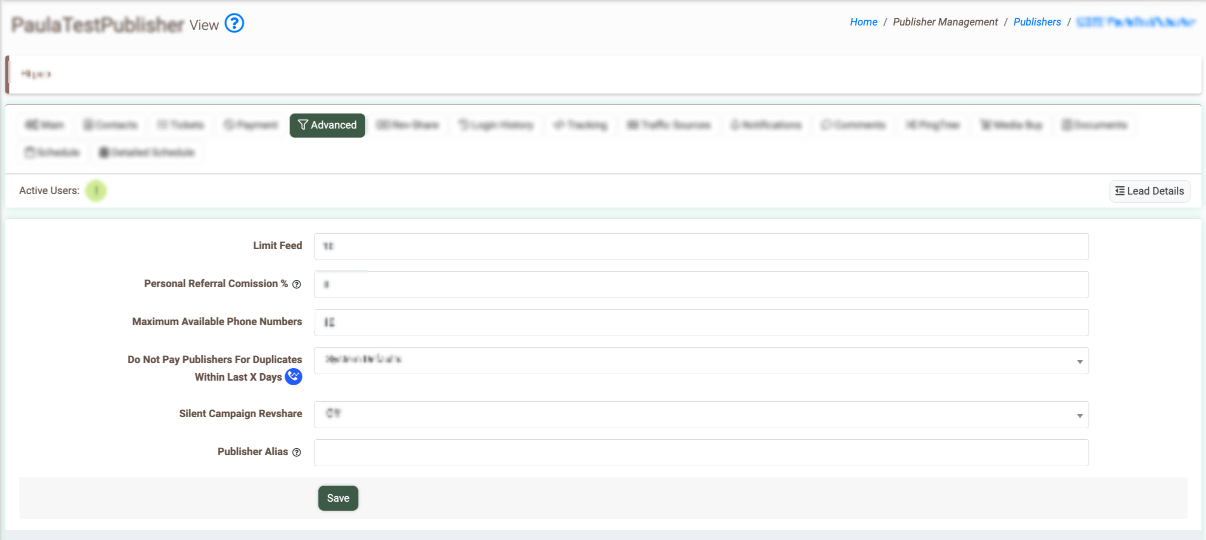
The “Advanced” tab contains the following settings:
-
Limit Feed: Enter the maximum amount of incoming feeds per Publisher allowed through the Referral Program.
-
Personal Referral Commission %: Enter the referral commission’s percentage figure for the Publisher that overrides the system default.
-
Maximum Available Phone Numbers: Enter the maximum amount of phone numbers that can be added through the Referral Program.
-
Do Not Pay Publishers For Duplicates Within Last X Days: Select the number of days for the duplicates check from the drop-down list. The “System Default” option will prioritize the Project Settings configuration. The “0” option will disable the duplicate check feature. The feature is available only for Call Logic.
-
Silent Campaign Revshare: Select if you would like to make payouts to the Publisher for silent campaigns according to the Rev-Share settings.
-
Publisher Alias: Enter the custom alias to send a specific publisher ID to campaigns. Leave the field blank to send the default (numeric) publisher ID. Once the {%PUBALIAS%} placeholder is used, the entered alias is provided via the Redirect URL.
Click the “Save” button to apply the settings.
Quality Filter Settings
Default Channel Label
Change Publisher Channel Labels
Price Reject Settings
Lead Processing Time Settings
Lead Processing Time per Tier Settings
Redirect URL Masking
Distribution by Tags
Distribution by Buyer Type
Quality Filter Settings
The “Quality Filter Settings” block allows you to set the conditions for filtering the lead as it enters the system. If the lead gets filtered by the Quality Filter, the publisher will receive an error message in response. The following fields are available for configuration:
- Duplicate Days: Select the time frame to check if the lead is a duplicate in the system. Depending on the selected option, one of the following rules will be applied:
- System Defaults: The value set on the Product level will be applied (this value is set by default).
- Today Only: The time range between 00:00:00 and 23:59:59 for the current day only.
- 1, 2, 3, 5, 7, 15, 30: The date range.
- Times seen: Select the maximum number of times the lead can be seen in the system within the selected time frame before it gets filtered out. Note that the lead will not be posted to any Campaign.
Note: The Publisher level settings of the Quality Filter have higher priority than the Product level settings. When the “Duplicate Days” and the “Times Seen” on the Publisher level are set to the “System Default”, then the Product level settings for this option are applied.
Click the “Save” button to apply the settings.

Default Channel Label
The “Default Channel Label” block allows you to set a default label for all the new channels created for the Publisher.
Click “Save” to apply the settings.

Change Publisher Channel Labels
The “Change publisher channel labels” block allows you to update labels in bulk for existing channels of the Publisher. Select the label you would like to change from the “From” drop-down list. Select the new label that you would like to set in the “To” drop-down list. Click the “Save” button to complete the action.
Click “Save” to apply the settings.

Price Reject Settings
The “Price Reject Settings” block allows publishers to see the campaign’s offer for the price-rejected leads. To enable the Publisher Price Reject option, select the “Turn On” option from the drop-down list. To disable, select the “Turn Off” option.
Click the “Save” button to confirm the changes.

Lead Processing Time Settings
The “Lead Processing Time Settings” block allows you to configure the maximum amount of time to process the lead for the Publisher. The following fields are available for configuration:
- Status: Reflects the status if the Lead Processing Time is set for the specific Publisher.
- Max Lead Processing Time: Fill in the value (in seconds) for the maximum lead processing time. It can help increase the redirect rate on sold leads if the Publisher processing time for a lead is specified.
- Allow publisher post time to override max lead processing time: Enable an additional parameter in the Post API. This option allows Publisher to override the max processing time for each post.

Lead Processing Time per Tier Settings
The “Lead Processing Time per Tier Settings” block allows you to set Max Lead Processing Time for a Tier, which can help increase the redirect rate. Enter the tier price in the “Tier” field and the Max Lead Processing Time in seconds in the “Timeout” field. Click “Save” to apply the settings.

Redirect URL Masking
The “Redirect URL Masking” block allows you to mask the redirect URL sent to the Publisher. To mask the URL, enter a new URL address in the “Redirect Url masking” field, and click “Save” to apply the settings.
Note: This option is available for LMS only.

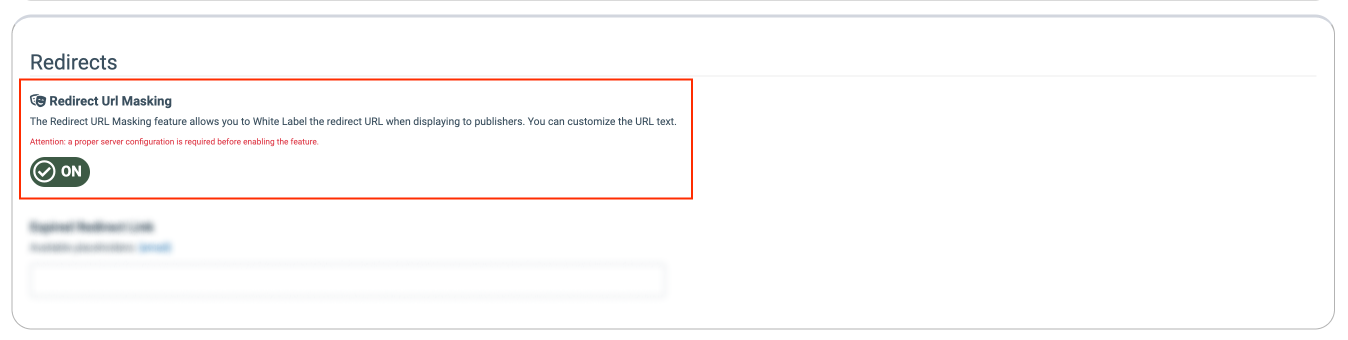
The option is disabled by default. To enable the option, go to the System Management > General > Project Settings section, select the “LMS & Call Logic” tab, and go to the “Additional components” subtab. In the “Advanced tools” block, click the “On/Off” button to enable or disable the “Redirect URL Masking” option.
The option is disabled by default. To enable the option, go to the System Management > General > Project Settings section, select the “LMS & Call Logic” tab, and go to the “Traffic Advanced Components” subtab. In the “Redirects” block, click the “On/Off” button to enable or disable the “Redirect URL Masking” option.
Distribution by Tags
The “Distribution by Tags” block allows you to set lead distribution based on Campaign Tags.
Suppose a Publisher specializes in generating leads for Personal Loan Campaigns. You can assign the Personal Loan tag to the relevant Campaigns and add it to the Publisher's Allowed Tags list. As a result, the Publisher will be able to post only to Campaigns that contain the Personal Loan tag, preventing leads from being distributed to unrelated Campaigns.
Similarly, you can use Blocked Tags to exclude specific Campaign groups from receiving leads or calls from a Publisher.
This block contains the following settings:
- Allowed Tags: Select one or more Campaign Tags. When at least one tag is specified, the Publisher can post only to Campaigns that contain at least one of the selected tags.
- Blocked Tags: Select one or more Campaign Tags to prevent the Publisher from posting to Campaigns that contain any of the selected tags.
Click the “Save” button to apply changes.

Note: The same tag can be selected in both the “Allowed Tags” and “Blocked Tags” fields. In such cases, the “Allowed Tags” setting has priority.
Note: Campaign Tags can be configured under Client Management > Campaigns > Campaign > Global Settings tab. Read more in the Knowledge Base article.
Note: This functionality is available for both LMS and Call Logic components. Silent and Monetization Campaigns follow this distribution logic.
Note: Distribution by Tags is not applied to Exit Page and Exit Offer Campaigns.
Note: To view logs of the “Distribution by Tags” feature, go to the All Reports > Change Logs > User Manipulation Log section. Read more in the Knowledge Base article.
Note: Distribution by Buyer Type and Distribution by Tags are mutually exclusive. If one configuration contains at least one selected value, the other cannot be configured until the active configuration is cleared.
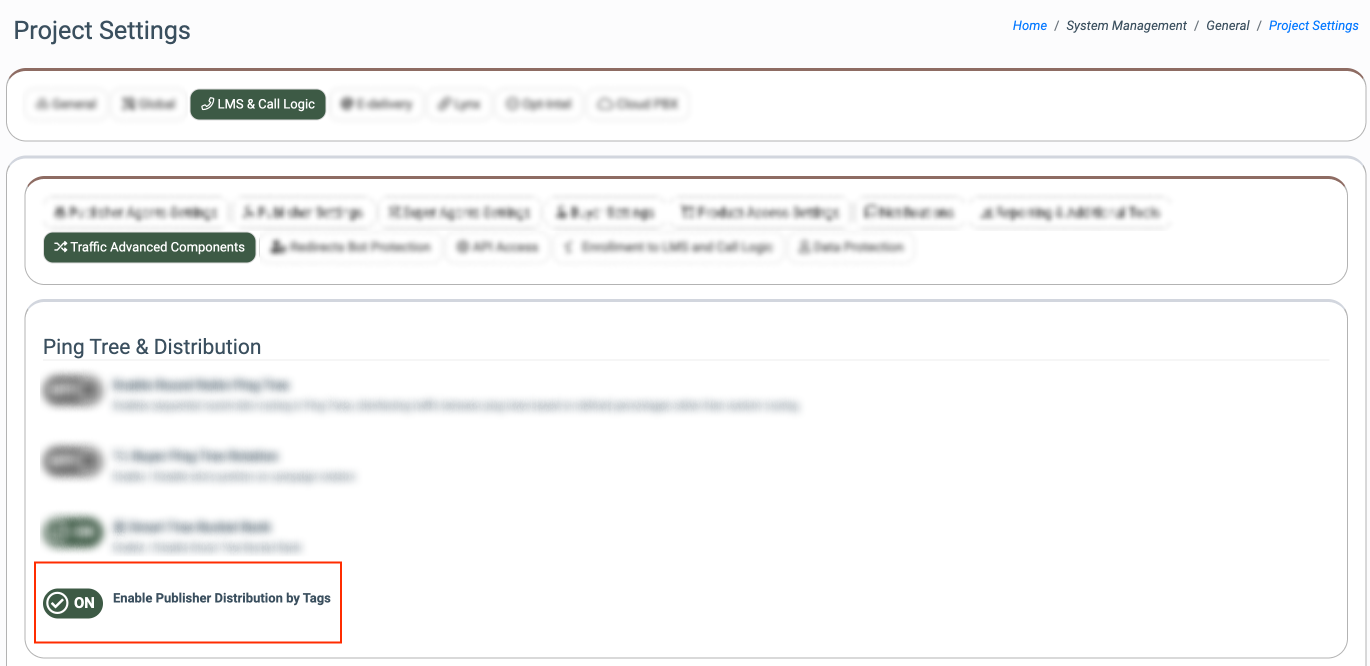
The option is disabled by default. To enable the option, go to the System Management > General > Project Settings section, select the “LMS & Call Logic” tab, and go to the “Traffic Advanced Components” subtab. In the “Ping Tree & Distribution” block, switch the “On/Off” toggle to enable or disable the “Enable Publisher Distribution by Tags” option.
Distribution by Buyer Type
The “Distribution by Buyer Type” block allows you to control which Buyers can receive traffic from a particular Publisher based on their Buyer Types.
Suppose a Publisher generates leads specifically for Roofing Buyers. Add the corresponding Buyer Type to the Publisher's Allowed Buyer Types list to ensure that traffic is sent only to Buyers of this type.
You can also use Blocked Buyer Types to exclude specific Buyer Types from receiving traffic.
This block contains the following settings:
- Allowed Buyer Types: Select one or more Buyer Types. When at least one type is specified, traffic is sent only to Buyers that match at least one of the selected types. Leave the field empty to allow all Buyer Types unless they are blocked.
- Blocked Buyer Types: Select one or more Buyer Types to prevent them from receiving traffic. Note: Blocked Buyer Types always take priority over Allowed Buyer Types.
Click the “Save” button to apply changes.

Note: If a Buyer matches both an Allowed and a Blocked Buyer Type, the Buyer is excluded from receiving traffic.
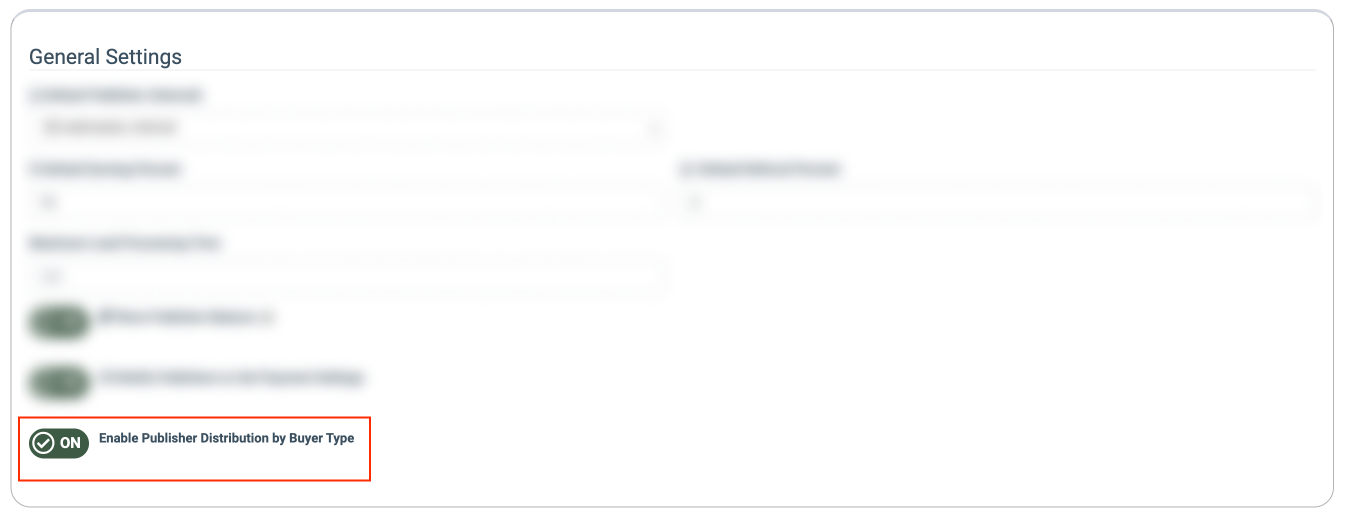
The “Distribution by Buyer Type” block is disabled by default. To enable it, go to the System Management > General > Project Settings section, select the “LMS & Call Logic” tab, and go to the “Publisher Settings” subtab. In the “General Settings” block, switch the “On/Off” toggle to enable or disable the “Enable Publisher Distribution by Buyer Type” option.