The Publisher Labels section allows you to label publishers to optimize grouping and searching in reports. You can create, manage, and view the list of existing publisher labels.
To manage publisher labels, go to the Publisher Management > Setup > Publisher Labels section.
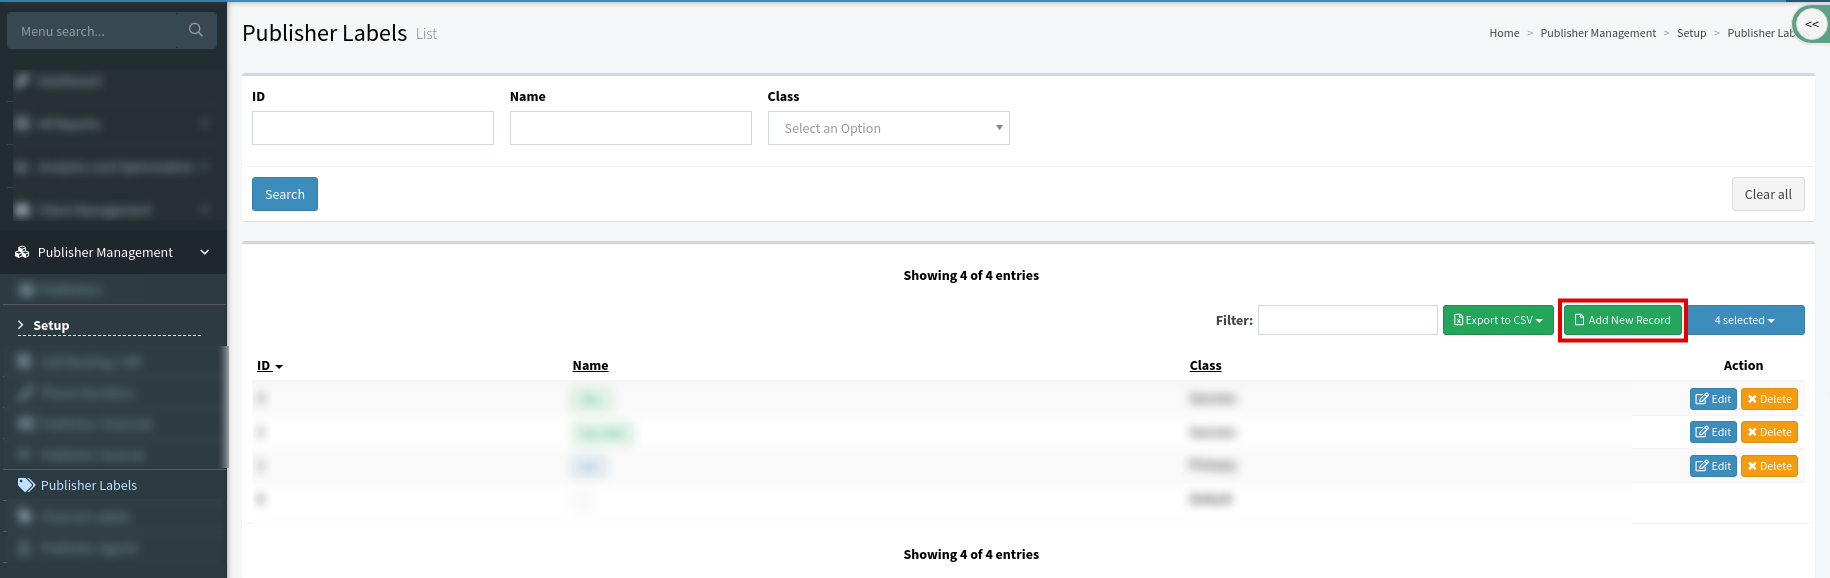
The Publisher Labels list contains the following information:
-
ID: The unique ID of the label.
-
Name: The name of the label.
-
Class: The class of the label (Default, Primary, Success, Warning, Danger, and Info).
You can narrow down the search results by using the following filters:
-
ID: Enter the Label ID.
-
Name: Enter the Label Name.
-
Class: Select the Class from the drop-down list.

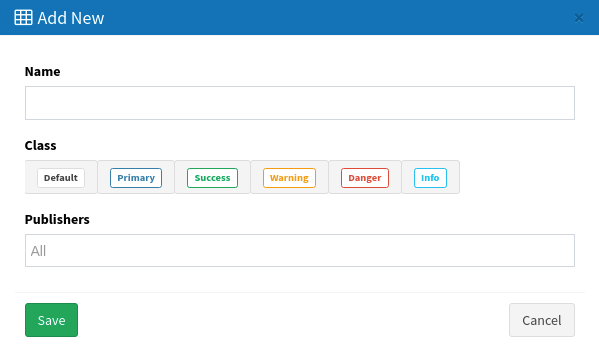
To create a new label, click the “Add New Record” button and fill in the following fields:
-
Name: Enter the name of the label.
-
Class: Select the class by clicking the icon (Default, Primary, Success, Warning, Danger, and Info). The label name will be displayed in the color matching the class type.
-
Publishers: Select the Publisher you want to label from the drop-down list (by default the label is not assigned to any publisher).
To edit the label, click the “Edit” button.