The Publisher Label and Tags section allows you to manage the label tags and types that can be assigned to the Publishers. Assigning the corresponding tags and labels to Publishers and Channels allows you to categorize and simplify the data filtration through the analytical reports.
The Publisher Label and Tags system section allows you to keep all available tags and labels in one place, which simplifies the management process. The system supports both predefined and custom labels, allowing you to align classifications with your specific business strategies. This flexibility ensures a more structured, scalable, and data-driven approach to managing Publishers and Channels.
To view the lists of labels, tags, and types, go to the Publisher Management > Setup > Publisher Labels and Tags section.
The section contains the following tabs:
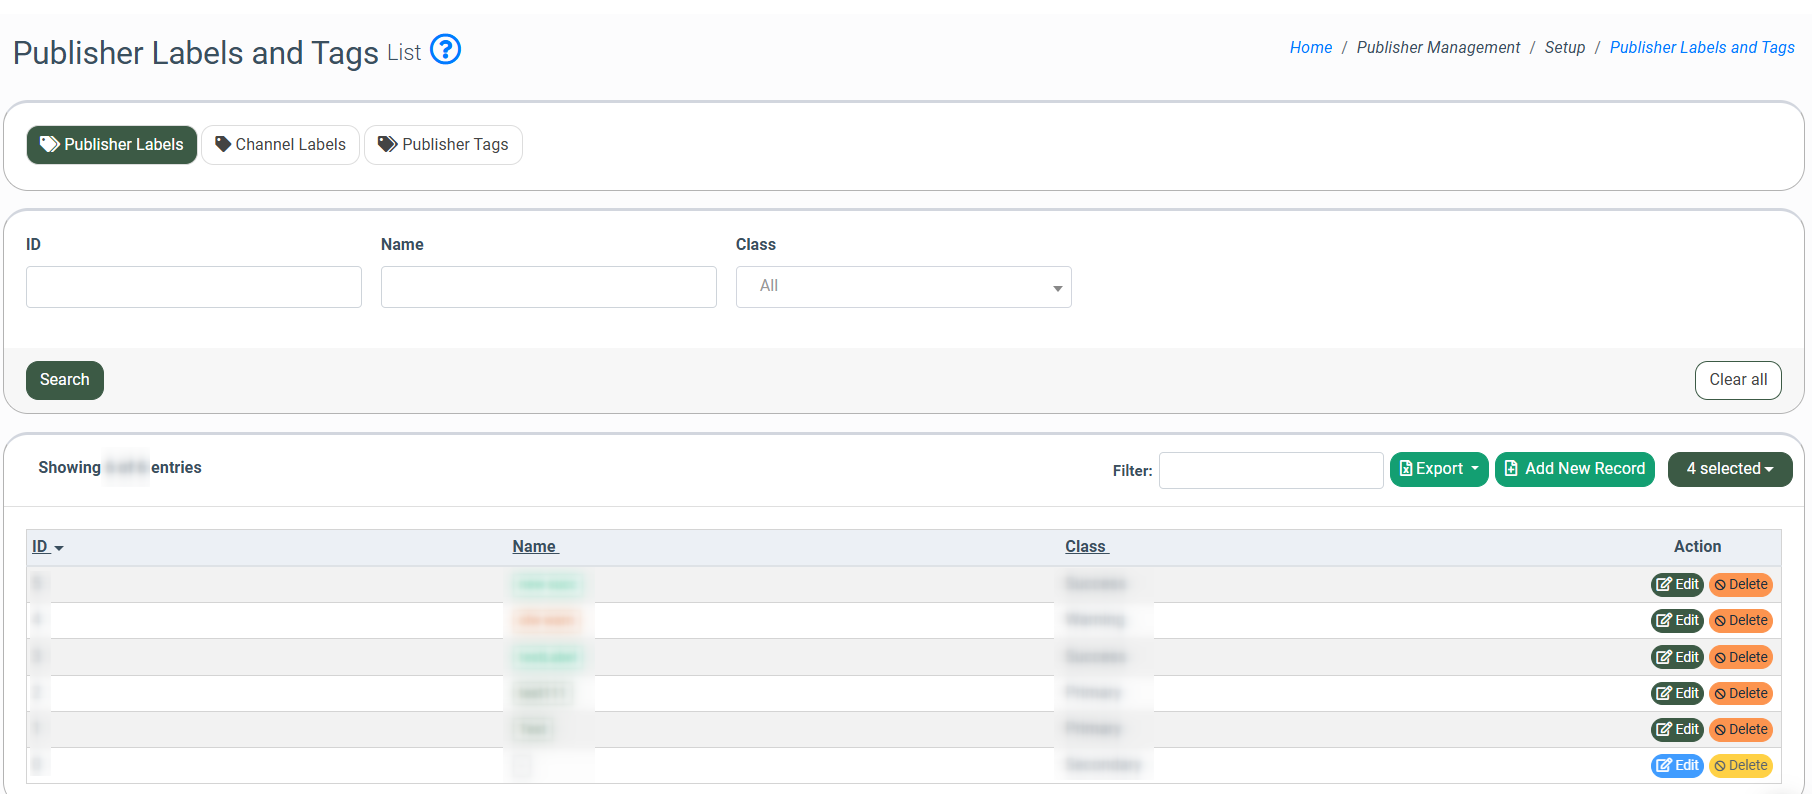
The “Publisher Labels” tab allows you to view and manage the available publisher labels that can be assigned to the Publisher. You can create a new one or edit the existing publisher labels.

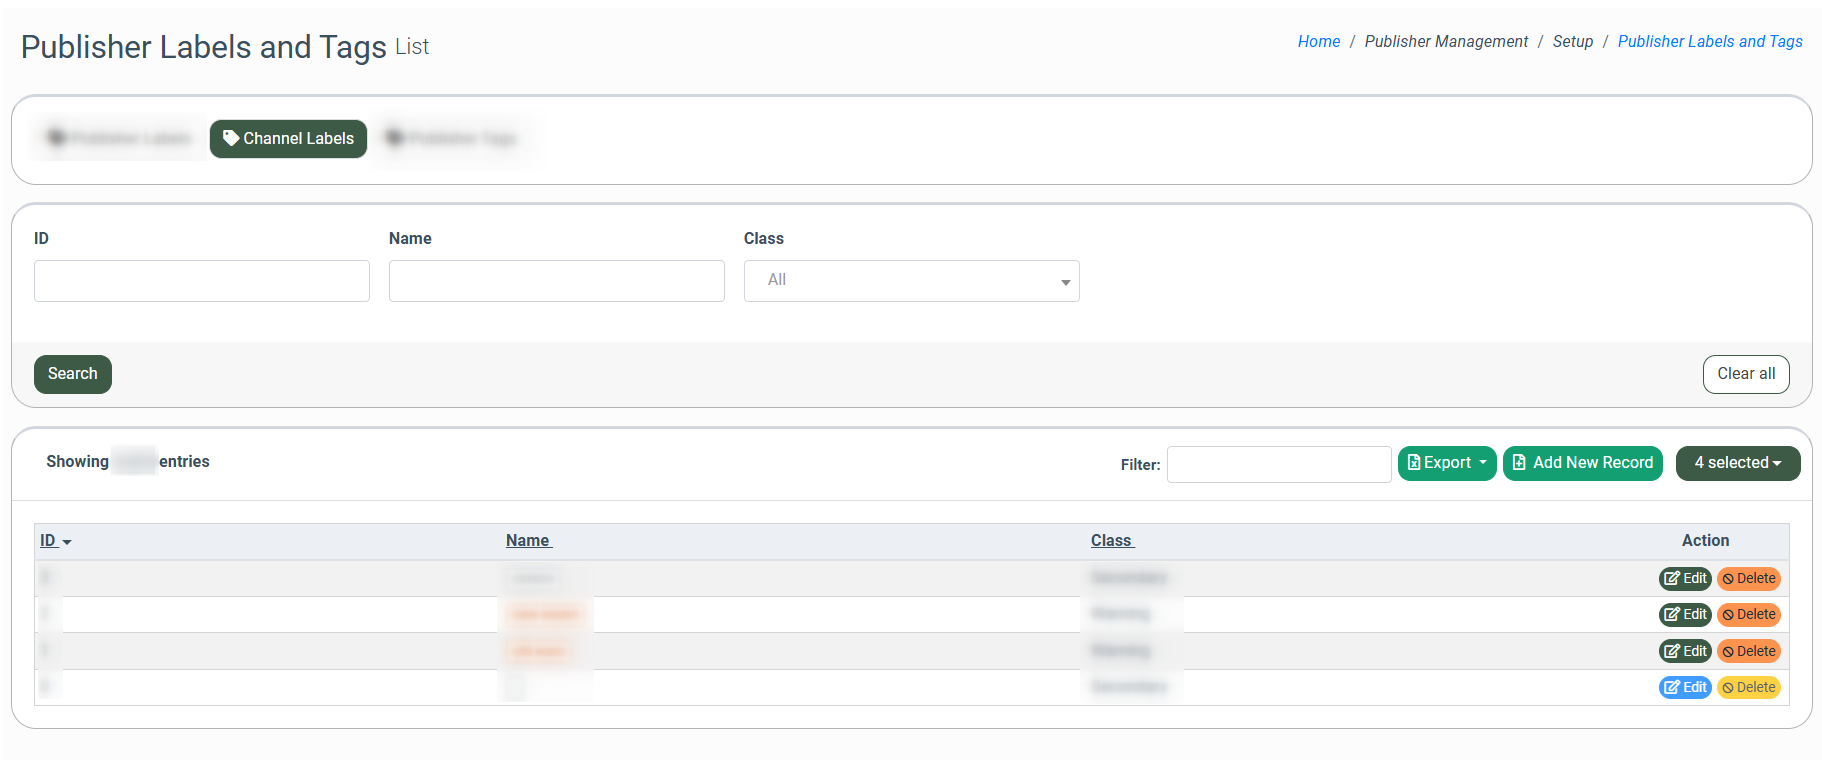
The “Channel Labels” tab allows you to view and manage the available channel labels that can be assigned to the channels. You can create a new one or edit the existing channel labels.
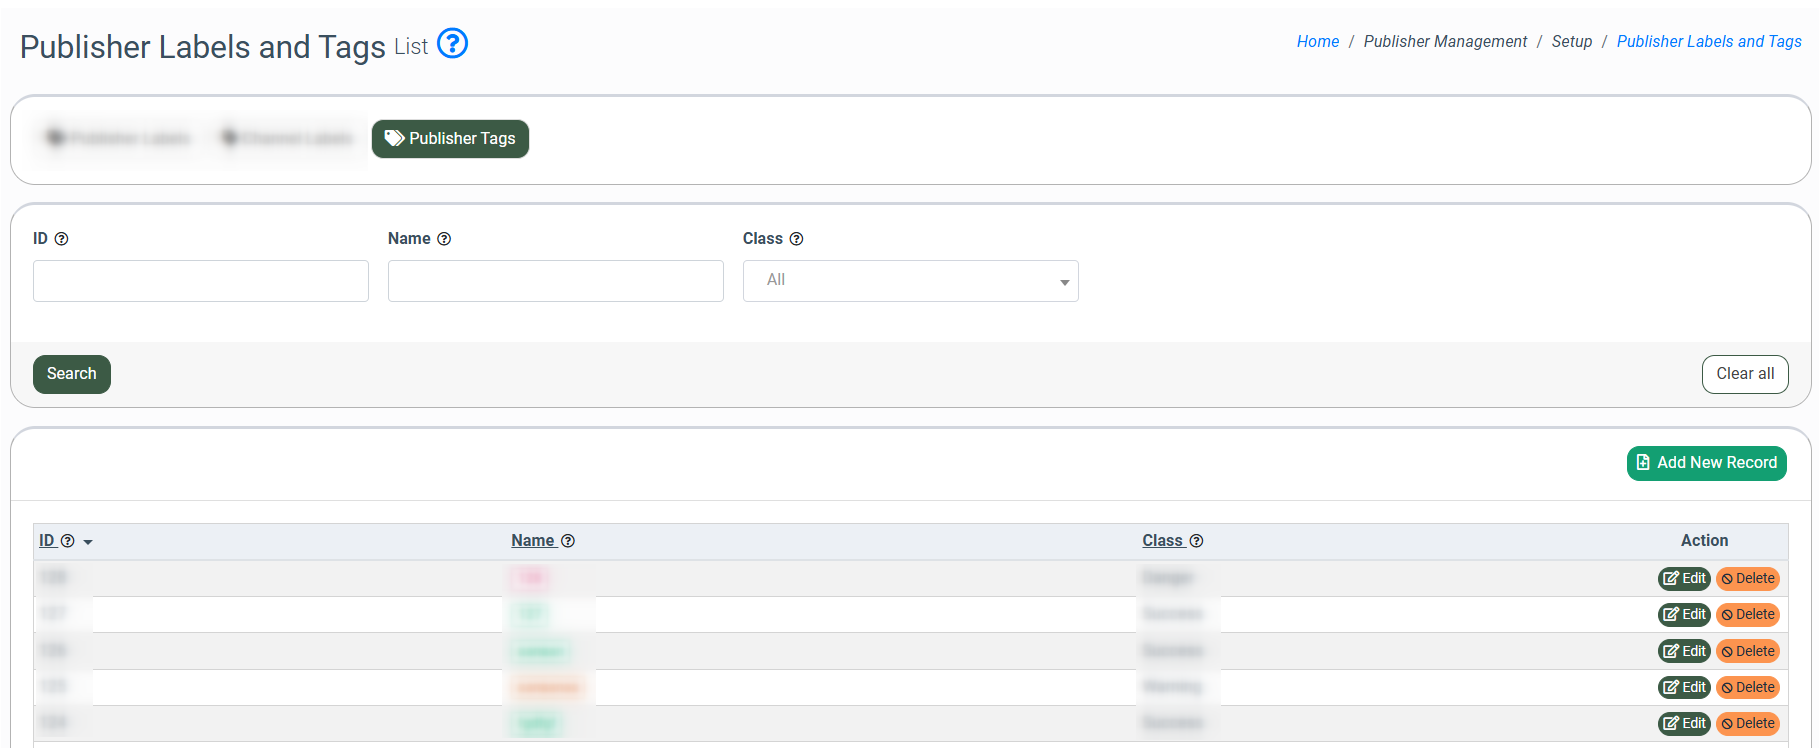
The “Publisher Tags” tab allows you to view and manage the available publisher tags that can be assigned to the Publisher. You can create a new one or edit the existing publisher tags.
You can narrow down the search results by using the following filters:
- ID: Enter the unique identification number of the publisher label, channel label, or publisher tag.
- Name: Enter the name of the publisher label, channel label, or publisher tag.
- Class: Select the class to which the specific publisher label, channel label, or publisher tag belongs (Secondary, Primary, Success, Warning, Danger, Info).
The list of available buyer labels contains the following information:
- ID: The unique identification number of the publisher label, channel label, or publisher tag.
- Name: The name of the publisher label, channel label, or publisher tag.
- Class: The class to which the specific publisher label, channel label, or publisher tag belongs.
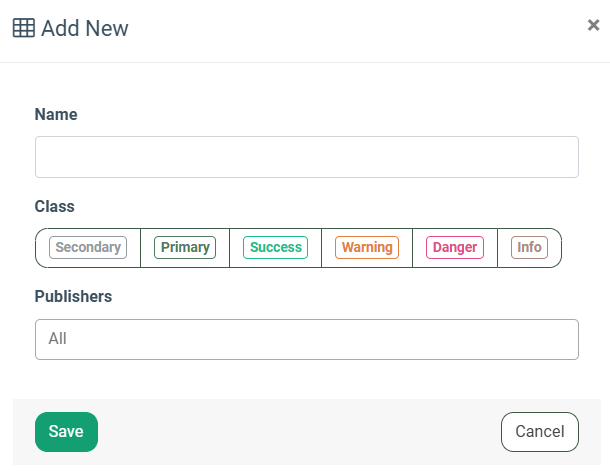
To create a new custom publisher label, channel label, or publisher tag, click the “Add New Record” button and fill in the following fields in the “Add New” pop-up window:
- Name: Enter the name of the publisher label, channel label, or publisher tag.
- Class: Select the class to which the new publisher label, channel label, or publisher tag will belong.
- Publishers: Select the Publisher to which the publisher label, channel label, or publisher tag should be assigned.
Click the “Save” button to complete the action.
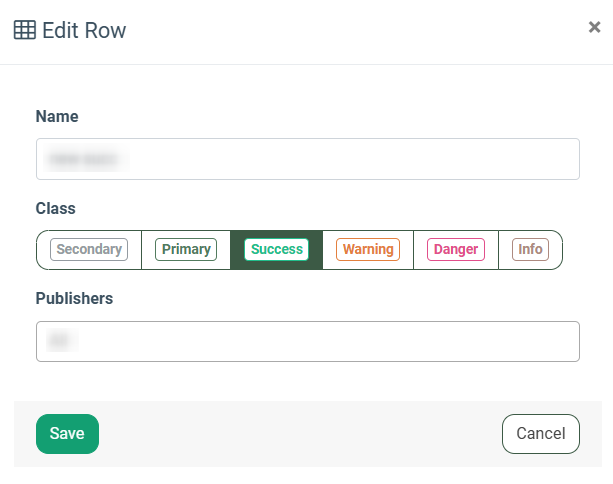
To edit the existing publisher label, channel label, or publisher tag, click the “Edit” button in the “Action” column, change the required information in the “Edit Row” pop-up window, and click the “Save” button to complete the changes.
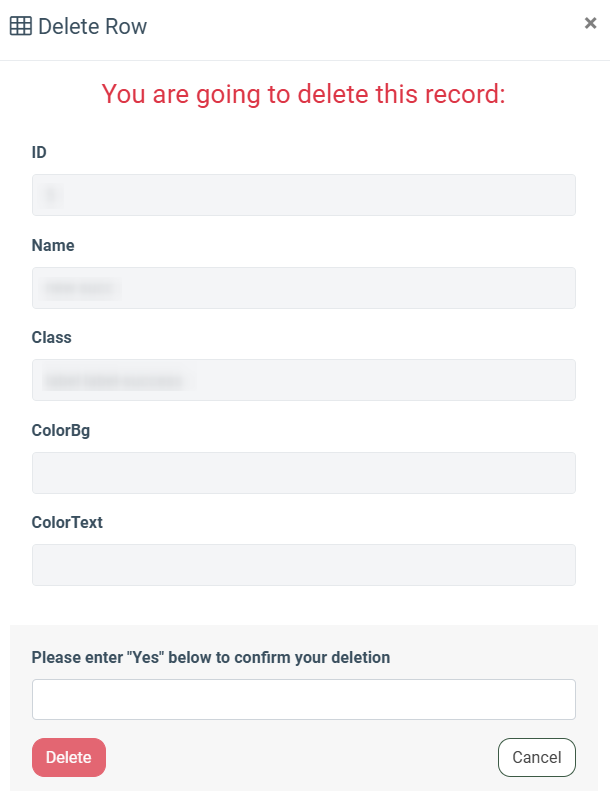
To delete the existing publisher label, channel label, or publisher tag, click the “Delete” button in the “Action” column, review the information about the label you are about to remove, type the “Yes” in the “Please enter "Yes" below to confirm your deletion” field, and click the “Delete” button to complete the action.
How to Assign the Publisher Label to the Publisher
To assign the publisher label for a specific Publisher, go to the Client Management > Buyer List section, select the corresponding Publisher, and click the “View” button in the “Action” column or the “ID” button in the “ID” column.
Read more about the Publisher List section in the following Knowledge Base article.
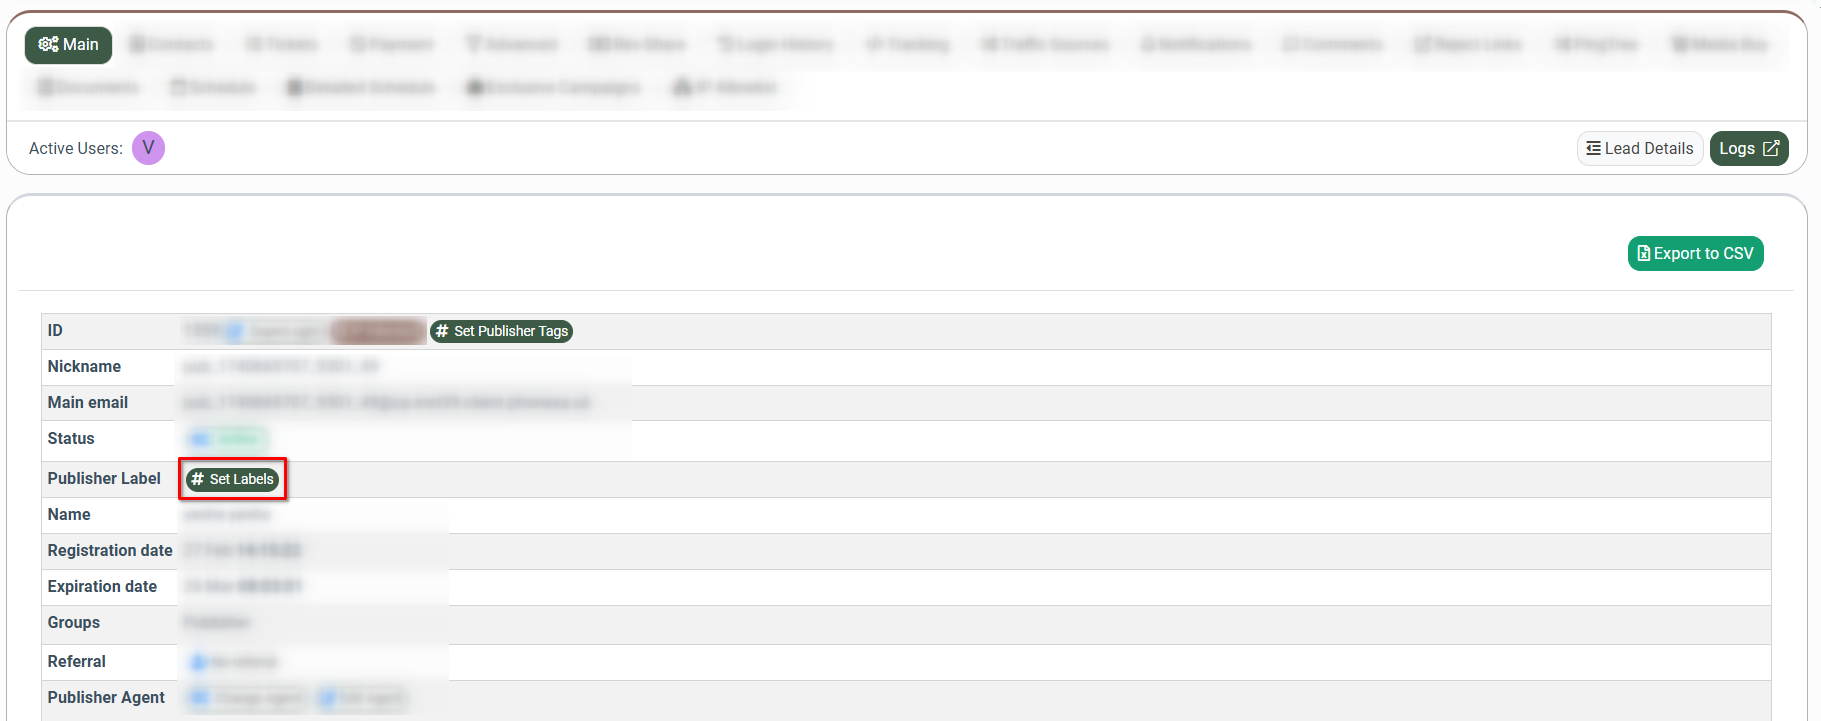
Select the “Main” tab in the “Publisher View” section and click the “Set Labels” button in the “Publisher Label” field.
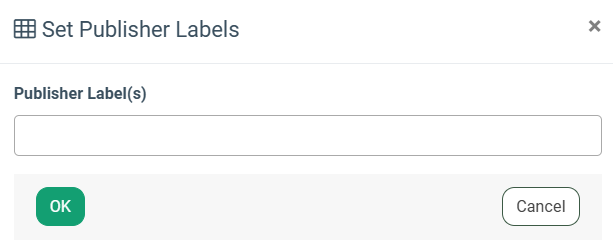
Select the publisher label(s) that you need to assign to the Publisher in the “Publisher Label(s)” field of the “Set Publisher Labels” pop-up window, and click the “OK” button to complete the action.
Read more about the Main settings of the Publisher Configuration section in the following Knowledge Base article.
How to Assign the Channel Label to the Channel
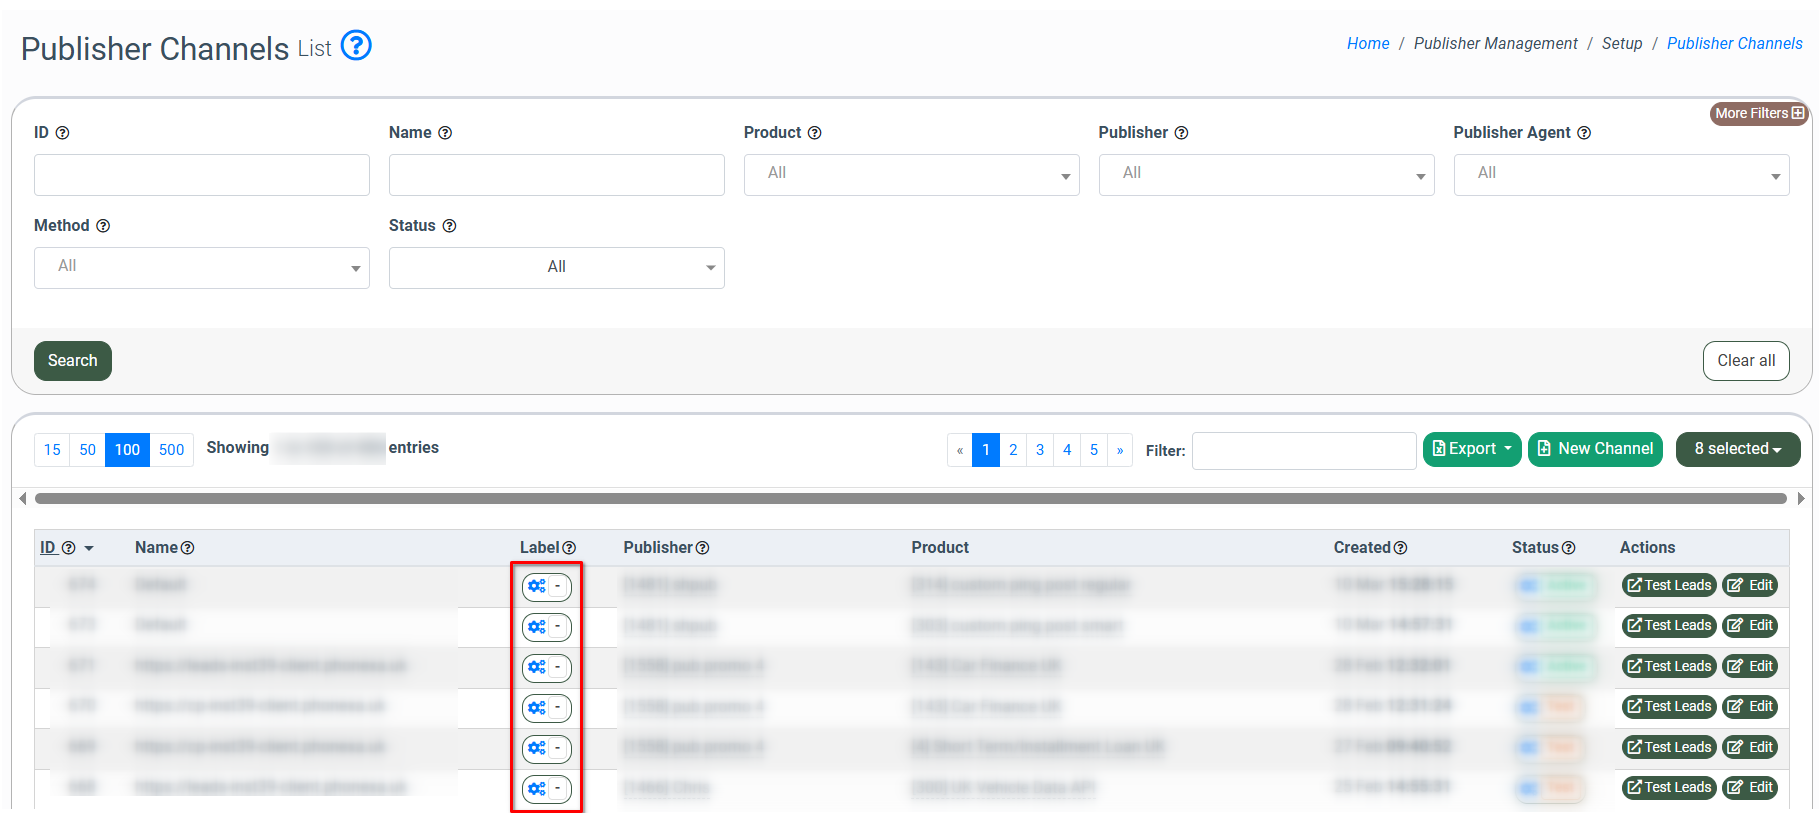
To assign the channel label to the specific channel, go to the Publisher Management > Setup > Publisher Channels section, select the corresponding channel from the list, and click the “Change Label” button in the “Label” field.
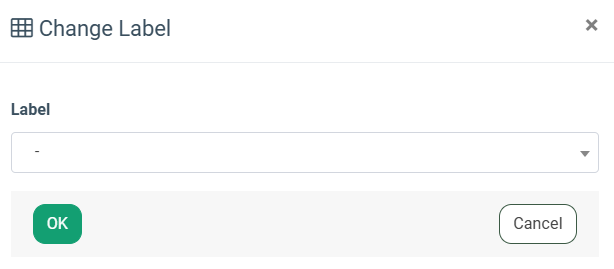
Select the channel label for assignment in the “Label” field of the “Change Label” pop-up window and click the “OK” button to complete the action. The same actions should be performed in case of changes for the already assigned channel label.
Read more information about the Publisher Channels section in the following Knowledge Base article.
How to Assign the Publisher Tag to the Publisher
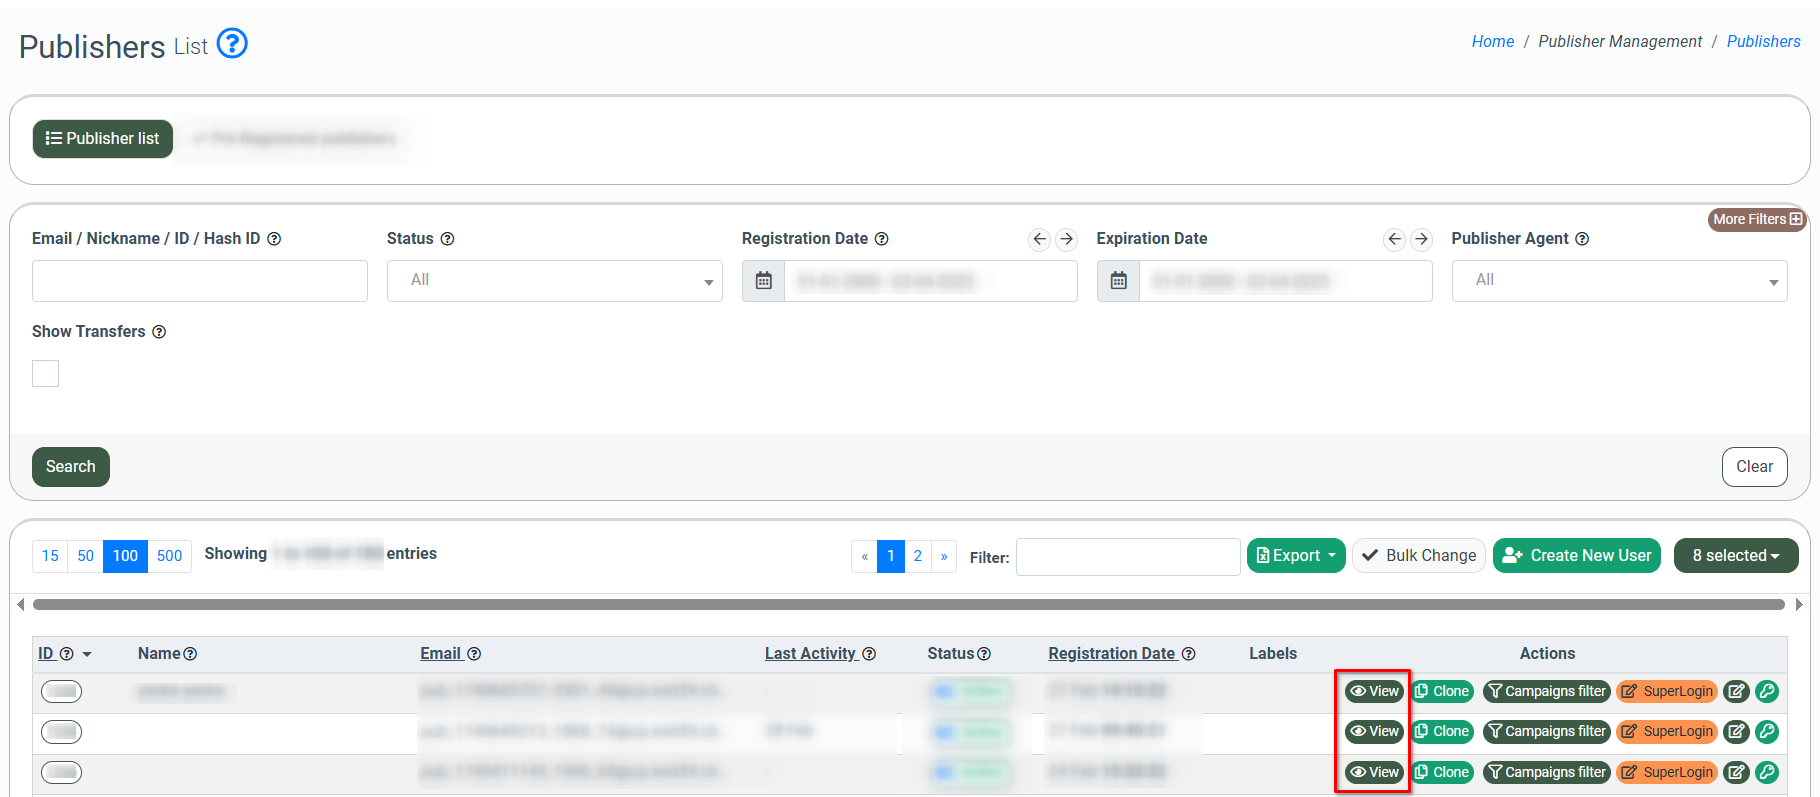
To assign the publisher tag for a specific Publisher, go to the Publisher Management > Publishers section, select the corresponding Publisher, and click the “View” button in the “Action” column or the “ID” button in the “ID” column.
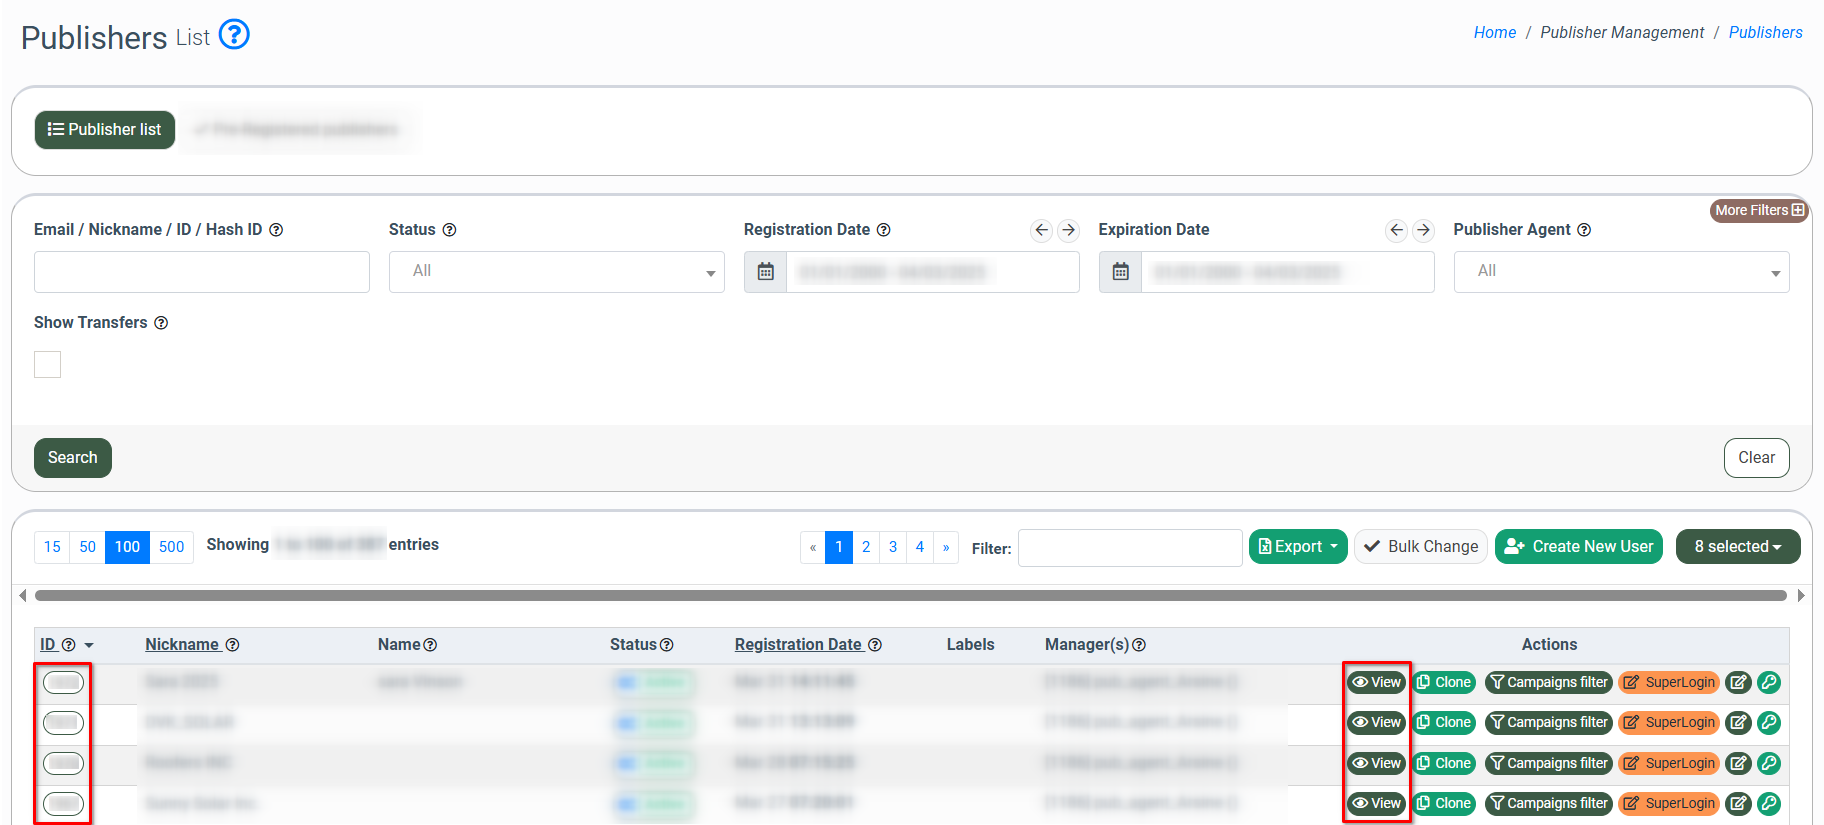
Read more about the Publisher List section in the following Knowledge Base article.
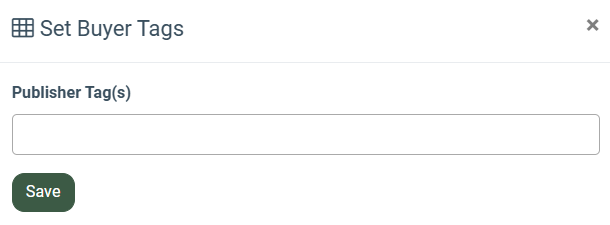
Select the “Main” tab in the “Publisher View” section and click the “Set Publisher Tags” button in the “ID” field.
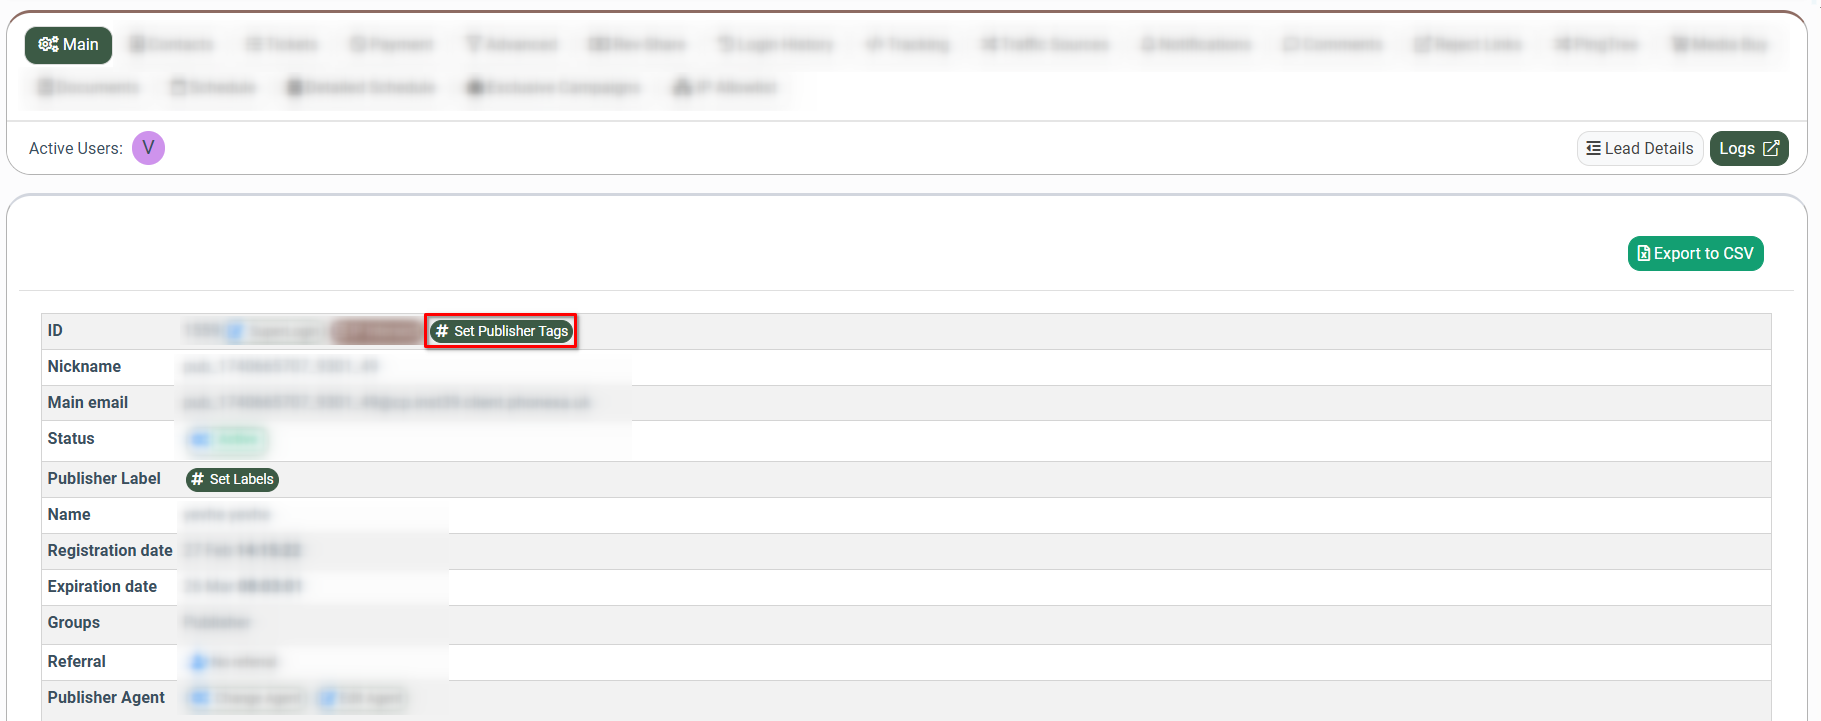
Select the publisher tag(s) that you need to assign to the Publisher in the “Publisher Tag(s)” field of the “Set Publisher Tags” pop-up window, and click the “Save” button to complete the action.