The “Questionnaire” section allows you to create a questionnaire to collect relevant information from the Publisher.
To view, go to the Documents And References > Questionnaire section.
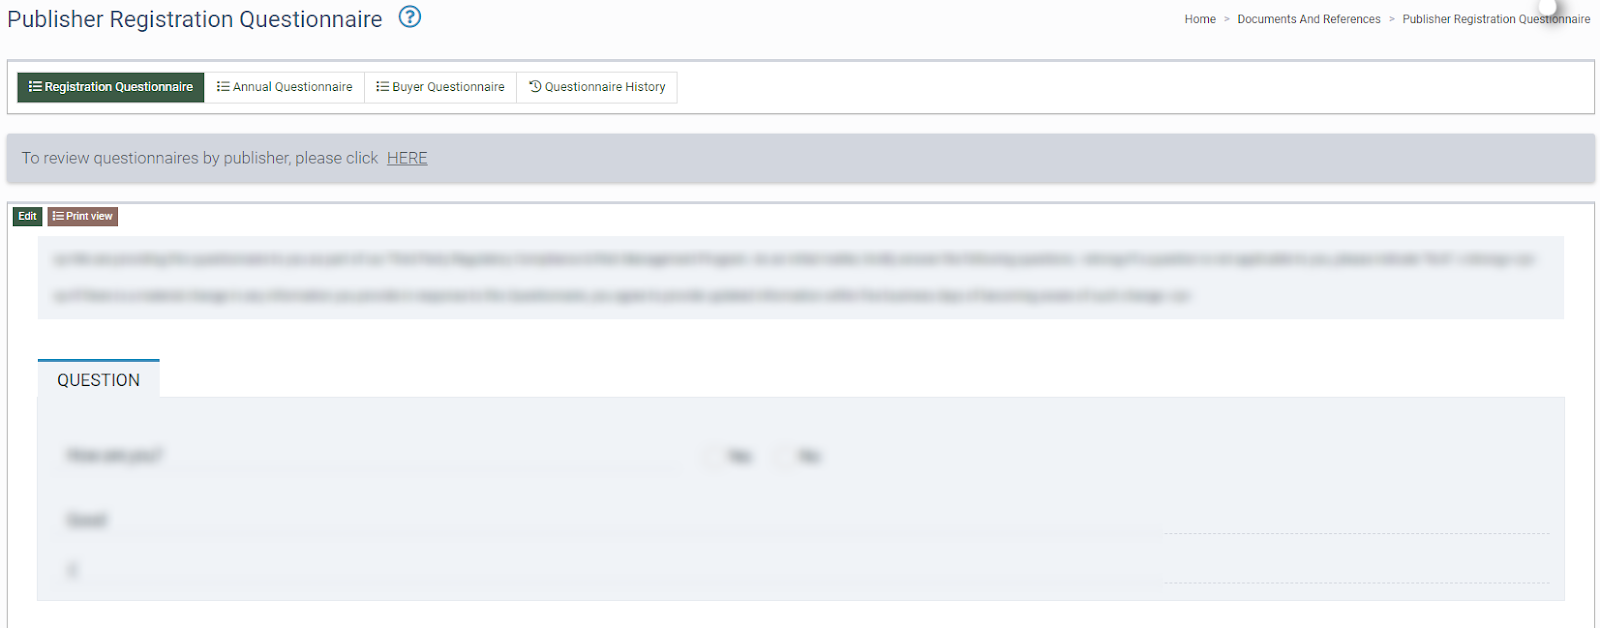
The “Registration Questionnaire” tab allows you to create a questionnaire specifically for Publishers.
The “Annual Questionnaire” tab allows you to set up and customize a secondary questionnaire according to your needs. The Annual Questionnaire has the same editing options as the Registration Questionnaire.
To set and edit the questions, click the “Edit” button in the upper left corner. Fill in the following fields in the pop-up window:
-
Questionnaire name
-
Text before questionnaire
-
Text before signification
-
Signification label
-
Disabled text

To add a new question to your questionnaire, select the type of the question from the “Type” drop-down list and fill in the following fields:
-
ID: The question ID.
-
Type: The question type.
-
Parent: The parent question.
-
Parent Condition: The correct answers for the provided questions.
-
Question: The question text.
-
Answers: The answer options (Variant / Multi-Variant questions only).
-
Status: The status of the question (Active / Disabled).
-
Created: The date when a question was added.
-
Updated: The last edit date.
-
Order: The “weight” is appointed to a question for the list sorting. We recommend specifying the order in increments of 10 (10, 20, 30, etc.) so it won’t shift the subsequent questions when adding a new question. You can number it as 11, 12, 13, or 34, 35, etc. This way, you will have available numbers between questions 10 and 20.
-
Group: Questions with the same group name will be combined into a collective group with a single title. Questions within one group should be placed sequentially, one under the other.
-
Action: You may save, delete, or add a question.

Below are the available question types:
-
Variant: The question type provided with answer options. To designate the list of suggested answers, fill in the “Answers” field, using "[|||]" as the separator between the answer options. Example: yes [|||] no.
-
Plain Text (one line): One-line text in the input field.
-
Multi-Variant: The question type with a list of available answers that will allow you to select multiple answers using checkboxes. To specify a list of suggested answers, fill in the “Answers” field, using "[|||]" as the separator between the answer options. Example: yes [|||] no.
-
Separator: The blocks that can be filled with text and used as "sub-headers" and logical text delimiters.
-
Multi-line: The answer to this question type may be text in one or more lines. Presented as a “text area”.
-
State and Date: Premade block containing a dropdown list of states and a date picker.
-
State: Premade block containing a dropdown list of states within the US.
-
Country: Premade block containing a dropdown list of countries.
-
File (required comment): This field allows you to request a file attachment to the Questionnaire. The file must be accompanied by a comment.
-
File (without comment): This field allows you to request a file attachment to the Questionnaire and does not require a comment.
-
File OR Comment: This field allows you to request a file attachment to the Questionnaire. You can leave a comment in the text area or attach a file. Filling out a comment AND attaching a file will also work.
To view and manage the questionnaire for the specific Publisher, go to the Publisher Management > Publishers section.
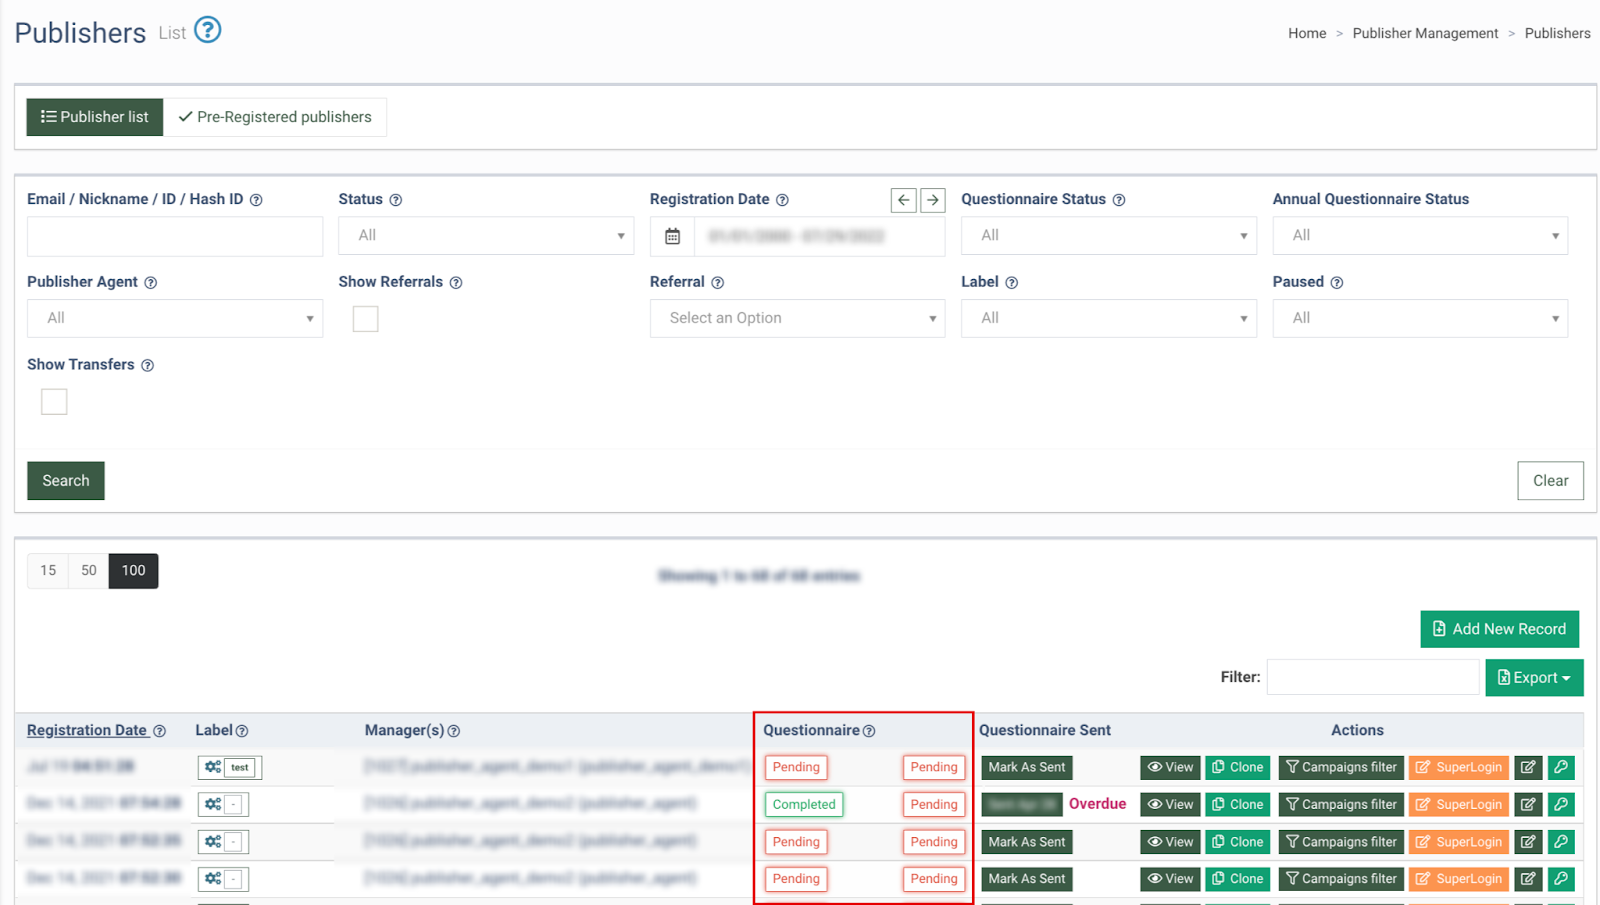
To access the Publisher’s questionnaire, select the Publisher, hover over the button in the “Questionnaire” column and select one of the Questionnaires. The first column refers to the Registration Questionnaire, the second column refers to the Annual Questionnaire.
-
If the questionnaire file is not uploaded, you will be redirected to the questionnaire page. To upload a new file manually, click the “Manually upload questionnaire” button. Select a file, fill in the fields in the pop-up window, and click the “Submit” button.
Once the file is uploaded, the questionnaire status becomes confirmed. You may manage the current file by using the “Upload New Version” and “Delete Current Version” buttons.
-
If the questionnaire file is already uploaded, you will be redirected to the pop-up window with the current version of the file. To upload a new questionnaire, click the “Upload New Version” button. To delete the current questionnaire, use the “Delete Current Version” button. Once the file is deleted, the questionnaire will obtain the “Pending” status.
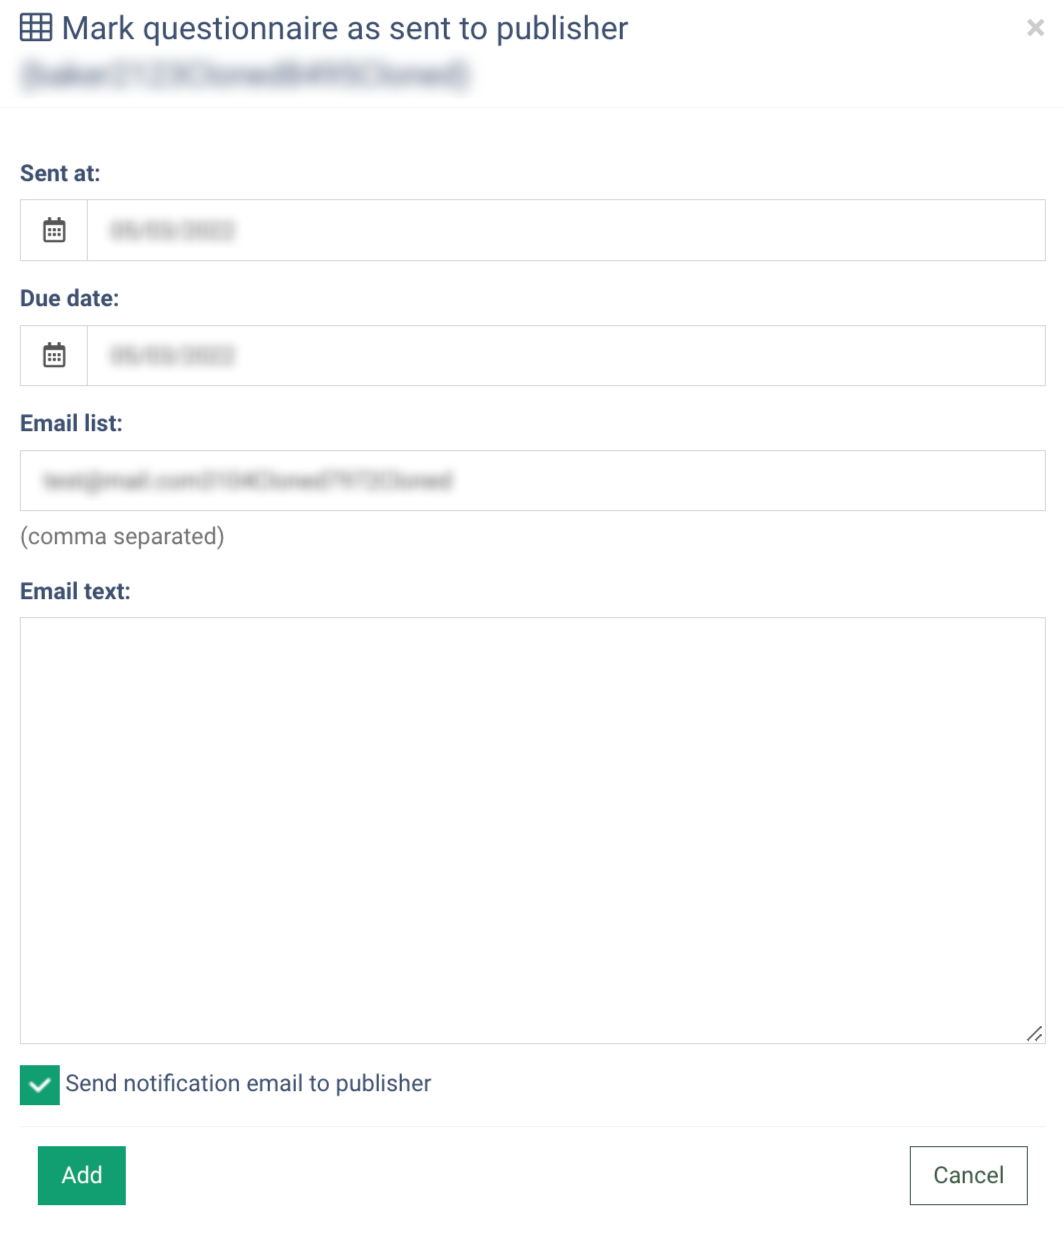
To mark the questionnaire as sent for the selected Publisher, click the button in the “Questionnaire Sent” column. Fill in the following fields in the pop-up window:
-
Sent At: Select the date when the questionnaire was sent.
-
Due Date: Select the due date for the questionnaire's completion.
-
Email List: Enter the email address. Use a comma to enter multiple email addresses.
-
Email Text: Fill in the email text. This field is prefilled by default according to the template provided in the Project Settings section.
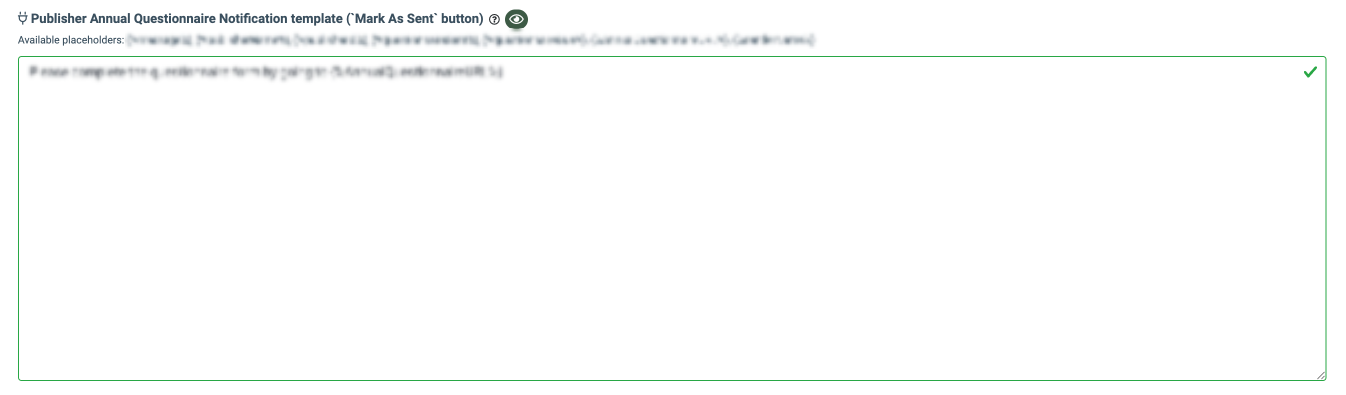
To access the template, go to the System Management > Project Settings section, click the LMS & Call Logic tab and select the Notifications tab. Manage the email template in the “Publisher Annual Questionnaire Notification template” field. Click the “Save” button to confirm.

Click the “Add” button to confirm the process of sending the questionnaire.