The Publisher Schedule feature is available on the Publisher’s configuration page. The “Schedule” and “Detailed Schedule” tabs allow you to set and manage the Publisher's schedule. Note that the feature is available only for the LMS platform.
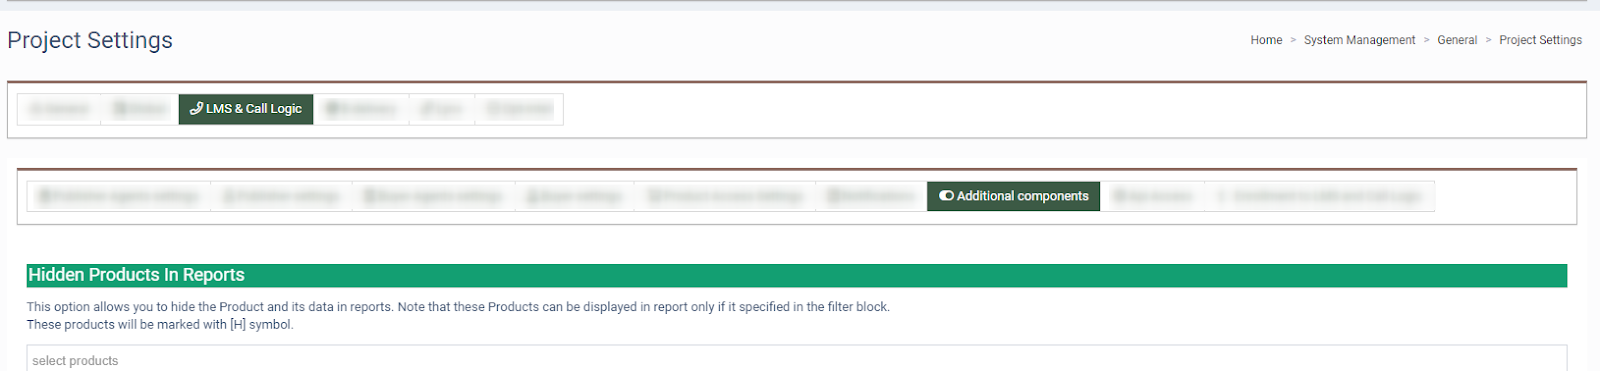
To enable the feature, go to the System Management > General > Project Settings section, select the “LMS & Call Logic” tab, and click the “Additional Components” subtab.
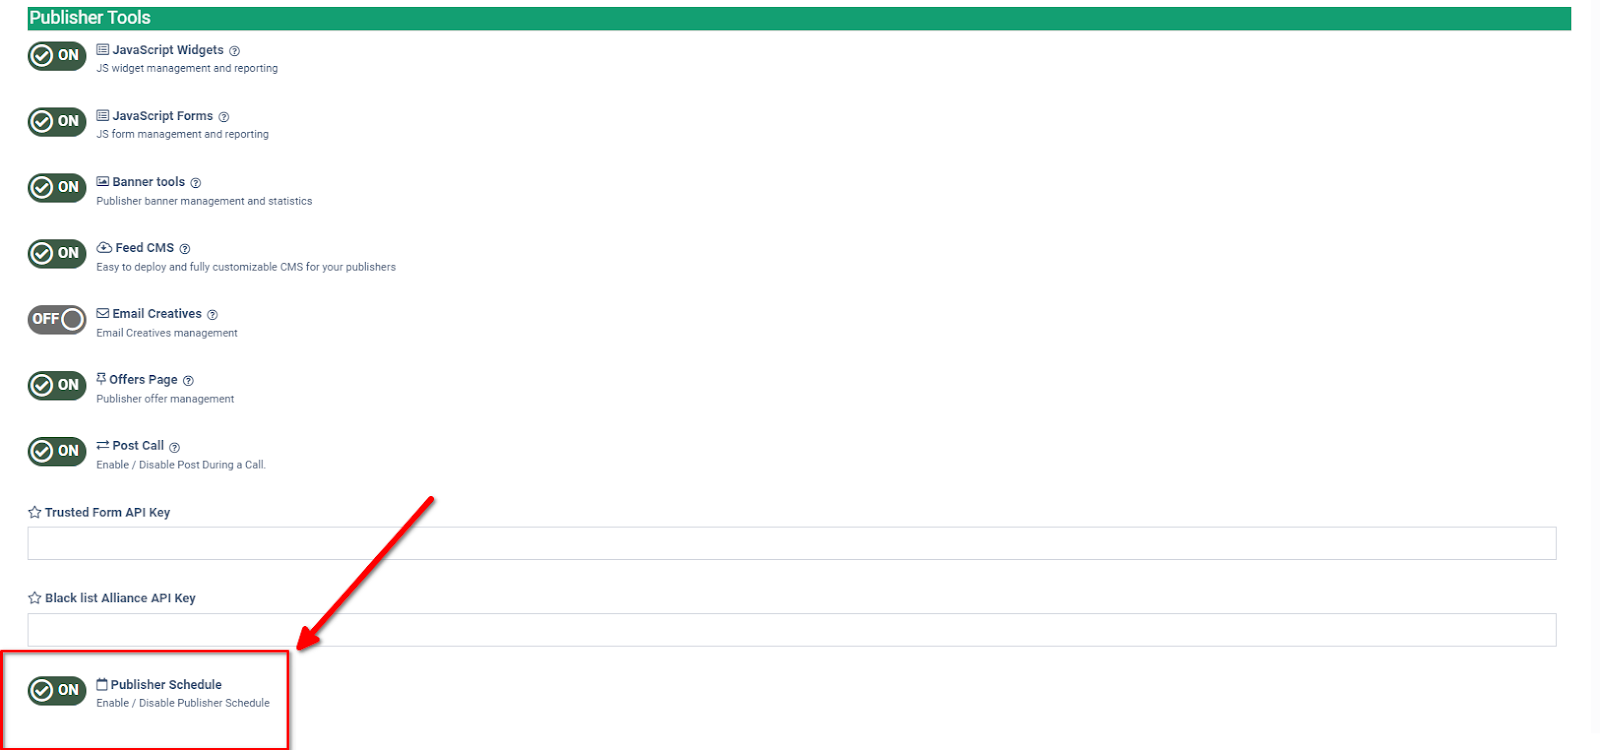
In the “Publisher Tools” block turn on the “Publisher Schedule” feature, and click the “Save” button to complete. The feature is disabled by default. Note that the feature is available only for the LMS platform.
Once the feature is enabled, two additional tabs will appear on the Publisher Configuration page. To access them, go to the Publisher Management > Publishers section, select the Publisher from the list, and click the “View” button in the “Action” column.
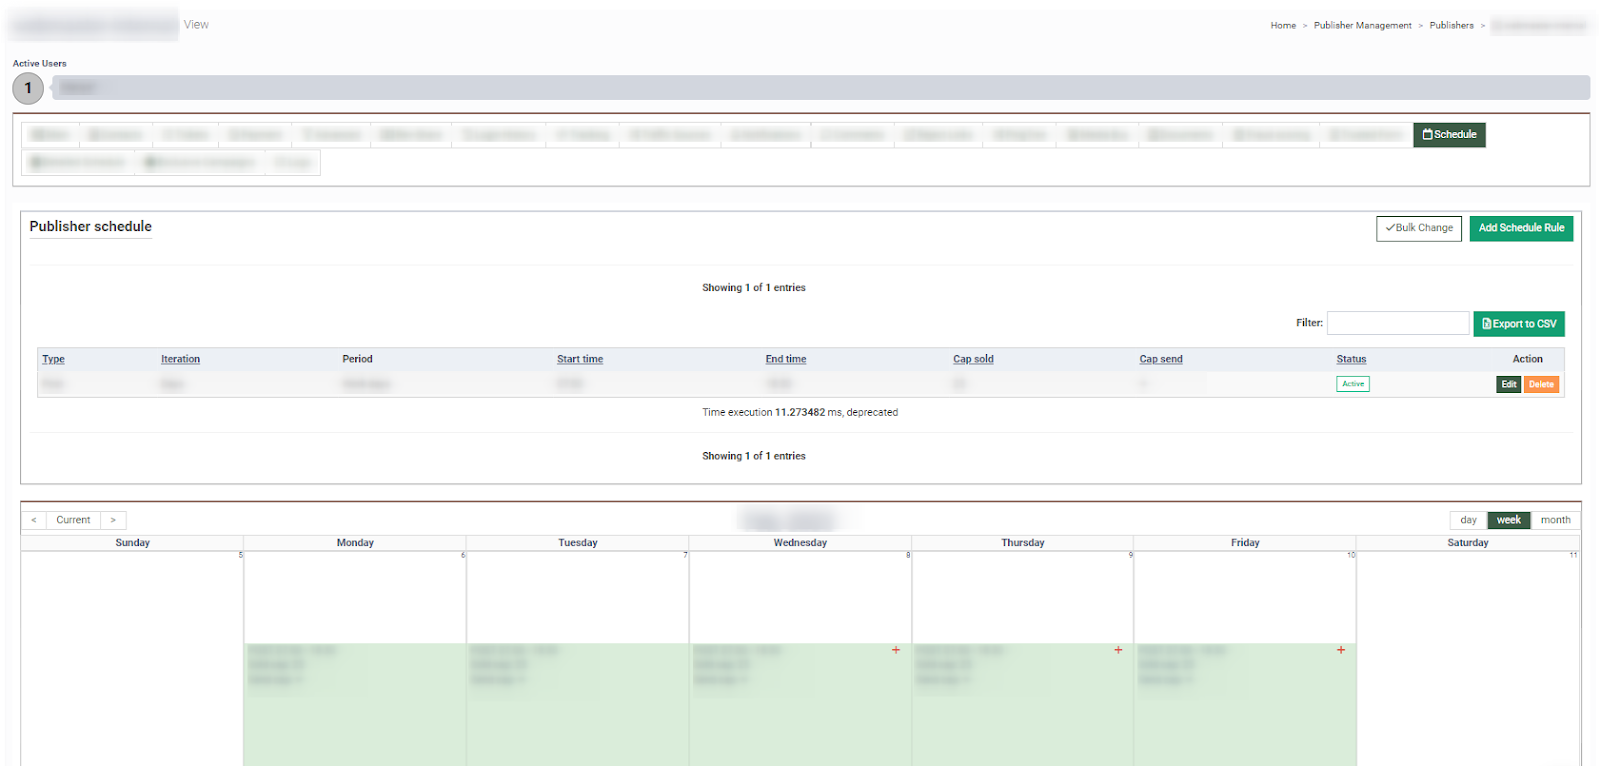
The “Schedule” tab allows you to assign a global schedule for the chosen Publisher.
The "Publisher Schedule" block contains the following information:
-
Type: The type of action (Post / Do Not Post).
-
Iteration: The schedule method (Days / Date Range).
-
Period: The set period for the rule to apply.
-
Start Time: The specified start time for the rule to apply.
-
End Time: The specified end time for the rule to apply.
-
Cap sold: The set limit for the leads to be sold.
-
Cap send: The set limit for the leads to be sent.
-
Status: The status of the schedule (Active / Disable).
To apply a new schedule rule for the chosen Publisher, click the “Add Schedule Rule” button and fill in the following fields:
-
Status: Turn the switch “On” to enable the schedule rule, and disable the switch to set the “Disabled” status for the schedule rule.
-
Action: Select the “Post” option from the drop-down list to set the schedule rule for lead posting. Select the “Do not post” option to set the schedule rule to disable the lead posting for a specific time range.
-
Schedule Method: Select the “Days” option from the drop-down list to set up a regular schedule rule for specific days of the week. Select the “Date Range” option to apply a schedule rule for a specific date range.
-
Start time: Fill in the “Hour” and “Minute” values to set a specific time range for the rule to apply.
-
End time: Fill in the “Hour” and “Minute” values to set a specific time range for the rule to apply.
-
Sold leads limit: Enter a number to limit the number of leads to be sold. No limits are set by default.
-
Send leads limit: Enter a number to limit the number of leads to be sent. No limits are set by default.
Click the “Add” button to complete.
Note: Schedule rules and caps will only apply to post-method traffic. Form traffic will not be affected.

To view and edit the existing schedule, click the “Edit” button in the “Action” column and update the required fields in the “Edit Record” pop-up window. Click the “Save” button to complete.
To delete the schedule, click the “Delete” button in the “Action” column. Confirm the action by clicking the “Delete” button in the pop-up window.
The “Detailed Schedule” tab allows you to assign a schedule for a specific Product and specific Channels. (You can select all channels assigned to the product or select one specific channel for the product). The tab displays a list of all the Products and Channels with existing schedule rules applied.
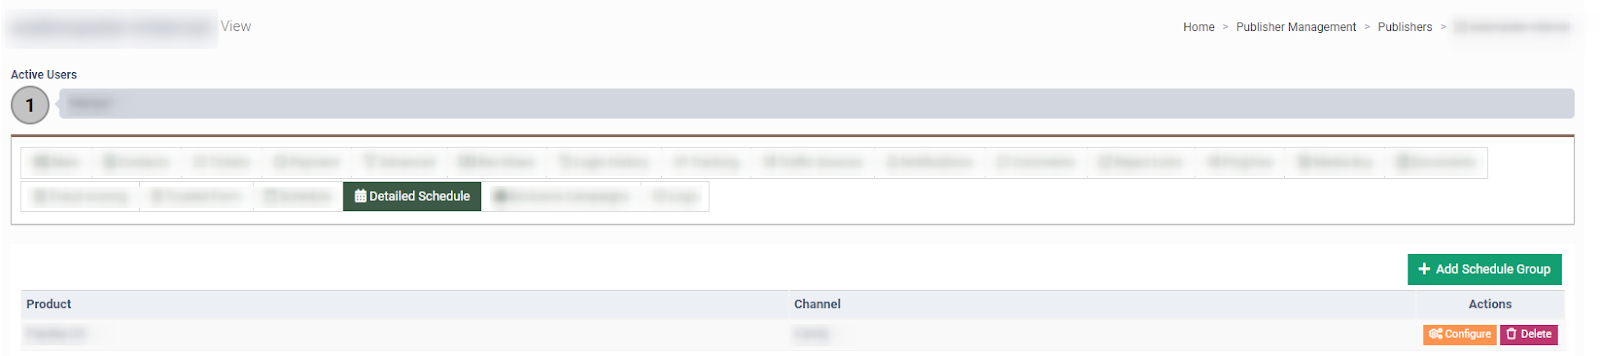
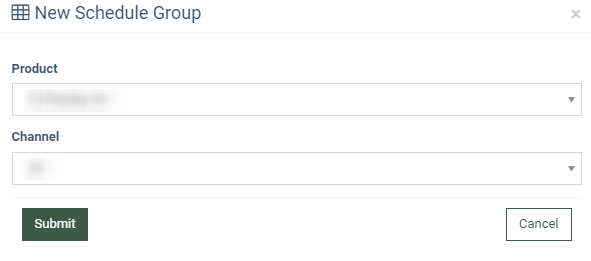
To add a new schedule rule for a specific product or channel(s), you need to create a new schedule first. Click the “+ Add Schedule Group” button. Select the “Product” and “Channel” options in the “New Schedule Group” pop-up window, and click the “Submit” button to proceed.
Once you’ve created the new schedule for a specific Product, you will be redirected to the page where you can add the “New Schedule Rule.” The settings are the same as when you add a new rule on the “Schedule” tab. You may add, view, and modify the schedule rules in the same way. To return to the page with the list of the schedules grouped by the Product, click the “Back” button.
To access the schedule rule settings, select the Product from the list, and click the “Configure” button in the “Actions” column.
To delete the schedule rules for the whole Product, click the “Delete” button in the “Actions” column, and confirm the action to complete.