To view all saved reports, go to the Reports > Saved Reports section.
To create a saved report, go to the Reports > Alerts or Contact Update Log tab. Click the “Save” button to save the filter settings applied to the report.
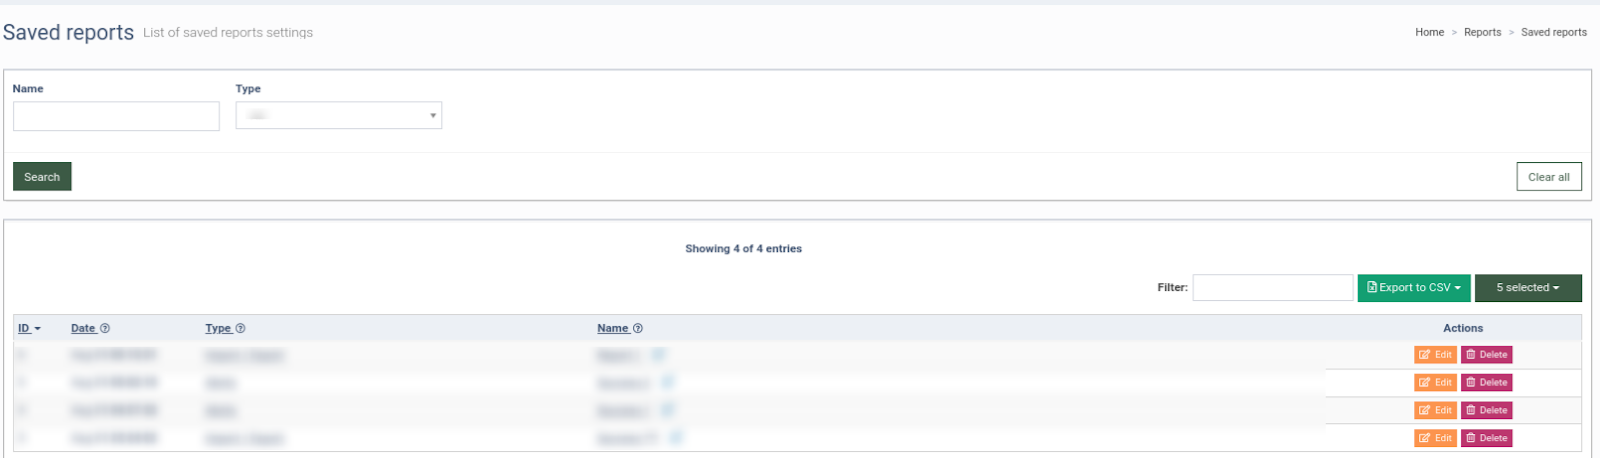
The “Saved Reports” section displays the following data:
-
ID: The unique identification number of the saved report.
-
Date: The date when the report was saved.
-
Type: The type of the report.
-
Name: The name of the report.
You can narrow down the search results by using the following filters:
-
Name: Enter the name of the report.
-
Type: Select the report type.
To load the already saved report, choose it from a drop-down list and click the “Load” button.
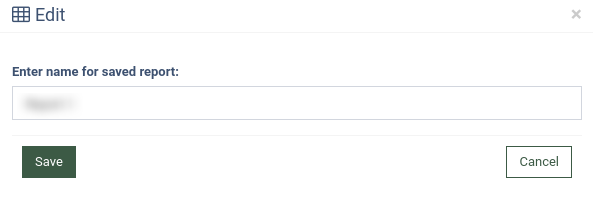
To edit the report name, click the “Edit” button in the “Action” column and click the “Save“ button to proceed.
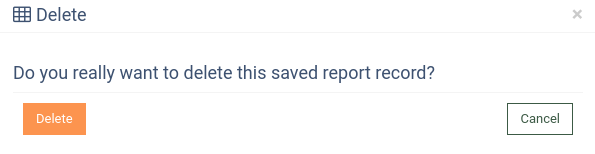
To delete the record, click the “Delete” button in the “Action” column and click the “Delete” button again to confirm your action.