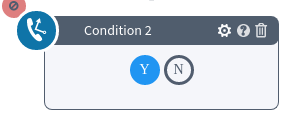
The “Condition” block allows you to set up conditions and route calls based on them.
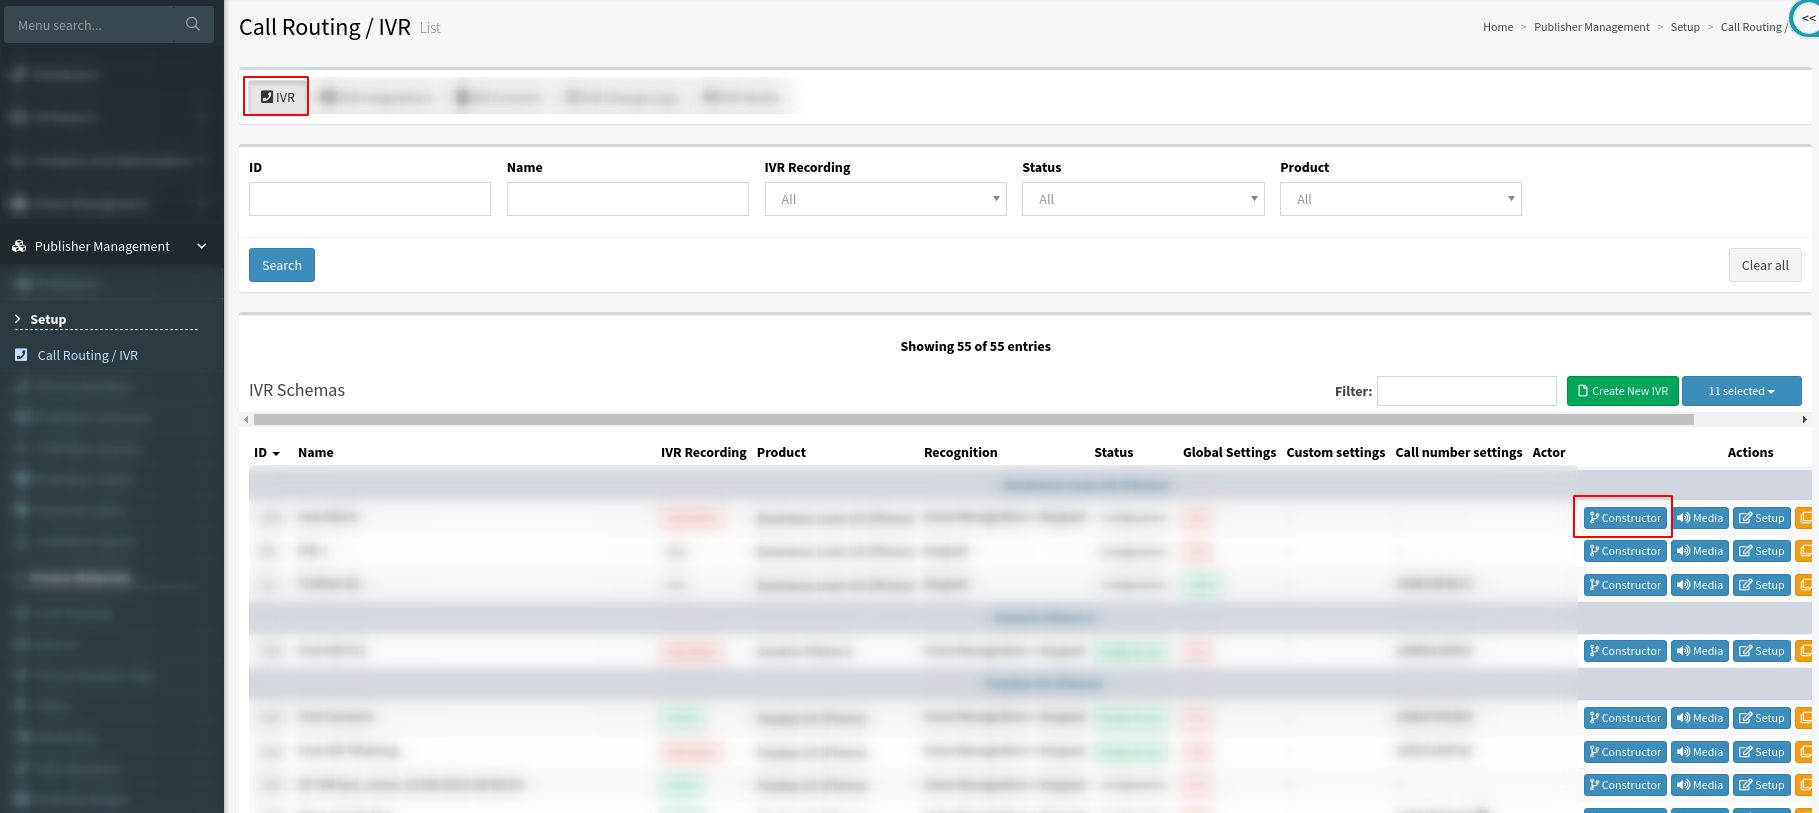
To add the block to your IVR, go to the Publisher Management > Setup > Call Routing / IVR section, click the “IVR” tab. Select the IVR schema and click the "Constructor" button in the “Actions” column.
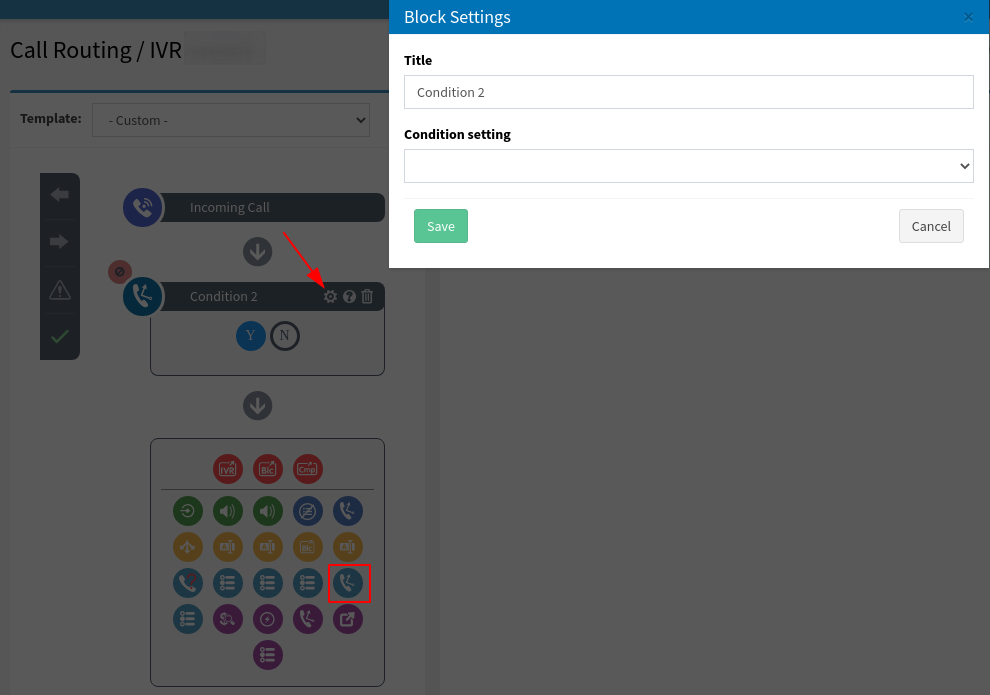
To add the “Condition” block to your IVR, switch your IVR to Configuration Mode, and select the “Condition” block icon in the block list. Then, to set up the block, click the “Block Settings” button (the button with the “Gear” icon) and fill in the following fields:
-
Title: Enter the name of the block.
-
Condition setting: Select the required condition from the drop-down list (when selecting one of the options, the additional field(s) will appear):
-
Return Client: Set the condition to check if the caller is a returning client (a call from this number was sold to a buyer before) within the set period.
-
Return client during: Enter the number of days and/or hours to set up the time frame for the system to check for a previous call.
-
-
Lead Field Equal: Set the condition to check if the value the caller input during the previous call matches the value set in the block. You can select a value that matches any product field or any value requested in the branching block of this IVR.
-
Available Fields: Select the field for comparison from the drop-down list.
-
Value: Enter the value to compare (the number from 0 to 999999)
-
-
Last Block Previously call: Set the condition to check the last block in the previous call. Note: To set up this condition, you need to build your IVR flow first and then return to this block to configure it.
-
IVR Block: Select the IVR Block from the drop-down list.
-
-
Click the “Save” button.
The “Condition” block allows you to route the IVR based on checking the results. The “Y” button corresponds to “Yes” (when the call meets the set condition), and the “N” button corresponds to “No” (when the call does not meet the set condition).