Tickets are support requests you send to our team. Once submitted, we’ll track the issue and respond with help or a resolution. You can create a new ticket or manage the existing one.
Note: These tickets will be created and available only inside the Phonexa system.
To view the list of available tickets, go to the Support > Tickets section.

You can narrow down the search results by using the following filters:
- Ticket ID: Enter the unique identification number of the ticket.
- Author: Select the user who created the ticket.
- Ticket Status: Select the ongoing status of the ticket (Closed, In Progress, New).
- Category: Select the category to which the ticket is related.
- Assigned To: Select the manager that is assigned to the particular ticket.
The list of available tickets contains the following information:
- ID: The unique identification number of the ticket.
- Status: The ongoing status of the ticket.
- Updated: The date and time of the last update received on the ticket.
- Subject: The subject of the issue described in the ticket.
- Author: The name of the user who created the ticket.
- Category: The name of the category that is attached to the ticket.
- Messages: The number of messages left in the ticket thread.
- Assigned To: The name of the manager to whom the ticket is assigned.
To create a new ticket, click the “Create ticket” button and fill in the following fields in the “Create ticket” pop-up window:
- Category: Select the category to which the ticket is related.
- Assigned To: Select the manager for the ticket assignment.
- Subject: Enter the subject of the issue described in the ticket.
- Message: Enter the text message of the ticket.
Click the “Send” button to complete the ticket creation.

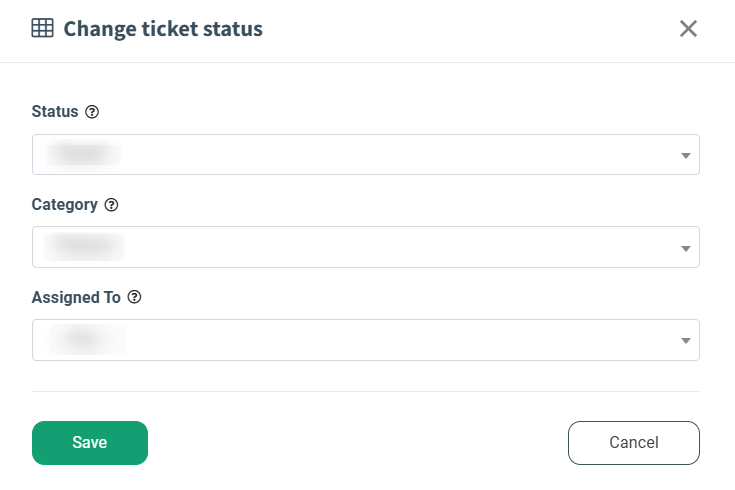
To edit the ticket status, click the “Change status” button in the “Actions” column and fill in the data fields in the “Change status” pop-up window.
- Status: Change the ongoing status of the ticket.
- Category: Change the category to which the ticket is related.
- Assigned To: Change the manager that is assigned to the particular ticket.
Click the “Save” button to complete the changes.

To view and manage the detailed information about the ticket, click the “Show Thread” button in the “Actions” column.
You will be redirected to the “Support Ticket” section. You can view the name of the ticket creator, the total number of messages left during the ticket processing, and the ongoing status of the ticket.
Below, you can view a thread of the messages that were left during the ticket processing, along with the system actions that were performed on the particular ticket.

To change the ongoing status of the ticket, click the “Change ticket status” button, fill in the required fields in the “Change ticket status” pop-up window, and click the “Save” button to complete the changes.
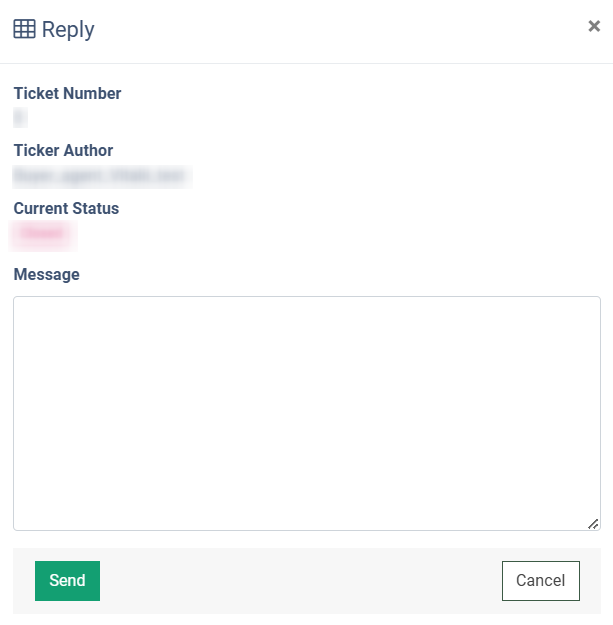
To leave a new reply on the ongoing ticket, click the “Reply” button, fill in the reply text in the “Message” field of the “Reply” pop-up window, and click the “Send” button to complete the action.
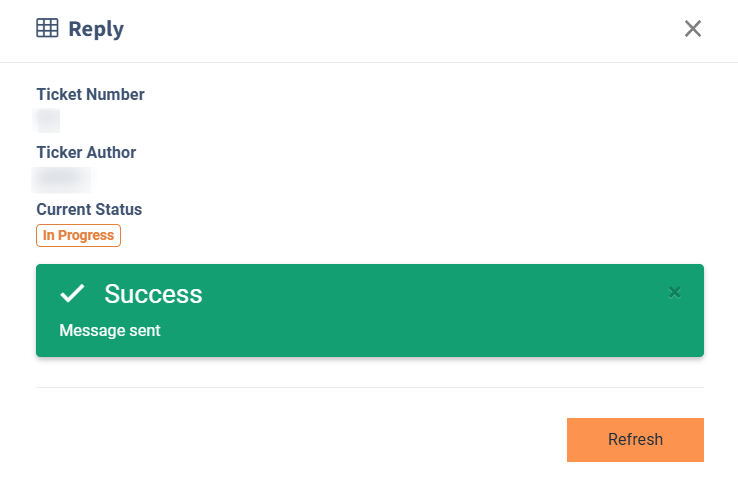
Note: If you leave a new reply in the created ticket with the “New” status after the reply is sent, the ongoing ticket status will be changed to “In Progress”.
To go back to the list of available tickets, click the “Back to Tickets List” button.
To export the list of available tickets as a CSV file, click the “Export” button and select the export option.