To access the report, go to the System Management > Logs > Warning Log section.
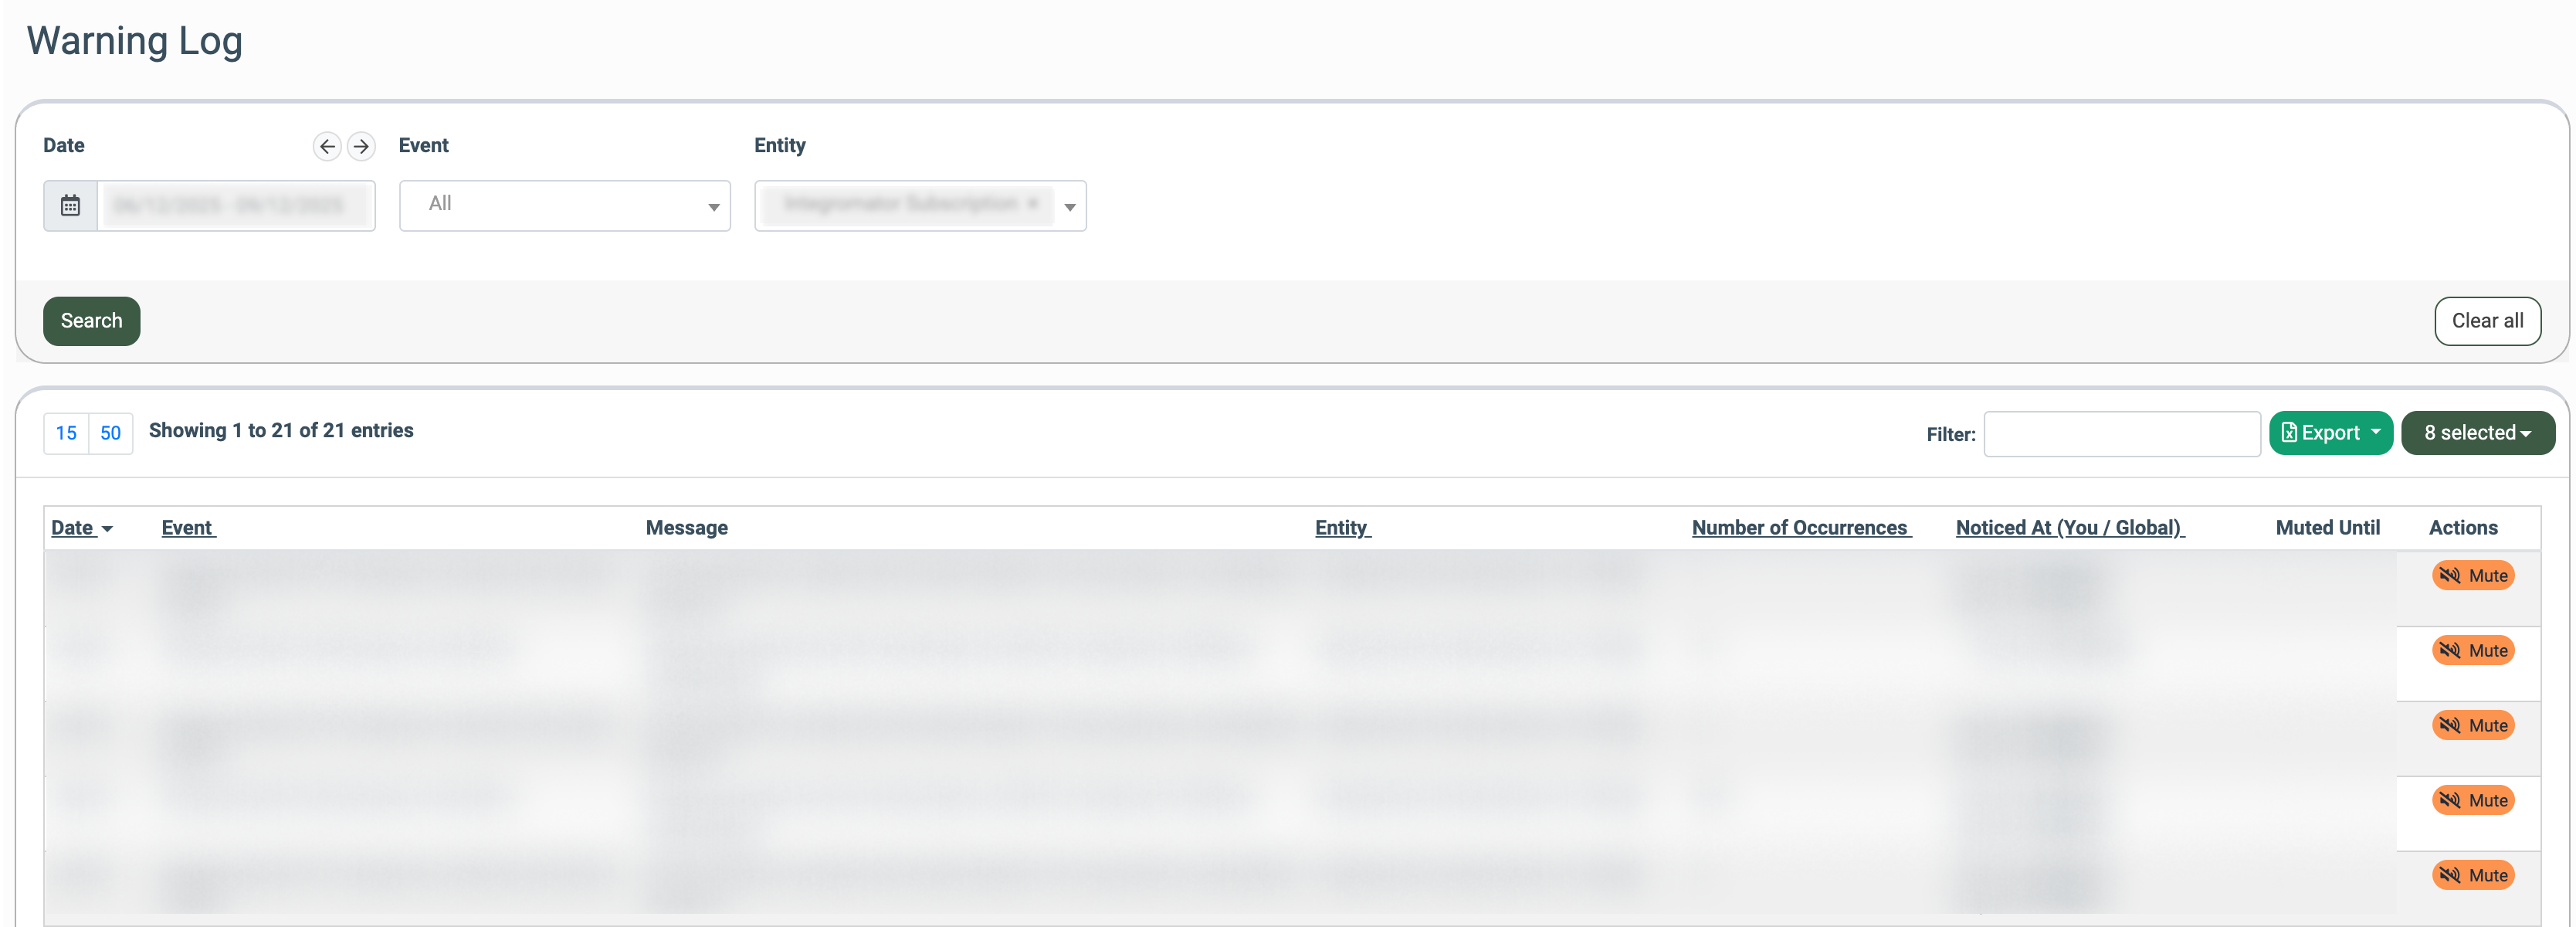
You can narrow down the search results by using the following filters:
- Date: Select the date range for the report.
- Event: Select a specific event that triggered the warning.
- Entity: Select the source of the warning (Tracking Subscription / Integration Builder / iClear / Buyer Integration / Rate limit / Auth Error / Export API / DNPL).
The report contains the following information:
- Date: The date and time when the event occurred.
- Event: The event that triggered the warning.
Note: Each service has its own set of events.
- Message: The message that is contained within the warning.
- Entity: The source of the warning.
- Number of Occurrences: The number of times the event occurred.
- Noticed At (You / Global): The first time the warning was seen by the current user/anyone.
- Muted Until: The date and time until which this specific warning is muted.
Warning Types
The Warning Log collects important system warnings generated by supported services. Depending on the service, it may include the following warning types:
- [Tracking] Content-type is text/html: Triggered when a tracking integration returns a response with the text/html content type instead of the expected API response format. Note: This type may apply to the following entities: Tracking Subscription.
- [Tracking] HTTP-response contains Set-Cookie header: Triggered when the response from a tracking integration contains a Set-Cookie header. This helps identify integrations that unexpectedly create or modify cookies. Note: This type may apply to the following entities: Tracking Subscription.
- [Tracking] Invalid Response Code: Triggered when a tracking integration returns an unexpected response code. Note: This type may apply to the following entities: Tracking Subscription.
- [Global] TWIG error: Triggered when the system encounters an error while processing a TWIG template. Note: This type may apply to the following entities: Tracking Subscription, Integration Builder.
- [Global] Lead Stash Rate Limit: Triggered when the rate limit for Lead Stash requests is exceeded. Note: This type may apply to the following entities: Lead Stash Rate Limit.
- [Global] Authentication error: Triggered when an authentication request fails. Note: This type may apply to the following entities: Auth Error.
- [Buyer Integration] Invalid Response Code: Triggered when a buyer integration (standard or custom) returns an unexpected response code, such as a 4xx or 5xx status code. Note: This type may apply to the following entities: Buyer Integration.
- [Export API] Validation Error: Triggered when a request sent through the Export API fails validation due to missing, invalid, or incorrectly formatted data. Note: This type may apply to the following entities: Export API.
- [DNPL] Integration Error: Triggered when the DNPL encounters an error while processing a request. Note: This type may apply to the following entities: DNPL.
- [Tracking] Integration option disabled: Triggered when a tracking integration attempts to use an option or feature that is currently disabled in the system. Note: This type may apply to the following entities: Tracking Subscription.
Note: The available warning events depend on the service that generated them, so the list of events may vary.
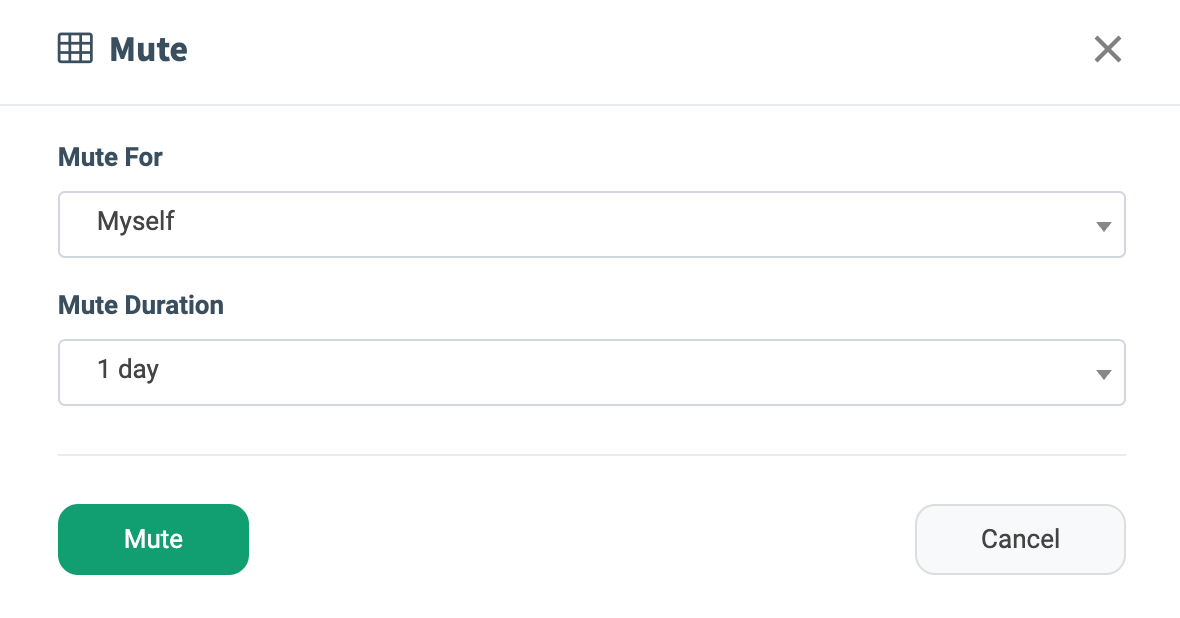
To mute a warning for a specific event and entity, select the record from the list and click the “Mute” button in the “Actions” column. Fill in the following information:
- Mute For: Select whether to mute the warning for the current user or all users.
- Mute Duration: Specify how long you would like the warning to be muted.
Click the “Mute” button to confirm.
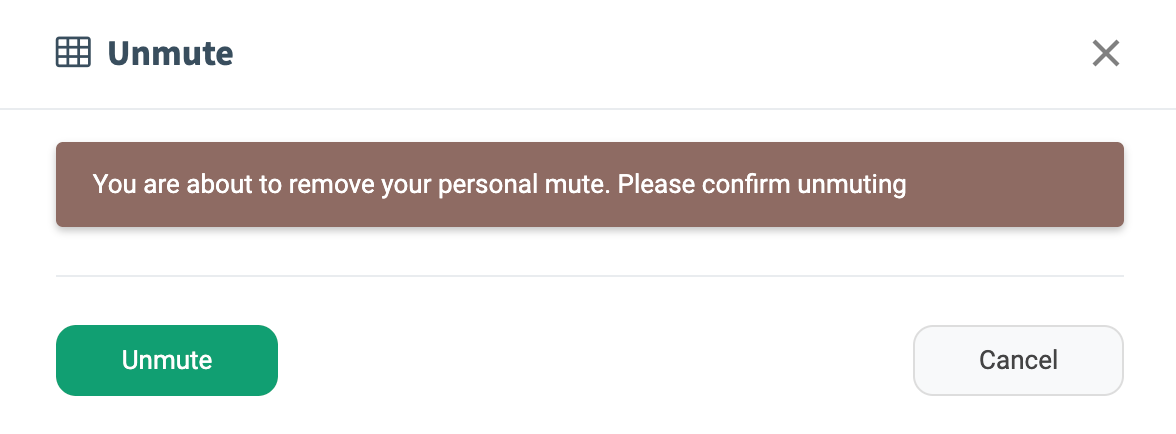
If you need the mute duration to be over, click the “Unmute” button in the “Actions” column. Click the “Unmute” button again to confirm the action.