To customize the system appearance, go to the System Management > General > Project Settings section, select the “General” tab, and then select the “Appearance” sub-tab.
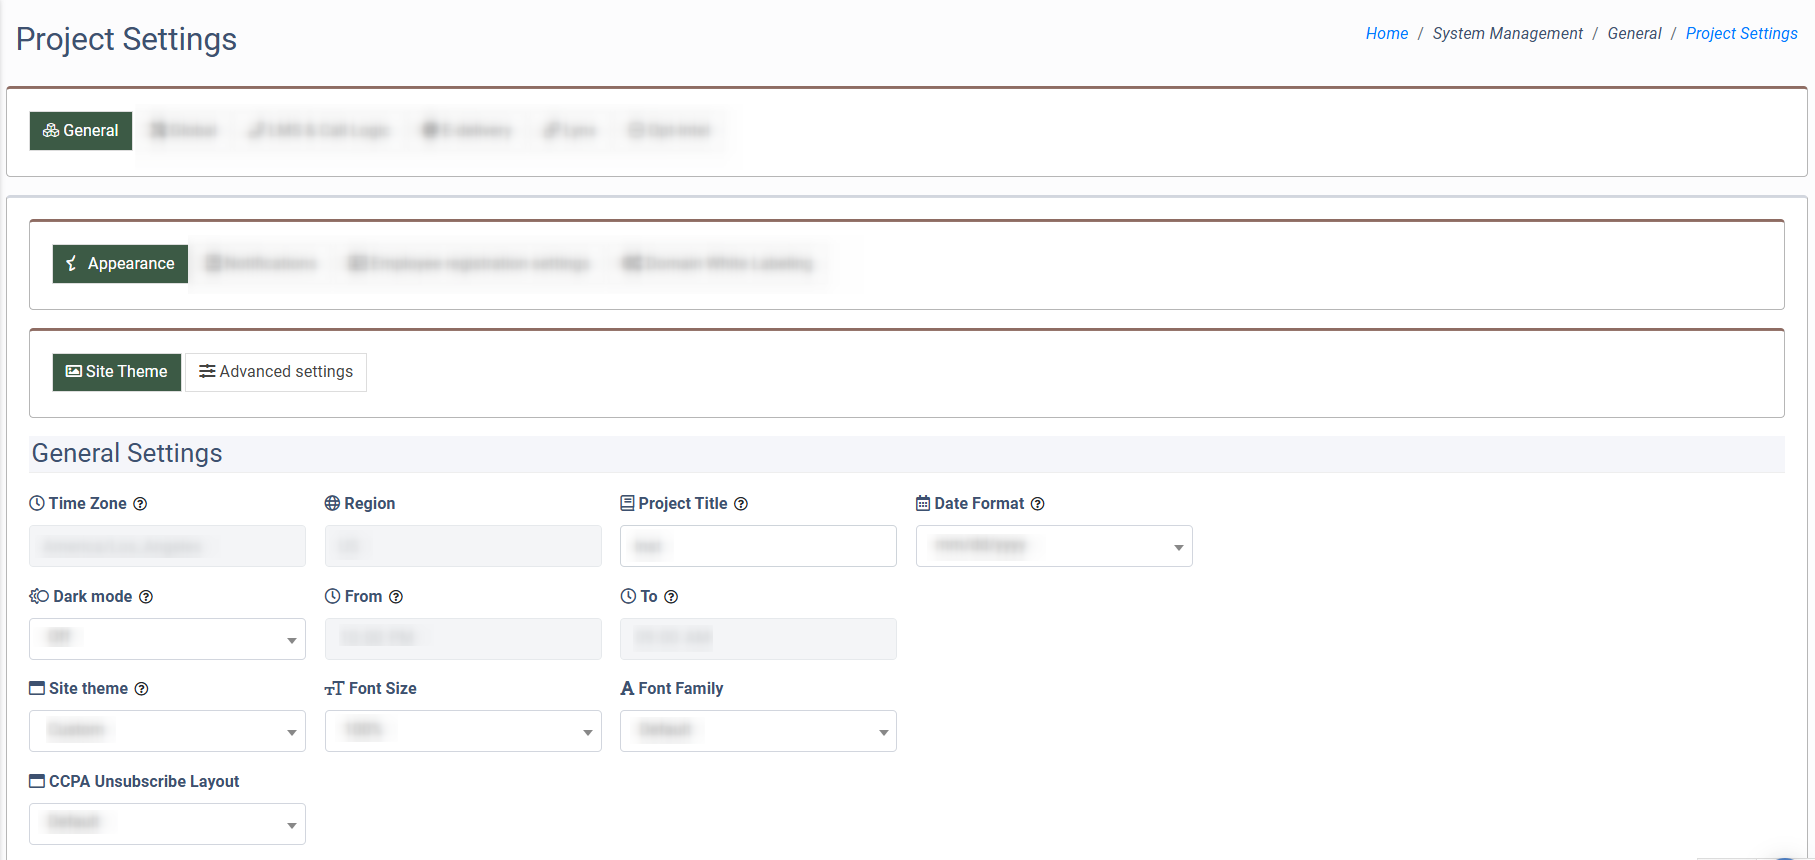
The “Site Theme” sub-tab contains the following configurations that allow you to customize the system’s interface and preview all the changes before saving them:
General Settings
The General Settings section allows you to manage basic system appearance settings.
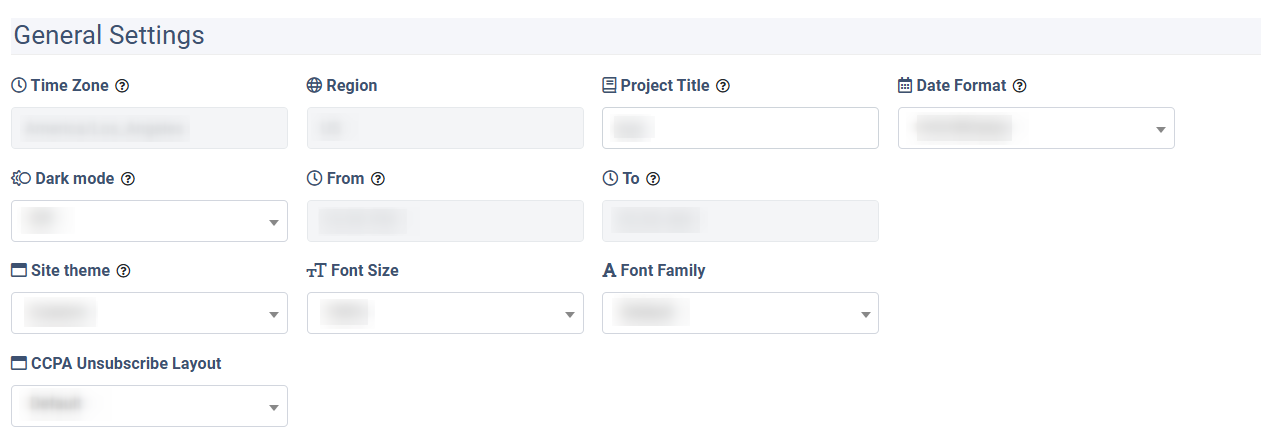
You can edit the following fields:
- Time Zone: The system’s Time Zone. Note: The time zone is set at the first system installation stage and cannot be changed by the system users.
- Project Title: Enter the name of the Project. This name is used for page titles and text logos.
- Date Format: Select the preferred date format (mm/dd/yyyy, dd/mm/yyyy).
- Dark mode: Select the schedule for the system to switch to the dark mode (Off, Detected by OS, Custom Schedule).
- From: Select the start time for the dark mode.
- To: Select the end time for the dark mode.
- Site Theme: Select the preferred theme or set the custom one (Custom/ Default/ Preset 1/ Prese t2/ Preset 3/ Preset 4/ Preset 5/ Preset 6).
- Font Size: Select the font size adjustment percentage ratio for the system texts (80%, 90%, 100%, 110%, 120%, 130%, 140%, 150%). The ratio will be calculated based on the system’s font size.
- Font Family: Select the font style family that will be applied to the system texts (Default, Roboto, Tahoma, Helvetica, Georgia).
- CCPA Unsubscribe Layout: Select the layout for the CCPA Unsubscribe.
Preview
The Preview section allows you to preview changes in the system’s appearance for the buttons, labels, statuses, and system messages.
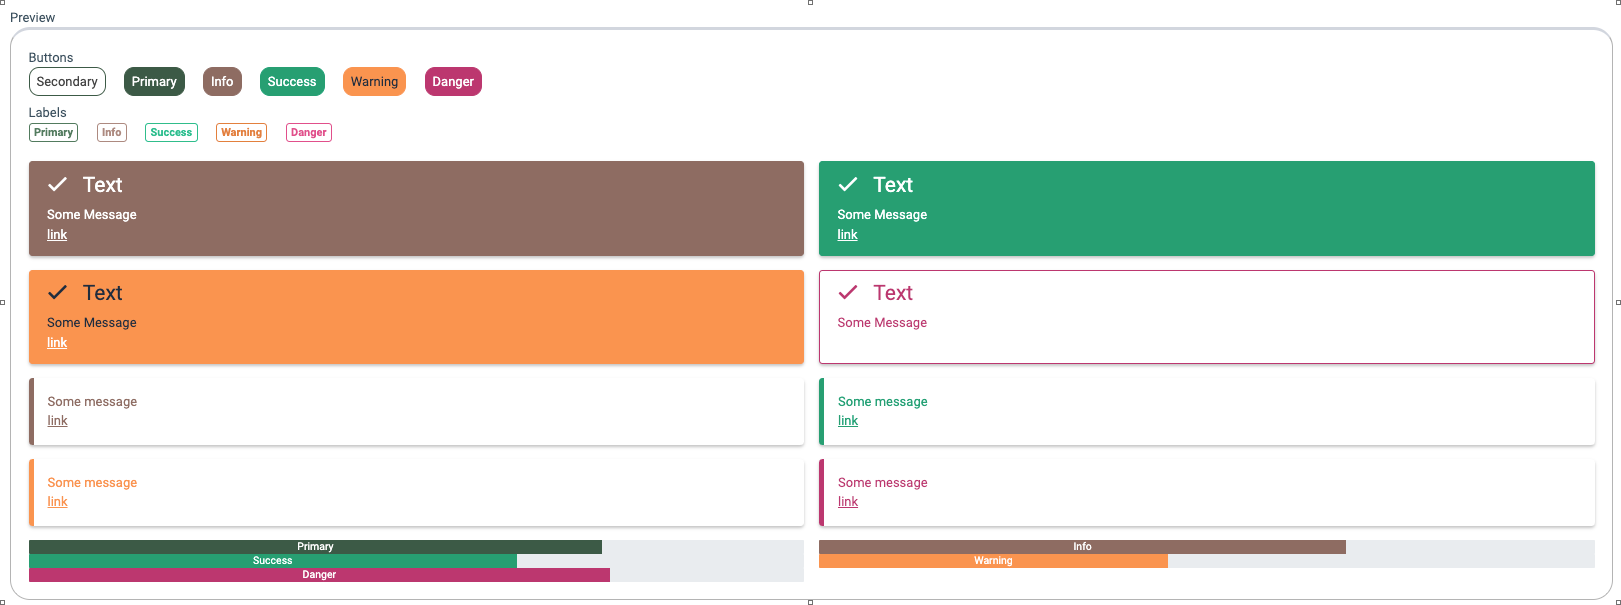
Table Preview
The Table Preview section allows you to preview the system interface of the report lists and tables after changing the settings.

Chart Preview
The Chart Preview section allows you to preview the interface of charts after changing settings.

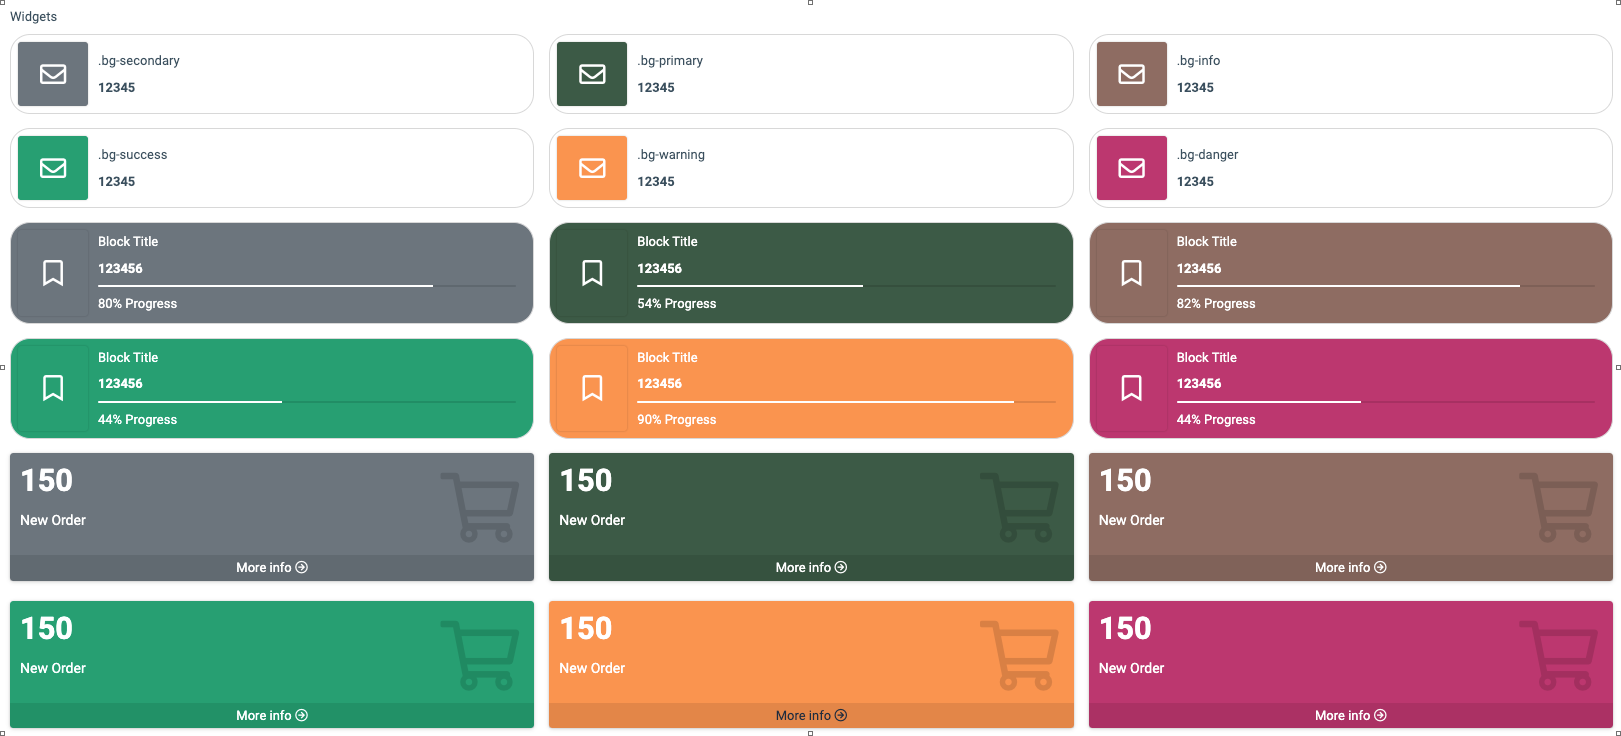
Widgets
The Widgets section allows you to preview the interface of widgets after changing settings.
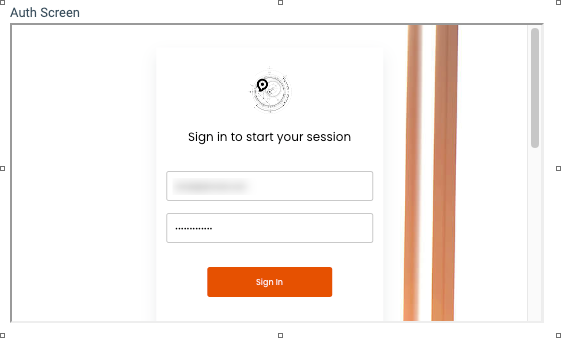
Auth Screen
The Auth Screen section allows you to preview the appearance of the authorization page.
Logo
The Logo section allows you to upload and configure the system’s logo and icon.
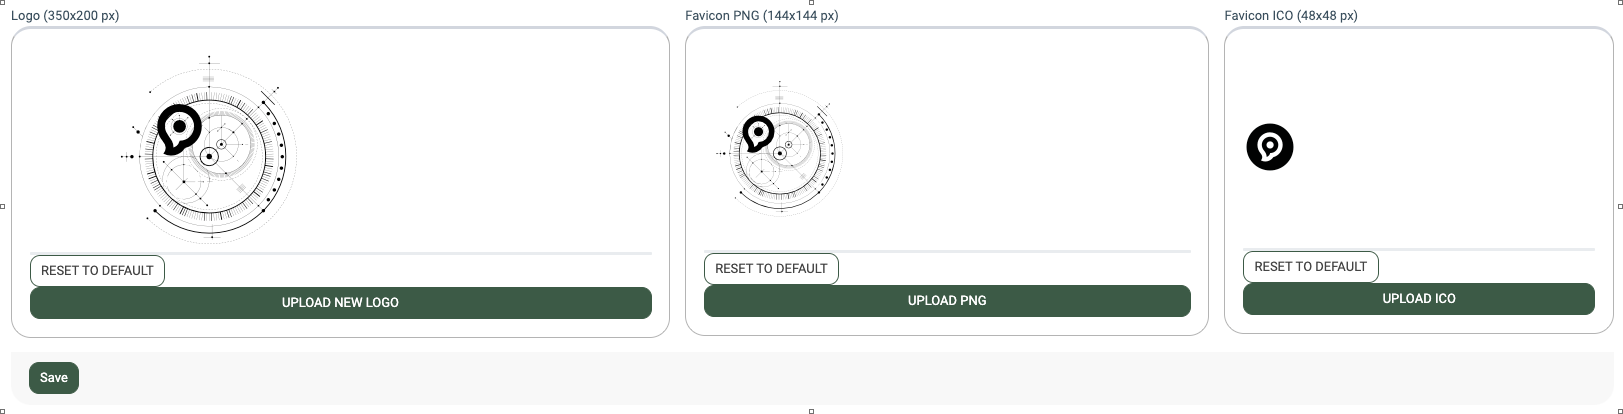
To upload the logo, click the “+ Upload new logo…” button and select the logo file you want to upload. Note: The file size resolution should not exceed 350x200 pixels. To reset the logo settings, click the “Reset to default” button.
To upload the Favicon PNG icon, click the “+ Upload PNG…” button and select the icon you want to upload. Note: The file size resolution should not exceed 144x144 pixels. To reset the logo settings, click the “Reset to default” button.
To upload the Favicon ICO icon that will be reflected in the browser tab, click the “+ Upload ICO…” button and select the icon file you want to upload. Note: The file size resolution should not exceed 48x48 pixels. To reset the logo settings, click the “Reset to default” button.
The “Advanced Settings” sub-tab contains the following configurations that allow you to fully customize the system appearance and create your own theme:
Look And Feel
The Look And Feel section allows you to customize the system appearance using the available design options and picking the colors manually.

The following settings are available for customization:
- Site Theme: Select the site theme from the list to change the visual appearance of the system.
- Base Font Color: Select one of the options to change the system font color.
- Rounded buttons: Select one of the options to set the radius and corner angle for system buttons.
- Button Colors: Select one of the options to change the saturation of color elements of the system (widgets, buttons, and labels).
- Colors For Table Values: Select one of the options to change the table values color.
- Rounded badges: Select if you would like to have the round shape of the badges.
Boxes And Tables
The Boxes And Tables section allows you to customize the appearance of the report tables and boxes in the system.

The following settings are available for customization:
- Round Boxes: Select one of the options to set the radius of the corner angle for active elements of the system (buttons, labels, and other elements).
- Box Shadows: Select one of the options to change the shadow border of the active page.
- Additional Borders: Select if you would like to enable or disable the additional border in the system and outline the active page.
- Additional Separators: Select if you would like to enable or disable additional separation in the system that outlines the data rows borders.
- Add Table Borders: Select if you would like to enable or disable table borders in the system to outline the report tables with a separator line.
Charts
The Charts section allows you to customize the appearance of the charts in the system.

The following settings are available for customization:
- Chart Line Width: Select the width of the line in the charts.
- Chart Dots Size: Select the size of the dots in the charts.
- Fill Data Area: Select if you would like to fill the empty part of the chart by painting the field to match a certain line color.
Menu Customization
The Menu Customization section allows you to customize the sidebar menu.

The following settings are available for customization:
- Sidebar Shadows: Select the option to set an additional shadow to the sidebar menu.
- Highlight Active Item: Select if you would like to enable or disable highlighting the page you are currently viewing in the menu.
- Bold Categories: Select if you would like to enable or disable the main menu's subsections in bold font.
- Add Separators: Select if you would like to enable or disable additional separation in the system that outlines the data rows borders.
- Sidebar Background: Select one of the available options for the sidebar background or upload your own by clicking the button provided below.
Auth Screen
The Auth Screen section allows you to customize the appearance of the authorization page.

The following settings are available for customization:
- Auth Screen Theme: Select the screen theme for the authorization page.
- Auth Screen Background: Select the background image for the authorization page. To upload the image manually, select the “Custom” option from the dropdown menu.
Dashboard Messages
The Dashboard Messages section allows you to manage messages which will be displayed on the Dashboard page.
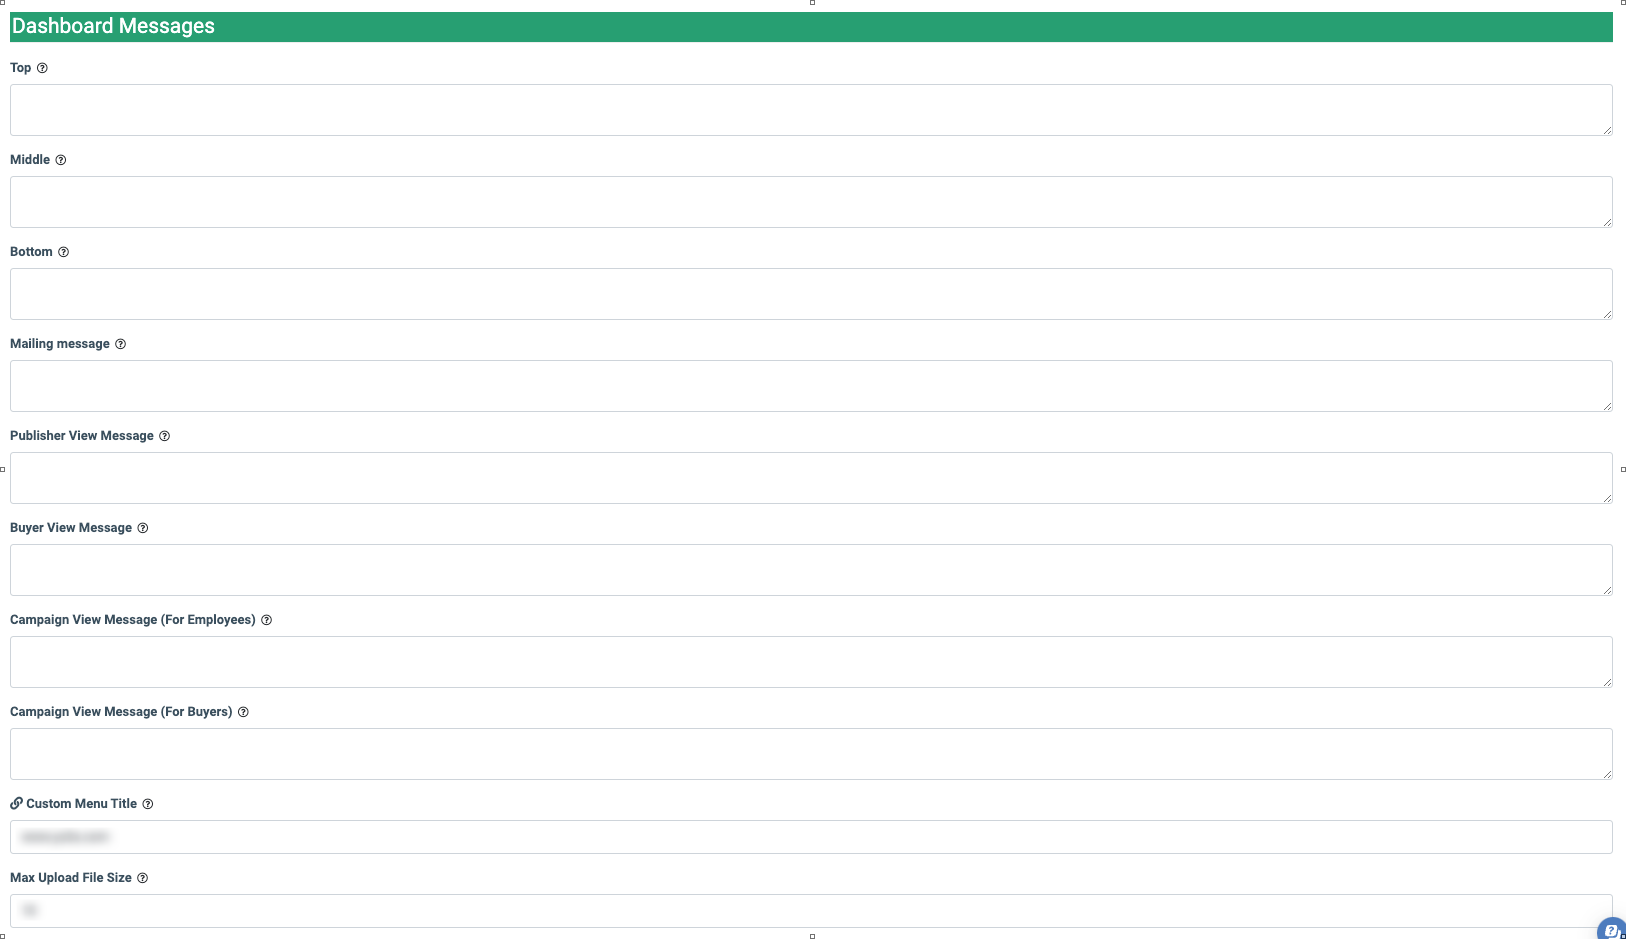
The following settings are available for customization:
- Top: Enter a custom message for the Dashboard that will be displayed at the top of the page.
- Middle: Enter a custom message for the Dashboard that will be displayed in the middle of the page.
- Bottom: Enter a custom message for the Dashboardthat will be displayed at the bottom of the page.
- Mailing message: Enter a custom message for the Dashboard page of the E-Delivery platform. It will be displayed at the top of the Dashboard page.
- Publisher View Massage: Enter a custom message for the Publishers Setup page.
- Buyer View Message: Enter a custom message for the Buyer Setup page.
- Campaign View Message (For Employees): Enter a custom message for the Campaign page visible for Employees only.
- Campaign View Message (For Buyers): Enter a custom message for the Campaign page visible for Buyers only.
- Custom Menu Title: The option allows you to add a section for the custom menu item to the main system menu. Enter the name for the custom section.
- Max Upload File Size: Enter the maximum file size limit for uploads (up to 50 MB).
Additional Settings
The “Additional Settings” section allows you to manage additional extra features to customize system’s appearance.
- Enable Header Animation And Banner: Switch the toggle to the “On” position, to enable the header and banner animation that appears according to the seasonal holidays.
Note: In the profile settings, each user can disable animations with banners personally.
