Create your own unique banners, customize their capabilities, and adapt them to your needs.
To view the list of available banners or create new, go to the Publisher Management > Promo Materials > Banner section.
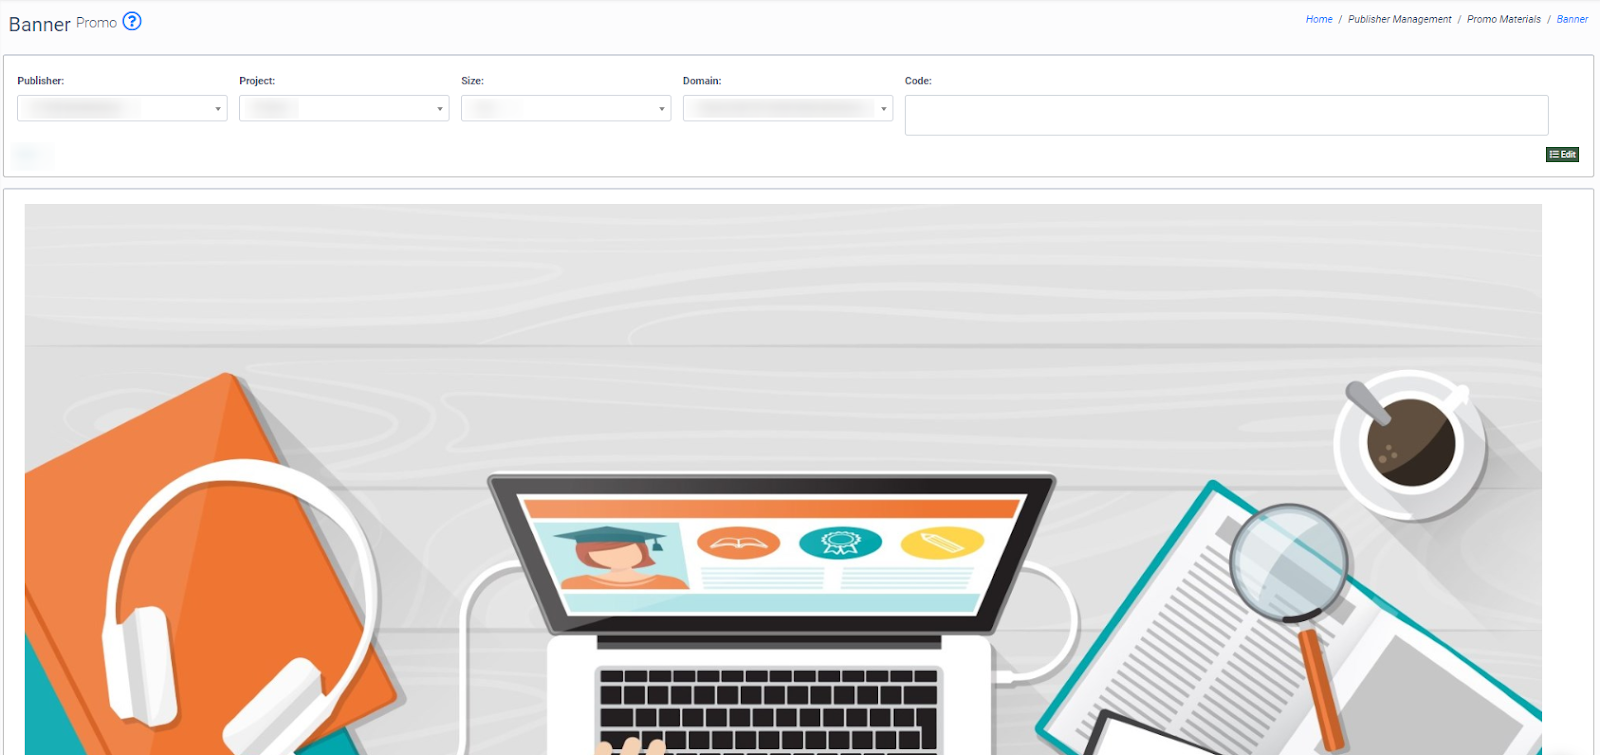
You can narrow down the search results by using the following filters:
- Publisher: Select the Publisher.
- Project: Select the project.
- Size: Select the size of the banner.
- Domain: Select the domain.
To view the banner configuration page, click the “Edit” button.
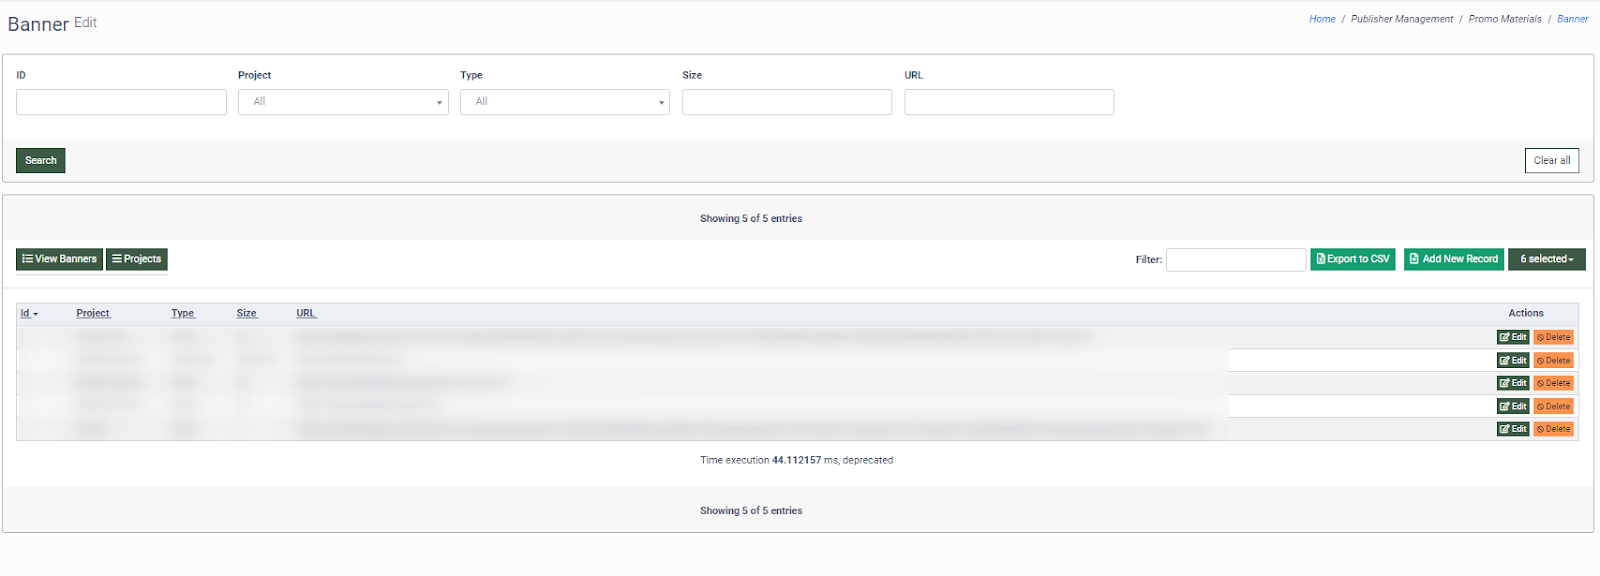
To add a new banner, click the “Add New Record” button and fill in the following fields in a pop-up window:
- Project: Select the project.
- Type: Select the type (Static / Animated).
- Size: Enter the size of the banner.
- URL: Enter the URL to the banner image that will be displayed on the website.
Note: The image should be uploaded to the Documents And References > Media and Other Documents section. Click the corresponding file to obtain the image URL from the address bar. Read more about the Media and Other Documents in this Knowledge Base article.
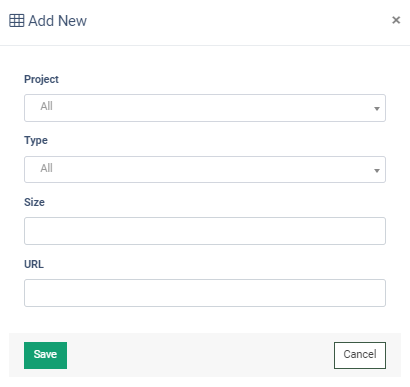
Click the “Save” button to complete.
Note: You should set up at least one banner project to be able to create a banner.
To change the banner settings, click the “Edit” button in the “Actions” column next to the corresponding banner and fill in the required fields in a pop-up window.
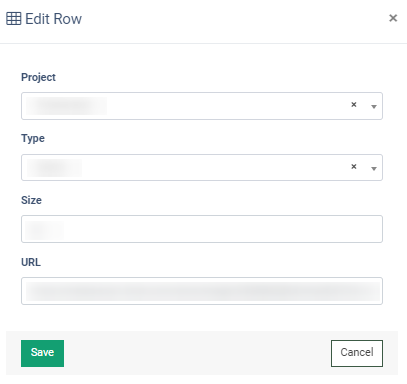
Click the “Save” button to apply changes.
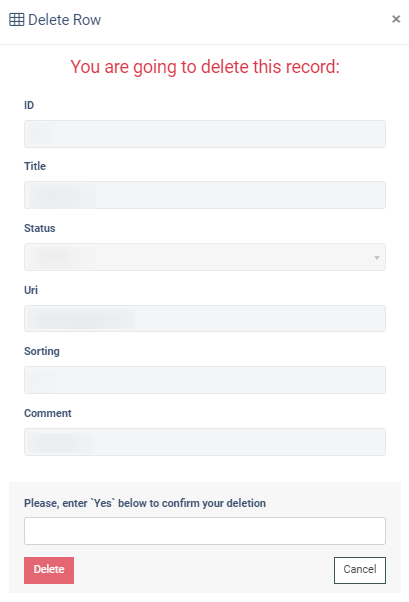
To delete the banner, click the “Delete” button in the “Actions” column.
Confirm your intention in the “Delete Row” pop-up window, and click the “Delete” button to finish.
Click the “Projects” button and the system will redirect you to the Banner Projects setup page.
Note: You should set up at least one banner project to be able to create a banner.
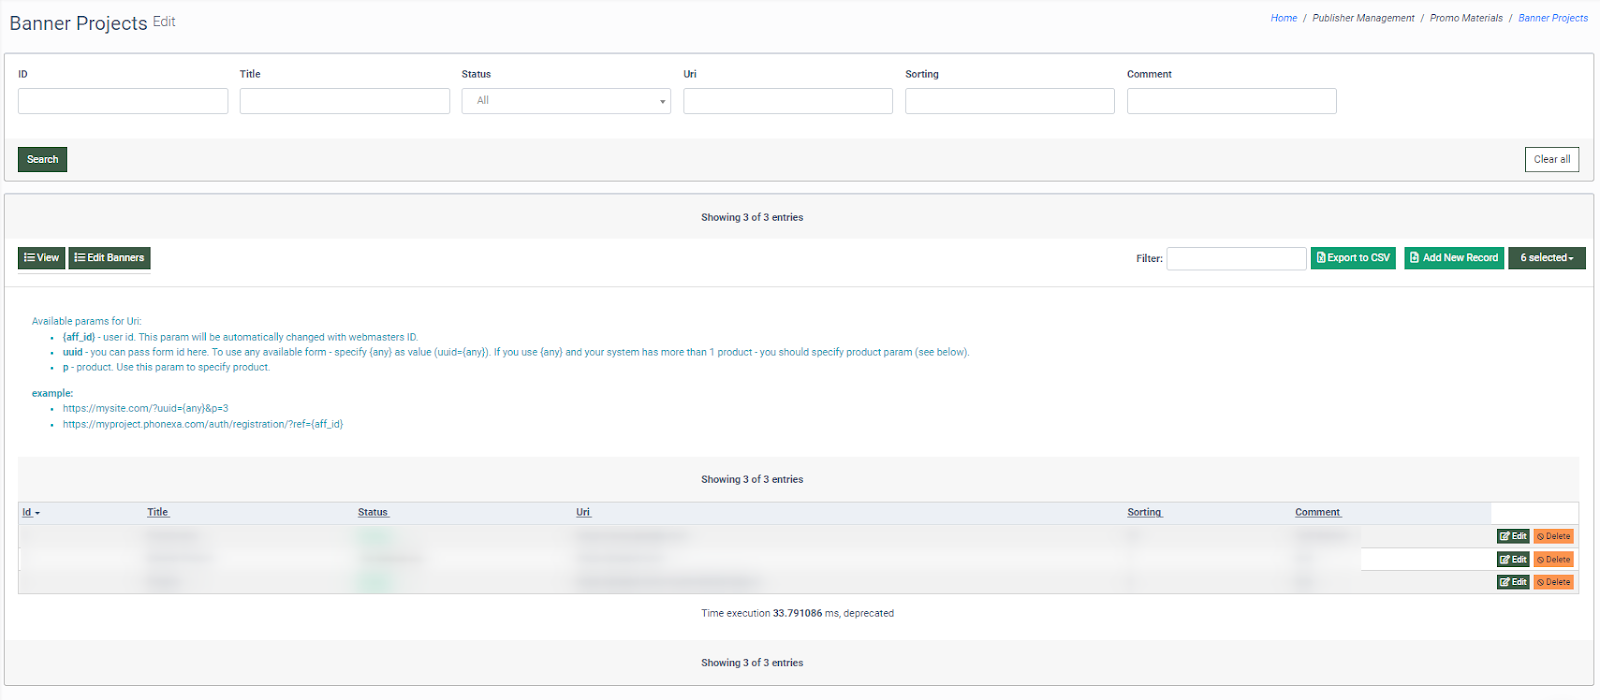
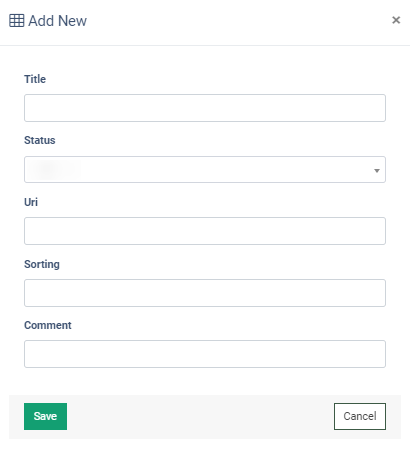
To add a new banner for a project, click the “Add New Record” button. Fill in the required fields in the pop-up window:
- Title: Enter the banner project title.
- Status: Select the banner project status (Disabled / Public / For internal use).
- Uri: Enter the link to which the lead would be forwarded when clicking on the banner.
Note: Available params for Uri:- {aff_id} - The user ID. This parameter will be automatically changed with the Publisher's ID.
- uuid - The identifier that allows you to pass the form ID. To use any available form - specify {any} as value (uuid={any}). If you use {any} and your system has more than one product - you should specify the product parameter (see below).
- p - The Product. Use this parameter to specify the Product.
Example: - https://mysite.com/?uuid={any}&p=3
- https://myproject.phonexa.com/auth/registration/?ref={aff_id}
- Sorting: Enter the numeric value that would determine the disposition order of banner projects.
- Comment: Enter the comment.
To configure the banner project, click the “Edit” button in the “Actions” column next to the corresponding banner project and fill in the required fields in the pop-up window.
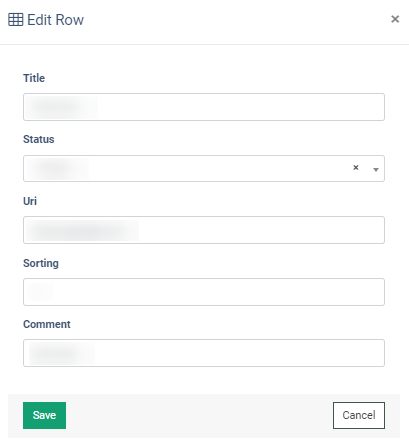
Click the “Save” button to apply changes.
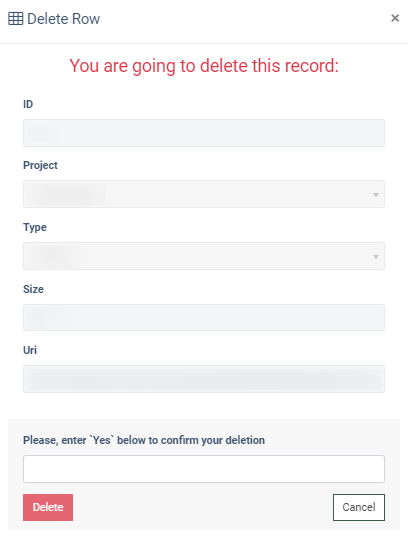
To delete a banner project, click the “Delete” button in the “Actions” column and enter ‘Yes’ in the required field to confirm the operation. Click the “Delete” button to continue.
To add the Banner on the Publisher’s website, follow this step-by-step instruction:
- Go to the Publisher Management > Promo Materials > Banner section.
- Select the Publisher in the “Publisher” filter and select the available image.

- The system should display the code once you select the image. Click the “Copy Code” button under the “Code” field.

- Insert the banner code into any website directly into the page code.
- When clicking on the banner on the website, the user would be forwarded to the Publisher’s feed specified in the banner settings.