Looking to manage campaign revenue share settings? Check our short guide to Campaign Configuration: Rev-Share for more information.
The “Revenue” tab allows you to manage the Publisher rev-share settings as well as additional revenue settings.
Rev-Share
Revenue Settings
To access, go to the Client Management > Setup > Campaigns section. For the selected Campaign, click the “Configure” button in the “Actions” column and go to the “Revenue” tab.
Rev-Share
The Rev-Share subtab includes four blocks.
The Active block contains a list of active Publishers who have already sent traffic to this Campaign and have the Rev-Share per Buyer's Campaign option enabled. Publishers are being added automatically to the list. The system creates a new record in the list according to the new Tier from the Publisher. You can manually set the Rev-Share percentage rate for the selected Tier of the Publisher in the “Set To %” column.

Manage the Rev-Share settings using the following quick-action buttons on top of the tab:
-
Click the “Set to Recommended Values” button to apply the “Recommended %” value for all records.
-
Click the “Decrease to Recommended Values” button, and the system will decrease the percentage value if the Recommended % value is lower than the Effective %.
-
Click the “Increase to Recommended Values” button, and the system will increase the percentage value if the Recommended % value is greater than the Effective %.
-
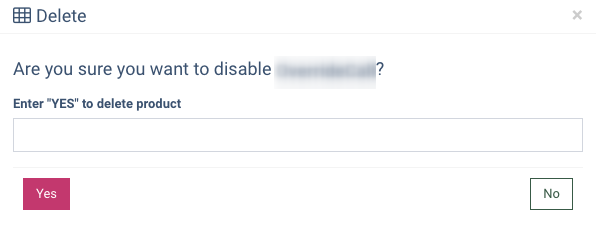
Click the “Reset to Publisher Default” button to delete any value in the “Set To %” column for all Publishers and revert it to Publisher Default. Confirm your action in the pop-up window, and type ‘Yes’ to apply changes.

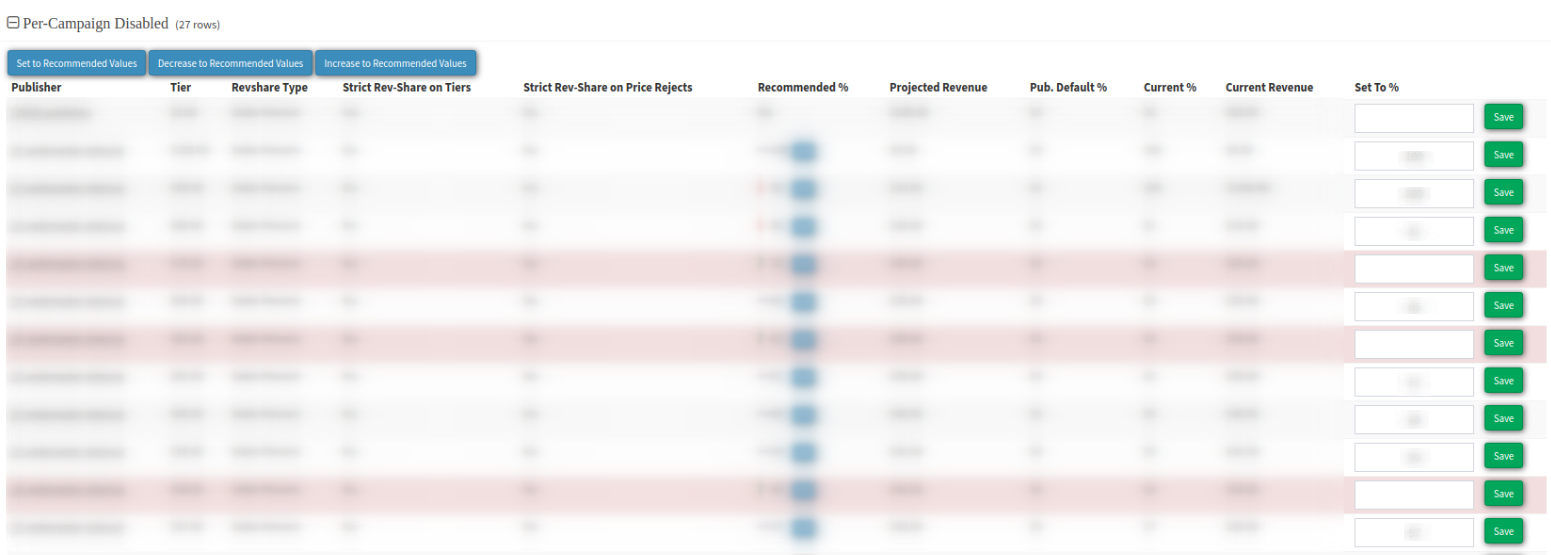
The Per-Campaign Disabled block contains a list of Publishers with the disabled Rev-Share per Campaign option.

The Orphan block contains a list of Publishers that can be active but are not sending leads to that Tier.
The Not Configurable block contains the list of Publishers that do not currently support Rev-Share by Campaign configuration with the list of reasons.
Revenue Settings
The Revenue Settings subtab allows you to manage additional revenue settings to optimize Publisher earnings alongside existing rev-share settings for the Campaign.
Here, you can enable additional revenue settings for Cost Per Acquisition (CPA), Ping Post Call, and Revenue Postback scenarios.
Cost Per Acquisition (CPA) Settings
CPA (Cost Per Acquisition) Settings allow for managing both publisher compensation and buyer charges, tracking revenue according to earnings from buyers, and managing lead statuses from a reporting perspective. The “Cost Per Acquisition (CPA) Settings” block contains the following options:
- Publisher payout based on the campaign price: When enabled, the Publisher will be paid by the Admin based on the Campaign price, per the publisher's rev-share. Meanwhile, Buyers won't be charged upfront; they will only pay for the lead if it results in a purchase or contract signing. This may temporarily result in negative Admin revenue. Total Revenue will be tracked based on earnings received from Buyers if the Revenue Postback feature is enabled. If the Revenue Postback feature is disabled, Total Revenue will not be available in reports since they do not reflect revenue that has not yet been acquired or earned.
- System Behavior on Campaign Price - 0 (LMS only): This feature is applicable to Campaigns with a minimum price of 0 and determines the lead status when it's posted to the Buyer. Select one of the following options:
- Select “Default” to apply the Product settings the Campaign is assigned to.
- Select “Mark lead status as sold” to make the system mark the lead status as sold for this Campaign, regardless of the Product settings. Note: This option overrides the Product configuration.
- Select “Mark lead status as reject, respond publisher with reject” to make the system mark the lead status as reject and respond to the Publisher with reject in this Campaign, regardless of the Product settings. Note: This option overrides the Product configuration.
- Track Call Duration (Call Logic only): Select the option for the system to start the call duration tracking:
- Buyer Response: Select this option for the system to start the call duration tracking from the Buyer response.
- Transfer to the Buyer: Select this option for the system to start the call duration tracking from the transfer to the Buyer.
Ping Post Call Settings (LMS only)
The Ping Post Call Settings are applicable exclusively to ping-post calls for bidding purposes. The “Ping Post Call Settings” block contains the following option:
- Mark buyer accept as "0": When enabled, this feature ensures that no revenue or payouts are recorded for leads with a “Sold” status, regardless of the campaign price. Select one of the following options to enable it:
- Select “Default” to apply the Product settings the Campaign is assigned to.
- Select “Enabled” to enable the feature for this Campaign, regardless of the Product settings. Note: This option overrides the Product configuration.
- Select “Disabled” to disable the feature for this Campaign, regardless of the Product settings. Note: This option overrides the Product configuration.
Note: If the “Mark buyer accept as “0” feature is enabled, the “System Behavior on Campaign Price - 0” feature will be blocked, and vice versa.
Revenue Postback
The Revenue Postback block allows to enable the feature where Buyers pay for a lead that results in a sale or contract signing, for example. This feature also provides Publishers and Admins with the opportunity to earn additional revenue.
- Revenue Postback: Select the “Enabled” option to configure the feature. Fill in the required information in the fields below, save the changes, and refresh the page to access revenue postback modifiers.
Read more about the Revenue Postback Rules in this Knowledge Base article.
- API ID: The ID is generated automatically by the system and can be changed by the user.
- API Password: The API password is generated automatically by the system and can not be changed.
- Strategy On Duplicate Postback: This feature allows to enable or disable the ability to monetize the lead more than once.
- Select the “Ignore” strategy to have the system accept only the first revenue postback and ignore all following postbacks.
- Select the “Add Revenue” strategy to have the system accept all postbacks. The total revenue amount will be summarized, and the Buyer will pay for each subsequent postback. The price may differ for every sale.
Examples:
- Revenue Strategy: The Revenue Strategy feature allows to enable or disable the publisher’s revenue in a postback process.
- Select the “Pay Publisher Income” strategy for the Publisher to receive revenue from the postbacks according to the “Rev-Share” settings.
- Select the “Ignore Publisher Income” strategy for the Publisher to not receive revenue from the postbacks.
- Revenue Strategy Override: Select the “Yes” option for the Buyer to set a strategy for each separate postback. Select the “No” option to disable the strategy override.
- Revenue Postback Amount: Input the amount you want to receive with the revenue postback. The hardcoded value shall override the Campaign Price. If this field contains a value, there is no need to send the “earning” parameter. If you still send the “earning” parameter, it will override the value specified in this field.
- Run Silence Campaign On Ping: This feature allows you to set a trigger for the Silent Campaign (Campaigns) to which the lead will be sent if the Revenue Postback feature is enabled.
Note: This feature is available on demand only.
Click the “Save” button to confirm.
.png?width=688&height=252&name=unnamed%20(83).png)
Revenue Postback Link Examples
You can perform revenue postback using the Postback Link. Enter the Lead ID value and Price value in the braces of the provided link.
Example:
The link provided in your system:
https://leads-instNUMBER-client.phonexa.com/api/transaction/?apiId=E1A230A5&apiPassword=1a01111eaea10ead101aea1e10101f&leadId={leadId}&earning={earning}
Example of the link you should use for postback with the following parameters:
Lead ID: W_0EWLMJ
Price: 100
https://leads-instNUMBER-client.phonexa.com/api/transaction/?apiId=E1A230A5&apiPassword=1a01111eaea10ead101aea1e10101f&leadId={W_0EWLMJ}&earning={100}
To update earnings for multiple leads simultaneously, you can use a JSON Post. Enter the IDs of required leads and their earnings in the body of the request and perform the Bulk Revenue Postback.
Use the following link
https://leads-instNUMBER-client.phonexa.com/api/transaction/bulk
Request Example:
{

    “apiId”: “AOE00AEA”,

    “apiPassword”: “11e1a10000e1daa1e1e00eaff1eaa1",

    “transactions”: [

        {

            “leadId”: “W_1EAEAE”,

            “earning”: 10

        },

        {

           “leadId”: “W_2EAEAE",

            “earning”: 15

        },

        {

            “leadId”: “W_3EAEAE”,

            “earning”: 20,

            “strategy”: “ADD”

        }

    ]

}


-1.png?width=688&height=359&name=unnamed%20(55)-1.png)


