To generate a list of conversion reports based on the selected filters, first, you need to create an offer in the Offers > Manage Offers section.
Read more about how to create an offer in this Knowledge Base article.
To view the reports, go to the All Reports > Conversion Report section.
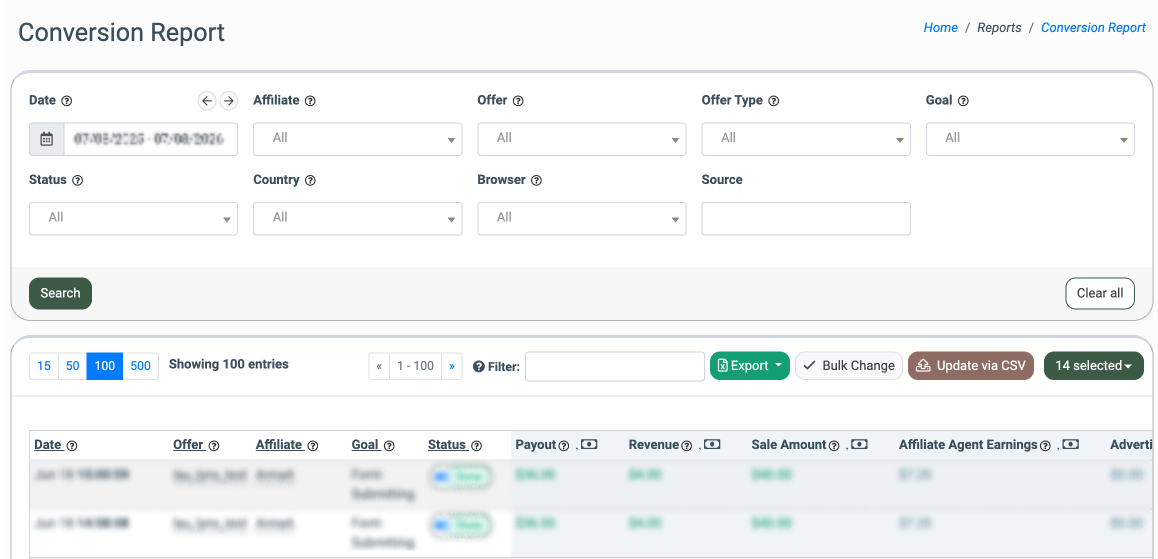
The Conversion Report list contains the following information:
- Date: The date when the conversion occurred.
- Offer: The offer in which the conversion occurred.
- Affiliate: The affiliate for the specific conversion.
- Goal: The goal to which conversion has been applied.
- Status: The status of the conversion.
- Payout: The payments to the particular Affiliate.
- Revenue: The payments from a specific Advertiser.
- Sale Amount: The sale amount parameter is used in the conversion URL for further financial calculation or statistics.
- Affiliate Agent Earnings: The payment to the Affiliate Agent.
- Advertiser Agent Earnings: The payment to the Advertiser Agent.
- Conversion ID: The ID number for the current conversion.
- Affiliate Click ID: The ID number of the particular Affiliate.
- Source: The Affiliate’s traffic source specified in the tracking link.
- Sub ID: The Affiliate sub ID specified in the tracking link.
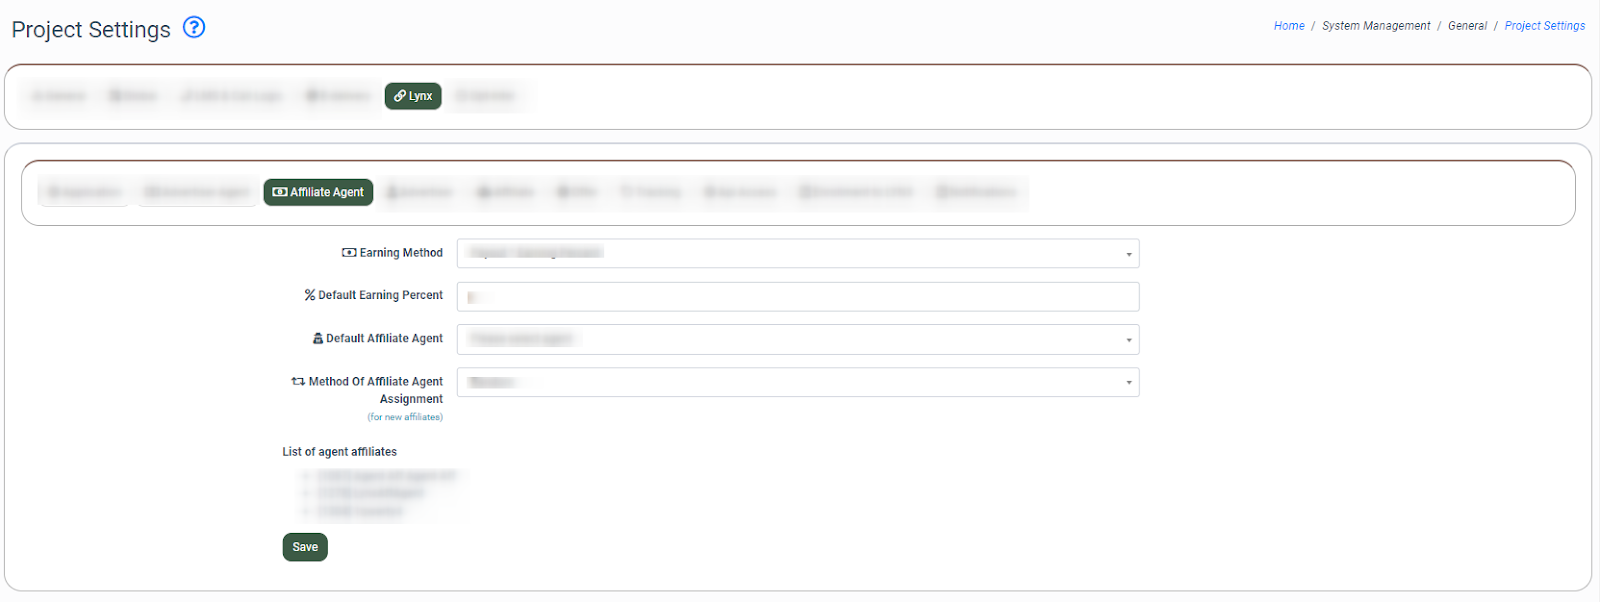
To set up the “Affiliate Agent Earnings” settings, go to the System Management > General > Project Settings, select the “Lynx” tab, and then the “Affiliate Agent” sub-tab:
- Earning Method: Select the earning method (Payout * Earning Percent, (Revenue - Payout) * Earning Percent).
- Payout * Earning Percent: This method considers the total offer payout and the Agent's earnings percentage. For example, if the total payout is $55 and the earnings percentage is 3%, the Affiliate Agent's income will be (55 * 0.03)= $1.65.
- (Revenue - Payout) * Earning Percent: This method considers the values of total income and offer payouts, as well as the Agent's earnings percentage. For example, if the income is $20, the payout is $10, and the earnings percentage is 5%, the income of the Affiliate Agent will be ((20-10) * 0.05)=$0.5.
- % Default Earning Percent: Enter the percentage of the Agent’s earnings.
- Default Affiliate Agent: Select the Agent that will be assigned by default.
- Method of Affiliate Agent Assignment: Select a method for how the Affiliate Agent will be assigned (Default Agent, Random, Rotation with Weight).
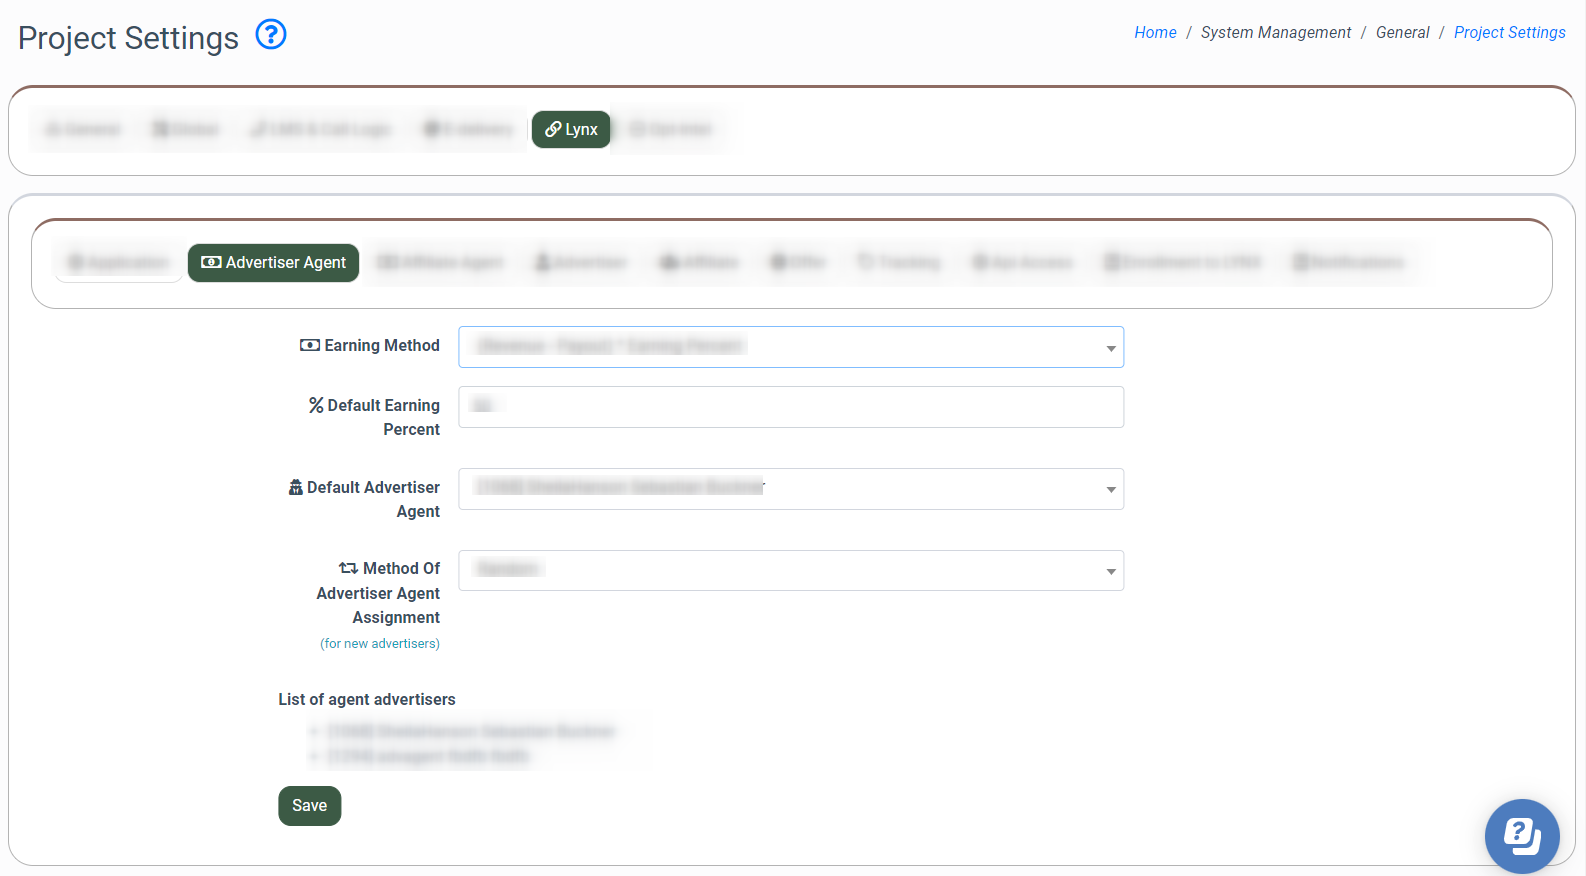
To set up the “Advertiser Agent Earnings” settings, go to the System Management > General > Project Settings, select the “Lynx” tab, and then the “Advertiser Agent” sub-tab:
- Earning Method: Select the earning method (Payout * Earning Percent, (Revenue - Payout) * Earning Percent).
- Payout * Earning Percent: This method considers the total offer payout and the Agent's earnings percentage. For example, if the total payout is $55 and the earnings percentage is 3%, the Advertiser Agent's income will be (55 * 0.03)= $1.65.
- (Revenue - Payout) * Earning Percent: This method considers the values of total income and offer payouts, as well as the Agent's earnings percentage. For example, if the income is $20, the payout is $10, and the earnings percentage is 5%, the income of the Advertiser Agent will be ((20-10) * 0.05)=$0.5.
- % Default Earning Percent: Enter the percentage of the Agent’s earnings.
- Default Advertiser Agent: Select the Agent that will be assigned by default.
- Method of Advertiser Agent Assignment: Select a method for how the Advertiser Agent will be assigned (Default Agent, Random, Rotation with Weight).
Click the “Save” button to confirm the action.
You can narrow down the search results by using the following filters:
- Date: Select the date range for the report.
- Affiliate: Select the Affiliate from the drop-down list.
- Offer: Select the offer from the drop-down list.
- Offer Type: Select the offer type from the drop-down list.
- Goal: Select the goal from the drop-down list.
- Status: Select the status from the drop-down list (Pending, Done, Rejected).
- Country: Select the country from the drop-down list.
- Browser: Select the browser from the drop-down list.
- Source: Enter the Affiliate’s traffic source specified in the tracking link.
Click the “Search” button to generate a list.

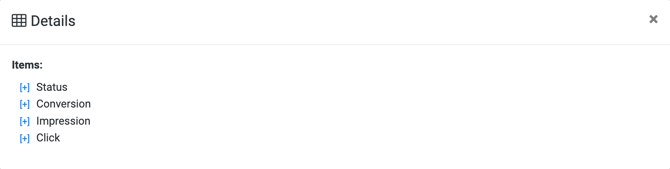
To view more details about the specific conversion, click the “Details” button in the Actions column.

The “Details” pop-up window contains the following blocks:
- Status: General information about the status of the conversion.
- Conversion: General information about the conversion.
- Impression: General information about the ad link impression.
- Click: General information about the click.
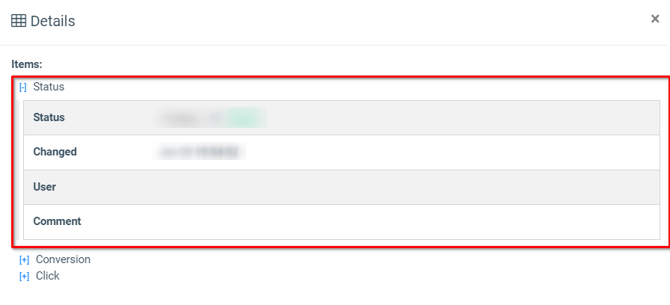
In the “Details” pop-up window, the “Status” block contains the following information:
- Status: The current status of the conversion.
- Changed: The time when the status of the conversion was changed.
- User: The name of the user who implemented the changes.
- Comment: The comment for the conversion.
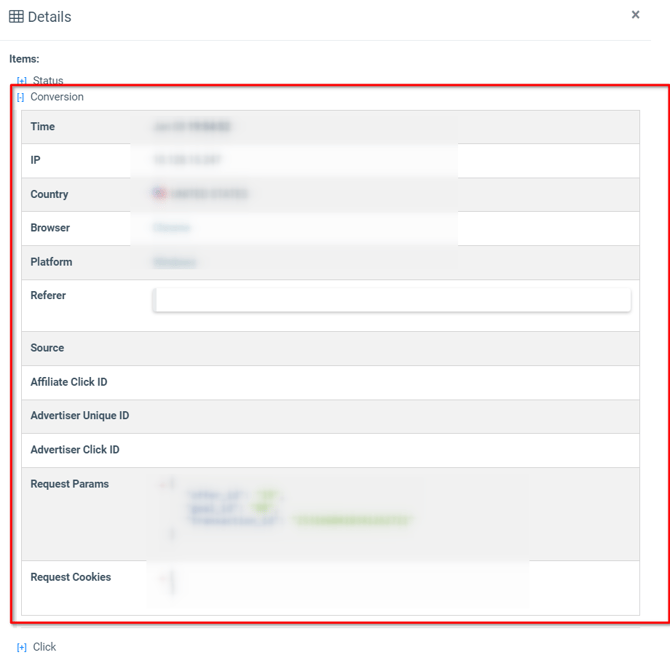
The “Conversion” block contains the following information:
- Time: The time when the conversion occurred.
- IP: The IP address for the conversion.
- Country: The country where the conversion occurred.
- Browser: The type of browser in which the conversion occurred.
- Platform: The platform on which the conversion occurred.
- Referer: The referer applied to the conversion.
- Source: The source in which the conversion occurred.
- Affiliate Click ID: The Affiliate`s Click ID number for the conversion.
- Advertiser Unique ID: The Advertiser`s Unique ID number for the conversion.
- Request Params: The request params for the current conversion.
- Request Cookies: The request cookies for conversion.
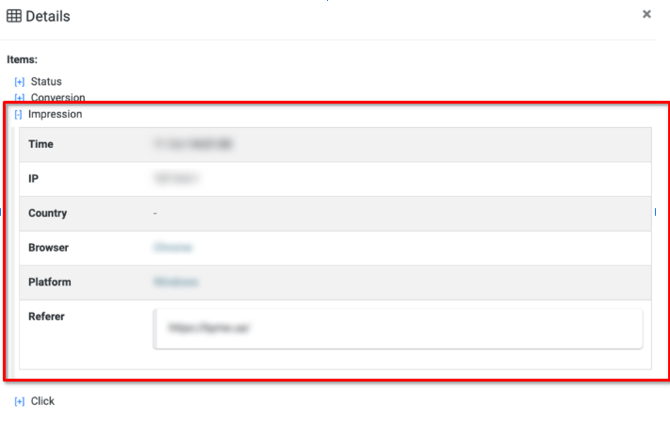
The “Impression” block contains the following information:
- Time: The time when an impression occurred.
- IP: The IP address for the impression.
- Country: The country where the impression occurred.
- Browser: The type of browser in which the impression occurred.
- Platform: The platform on which the impression occurred.
- Referer: The referer applied to the conversion.
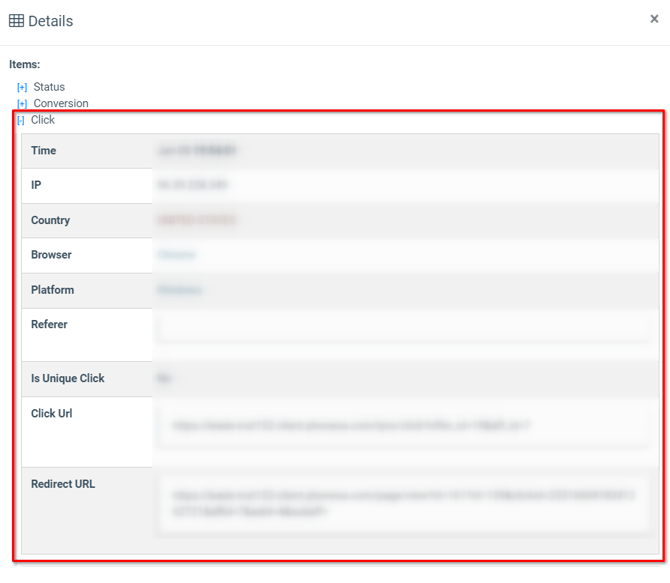
The “Click” block contains the following information:
- Time: The time when the click occurred.
- IP: The IP address for the click.
- Country: The country where the click occurred.
- Browser: The type of browser in which the click occurred.
- Platform: The platform on which the click occurred.
- Referrer: The referer applied to the click.
- Is Unique Click: The status that shows if the click is unique or not (YES, NO).
- Click URL: The URL of the conversion click that was made by the user.
- Redirect URL: The URL to which the user is redirected.
You can save the report’s selected filtering settings (except date range) and column filters. Scroll down to the bottom of the report and click the “Save” button. The saved report will be available in the “Saved Reports” section.

To apply a new status to certain conversions, click the “Bulk Change” button.
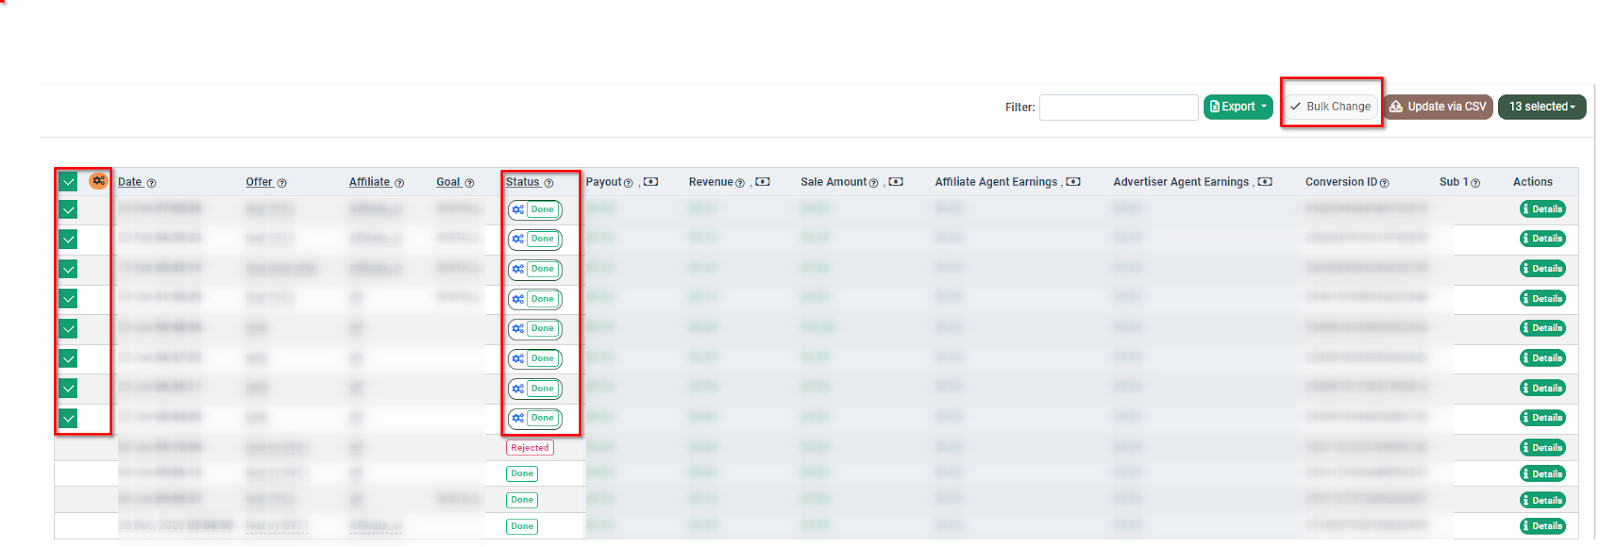
Select the conversions from the list and click the orange Wheels icon to configure. In the “Change Status Selected Conversions” pop-up window, fill in the data fields and click the “Save” button to apply changes.
Note: You can apply a new status to the selected conversions only during the conversions approval period.

You can upload a list of conversion IDs and their corresponding statuses that need updating in the form of a CSV file. The first column should contain the Conversion ID, and the second column should contain one of the statuses (Done or Rejected).
Select the file and click the “Upload” button to apply changes.
To download the generated report, click the “Export” button and use one of the available options:
- Current page to CSV: The report file includes the data of the displayed page only.
- All pages to CSV: The report file includes all pages.
- Scheduled Export: Click to create a scheduled report.


To create a scheduled export, click the “Scheduled Export” button and fill in the following fields in the “Create Scheduled Export” pop-up window:
- Export Name: Enter the name of the report file.
- Export every: Select the report export’s frequency (Week, Month).
- Export time: Select the report export time.
- Export Recipient Emails: Enter the emails to which the report will be sent.
Click the “Add” button to create an export.
