To manage the email Campaigns, go to the Campaigns > Email Campaigns section.
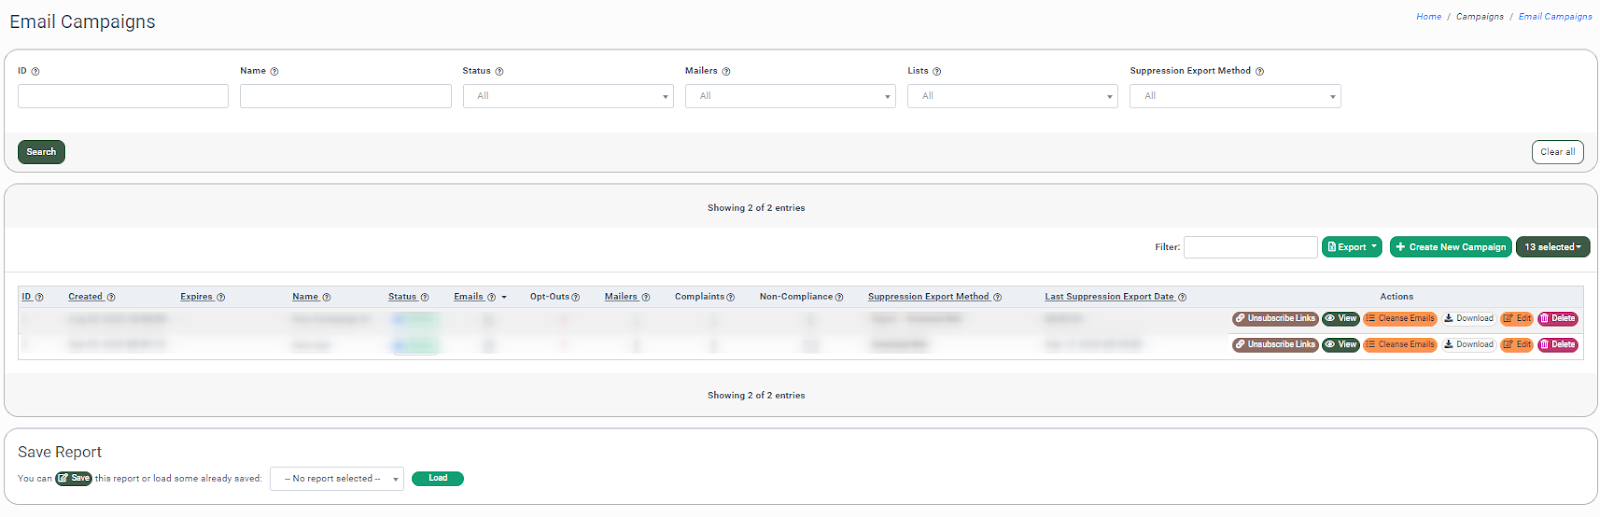
You can narrow down the search results by using the following filters:
- ID: Enter the Campaign ID.
- Name: Enter the name of the Campaign.
- Status: Select the Campaign status.
- Mailers: Select the mailer.
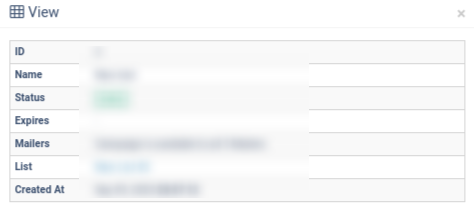
- Lists: Select the list.
- Suppression Export Method: Select the suppression export method (Download Web, Cleanse Web, Download API, Cleanse API).
The Email Campaigns section is limited to one campaign per list. The “Email Campaign” section displays the following data:
- ID: The unique identification number of the Campaign.
- Created: The Campaign creation date.
- Expires: The Campaign expiration date.
- Name: The name of the Campaign.
- Status: The status of the Campaign (Active or Deleted).
- Emails: The total number of emails in the Campaign.
- Opt-Outs: The number of opt-outs through the unsubscribe links in the Campaign.
- Mailers: The number of mailers assigned to the Campaign.
- Complaints: The number of complaints received from users who are getting emails five days after opt-out.
- Non-Compliance: The number of non-compliance alerts when a mailer has not reviewed a Campaign for a set number of days.
- Suppression Export Method: The method mailers use to manage or export a list of suppressed or opted-out contacts (Download Web, Cleanse Web, Download API, Cleanse API).
- Last Suppression Export Date: The last date mailers accessed, exported, or updated the suppression list
To add a new Campaign, click the “+ Create New Campaign” button, and fill out the following fields:
- List: Select the email list in the “List” drop-down menu.
- Campaign Name: Enter the name of the Campaign.
- Short Description: Enter a brief description.
- Allow All Mailers: Set mailers’ access to the Campaign. To provide access to all mailers, check the “Give Access to All Mailers” box. To provide access to the selected mailers, check the “Give Access to Selected Mailers” box and select the mailers in the “Select Mailers” dropdown menu.
- Expiration Date (optional): Set the mailer’s access expiration date or Make Infinite.
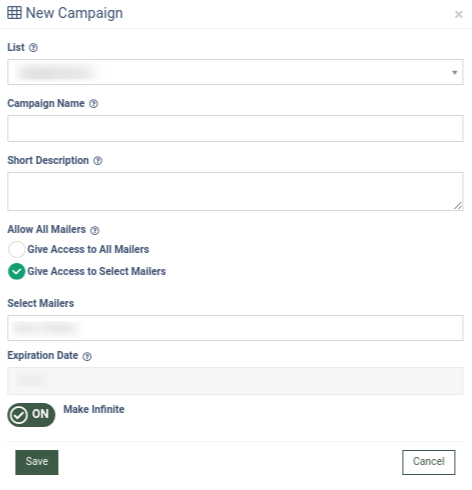
To create a campaign, click the “Save” button.
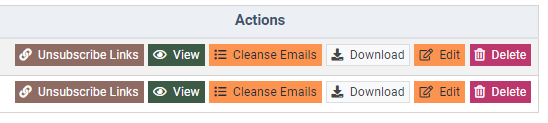
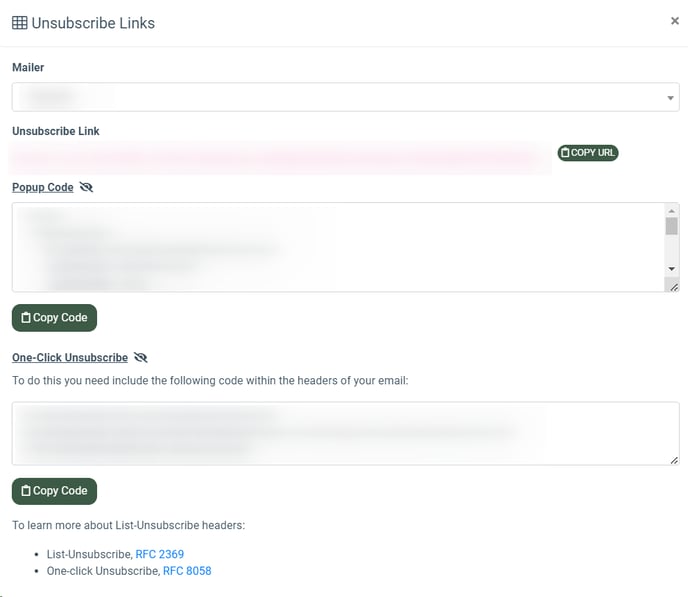
To view the unsubscribe link for the particular mailer, click the “Unsubscribe Links” button in the “Action” column.
The “Unsubscribe Links” pop-up window contains the following information:
- Mailer: The name of the mailer. Select the mailer to change the displayed information.
- Unsubscribe Link: The mailer’s unsubscribe link. Click the “COPY URL” button to copy the link.
- Popup Code: The script of the unsubscribe link for the emails with the usage example. Click the “Copy Code” button to copy the code.
- One-Click Unsubscribe: The code for the one-click unsubscribe link. Using this code in your email template allows you to create a one-click unsubscribe link that will unsubscribe users without reentering the email information. To do this you need to include the code within the headers of your email. Click the “Copy Code” button to copy the code.

To view the campaign details, click the “View” button in the “Action” column.
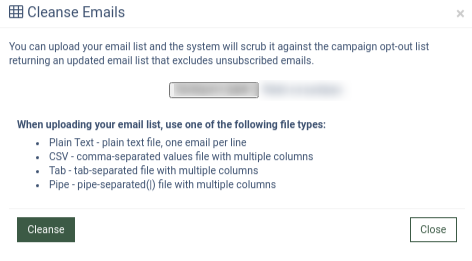
 You can scrub your email list against the campaign out-out list, and the system will return an updated email list that excludes unsubscribed emails. To start the email cleanse, upload your email list by clicking the “Cleanse Emails” button.
 To download the list of the campaign’s email addresses, click the “Download” button.
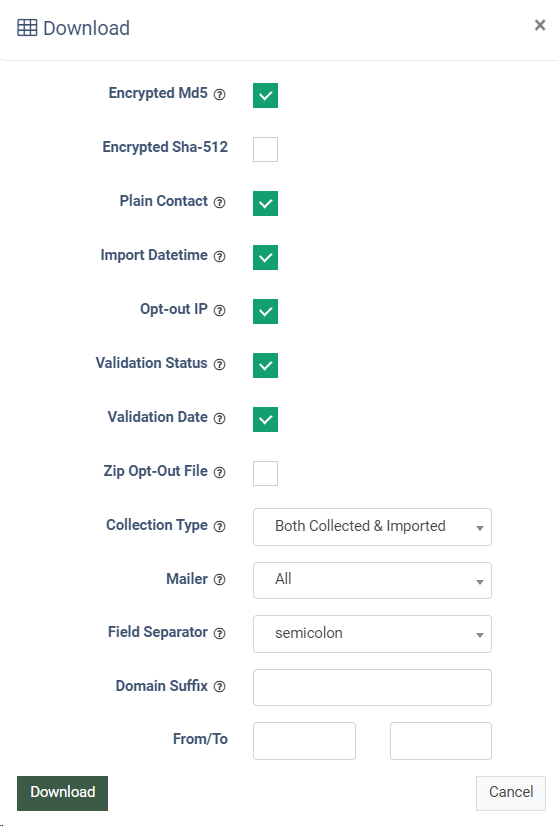
You can set the format of the downloaded list by selecting the following options:
- Encrypted MD5: Check the box to download the emails in the MD5 encrypted format.
Note: MD5 (Message Digest Method 5) is a cryptographic hash algorithm used to generate a 128-bit digest from a string of any length. It represents the digests as 32-digit hexadecimal numbers.
Example: The encoded email “test@test.com” will look like this “5a105e8b9d40e1329780d62ea2265d8a”. - Encrypted Sha-512: Check the box to download the emails in the Sha-512 encrypted format.
Note: Sha-512 (Secure Hash Algorithm 512) is a hashing algorithm used to convert text of any length into a fixed-size string. Each output produces a SHA-512 length of 512 bits (64 bytes).
- Plain Contact: Check the box to download the emails in the plain text format. This option is only available if contacts are stored in Plain&MD5 / Sha512 format.
- Import Datetime: Check the box to add the contact creation date column to the list.
- Opt-Out IP: Check the box to add the out-out IP address to the list.
- Validation Status: Check the box to add the contact verification status to the list.
- Validation Date: Check the box to add the contact verification date to the list.
- Zip Opt-Out File: Check the box to download the list in the .zip file format.
- Password For Zip: Check the box to add the password for the zip code.
- Password: Enter the password.
- Collection Type: Select the type of contacts to be included in the list. (Both Collected & Imported, Collected via Opt-Out Pages Only, Imported Emails/MD5s only).
- Mailer: Select the mailer to download the opt-outs for the specific mailer or select All to download all contacts.
- Field Separator: Select the field separator for the list (Semicolon, comma, tab, pipe).
- Domain Suffix (optional): Enter the domain suffix to download contacts for the specified domains only, e.g., gmail.com. You can list the domains using commas.
- From/To (optional): Enter the start and end dates to include the contacts added to the list during a specified time frame.
To download the list of the campaign’s email addresses in the selected format, click the “Download” button.
To edit the campaign, click the “Edit” button in the “Action” column.
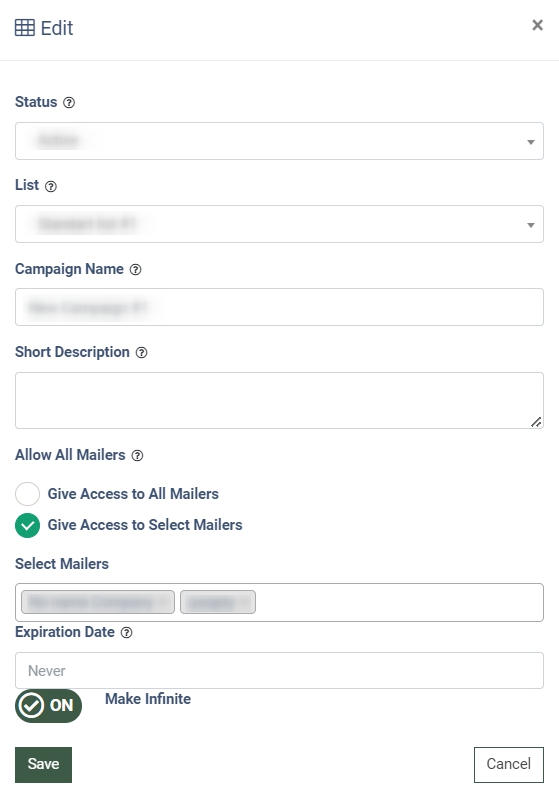 You can edit the following fields for the Email campaign:
- Status: Select the status of the Campaign (Active or Deleted).
- List: Select the email list.
- Campaign Name: Enter the name of the Campaign.
- Short Description: Enter a brief description.
- Allow All Mailers: Set mailers access to the Campaign. To provide access to all mailers, check the “Give Access to All Mailers” box. To provide access to the selected mailers, check the “Give Access to Selected Mailers” box and select the mailers in the “Select Mailers” drop-down menu.
- Expiration Date (optional): Set the mailer’s access expiration date or Make Infinite.
To save the changes, click the “Save” button.
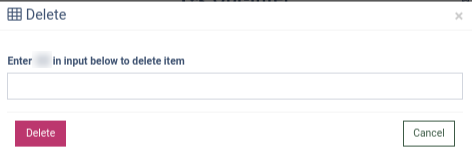
To delete the Campaign, click the “Delete” button in the “Action” column. Follow the instructions and click “Delete” to confirm your action.
Click the “Save” button from the Save Report block to save the report with the selected filtering settings and columns. The saved report will be available in the “Saved Reports” section.
To view the saved report, select the report name from the drop-down list and click the “Load” button.
 Read more about the Saved reports in this Knowledge Base article.