To open the Email Global Suppression list, go to the Suppression Management > Email Global Suppression section.
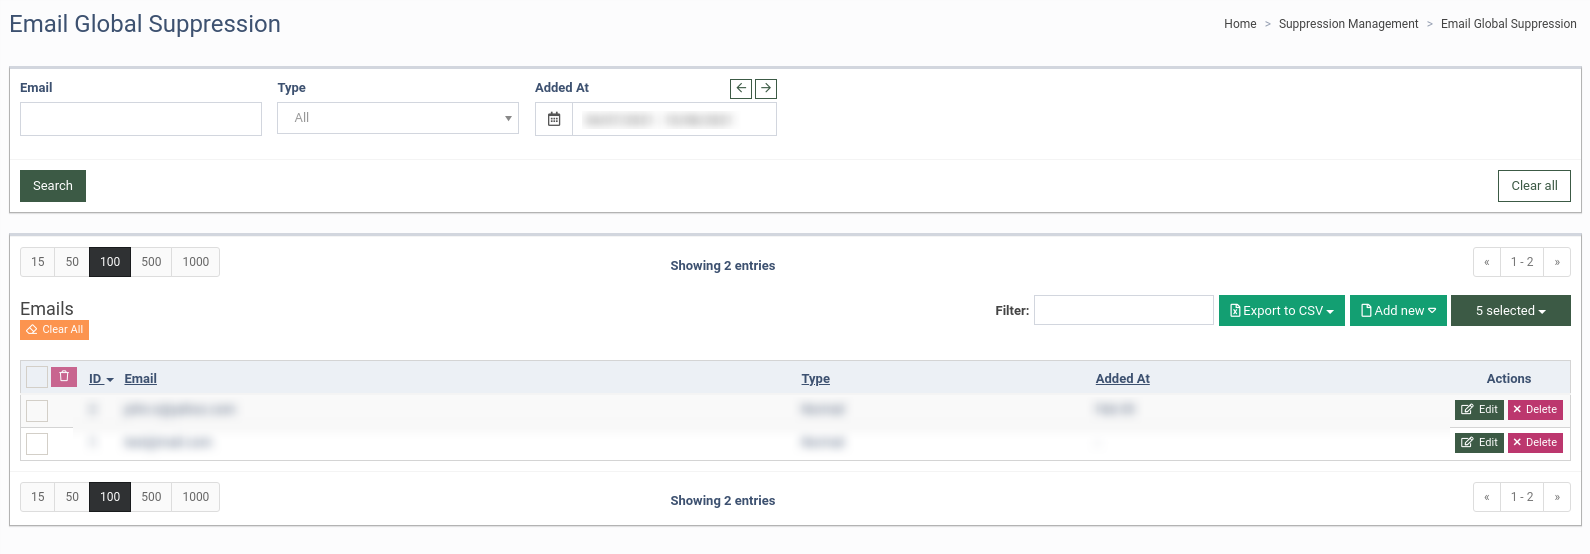
The Email Global Suppression list contains the following information:
-
ID: The unique identification number of the suppressed email.
-
Email: The suppressed email address.
-
Type: Type of the email (Normal, MD5 Encoded).
-
Added At: Date and time when the email was added to the list.
You can narrow down the search results by using the following filters:
-
Email: Enter the email address.
-
Type: Select the type of the email (Normal, MD5 Encoded).
-
Added At: Select the date and time when the email was added to the list.
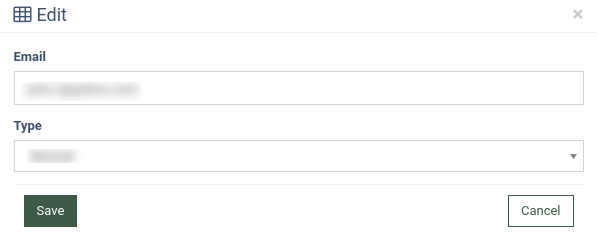
Click the “Edit” button in the “Actions” column to edit the email suppression record. Fill in the following fields in the pop-up window:
-
Email: Enter the email address of the contact.
-
Type: Select the format type of the email (Normal, MD5 Encoded).
Click the “Save” button to confirm.
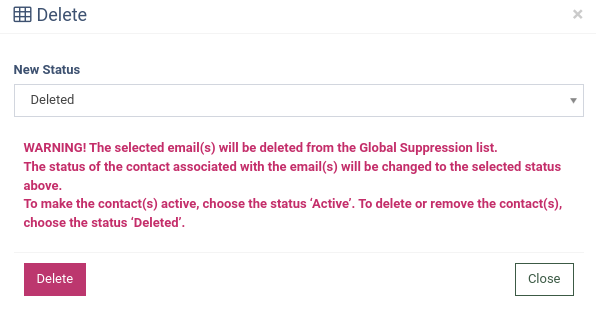
Click the “Delete” button in the “Actions” column to delete the record. In the pop-up window, click the “Delete” button to confirm.
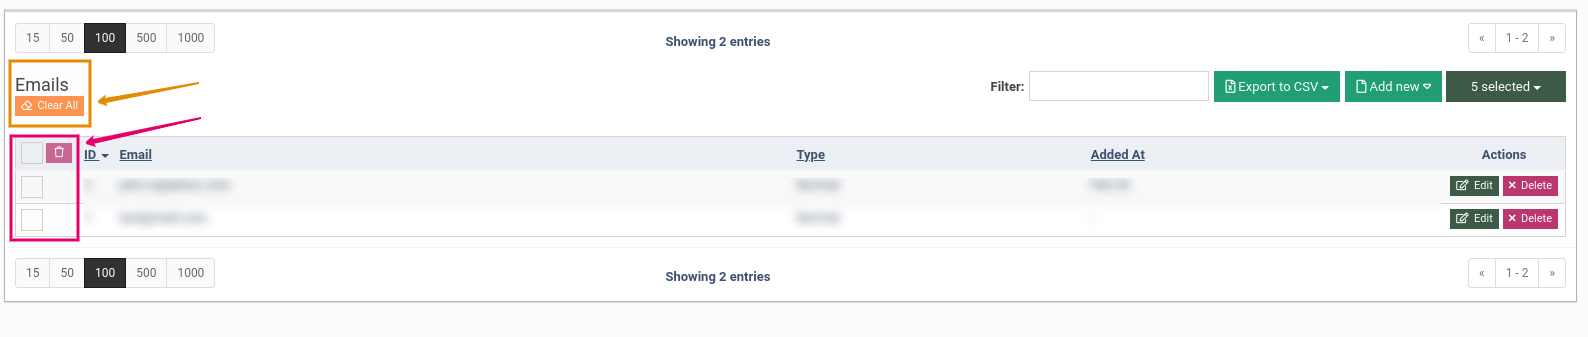
To delete or change the status of the selected contacts, click the checkbox above and click the “Remove” button.
Note: To delete or change the status of all available contacts in the list, click the “Clear All” button.
Select the status (Delete, Active) of the contacts in the “Delete” pop-up window. Click the “Delete” button to confirm.

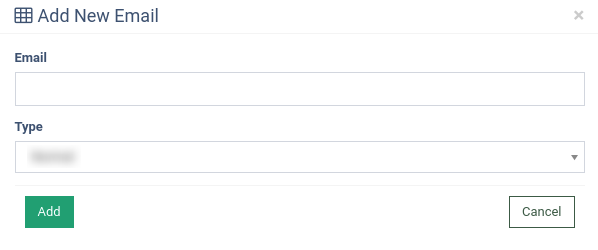
To add a new email to the list, click the “Add New” button and choose the “Add New Email” option from the drop-down list. Fill in the following fields in the “Add New Email” pop-up window:
-
Email: Enter the email of the contact.
-
Type: Select the format type of the email (Normal, MD5 Encoded).
Click the “Delete” button to confirm.
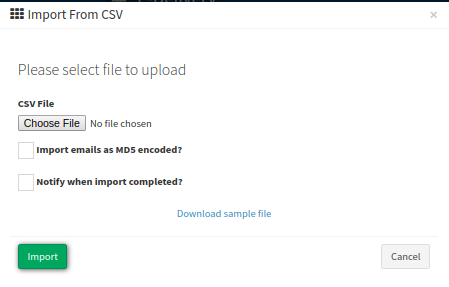
To add a list of the emails, click the “Add New” button and choose the “Import from CSV” option. Fill in the following fields in the “Import from CSV” pop-up window:
-
Choose file: Click this button and select the specific file.
-
Import emails as MD5 encoded?: Click the checkbox to enable MD5 encoded import.
-
Notify when import completed?: Click the checkbox to enable the notification.
To check the appropriate format for the list, click the “Download sample file” link, and you can download the file with the correct data composition.
Click the “Import” button to confirm
Note: Read more about how to edit or create an Email Global Suppression list in this Knowledge Base article.